How to Build a Barn Door from Pallet Wood: DIY Mastery
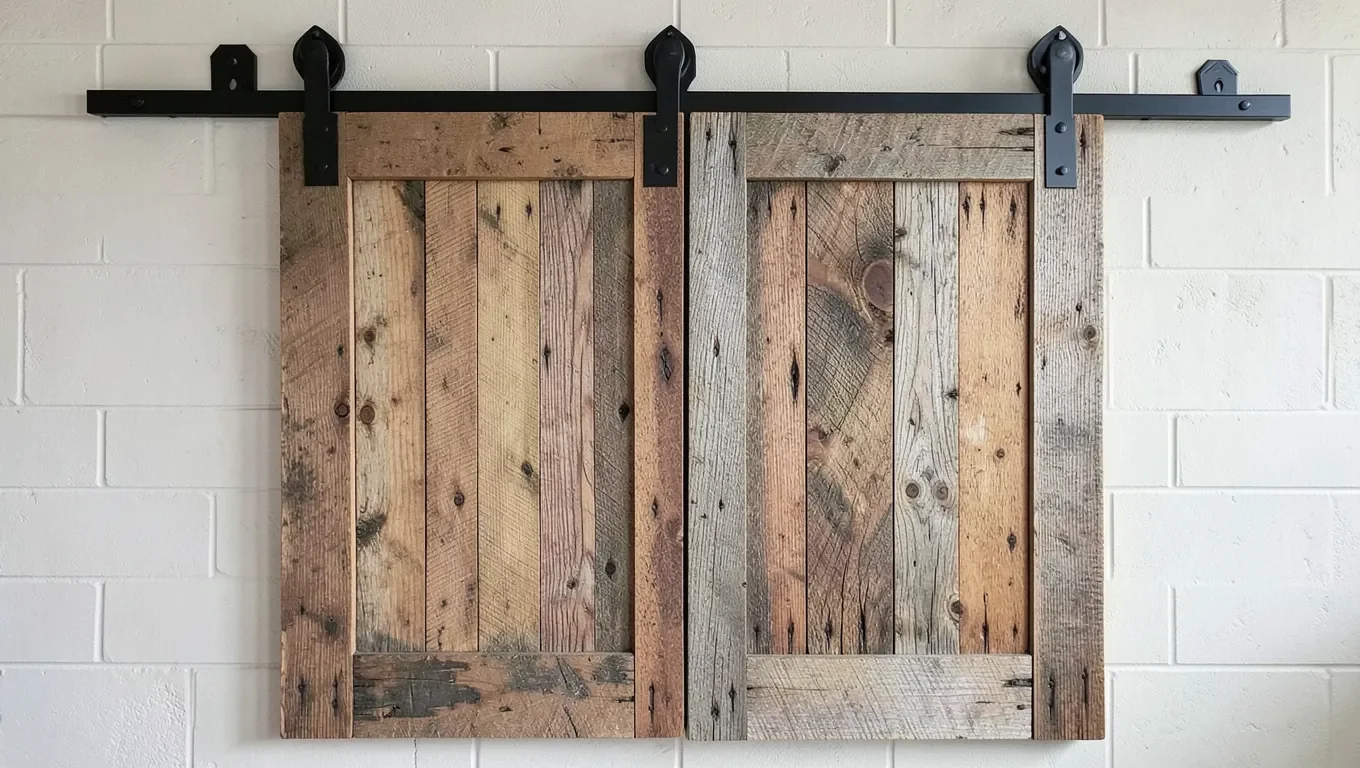
To build a barn door from pallet wood, dismantle heat-treated (HT-stamped) pallets, rip and edge-glue the thin slats into full-width panels, frame the back with a Z-brace, and hang it on a sliding track kit sized for your opening. The one step generic barn-door guides skip is checking the pallet’s IPPC stamp before you touch it – a heat-treated (HT) pallet is safe to bring indoors, but a methyl-bromide-fumigated (MB) pallet carries pesticide residue that has no business in a house. This guide covers that check plus the real technique differences pallet slats need versus full-width reclaimed boards.
Check The Pallet Stamp Before You Touch It
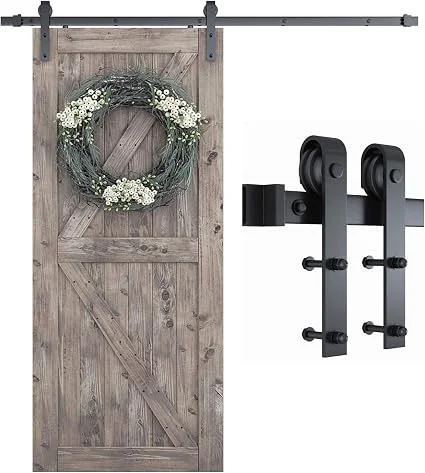 |
SMARTSTANDARD 6.6ft Barn Door Hardware Kit – $45.99 Fits a 40″ wide door panel, right in the standard range this guide’s sizing section covers.
|
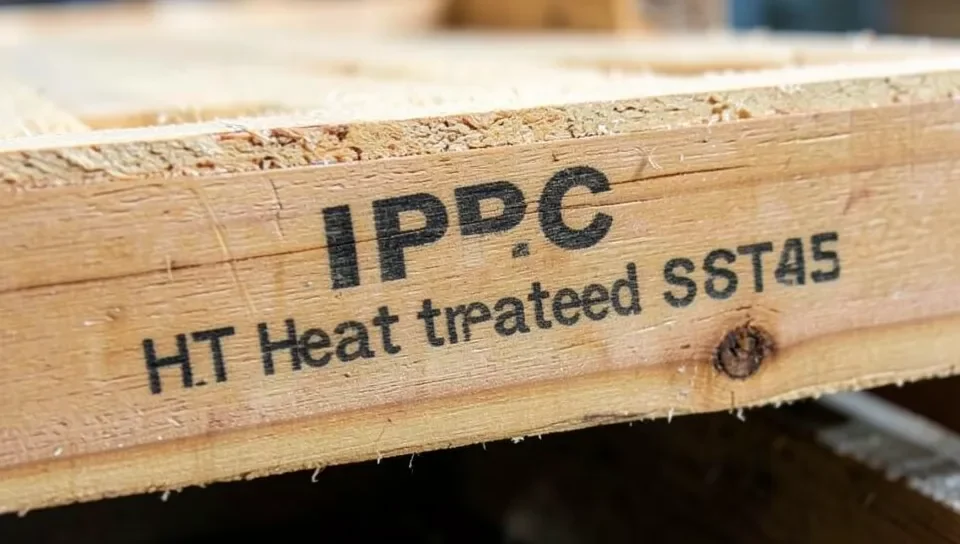
Every pallet built to international shipping standards carries an IPPC stamp burned or stenciled into the wood, usually on one of the end blocks. This is the single most important safety check for this project, and it’s the one thing that separates a genuinely safe pallet-wood door from a bad idea:
- HT (Heat Treated): The pallet was heated to kill pests, no chemicals involved. Safe to bring indoors and use for furniture or a door.
- MB (Methyl Bromide): The pallet was fumigated with a toxic pesticide gas. This residue can remain in the wood fibers – do not use these pallets for anything indoors, and don’t burn the wood either.
- No stamp at all: Treat it the same as an MB pallet and skip it. A local pallet, one from a grocery store or hardware store that never left the country, is often unstamped but genuinely fine – when in doubt, ask the source or choose a stamped HT pallet instead.
Gathering Your Materials
- 2-4 HT-stamped pallets, depending on door size – you’ll use far more slats than you expect once you account for gaps between boards and trimming damaged ends.
- Pry bar and a pallet-buster tool (or a reciprocating saw with a demolition blade) for dismantling without splitting the thin slats.
- Wood glue and clamps for edge-gluing narrow slats into a full-width panel.
- Z-brace lumber (1×4 or 1×6 pine) for the back frame that keeps the door from racking.
- Wood screws, sandpaper (medium then fine grit), and a finish of your choice.
- A sliding barn door hardware kit sized to your door’s finished width.
Preparing The Pallet Wood
Dismantle the pallet by prying up each slat from the stringers, working slowly to avoid splitting the thin boards – pallet slats are typically only 3/8″ to 5/8″ thick and split far more easily than standard lumber. Pull or cut off every nail (a pallet buster or a reciprocating saw slid flat against the stringer removes slats with far less breakage than a straight pry bar). Sort the slats by length, thickness, and condition, and set aside anything cracked or badly weathered.
Because pallet slats are narrow (usually 3.5″ to 5.5″ wide), you’ll need to edge-glue several together to build up a full door panel width, rather than using single wide boards the way a reclaimed-board door would. Run each slat’s edge over a jointer or hand-plane it straight before gluing, since pallet wood edges are rarely straight enough to glue cleanly as-is. Sand with medium grit first to knock down roughness and old finish, then fine grit for a smooth surface.
Designing And Sizing Your Door
Measure the opening the door will cover, and size the finished door 2 to 4 inches wider than the opening on each side so it fully covers the gap when closed – a standard interior barn door application runs 36 to 48 inches wide by about 80 inches tall, but always measure your actual opening rather than assuming a standard size. Sketch the slat layout before cutting: decide whether slats will run vertically (the classic barn-door look) or in a herringbone or horizontal pattern, and dry-fit the pieces before any glue goes on.
Assembly: Building A Door That Won’t Rack
Lay your prepared, edge-glued slats face-down and clamp them together edge to edge until the glue sets, forming the full door panel. Once the panel is dry, flip it over and add a Z-brace to the back: two diagonal braces running corner to corner in a Z pattern, screwed into every slat they cross. This is what actually keeps a slatted door from racking (twisting out of square) over time – skipping the Z-brace is the most common reason a DIY pallet door eventually sags or warps.
Installing The Sliding Hardware
- Mount the track above the opening using a level to keep it perfectly horizontal – even a slight tilt will make the door drift open or closed on its own.
- Position the track high enough that the door clears the floor by about 1/2 inch to 1 inch once hung.
- Attach the rollers to the top of the finished door, then lift it onto the track and test the slide before adding any stops or a floor guide.
- Add a floor guide at the bottom to keep the door from swinging away from the wall.
Finishing And Maintenance
Apply your chosen stain or paint after final sanding, then seal with a clear topcoat to protect against moisture and everyday wear – this matters more on a pallet door than a decorative wall piece, since it will see regular use. For ongoing care, wipe with a damp cloth and mild soap rather than harsh cleaners, and periodically check that the hardware bolts and roller mounts are still tight, since a sliding door’s hardware takes real repeated stress.
Frequently Asked Questions
What Materials Do I Need For A Pallet Wood Barn Door?
HT-stamped pallets, wood glue and clamps for edge-gluing the narrow slats, lumber for a Z-brace frame, screws, sandpaper, a finish, and a sliding barn door hardware kit sized to your door’s width.
How Long Does It Take To Build A Barn Door From Pallet Wood?
Plan for 4 to 8 hours of active work spread across a weekend, plus drying time for glue and finish between steps. Dismantling and edge-gluing narrow pallet slats takes longer than working with full-width reclaimed boards.
Can I Use Any Type Of Pallet For This Project?
No. Check the IPPC stamp on the pallet before using it – HT (heat-treated) pallets are safe for indoor use, but MB (methyl-bromide fumigated) pallets carry pesticide residue and should never be used indoors or burned. If a pallet has no visible stamp, treat it as unsafe unless you know its source.
Do I Need To Edge-Glue Pallet Slats, Or Can I Just Butt Them Together?
Edge-gluing (or at minimum, a tight, clamped fit before fastening to the back frame) gives a much more stable panel than simply screwing individual slats to a frame with gaps between them. Since pallet slats are narrow, you’ll be joining several edge-to-edge to reach full door width anyway.
Conclusion
A pallet-wood barn door comes down to three things a generic reclaimed-wood guide won’t tell you: check the IPPC stamp before any pallet comes indoors, plan on edge-gluing narrow slats into full-width panels, and never skip the Z-brace on the back. Get those three right and the rest – sizing, hanging, finishing – is the same straightforward process as any barn door build.
Sponsored / affiliate links. As an Amazon Associate I earn from qualifying purchases. I may earn additional commission from eligible campaigns.