How to Build a Barn Door From Reclaimed Wood (Real Cost)
A reclaimed wood barn door costs under $65 in materials when you source boards locally, versus $300 to $1,000 for a store-bought slab – but only if the wood is de-nailed and tested for lead paint first. Skipping that step risks a ruined saw blade or, on pre-1978 boards, toxic dust. This guide covers safe sourcing, a Z-braced frame that will not rack, and the hardware specs (weight capacity, floor gap, track length) most tutorials skip.
[Insert your Affiliate Disclosure reusable block here]
Quick Answer
To build a barn door from reclaimed wood: de-nail sound boards, cut them with a 2-inch overlap on the opening, join them into a frame with a diagonal Z-brace at 60 degrees or steeper, then hang it on a track sized at twice its width with hardware rated for its full weight (most kits hold up to 200-220 lbs).
What You’ll Need: Tools and Materials
Best Barn Door Hardware Kit Pick
SMARTSTANDARD 6.8 FT Barn Door Hardware Kit (Fits 40″ Door)
A complete track, roller, and mounting kit sized for the standard 36-40″ reclaimed-wood door most beginners build.
- Best for: A single standard-width door up to 40 inches
- Why we picked it: Pre-drilled at 16-inch stud spacing and includes anti-jump blocks, matching the mounting steps in this guide
- Main drawback: Rated lower than the heavy-duty kit below if your door is thick, reclaimed hardwood plus a plywood backer
Compare more hardware kit options
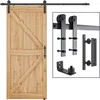 Heavy-Duty Pick SMARTSTANDARD 6.8 FT Heavy Duty Kit
|
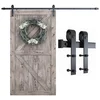 Wide-Door Pick SMARTSTANDARD 8.2 FT Kit (48″ Door)
|
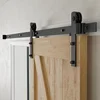 Budget Pick CCJH 6 FT Hardware Kit
|
As an Amazon Associate we earn from qualifying purchases.
Like most woodworking projects built from salvaged material, a barn door does not need a specialty tool list – it needs the two items most tutorials leave off. Beyond the reclaimed boards themselves, a handheld metal detector and a lead-paint test swab are the most skipped items, and both take five minutes to use.
| Tool / Supply | Purpose |
|---|---|
| Circular saw or track saw | Cut boards square to length |
| Handheld metal detector or stud finder | Find buried nails and staples before cutting |
| Lead-paint test swab | Check painted boards that may predate 1978 |
| Drill/driver | Pilot holes and screws for the frame and brace |
| Wood glue and clamps | Join frame joints before screwing |
| Random orbital sander (80 then 150 grit) | Smooth splinters without erasing character |
| Level and tape measure | Keep the frame square and the track straight |
| Sliding barn door hardware kit | Track, rollers, and mounting brackets |
| Respirator and gloves | Required if lead paint or heavy dust is present |
Reclaimed Wood vs. Pallet Wood: Which Should You Use?
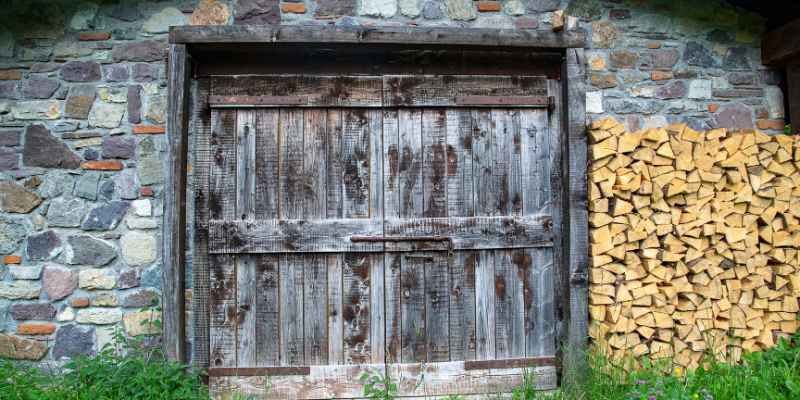
“Reclaimed wood” and “pallet wood” get used interchangeably online, but they are not the same material. True reclaimed barn wood comes from old barns, factories, or salvage yards – boards that have aged for decades, are usually wider than a pallet slat, and rarely carry a chemical treatment stamp. Pallet wood is thinner and stamped on the block: HT means heat-treated and safe to reuse, while MB means methyl-bromide fumigated and should never go into an indoor project or furniture.
If pallets are what you actually have on hand rather than true barn siding, our guide to building a barn door from pallet wood covers the pallet-specific prep this article does not – dismantling without splitting the thin slats, sorting by stamp, and working around the narrower board width.
Choosing Your Barn Door Hardware
Hardware is where most first-time builds go wrong – not because the kits are complicated, but because the numbers that matter (track length, floor gap, weight rating) are rarely printed anywhere near the how-to steps. Here is the full spec sheet compiled from manufacturer documentation and installation guides, in one place:
| Spec | Number | Why It Matters |
|---|---|---|
| Board thickness | 1.5 – 2 in | Rigid enough without overloading the track |
| Door width | 36 – 48 in (standard) | Covers most closet, pantry, and laundry openings |
| Panel overlap | +2 in beyond the opening | Prevents light and sound gaps at the sides |
| Track length | 2x door width | Lets the door slide fully open |
| Floor clearance | 1/2 in (3/8 in on some kits) | Clears flooring or carpet without dragging |
| Header clearance | 6 in (4 in for low-clearance kits) | Room for the rollers above the door frame |
| Hardware weight rating | Up to 200 – 220 lbs | Covers most reclaimed-wood doors, even with a plywood backer |
| Z-brace angle | 60 degrees or steeper | Below 45 degrees the brace stops resisting racking |
How to Source and Test Reclaimed Wood Safely
Where to Find It
Local lumber yards, architectural salvage shops, and demolition sites are the most reliable sources for boards free of major rot or structural damage. Thrift stores and online marketplaces work too, but inspect every board in person – photos hide rot and insect damage. If you need boards cut to a precise size and do not own a table saw, some hardware stores, including Menards, will cut lumber for a small fee.
Check for Hidden Nails First
Old barn boards accumulate loose nails, staples, and screws with heads that have rusted flush or broken off. Run a handheld metal detector or stud finder over every board before you cut – a saw blade hitting a buried nail can kick back or ruin the blade, and it is the single most common reason first-time reclaimed-wood cuts go wrong.
Test for Lead Paint on Pre-1978 Wood
Lead paint was banned from residential use in 1978, so any painted board that might predate that year needs a lead-test swab before you sand it. According to the EPA, dry-sanding lead paint releases toxic dust that spreads well beyond the work area. If a test comes back positive, wear a respirator, wet-sand only, and bag the dust and any removed fasteners for disposal rather than sweeping them into the trash.
📊 Lead paint cutoff: 1978. Any painted wood from before that year should be treated as a possible lead hazard until tested. Source: U.S. EPA, Renovation, Repair and Painting Program.
Preparing the Reclaimed Wood
Once a board passes the nail and lead checks, clean it with a stiff brush to remove loose dirt and old finish flakes. Sand with 80-grit to knock down splinters and high spots, then move to 150-grit for a smooth-but-not-slick surface – reclaimed wood keeps more of its texture and character than new lumber, and over-sanding erases the reason you chose it in the first place.
Treat the cleaned wood with a wood preservative before assembly, especially if the door will hang near an exterior entry or a bathroom where humidity swings. This step matters more for reclaimed wood than new lumber, since decades-old boards have already lost some of their natural rot resistance.
Designing Your Door: Sizing and Board Width
Measure the door opening width and height first, then add 2 inches to the width so the finished door covers the frame with no gap. Standard barn doors run 36 to 48 inches wide and 80 to 84 inches tall, with boards planed to a 1.5 to 2 inch finished thickness – thick enough to feel solid, light enough to stay under most hardware weight ratings. If your reclaimed boards vary in width, mix wider and narrower planks deliberately rather than trying to force uniform widths; the mismatch is part of what makes a reclaimed-wood door read as authentic rather than a kit.
Building the Frame: Z-Brace vs. X-Brace
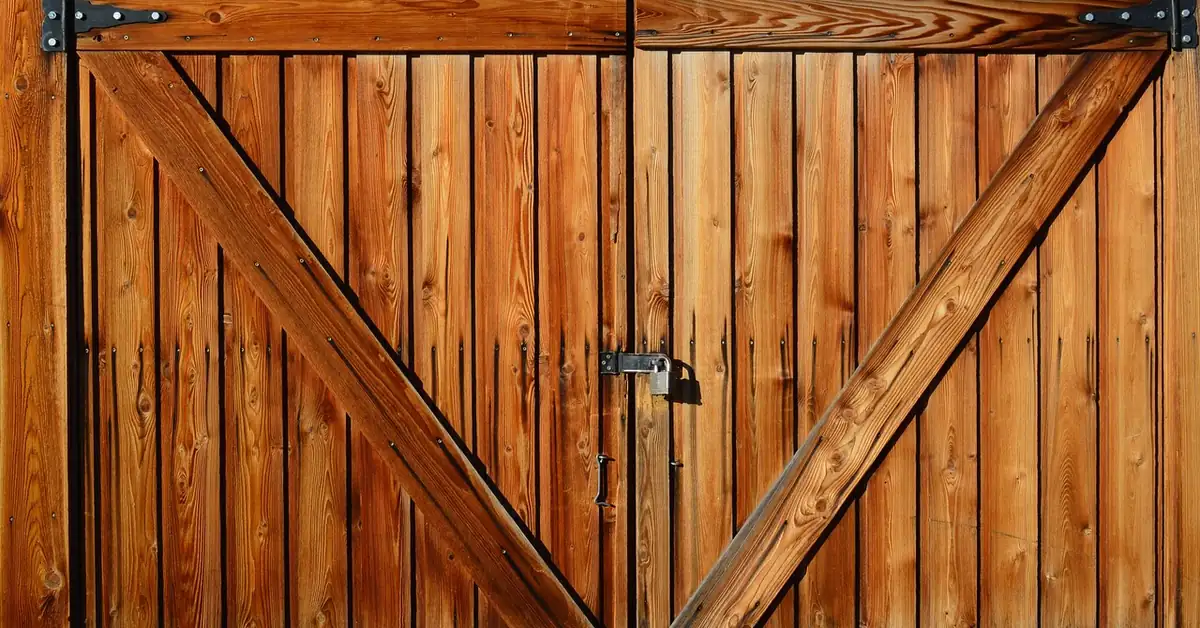
Lay your vertical boards edge to edge and clamp them tight before adding the horizontal top and bottom rails. For the diagonal brace that keeps the door from racking (twisting out of square over time), most barn doors use a Z-brace – a single diagonal running low near the hinge side to high near the latch side – rather than a full X-brace, which uses more material for marginal extra strength on a door this size.

The brace angle is not cosmetic. Cut it at 60 degrees or steeper from horizontal; below roughly 45 degrees, a diagonal brace stops effectively resisting racking forces and the door will loosen at the corners within a year or two of regular sliding. Glue the brace joints, then drive screws through from the back so the fasteners stay hidden on the show face.
Joinery matters here too – if you want a stronger mechanical bond at the frame corners than screws alone, a basic mortise and tenon joint at the rail-to-stile connections outlasts a butt joint under the repeated racking stress of a sliding door.
“The doors we have seen loosen at the corners first are almost always the ones with a brace angle under 45 degrees. Steeper always outlasts shallow, even when the shallow angle looks like it uses less wood and saves a cut.”
Assembling and Finishing the Door
If your reclaimed boards are thin or uneven in thickness, backing the frame with a 1/2-inch plywood panel adds rigidity without adding much weight – 3/4-inch plywood works too but noticeably increases the load your track hardware has to carry, so check your kit’s weight rating before choosing between the two.
Once assembled, sand any glue squeeze-out flush, then apply your stain or clear finish. A water-based topcoat such as General Finishes High Performance Flat dries fast and does not amber over the reclaimed wood’s existing patina the way an oil-based poly can. Apply two thin coats rather than one heavy coat, and let each coat cure fully before hanging the door – a still-soft finish will pick up fingerprints at the exact spots you handle it during mounting. For more on matching a finish to reclaimed grain, see our wood finish comparison guide.
Mounting the Barn Door
- Confirm the header can bear the load: Locate wall studs above the opening and screw the mounting board directly into at least two, since drywall alone cannot support 100+ lbs of door and hardware.
- Mount the track: Level the track so it sits at least 6 inches above the frame (4 inches if using a low-clearance kit), and set the track length to roughly twice the door’s width.
- Attach the rollers: Bolt the roller brackets to the top of the door, centered and level, following your kit’s spacing template.
- Hang and check the floor gap: Lift the door onto the track and check for a 1/2-inch gap at the floor (3/8 inch on some kits) – enough to clear flooring or low-pile carpet without dragging.
- Install the floor guide and stops: Fasten the floor guide to keep the bottom of the door from swinging out, and set the door stops so it cannot roll off either end of the track.
- Test under load: Slide the door fully open and closed several times, then check that all bracket screws are still tight – reclaimed wood is heavier than it looks, and hardware can work loose after the first few passes.
Common Mistakes to Avoid
- Skipping the nail check: A single buried nail can ruin a saw blade or send a board kicking back off the table.
- Undersizing the track: A track shorter than twice the door’s width means the door can never slide fully open.
- Mounting into drywall alone: The header board has to hit studs; drywall anchors are not rated for a loaded barn door track.
- Skipping the lead test on old paint: Sanding untested pre-1978 paint is the most avoidable safety mistake in this entire project.
- Using a shallow brace angle to save wood: A brace under 45 degrees looks fine on day one and loosens at the corners within a year.
Maintenance and Care
Clean the door with a soft cloth and a mild soap solution rather than harsh chemicals, which can strip finish and dry out reclaimed wood faster than normal wear does. Dry it after cleaning to avoid moisture sitting in the grain.
Check hardware every few months – loose bracket screws are the first sign of wear on a sliding door, and tightening them early prevents the door from sagging on the track. Inspect the wood itself for new cracks or splits, especially near the brace joints where racking stress concentrates. If you are restoring other reclaimed or antique wood pieces alongside this project, our guide to caring for antique wood furniture covers cleaning products that are safe on aged finishes.
For a rough sense of what a larger reclaimed-wood project will cost before you buy, our woodworking calculators guide includes a board-foot calculator that works for barn doors as well as bigger builds.
Watch the Build
Frequently Asked Questions
How do I choose reclaimed wood for a barn door?
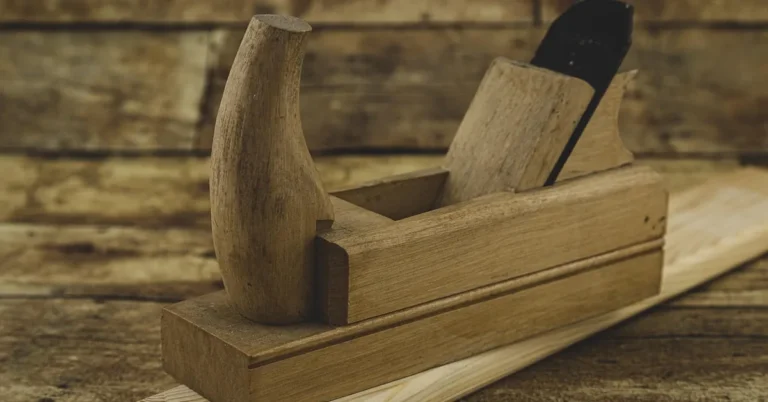
Look for sturdy, straight boards free of rot or active insect damage, sourced from a lumber yard, salvage shop, or demolition site. Run a metal detector over every board to find hidden nails, and test any painted board for lead if it might predate 1978. Boards with some warping can often be flattened with a hand plane, but skip anything cracked through or soft to the touch.
What tools do I need to build a barn door?
You need a circular or track saw, drill/driver, wood glue and clamps, a random orbital sander, a level, and a tape measure. Add a handheld metal detector and a lead-paint test swab for reclaimed boards specifically, plus a respirator if any board tests positive for lead.
Can I use pallet wood instead of true reclaimed wood?
Yes, but check the stamp first – HT means heat-treated and safe, MB means chemically fumigated and unsafe for indoor furniture. Pallet boards are also thinner and narrower than typical barn siding, which changes the build slightly. See our pallet wood barn door guide for the pallet-specific steps.
How long does it take to build a reclaimed wood barn door?
Plan on 1 to 3 days if your boards are already clean and paint-free: one day to prep and cut, one to assemble and brace, one for finish coats to cure. Add extra time if boards need paint stripping or lead testing, since that step alone can take several hours per board done safely.
How much weight can barn door hardware hold?
Most standard sliding barn door hardware kits are rated for up to 200 to 220 lbs, which comfortably covers a reclaimed-wood door even with a plywood backer. Always check your specific kit’s rating before finalizing board thickness, since heavier hardwood species and a thick backer can add up faster than expected.
How much clearance does a sliding barn door need?
Leave about a 1/2-inch gap between the bottom of the door and the floor (3/8 inch on some hardware) so it clears flooring or carpet without dragging. Above the frame, plan for at least 6 inches of header clearance for the track and rollers, or 4 inches if you use a low-clearance hardware kit.
A reclaimed wood barn door rewards the extra prep work most tutorials skip – de-nailing, a lead check on old paint, and a brace angle steeper than 45 degrees are what separate a door that lasts from one that needs rebuilding in a year. Once it is hung and sliding smoothly, it is one of the few DIY projects that gets more character with age rather than less.
Sponsored / affiliate links. As an Amazon Associate I earn from qualifying purchases. I may earn additional commission from eligible campaigns.