How to Build a Toy Box
Build a toy box from 3/4-inch plywood or solid wood. Use one of two lid choices: soft-close lid support for heavier lids, or a fully removable lid for toddlers, and size it around 24 to 36 inches wide for most rooms. A heavy lid can strike fingers, hold stale air inside, and make the box awkward to open. This guide helps you pick the right style, materials, dimensions, joinery, and finish for your child’s age and space.
What you’ll need
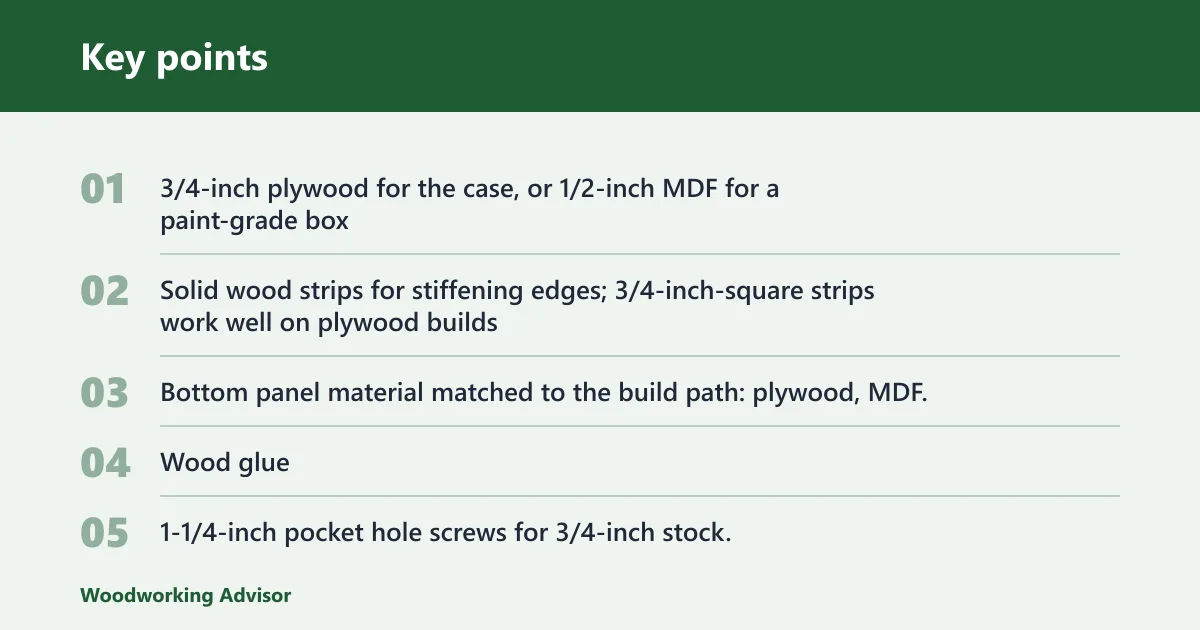
- 3/4-inch plywood for the case, or 1/2-inch MDF for a paint-grade box
- Solid wood strips for stiffening edges; 3/4-inch-square strips work well on plywood builds
- Bottom panel material matched to the build path: plywood, MDF, or thicker boards with a supporting frame
- Wood glue
- 1-1/4-inch pocket hole screws for 3/4-inch stock, or a size matched to your material thickness
- Brad nails for temporary hold and corner reinforcement where glue is already carrying the joint
- Two to three hinges, depending on lid width and weight
- Soft-close safety hinges or a lid stay, or standard hinges for a removable lid design
- Sandpaper, block plane or roundover bit, and a sander
- Optional: dividers, corner blocks, feet, or casters with floor protection
- Optional: wood conditioner, stain, primer, and a child-safe clear topcoat
Materials and sheet goods
For a beginner, 3/4-inch plywood is the easiest all-around choice because it stays flatter than MDF and handles bumps better than thin stock. MDF cuts cleanly and paints well, but it is heavier and more vulnerable to moisture. A crate-style build from 1×4 boards feels lighter and is easier to change later, but it needs more careful squaring.
For a starter box, a practical finished size is about 30 inches wide, 15 inches deep, and 15 inches high, with a lid that overhangs the sides by about 1/2 inch. That size lines up with the blanket-chest scale described in traditional toy box plans and fits most nurseries or playrooms without taking over the room.
Tools and hardware
You need a saw for panel breakdown, a drill/driver, clamps, a square, measuring tools, and a sander. Pocket hole joinery keeps fasteners hidden on the inside faces, while surface-mounted hinges are the simplest lid option. Mortised hinges sit flush, but they take more layout and chiseling work.
For a standard lid, use about two hinges on shorter lids and about three on wider lids. For a soft-close lid, follow the hinge maker’s placement instructions and choose hardware that matches the lid weight and width; if the lid is too heavy for the hinge rating, use a lid stay or change to lighter lid material.
Optional parts: dividers, feet, casters
Dividers help sort stuffed animals, blocks, and books. A fixed divider should run from front to back or side to side and tie into the bottom or a runner so it cannot rack. Feet lift the case off the floor and reduce edge wear. Casters add mobility, but they should be used only when the box is wide enough and the base is stable.
Which toy box style should you build?
Pick the build path that matches your skill level, finish plan, and the child’s age. Plywood is the best all-around choice for most beginners, MDF makes sense for a painted nursery box, and a 1×4 crate-style build suits someone who wants a lighter, open look with less sheet-good cutting.
Plywood chest
Choose plywood when you want a sturdier box with better screw holding and a lower risk of edge damage. It is a good fit for a toy chest, bench-style box, or any box that will be moved often. Use 3/4-inch plywood for the sides and top; use a bottom panel that is supported by cleats or a frame if you expect books or heavier toys.
MDF box
Choose MDF when you plan to paint the toy box and want flat, uniform panels with fewer grain lines telegraphing through the finish. A 1/2-inch MDF build can be made from one 4×8 sheet, and the same style can also be built from one 4×8 sheet of plywood. MDF is best when the box will stay in a dry room and will not be dragged across the floor often.
1×4 crate-style build
Choose 1×4 construction when you want a simpler board-build and a more open look. The crate-style toy box uses 1×4 boards as its main material, with (8) boards cut to 13 3/4 inches in one common plan. It is a good option for intermediate beginners, but the open slat structure needs careful spacing so small hands cannot slip into pinch points near the lid.
Toy box decision table
| Build path | Skill level | Estimated material cost band | Tool complexity | Durability and weight | Safety hardware needed |
|---|---|---|---|---|---|
| Plywood chest | Beginner to intermediate | Low to mid | Moderate | Good stiffness; moderate weight | Soft-close hinge or lid stay; corner roundover; finger slot or handle |
| MDF box | Beginner if painted | Low | Low to moderate | Flat panels; heavy for size; best kept dry | Soft-close hinge or removable lid; edge sealing; finger slot or handle |
| 1×4 crate-style build | Intermediate | Mid | Moderate | Lighter feel; less panel mass; needs careful squaring | Standard hinges or soft-close hardware; lid stop; rounded edges |
How do you build it?
Start with a dimensioned box, then cut the panels, dry-fit the case, fasten it, and finish with the bottom, lid, and safety hardware. For a beginner-friendly plywood build, a 30-inch-wide, 15-inch-deep, 15-inch-high case is easy to lay out and large enough for most toy storage without becoming bulky.
- Cut two sides, one front, one back, a bottom, and a lid from your chosen sheet goods or boards.
- Keep the lid about 1/2 inch wider and deeper than the box for a small overhang.
- Rip or trim solid wood strips for exposed plywood edges, if needed.
- Drill pocket holes on the inside edges of the front, back, and side panels.
- Dry-fit the case with clamps and a square before any glue goes on.
- Apply wood glue at the joints, then drive pocket screws to pull the box square.
- Add brad nails only as a temporary clamp substitute or to pin trim while glue sets; do not rely on brads alone for structural strength.
- Install the bottom on cleats or a frame if the panel is thin or if the box will carry heavier toys; a thinner bottom is acceptable only when it is supported on all four sides and is not spanning a large unsupported opening.
- Add dividers now, before the lid goes on, if you want separate storage bays.
- Sand the case, round sharp edges, then fit the lid and hinge hardware.
Suppose you are building a nursery box for stuffed animals and board books. A 30 by 15 by 15 case with a supported bottom, soft-close lid, and one center divider is a practical layout and can help keep the opening manageable for a toddler. The same shell can stay open inside for larger toys or gain a runner for smaller compartments.
A common first-timer mistake is setting the bottom panel directly across a wide opening and expecting thin stock to carry the load. If the bottom spans a broad area, add cleats inside the case or build a shallow frame so the panel is supported at the edges and stays flat over time.
How do you make the lid safe?
Make the lid safe by choosing hardware that controls the opening, keeping the front edge easy to grip, and checking that no finger can rest in a closing gap. For younger children, a fully removable lid is often the simplest option. For older children, a soft-close lid or lid stay gives better control and keeps the lid from dropping hard.
Choose soft-close or standard hinges
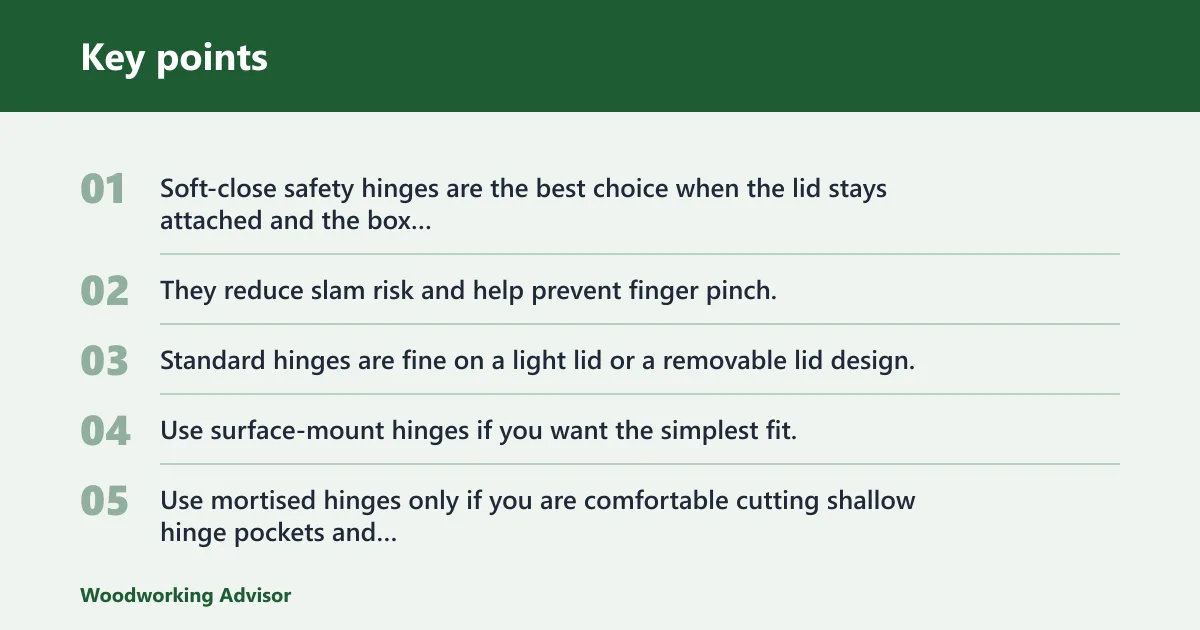
Soft-close safety hinges are the best choice when the lid stays attached and the box will be used often. They reduce slam risk and help prevent finger pinch. Standard hinges are fine on a light lid or a removable lid design, but they do not slow the close, so you need a positive stop and close supervision for young children.
Use surface-mount hinges if you want the simplest fit. Use mortised hinges only if you are comfortable cutting shallow hinge pockets and keeping the mortises even. Two hinges are enough on short lids; three are safer on wider or heavier lids.
Place hinges and lid support correctly
Mount hinges so the lid opens far enough to stay clear of the box opening without forcing the back panel. A backset that is too small can make the lid rub; too large can leave an awkward gap. Place the hinge leaves evenly and test the motion before final tightening. If the lid feels heavy, switch to stronger lid support instead of forcing the hinges to carry extra load.
Add a finger slot or handle
Cut a finger slot into the front rail or install a small lift handle near the center. That gives a child a place to open the lid without reaching under a closing edge. Keep the slot smooth, and do not place it where tiny fingers can get trapped between the lid and front rail.
Check for pinch points and overhang
Use a small overhang, usually about 1/2 inch, so the lid clears the case without rubbing. Then check the front opening with the lid closed and partially open. If a finger can slide into the closing path, add a stop, adjust hinge placement, or change to a removable lid. Make sure the lid closes slowly and stops before the front edge can pinch the opening.
Common mistakes
Most problems come from panels that are out of square, a lid that does not match the hardware, or a finish that was chosen without thinking about the wood species. These are fixable if you catch them before final assembly and before the first coat goes on.
Warped panels and out-of-square corners
If a panel bows, orient the crown consistently and clamp the assembly square before the screws go in. For MDF, keep cut edges sealed and flat. For plywood, use thicker stock or edge strips if the panel wants to twist. Recheck diagonals; equal diagonals mean the case is square.
Lid misalignment and poor hinge spacing
If the lid sits proud on one side, loosen the screws and shift the hinge leaf before retightening. If the lid binds at the back, the hinge is likely too close to the edge or the back set is off. A top-up adjustment of 1/16 inch at a time is enough for hinge nudges; recheck after each change.
Weak bottoms and unstable bases
Do not leave a thin bottom unsupported across a wide opening. Use a cleat frame, a shallow inner ledge, or thicker panel stock. If the box feels tippy, add a wider base, corner blocks, or feet that spread the load. Casters should only be used when the box still sits flat and stable.
Finish problems on pine and MDF
Pine and other blotch-prone woods need conditioner before stain. Apply the conditioner, let it set per the label, then stain. MDF should be primed or sealed before topcoat, especially on the cut edges. A clear polyurethane topcoat works well over stain or paint because it gives you a wipeable surface for kid use.
Prevention: seal every cut edge before finish goes on, especially on MDF and exposed plywood plies. That keeps the surface more even and reduces fuzzy edges after the first cleaning.
Frequently asked questions
What is the best wood to build a toy box?
3/4-inch plywood is the best all-around choice for most readers because it is stable, common, and easier to finish than MDF edges. MDF is a good paint-grade choice for dry rooms. Solid wood works too, but it moves more with humidity and usually needs more careful joinery.
How do you make a toy box lid safe for fingers?
Use soft-close hinges or a lid stay, add a finger slot or lift handle, and keep the front edge rounded. Then test the opening path with the lid partially closed. If the gap lets fingers reach the pinch zone, change the hinge placement or use a removable lid instead.
What size should a toy box be?
A practical starter size is about 30 inches wide, 15 inches deep, and 15 inches high. That fits many rooms and keeps the opening manageable. If you need more storage, go wider rather than much deeper, since deeper boxes make it harder to reach items at the back.
How to build a toy box out of plywood
Use 3/4-inch plywood for the sides, front, back, and lid, then support the bottom with cleats or a frame if the opening is large. A plywood chest is a good beginner build because it cuts cleanly and holds square well. Add edge strips, hinges, and a soft-close lid for safer daily use.
Sponsored / affiliate links. As an Amazon Associate I earn from qualifying purchases. I may earn additional commission from eligible campaigns.