How to Use Wood Cookie Molds: Dough, Dusting and Fixes
To use a wood cookie mold, brush it with flour, press firm chilled dough straight into the carving, trim the edge, and lift or tap the shape out. Springerle-style cookies then dry uncovered before baking so the design survives the oven. Mold makers disagree on oiling and drying time, so this guide shows where they differ and what each one says to do when dough sticks, blurs or puffs.
How Do You Use a Wood Cookie Mold? The Basic Method
Best Starter Wood Mold Pick
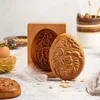 |
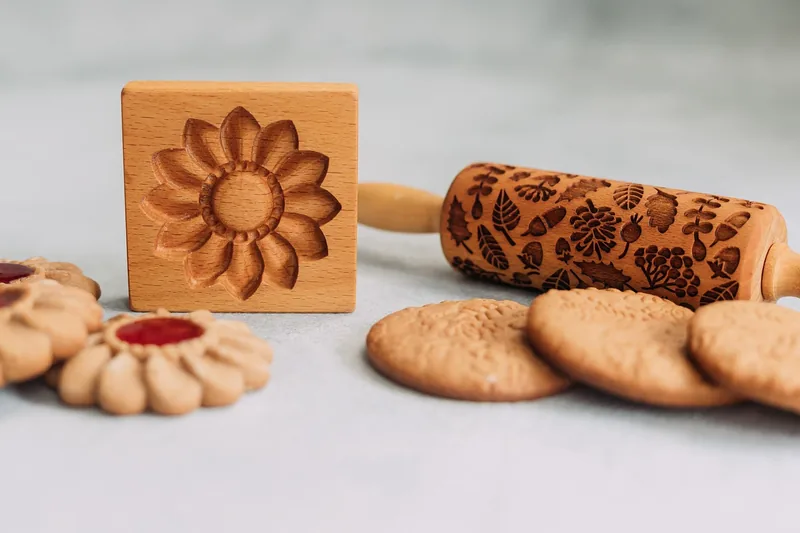
MOTEERLLU Wooden Springerle Cookie Mold ($9.99) A carved beech wood relief mold that lets you practice the flour, press and release steps in this guide on a stiff dough before you buy a larger board.
|
As an Amazon Associate we earn from qualifying purchases.
The steps below combine the two pressing methods on House on the Hill’s usage page with the finishing steps from Anson Mills’ springerle recipe. Your own recipe may adjust the details, so treat the numbers as starting points.
- Chill the dough. A cold, firm dough prints cleanly and drags less out of the carving. Brown Bag’s hints page says to chill it, except doughs made with melted chocolate, which turn crumbly.
- Roll it out. House on the Hill’s first method rolls dough 3/8 to 5/8 inch thick. King Arthur’s marzipan version rolls to 1/4 inch.
- Brush the mold with flour. Use a clean, dry pastry brush and work flour into the deepest parts of the carving. House on the Hill says to do this for every single pressing, using flour for cookies and confectioners’ sugar for candy.
- Press straight down. Press the mold firmly into the dough, then cut around the shape. For deep molds, House on the Hill’s second method presses the dough into the mold with your fingers, working from the center outward, and lightly rolls the back to smooth it.
- Release it. Lift the mold away, or hold it perpendicular over a wooden or plastic board and rap the edge sharply, as Brown Bag advises. Do not be timid about it.
- Trim and place. Cut the shape out with a knife, cutter or pastry wheel and move it to a baking sheet. House on the Hill’s advice when printing several images is "press and cut, press and cut" so neighboring prints are not distorted.
- Brush off loose flour, then dry. Anson Mills’ springerle recipe says to dust excess flour off the surface with a pastry brush, then let the cookies dry uncovered at room temperature overnight. See the drying section below for the numbers.
What Dough Works in a Wood Mold?
Molded cookies use stiff doughs that hold a print, which is why a soft spread-in-the-oven cookie dough tends to disappoint. House on the Hill’s speculaas recipe calls for a stiff dough chilled 30 to 60 minutes and recommends shallow molds without fine detail, since the cookies are meant to bake thin and crisp. Springerle is a different style, and its makers point out that egg size, flour and weather all change the dough, so you have to use your senses to decide whether the dough will print well without sticking.
For a humid kitchen, House on the Hill suggests refrigerating springerle dough for 8 hours before printing, sealed tightly in zippered bags inside a sealed container so it does not dry out. The recipes below show how different the numbers can be.
| Style | Thickness | Dry before baking | Baking |
|---|---|---|---|
| Springerle (House on the Hill) | 3/8 to 5/8 inch | 2 to 24 hours on the usage page, 24 hour minimum on the FAQ | Lower for small cookies, as low as 200 to 225°F for tiny ones |
| Springerle (Anson Mills recipe) | Pressed with fingers, then a rolling pin with firm pressure | Overnight, uncovered, at room temperature | 300°F on the lower rack, about 20 minutes |
| Speculaas (House on the Hill recipe) | Press into a shallow mold, cut flush with the back | None stated; chill molded cookies a few minutes if the pattern fades | 350°F for 10 to 12 minutes |
| Marzipan springerle (King Arthur) | 1/4 inch | 48 hours, turned after 24 | No baking; store well wrapped for several weeks |
The sources do not agree with each other, and that is the real lesson: the dough and the mold are a matched pair, so use the thickness, drying time and temperature from the recipe or mold maker you actually bought from.
Flour, Oil or Both? What Mold Makers Actually Say
Most guides repeat one rule for oiling wood molds. The maker sources do not. Here is what each says about oil, side by side.
| Source | Oil the mold? | Flour the mold? |
|---|---|---|
| House on the Hill FAQ, springerle | No. It says never to use oil or non-stick spray with flour, because oils accumulate and become hard to remove | Yes, generously, before each printing |
| House on the Hill speculaas recipe | Brush wooden molds lightly with vegetable oil once only | Yes, before each pressing |
| Brown Bag hints page | Once, a thin film of cooking oil with a pastry brush; do not re-oil after sticking | Yes, re-flour before each cookie |
The Brown Bag hints page puts it simply: "it is the flour that is acting as the separator, not the oil."
None of the maker pages read for this guide recommend mineral oil on a cookie mold, so we no longer suggest it. If your mold arrived with care instructions, those win. For general background on food-contact wood, see our guides to caring for wood spoons and cleaning a wooden cutting board, but remember that cookie molds have maker-specific rules.
Sticking, Blurring and Puffing: A Troubleshooting Table
Every row below traces to a maker source. Start with the symptom you see.
| Problem | Fix from the sources | Source |
|---|---|---|
| Dough sticks in the carving | Brush a generous amount of flour into the deepest areas before every pressing | House on the Hill |
| Dough already stuck | Scrub it out with a dry, stiff brush, then re-flour (do not re-oil first) | Brown Bag |
| Cookie will not drop out | Hold the mold perpendicular over a board and rap the edge sharply several times | Brown Bag |
| Neighboring prints distorted | Press one, cut it out, then press the next | House on the Hill |
| Image puffs in the oven | Lower the temperature, put an empty sheet on the bottom shelf, or prop the oven door slightly ajar | House on the Hill FAQ |
| Bubbles on flat areas of large cookies | Press them down by hand and finish baking | House on the Hill |
| Pattern fading before baking (speculaas) | Chill the molded cookies a few minutes | House on the Hill speculaas |
| Uneven browning on cut-apart cookies | Slice segments apart before baking and use ungreased, ordinary (not insulated) sheets | Brown Bag |
How Long to Dry and Bake Molded Cookies
Drying matters because it keeps the picture. House on the Hill says drying preserves the image during baking. Do not cover the cookies while they dry. In humid areas, House on the Hill recommends the 24 hour minimum with a fan for air circulation.
Most printed cookies are dried 2 to 24 hours before baking, depending on the recipe, schedule and humidity. Source: House on the Hill, How to Use our Products
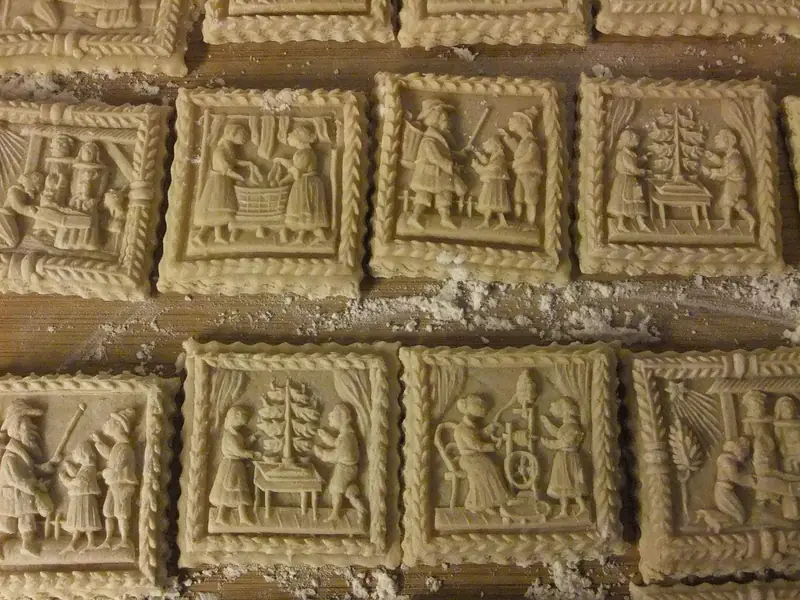
For baking, House on the Hill says the smaller the cookie, the lower the temperature, and the larger the cookie, the longer the bake. Its speculaas recipe bakes at 350°F for 10 to 12 minutes, while tiny cookies may need 200 to 225°F.
Food safety note: some springerle recipes use hartshorn (baking ammonia) as a leavener. House on the Hill warns not to eat the raw dough and that you must bake out the ammonia. Always follow your recipe’s own instructions for raw ingredients.
Cleaning and Storing Wooden Cookie Molds
This is where wood differs from silicone. House on the Hill’s care page is the most detailed maker source we found for wood molds.
| Task | Do | Avoid |
|---|---|---|
| Wash | Gently scrub with a soft bristled brush (a mushroom brush works) and mild soapy warm water, rinse briefly | Never soak; not oven or dishwasher safe |
| Dried-on dough | Put a drop of water on the spot for a minute, then clean with a round wooden toothpick and wash again | Metal skewers or knife tips, which scratch the finish |
| Dry | Pat with a cotton terry towel, then air dry completely | Storing the mold damp |
| Store | Cool, dry place, wrapped in bubble bags or paper so molds do not clink together | Dropping or striking a mold, which can chip it |
Brown Bag’s hints page takes a different line for its molds, saying a vegetable brush in hot soapy water or even the dishwasher is fine. That difference is a reminder to match the care to the maker and material. Wood, heat and water do not mix well in general, a point we cover for another kitchen item in our guide to wooden pot and pan handles.
Choosing a Mold: Depth and Detail
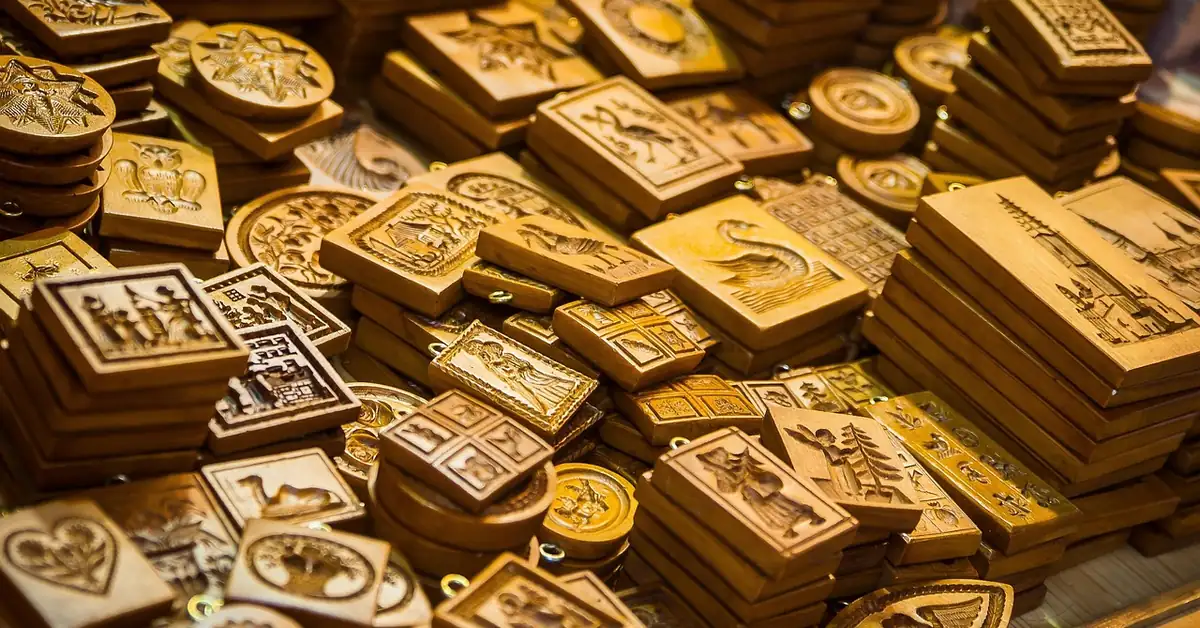
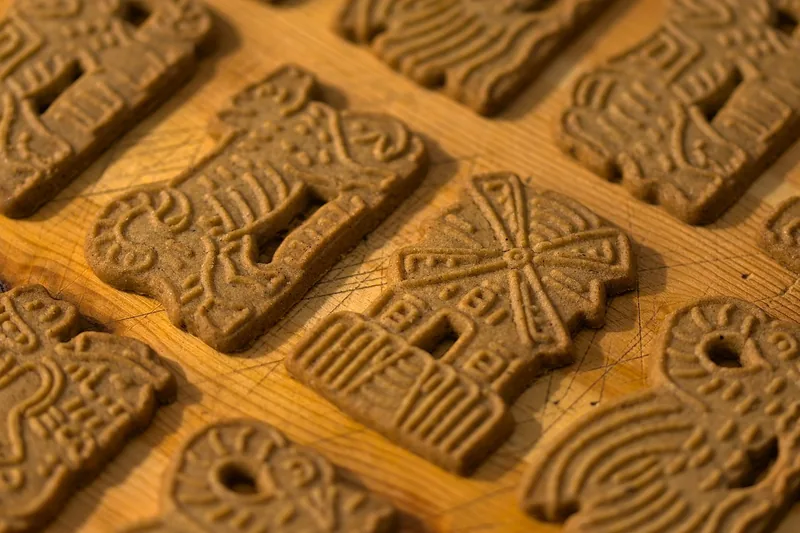
Deeply carved springerle boards and shallow speculaas boards are not interchangeable. House on the Hill points speculaas bakers to shallow molds without fine detail, because the cookies bake thin and crisp, while its second pressing method (fingers, then a light roll on the back) is aimed at deep molds. If you enjoy the carving side of the craft, our simple wood carving designs guide covers relief patterns.
One editorial caution that no source here states: if you cannot tell what finish an old or decorative wooden mold carries, we would not press food into it. Ask the seller, or keep it for display and use molds sold for food use.
Beyond Baked Cookies: Candy and Marzipan
House on the Hill recommends confectioners’ sugar instead of flour when you press candy, and King Arthur’s marzipan springerle uses the same brush-and-press method with no baking at all. Roll the marzipan 1/4 inch thick, brush a very light coat of confectioners’ sugar on the marzipan and the mold, press, cut around the design, and air-dry the shapes for 48 hours, turning them after 24.
Frequently Asked Questions
Usually not as it is. The mold makers describe molded cookies as stiff doughs that print without sticking, such as springerle dough or a stiff speculaas dough, not soft drop-cookie dough that spreads. Use a recipe written for molds, and if you want to test your own, press and bake one small piece first.
Check what came with your mold, because makers disagree. House on the Hill says never to use oil or non-stick spray with flour in its molds because oils accumulate. Brown Bag’s hints and House on the Hill’s own speculaas recipe call for one thin film of vegetable oil, then flour before every press. None of the sources read for this guide recommend mineral oil.
It depends on the recipe. House on the Hill says most printed cookies dry 2 to 24 hours, but its FAQ says springerle must dry a minimum of 24 hours. Anson Mills’ springerle recipe dries overnight, and King Arthur’s unbaked marzipan springerle air-dries 48 hours, turned after 24. Leave the cookies uncovered either way.
Not a wooden one from House on the Hill, which says its molds are not oven or dishwasher safe and should never be soaked. Brown Bag’s hints say its molds can go in the dishwasher, so follow the instructions for your specific mold and material.
The most common fixes from the makers are to let the cookies dry longer before baking and to lower the heat. House on the Hill suggests reducing the temperature, putting an empty cookie sheet on the bottom oven shelf, or propping the oven door slightly ajar if images puff up.
Pick a recipe that matches your mold, flour it for every press, and give the shapes time to dry. If you want a starter board for the method above, the pick at the top of this page is where we would begin.
Sponsored / affiliate links. As an Amazon Associate I earn from qualifying purchases. I may earn additional commission from eligible campaigns.