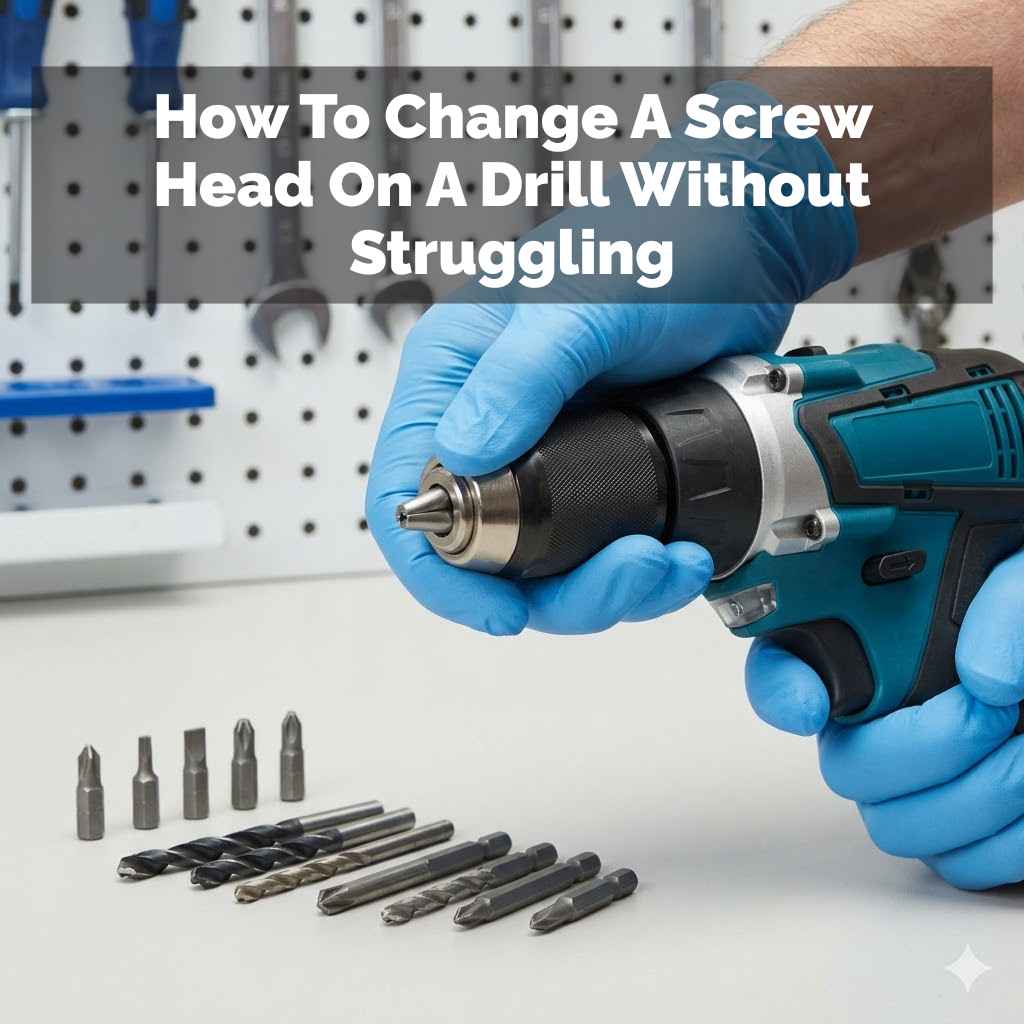
How To Change A Screw Head On A Drill Without Struggling
It’s a common frustration. You’re mid-project, maybe hanging a shelf or assembling furniture. You reach for your drill, ready to power through, but then it happens.
You need a different screwdriver bit. The old one feels stuck. You try to pull it out, and it just won’t budge.
It feels like you’re wrestling with a stubborn mule. You might even worry about breaking something. We’ve all been there.
This guide is here to help you ditch that struggle. We’ll show you how to change a drill screw head smoothly. You’ll feel confident and ready for your next DIY task.
Changing a drill screw head doesn’t have to be hard. With the right steps and a little know-how, you can swap bits quickly. This guide explains simple methods to loosen stuck bits. It also covers how to insert new ones securely. You’ll be back to your project in no time, feeling accomplished.
Understanding Your Drill Chuck
Your drill has a special part called a chuck. This is what holds the drill bit or screwdriver bit. It’s like a hand that grips the tool tightly.
Most modern drills have a keyless chuck. This means you don’t need a separate key to tighten or loosen it. You just twist the front part of the chuck.
Some older drills might use a chuck key. You’d insert this key into holes on the chuck and turn it.
The chuck has jaws inside. These jaws are three metal pieces that move together. When you tighten the chuck, the jaws close in.
They grip the bit firmly so it doesn’t slip. When you loosen the chuck, the jaws open up wide. This lets you take the old bit out and put a new one in.
Sometimes, the jaws can get a bit dirty or have tiny metal shavings stuck in them. This can make them grip too hard. Or, if you’ve been using a bit for a long time, it can get wedged in there.
That’s usually why you run into trouble when trying to change it.
My Own Drill Bit Battle
I remember one time, I was building a birdhouse for my daughter. It was a sunny Saturday. I had just finished drilling the pilot holes.
Now it was time to put in the screws. I needed to switch from a drill bit to a Phillips head screwdriver bit. I grabbed the front of the drill chuck and twisted.
Nothing. I twisted harder. Still nothing.
My hands started to feel a little sweaty from the effort. I looked at the bit. It seemed to be part of the chuck itself.
I didn’t want to force it too much and break the drill. I felt a wave of frustration. I sat there for a good ten minutes, just staring at it.
I even considered going to the store to buy a whole new drill. That felt crazy. Thankfully, I remembered a trick my neighbor had shown me.
A little bit of wiggling and a different grip, and pop, the old bit came free. It was such a relief. That’s when I realized how many people probably face this exact same problem and don’t know what to do.
It’s a small thing, but it can stop you in your tracks.
Quick Chuck Check-up
Chuck Type: Modern drills use keyless chucks. You twist the barrel.
How it Grips: Inner jaws clamp down on the bit.
Common Issue: Bits can get stuck due to dirt or wear.
What to Look For: Any visible dirt or debris around the chuck.
When Your Drill Bit Won’t Budge: Simple Fixes
Okay, so you’re in the situation where the bit is stuck. Don’t panic. Most of the time, it’s a simple fix.
The key is to use the right technique. Pushing harder often makes it worse. It can damage the chuck or the bit.
Let’s look at some gentle ways to get that bit out.
1. The Gentle Twist and Pull
First, make sure you have the right grip. For a keyless chuck, hold the main body of the drill firmly with one hand. Use your other hand to grip the front part of the chuck, the part that rotates.
You want to turn it counter-clockwise to loosen it. Think “lefty loosey.”
Now, while you’re twisting, try a gentle pull on the bit itself. Don’t yank it hard. A slight tug can help break any seal or pressure.
Sometimes, the bit is just a little sticky. This combination of twisting and a gentle pull is often all you need. If it still doesn’t move, try wiggling the bit slightly side-to-side as you twist and pull.
This can free it up.
2. Using a Cloth for Better Grip
If your hands are slipping on the chuck, a simple kitchen cloth or a piece of rubber gripper can make a big difference. Wrap the cloth around the front barrel of the chuck. This gives you much better traction.
Now, try the twist-and-pull method again. A secure grip means you can apply steady pressure. This makes it easier to loosen the chuck without hurting your hands.
It also helps prevent slippage.
3. Tap It Gently
Sometimes, a little vibration can help loosen a stuck bit. With the chuck still turned counter-clockwise, take the handle of a screwdriver (not the sharp end!) or a small rubber mallet. Give the chuck a few gentle taps.
Tap around the sides of the chuck. Be careful not to hit it hard. You’re not trying to break it.
You’re just trying to jolt it a bit. This can dislodge any small bits of metal or dirt that are causing it to stick. After tapping, try twisting and pulling again.
4. Engaging the Drill (Carefully!)
This method needs a bit of caution, but it can work. Make sure the drill is set to reverse (forward/backward switch). Select a very low speed setting.
Put a new bit in the chuck, but don’t tighten it all the way. Now, hold the drill so the chuck is pointing up. Put on safety glasses.
Gently squeeze the trigger for just a split second. The slight power can sometimes jolt the chuck mechanism. This might loosen the stuck bit.
Immediately try to loosen the chuck by hand. If this doesn’t work, stop and try another method. Never force the drill to spin if the chuck isn’t opening.
Don’t Forget Safety First
Safety Glasses: Always wear them. Bits can sometimes fly out.
Low Speed: If using power, use the lowest setting.
Reverse Only: Make sure the drill is set to loosen.
Stop if Stuck: If any method feels too forced, stop.
Inserting a New Screw Head Securely
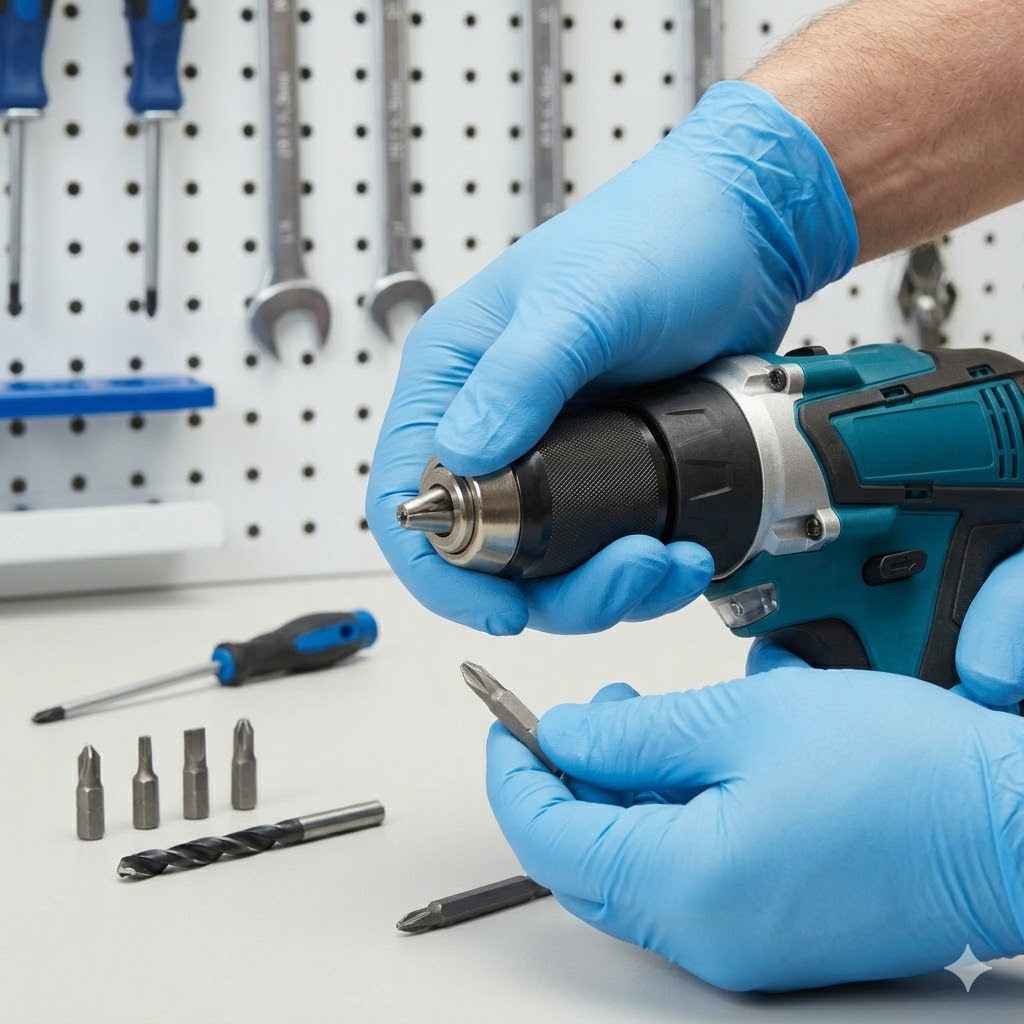
Once you’ve got the old bit out, it’s time to put in the new one. This is usually much simpler. First, make sure the chuck is open wide enough.
Twist the chuck barrel counter-clockwise until the jaws are spread apart.
Take your new screwdriver bit. Look at the end that goes into the drill. It usually has a smooth, round part and then a bit with grooves or a hex shape.
You want to insert the smooth, round part into the chuck as far as it will comfortably go.
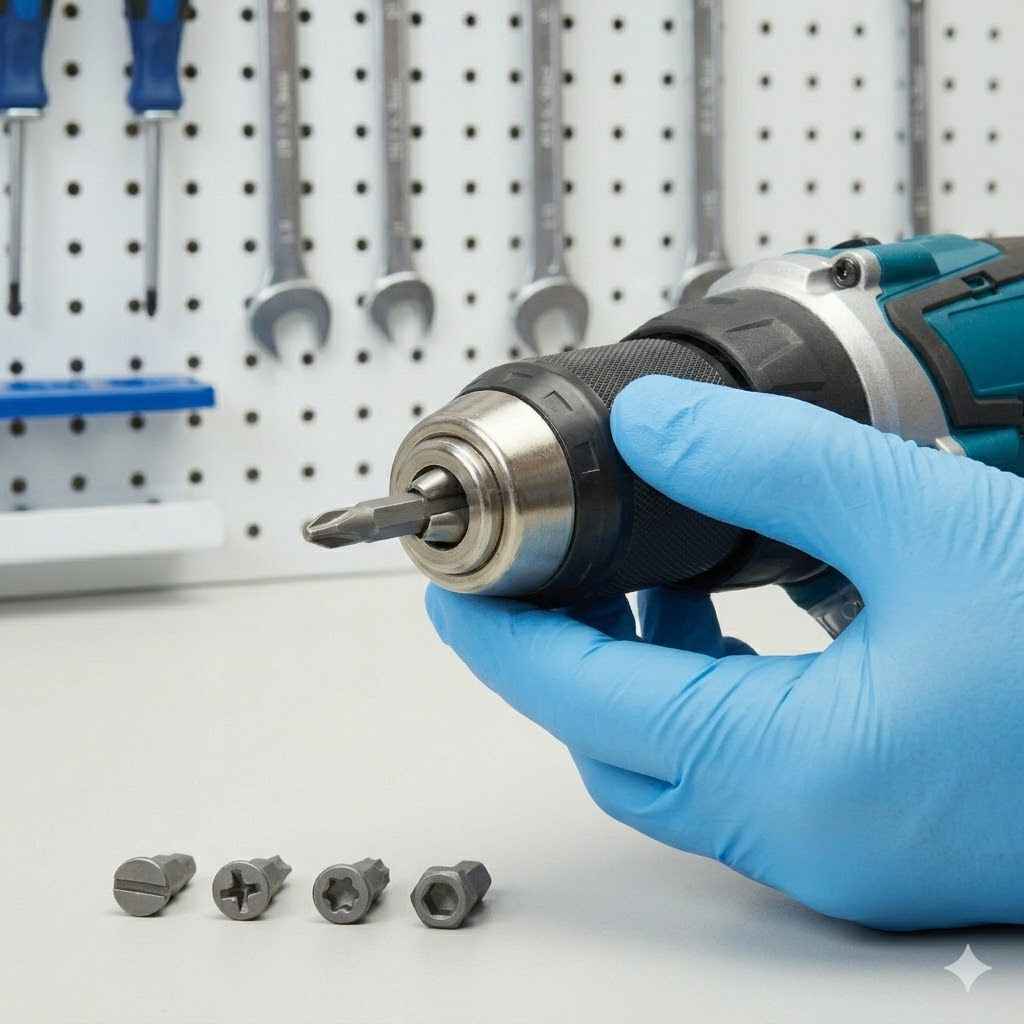
Now, hold the drill body firmly. Twist the chuck barrel clockwise to tighten it. You’ll feel the jaws close in around the bit.
As you tighten, give the drill a little shake. This helps the bit seat itself properly. Continue tightening until the chuck feels snug.
You don’t need to overtighten. You want it to grip firmly, but not so tight that you’ll struggle to change it next time.
A good way to check is to hold the drill body and try to twist the bit with your fingers. It should feel very secure and not move at all. If it wiggles, tighten the chuck a bit more.
What If the Bit is Still Stuck?
If you’ve tried the gentle methods and the bit is still firmly stuck, it’s time to consider a couple of other things. Don’t despair; there are still options.
Check the Chuck Itself
Sometimes, the issue isn’t the bit, but the chuck mechanism. Look closely at the chuck. Is there any visible damage?
Are the jaws moving freely when you twist the barrel? If you see dirt or metal shavings jammed between the jaws, try to clean them out. A small brush or a blast of compressed air can help.
You can also try spraying a tiny bit of penetrating oil (like WD-40) into the chuck mechanism. Let it sit for a few minutes, then try to loosen the chuck again. Be sure to wipe away any excess oil before you insert a new bit, so it doesn’t get on your screws.
When to Seek Professional Help
If you’ve tried everything and the bit is still refusing to budge, or if the chuck mechanism seems damaged, it might be time to take your drill to a tool repair shop. They have special tools and expertise to deal with stubborn issues. It’s better to pay a small repair fee than to damage your drill beyond repair.
Troubleshooting Table
| Problem | Possible Cause | Solution |
|---|---|---|
| Bit won’t loosen | Dirt or debris in chuck | Clean chuck, try gentle tapping |
| Chuck feels stiff | Lack of lubrication, wear | Use penetrating oil, professional repair |
| Bit is jammed tight | Bit worn down, overtightened | Try gentle power jolt (low speed), professional help |
Common Scenarios and Why They Happen
Understanding why bits get stuck can help you prevent it. Let’s look at some common situations you might encounter.
1. The “Just One More Screw” Scenario
You’re finishing a project. You’ve been using the same bit for hours. You’ve driven dozens of screws.
You need to swap bits for the last few. Suddenly, the bit feels like it’s welded into the chuck. Why?
Continuous use generates heat. This heat can cause tiny metal expansion. Also, microscopic metal dust from the screws and the bit can build up.
This grime acts like glue. The longer you use a bit without cleaning, the more likely it is to get stuck.
2. Using the Wrong Bit Size
Sometimes people try to force a bit into the chuck that’s slightly too large or too small. If it’s too small, the jaws might not grip it properly. This can lead to the bit slipping and getting chewed up.
If it’s too large, it can stress the chuck mechanism. Over time, this can make the chuck harder to operate. Always use bits that are the correct size for your drill.
3. Poor Quality Bits
Not all drill bits are made the same. Cheaper, lower-quality bits can be made from softer metals. They wear down faster.
The ends can become rounded or uneven. This makes them harder to grip. They also tend to get stuck more easily in the chuck.
Investing in good quality bits might save you frustration down the line.
4. Environmental Factors
If you work in a dusty environment, like a workshop or a construction site, that dust can get into your drill chuck. Moisture can also play a role. If your drill gets wet and then dries, rust can start to form inside the chuck.
This can cause it to seize up. Store your drill in a dry place when you’re not using it. Keep it clean.
Tips for Bit Longevity
Clean After Use: Wipe bits and chucks after each project.
Use Quality Bits: They last longer and fit better.
Right Size Matters: Match bits to screws and drill chucks.
Dry Storage: Keep your drill and bits in a dry environment.
What This Means for You: When to Worry
Most of the time, a stuck drill bit is just a temporary annoyance. It’s usually a sign that the chuck needs a little attention. But there are times when you might need to be more concerned.
When It’s Normal to Have Some Resistance
It’s normal for a drill bit to feel quite snug when the chuck is tightened. You don’t want it to wobble when you’re drilling or driving screws. If you just changed a bit and it feels tight, that’s usually a good sign.
The problem arises when you can’t get it out easily.
When You Should Be Concerned
You should be concerned if:
- The chuck barrel is very difficult to turn, even with a cloth for grip.
- You hear grinding or cracking noises when you try to loosen or tighten the chuck.
- The drill bit feels loose even when the chuck is tightened. This means the jaws aren’t gripping properly.
- The chuck itself seems to be damaged or bent.
- You’ve tried all the gentle methods and the bit still won’t come out.
These signs could indicate that the internal mechanism of the chuck is worn out or broken. In such cases, it’s usually best to replace the chuck or the entire drill.
Before you give up, always do a quick visual check. Make sure there’s nothing obviously wrong. Sometimes, a bit might look like it’s stuck, but it’s just not fully seated.
Wiggling it a bit more while twisting the chuck can help seat it properly.
Quick Tips for Easier Bit Changes
Here are some simple habits that can save you a lot of hassle:
- Regular Cleaning: After every few projects, take a moment to wipe down your drill chuck and bits. A dry cloth is usually enough. For tougher grime, a little bit of rubbing alcohol on a rag can work.
- Lubrication (Sparingly): For keyless chucks that feel stiff over time, a tiny drop of light machine oil or penetrating oil can help. Apply it to the opening of the chuck and twist it a few times. Wipe away any excess.
- Don’t Overtighten: When putting in a new bit, tighten it until it feels snug and secure. You don’t need to force it as hard as you can. This makes it much easier to remove next time.
- Have a Variety of Bits: Keep a good set of high-quality screwdriver bits. Make sure you have the right sizes and types (Phillips, flathead, Torx, etc.) for your common tasks.
- Inspect Bits Before Use: Quickly check your bit before you insert it. Is the end worn down? Is it bent? Using a damaged bit can cause problems.
Your Bit-Changing Toolkit
Essential: Your drill, a cloth or rubber gripper.
Helpful: Small brush, penetrating oil (use sparingly).
For Safety: Safety glasses.
Frequently Asked Questions About Changing Drill Bits
Why does my drill bit get stuck so easily?
Drill bits can get stuck due to dirt, metal shavings, or wear on the chuck jaws. Continuous use also creates heat, which can cause tiny expansions. These factors can make the bit wedge itself in the chuck.
How do I know if I’m using the right grip to loosen the chuck?
For a keyless chuck, you should firmly hold the main body of the drill with one hand. With your other hand, grip the rotating front barrel of the chuck. Turn this barrel counter-clockwise (lefty loosey) to loosen.
Can I use pliers to remove a stuck drill bit?
It’s generally not recommended to use pliers on the bit itself. Pliers can damage the bit and potentially the chuck jaws. Gentle methods like tapping or using a cloth for grip are usually better.
If pliers are your last resort, use them very carefully on the shank of the bit, not the part that goes into the screw head.
How often should I clean my drill chuck?
It’s a good idea to wipe down your chuck and bits after each project, especially if you work in a dusty area. A quick clean with a dry cloth can prevent buildup. If your drill feels stiff, a more thorough cleaning or a drop of oil might be needed every few months.
My drill has a hex shank bit. Is it different?
Hex shank bits are very common for screwdriver bits. They usually have a hexagonal shape at the end that goes into the chuck. The chuck mechanism grips these just like any other bit.
The principle of loosening and tightening remains the same.
What’s the best way to store drill bits to prevent them from getting stuck?
Store your drill bits in a clean, dry place. Using a bit organizer or a toolbox helps keep them free from dust and moisture. This prevents corrosion and keeps the bits in good condition, which reduces the chance of them getting stuck.
Putting It All Together
Changing a drill screw head doesn’t have to be a battle. With these simple techniques and a little bit of care, you can swap bits quickly and easily. Remember to be gentle first.
Most problems have simple solutions. Keep your drill clean and your bits in good shape. You’ll find your DIY projects go much smoother.
Now you’re ready to tackle any task with confidence. Happy building!