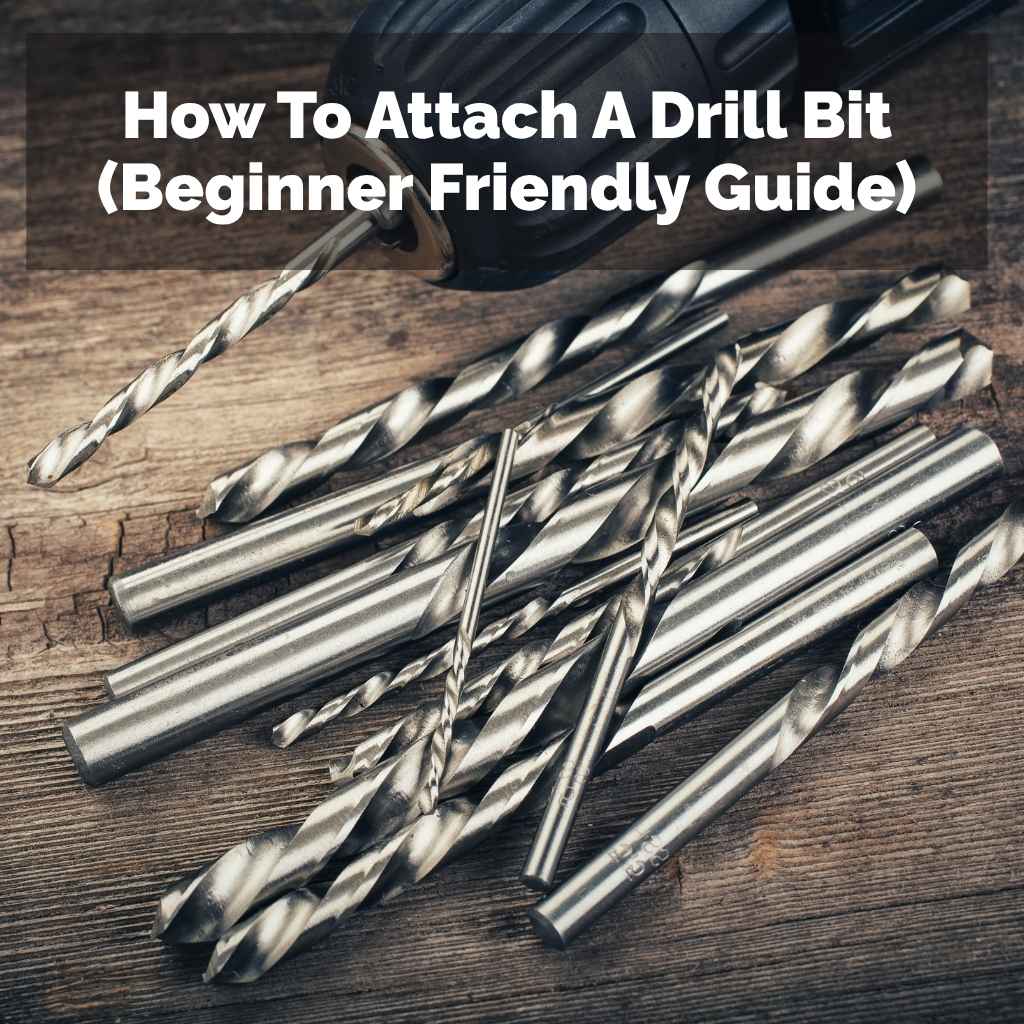
How To Attach A Drill Bit (Beginner Friendly Guide)
But here’s the good news: attaching a drill bit is actually quite simple once you know the basics. We’re going to walk through it step-by-step, making sure you feel confident every time you switch bits. You’ll learn about the different types of drill chucks and how to use them properly. By the end, you’ll be a pro at this, ready to tackle any DIY task.
Attaching a drill bit involves securing it firmly into the drill’s chuck. Most modern drills use a keyless chuck that you tighten by hand, while older or heavier-duty models might use a chuck key. The goal is always a tight, centered fit to prevent wobbling or the bit coming loose during use.
Understanding Your Drill’s Chuck
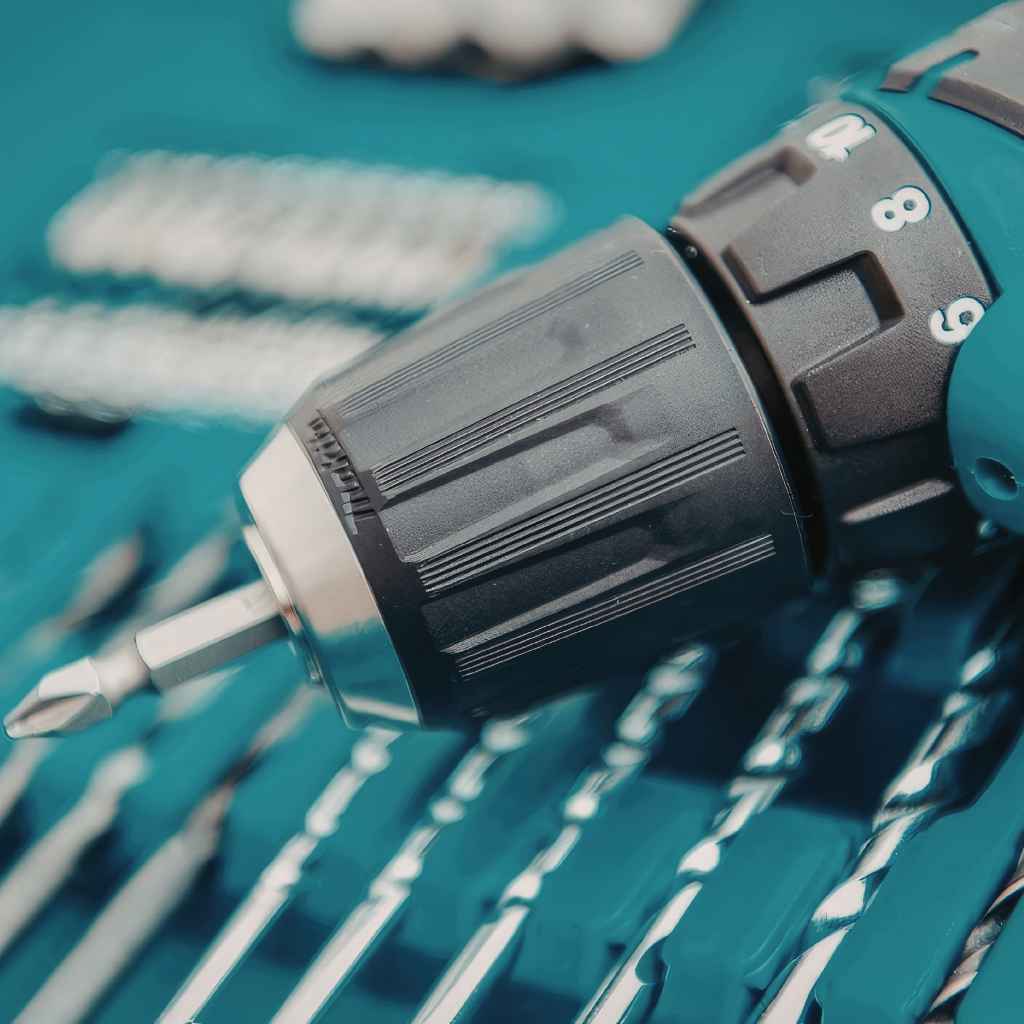
The part of your drill that holds the bit is called the chuck. Think of it as the drill’s hand. It has jaws that grip the drill bit shank. Most people these days have what’s called a keyless chuck. This means you can tighten and loosen it by hand.
Keyless chucks are great because they are fast and easy to use. You don’t need any extra tools. The chuck has a sleeve that you twist. This sleeve opens and closes the jaws inside. Some older drills, or very powerful ones, might still use a chuck that needs a key.
This key fits into holes on the side of the chuck. You then turn the key to tighten or loosen the jaws. While less common now, it’s good to know if you have one. For most DIYers, a keyless chuck is what you’ll be working with.
How to Attach a Drill Bit with a Keyless Chuck
This is the most common type of chuck. It’s designed for ease and speed. Let’s break down how to use it correctly. It’s all about a firm, secure grip.
Step 1: Open the Chuck Jaws
First, you need to open the jaws inside the chuck. Look at the chuck on the front of your drill. It’s usually a cylindrical part. You will see a sleeve on this part that you can grip and twist. Some have markings, like arrows, showing which way to turn to open or close.
To open the jaws, you’ll typically twist the sleeve in the opposite direction of closing. Most often, this means twisting it counter-clockwise. You want to open the jaws wide enough to fit the shank of your drill bit inside. Don’t open them so wide that the jaws are fully extended, but give them plenty of space.
Keyless Chuck Quick Check
When to Open: Twist the sleeve counter-clockwise.
When to Close: Twist the sleeve clockwise.
Visual Cue: Look for arrows if unsure.
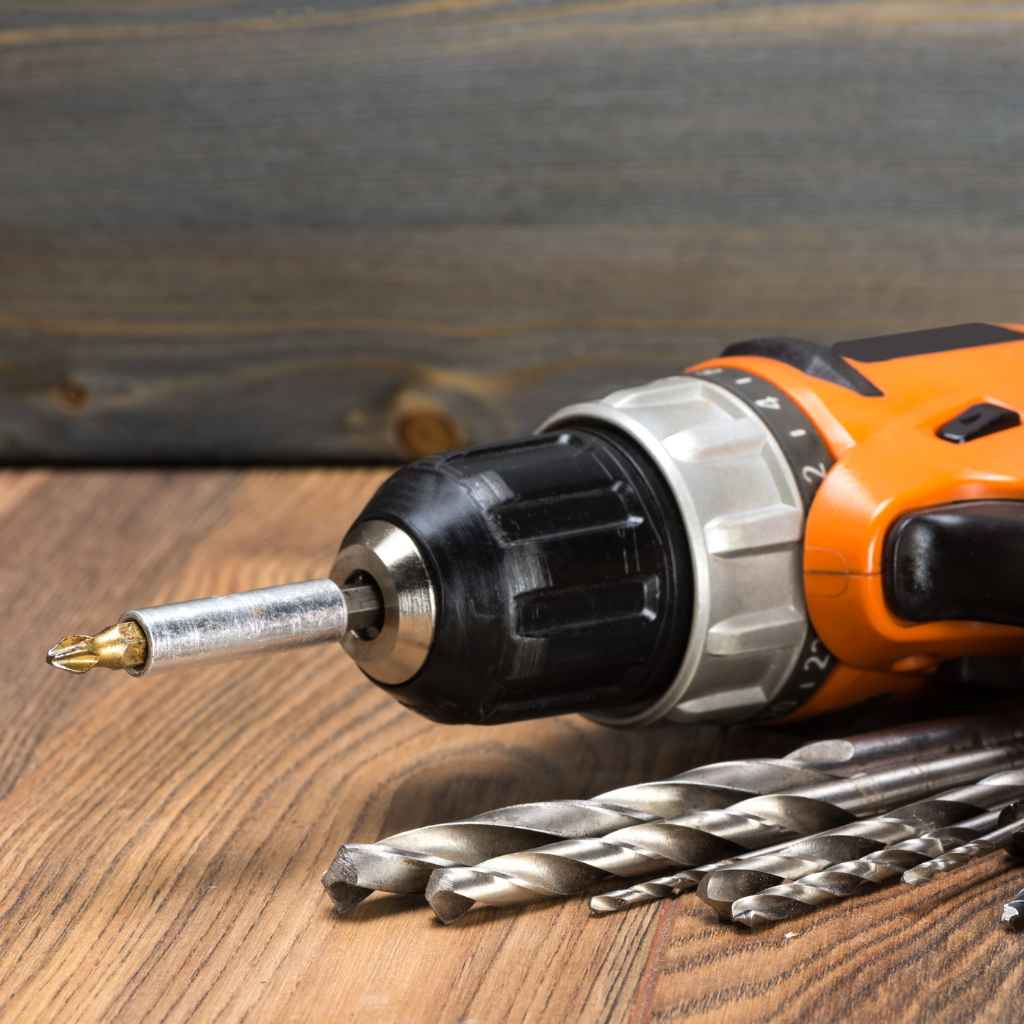
Step 2: Insert the Drill Bit
Now, take your drill bit. Find the metal shank part. This is the part without the cutting edges. Hold the drill so the chuck is facing upwards or forwards. Carefully insert the shank of the drill bit into the open jaws of the chuck.
Push the drill bit in as far as it will comfortably go. You want the shank to be fully inside the chuck jaws. Make sure the bit is centered. It should look straight and not tilted.
Step 3: Tighten the Chuck Jaws
This is the most important step. Now, you need to close the jaws around the bit. Grab the sleeve of the chuck firmly. Twist it clockwise. You will feel it start to grip the drill bit shank.
You need to make it tight. Use a good amount of force. Most keyless chucks have a locking mechanism. You might hear a click or feel a definite stop when it’s fully tightened. Some drills have a power-assist feature for tightening. If yours does, use it sparingly.
Tightening Tips for Keyless Chucks
Grip Firmly: Use your whole hand on the sleeve.
Twist Tightly: Apply strong, steady pressure clockwise.
Check for Lock: Listen or feel for a click or stop.
Dual-Grip Chucks: If your chuck has two parts to twist, hold one part still and twist the other.
Step 4: Test the Bit
Before you start drilling into anything, give the bit a little tug. Try to pull it straight out. It should not move at all. Also, try to twist it. It should be very stiff and not wobble.
If the bit feels loose, or if you can easily pull it out, you need to tighten it more. Repeat step 3. A loose bit can cause problems. It might break, damage your work, or even fly out of the drill.
How to Attach a Drill Bit with a Chuck Key
If you have an older drill or a more robust model, you might use a chuck key. These keys are usually metal and have a triangular or square tip. They fit into specific holes around the chuck.
Step 1: Locate the Chuck Key Holes
Look at the chuck. You will see three small holes spaced evenly around its body. These are where the chuck key fits. Make sure you have the correct key for your drill.
Step 2: Open the Chuck Jaws
Insert the tip of the chuck key into one of the holes. To open the jaws, you will typically turn the key counter-clockwise. You might need to try more than one hole to find the right direction. Turn the key until the jaws open wide enough for your drill bit.
Chuck Key Operation
Finding Holes: Usually three holes around the chuck.
Opening: Insert key and turn counter-clockwise.
Closing: Insert key and turn clockwise.
Step 3: Insert the Drill Bit
Just like with a keyless chuck, insert the shank of the drill bit into the open jaws. Push it in as far as it will go. Make sure it looks straight and centered.
Step 4: Tighten the Chuck Jaws
Insert the chuck key into one of the holes again. This time, turn the key clockwise. This will close the jaws around the drill bit. Apply firm pressure. It’s best to use all three holes to tighten the chuck evenly.
Go around to each hole, turning the key clockwise. This ensures the bit is gripped from all sides. You want it to be very snug. Don’t overtighten to the point of damaging the chuck, but make sure it’s secure.
Step 5: Remove the Key and Test
Once you’ve tightened it, remove the chuck key. Always remove the key when you’re done tightening. Leaving it in can be dangerous; it might spin with the drill.
Give the drill bit a firm tug. It should not move. Try to twist it; it should feel solid. If it feels loose, repeat step 4, using all three holes again.
Chuck Key Best Practices
Even Tightening: Use all three holes for a secure grip.
Test Thoroughly: Tug and twist to ensure it’s not loose.
Remove Key: Always take the key out before drilling.
Store Safely: Keep the key with your drill for future use.
My Own “Oh No!” Moment with a Drill Bit
I remember one time, early in my DIY journey, I was building a small bookshelf. I had my trusty cordless drill and a new set of drill bits. I needed to drill pilot holes for the screws. I grabbed a bit, twisted the chuck as I thought I should, and started drilling.
About halfway through the first hole, I heard this horrible grinding noise. Then, the drill bit just stopped. It wasn’t cutting anymore. It was wobbling wildly, and I could see it was loose in the chuck. My heart sank a little. I’d clearly not tightened it enough.
I stopped the drill and pulled it back. The bit was hanging out at an angle. I was worried I’d ruined the wood or even damaged the drill. I put the drill down, took a deep breath, and went back to basics. I opened the chuck all the way, re-inserted the bit, and made sure to twist that sleeve with all my might. I even gave it a little shake. This time, it felt rock solid. That little moment taught me the real importance of a good, tight grip.
Choosing the Right Drill Bit
Before you can attach a drill bit, you need to pick the right one for the job. The type of bit you use depends on what material you’re drilling into and what you need the hole for.
Types of Drill Bits
Wood Bits: These usually have a sharp point at the tip. This point helps to guide the bit into the wood and prevent it from wandering. They are designed to cut wood cleanly.
Metal Bits: These are typically made of hardened steel. They often have a more pointed tip than wood bits. They are designed to cut through tough metal without breaking.
Masonry Bits: These have a carbide tip. This tip is very hard and can cut through concrete, brick, and stone. They often have a wider flute (the spiral groove) to clear dust.
Spade Bits and Auger Bits: These are for larger holes, especially in wood. Spade bits are flat and wide. Auger bits have a screw-like tip to pull them into the wood.
Drill Bit Selector
For Wood: Standard twist bits, spade bits, auger bits.
For Metal: HSS (High-Speed Steel) twist bits.
For Masonry/Concrete: Masonry bits with carbide tips.
For Large Wood Holes: Spade bits or hole saws.
Bit Shank Types
The shank is the part of the bit that goes into the drill chuck. Most common bits have a round shank. Some larger bits or specialized bits might have a hexagonal (six-sided) shank. This hexagonal shape can give a better grip in some chucks.
Make sure the shank of your drill bit fits your drill’s chuck. Most keyless chucks can grip round and hex shanks. If you have a very old drill, it might only accept specific shank types.
What Happens If a Drill Bit Isn’t Attached Properly?
You might think a slightly loose drill bit isn’t a big deal. But it can cause several problems. It’s important to get it right every time.
Wobbling and Inaccuracy
If the bit isn’t centered and tight, it will wobble when the drill spins. This means the hole you drill won’t be straight. It also makes the drilling much harder and less precise. Your project might end up looking messy or not fitting together right.
Bit Damage
A loose bit can break. The constant wobble puts extra stress on the bit. This is especially true for smaller bits or bits made of harder materials like carbide. A broken bit can be dangerous and expensive to replace.
Damage to Your Drill
A wobbling bit can also damage your drill’s chuck. The jaws might get unevenly worn down. The motor could also be strained from fighting against an unstable bit. This can shorten the life of your tool.
Safety Hazards
This is the most important reason to get it right. If a drill bit is not secured properly, it can fly out of the drill while it’s spinning. This is extremely dangerous. It can cause serious injury to you or anyone nearby. Always ensure the bit is locked in tight before you start drilling.
Risks of a Loose Bit
Poor Hole Quality: Wobbly, off-center holes.
Broken Bits: The bit can snap under pressure.
Tool Wear: Damage to the drill chuck and motor.
Serious Injury: The bit can fly out unexpectedly.
Real-World Scenarios: When Does It Matter Most?
The importance of a secure drill bit attachment is clear. But some situations demand extra attention. Knowing these can save you trouble.
Precision Projects
If you are building furniture, making cabinets, or doing any kind of fine woodworking, precision is key. A perfectly straight pilot hole makes for a strong joint. A wobbling bit can make your finished piece look amateurish. You want your screws to go in straight and hold tight.
Drilling Through Hard Materials
When drilling into metal or masonry, the materials are tough. The drill bit has to work harder. If the bit is loose, it can easily bind or break. This is where a super secure attachment is vital. You need the bit to stay centered and spin smoothly.
Using Larger Bits
Larger drill bits require more torque from the drill. They also have more surface area that can wobble. For spade bits, auger bits, or hole saws, a very firm grip is absolutely necessary. These bits can exert a lot of force if they aren’t seated correctly.
Working Overhead or at an Angle
If you’re drilling into a ceiling or a wall at an angle, gravity can work against you. A loosely attached bit is more likely to slip or fall out. Always double-check the attachment when you’re not drilling on a flat, stable surface.
High-Risk Drilling Situations
Fine Woodworking: For strong, hidden joints.
Metal & Masonry: To prevent bit binding or breakage.
Large Diameter Bits: To control torque and prevent wobbling.
Non-Horizontal Drilling: To avoid bits falling out.
When Is a Drill Bit “Secure Enough”?
This is a great question that gets to the heart of the matter. “Secure enough” means the bit doesn’t move at all when you try to pull it or twist it. It feels like it’s a part of the drill itself.
The Tug Test
After you tighten the chuck, gently but firmly tug on the drill bit. Try to pull it straight out of the chuck. If it budges even a little bit, it’s not tight enough. Repeat the tightening process.
The Twist Test
Next, try to twist the drill bit. It should be very difficult to move. If you can twist it with just your fingers, it needs more tightening. You shouldn’t be able to spin it freely or even with moderate force.
The Wobble Check
Hold the drill and gently try to move the tip of the drill bit from side to side. There should be no play or wobble. It should feel like a solid extension of the drill.
Listen When Tightening
With keyless chucks, you often feel or hear a “click” when they are fully tightened. This is a good indicator that the jaws are locked securely. Don’t stop tightening just before you feel this click.
Your Security Checklist
No Pulling Out: Tug test passed.
No Twisting: Twist test passed.
No Wobble: Side-to-side movement check passed.
Click Heard/Felt: (Keyless chucks) Lock mechanism engaged.
Quick Tips for Attaching Drill Bits
Here are a few extra tips that can make attaching your drill bits even easier and safer.
- Keep Your Chuck Clean: Dust and debris can get into the chuck jaws. This can make them grip less effectively. Wipe the chuck clean with a dry cloth regularly.
- Inspect Your Bits: Before attaching a bit, look at its shank. If it’s bent, damaged, or excessively dirty, it might not seat properly.
- Use the Right Bit Size: Don’t try to force a bit that’s too large or too small for your chuck.
- Don’t Overtighten (with Chuck Key): While you want it tight, excessive force with a chuck key can strip the gears or damage the chuck.
- Power Tools for Power Tasks: For very tough jobs requiring a lot of torque, consider using a hammer drill or an impact driver, and ensure the bits are compatible.
- Safety Glasses First: Always wear safety glasses. A flying drill bit is dangerous.
Frequently Asked Questions
What is the main difference between a keyless chuck and a keyed chuck?
A keyless chuck is tightened and loosened by hand, usually by twisting a sleeve. A keyed chuck requires a special metal key that fits into holes on the chuck to tighten or loosen the jaws.
How do I know if my drill bit is attached correctly?
A correctly attached drill bit will not move when you try to pull it straight out or twist it with your hand. It should feel solid and centered in the chuck.
Can I use a metal drill bit in wood?
Yes, you generally can use a metal (HSS) drill bit in wood. However, a bit specifically designed for wood might cut cleaner and faster. For very soft woods, metal bits work fine.
What if my drill bit is slightly wobbly even after tightening?
If your bit is still wobbly, try tightening it again with more force. If it persists, the drill bit shank might be slightly bent, or the chuck jaws may not be gripping evenly. It might be time to inspect the bit or the chuck itself.
Should I remove the chuck key after I tighten the bit?
Yes, absolutely. Always remove the chuck key before you turn on the drill. Leaving the key in the chuck can cause it to spin at high speed, creating a serious safety hazard.
How tight should I make the drill bit in the chuck?
You should make it as tight as you can comfortably manage, ensuring it’s secure. The goal is a firm grip that prevents any movement. For keyless chucks, listen for a click or feel a definite stop when tightening.
Conclusion
Learning to attach a drill bit correctly is a fundamental skill for anyone using a power drill. It’s a simple process that ensures safety, efficiency, and good results for your projects. By understanding your drill’s chuck and taking a moment to secure the bit properly, you avoid frustration and potential dangers. Now go forth and drill with confidence!