How To Change A Drill Bit On Any Cordless Drill Safely
Changing a drill bit on a cordless drill is a straightforward process involving the chuck. You need to open the chuck, remove the old bit, insert the new one, and then tighten the chuck securely. Always ensure the drill is powered off and the battery is removed before starting.
Understanding Your Drill’s Chuck
The most important part to know is the chuck. This is the part at the front of your drill. It’s what holds the Drill Bit for 1/2 Rebar in Wood? Master Your Drilling.” href=”https://woodworkingadvisor.com/what-size-drill-bit-for-12-rebar-in-wood/” target=”_blank” rel=”noopener” data-wpil-monitor-id=”21191″>drill bit.
Think of it like a hand that grips the bit tightly. If you don’t know your chuck, you won’t know how to change the bit.
Types of Chucks
Most cordless drills today use a keyless chuck. This means you don’t need a special tool to open or close it. You just use your hands.
There are two main types of keyless chucks you’ll see.
The Twist-Collar Chuck
This is the most common type. It has a sleeve or collar that you twist. You’ll usually see it at the very front.
Sometimes there are two collars that twist. One might spin freely while the other tightens. This is normal.
You grip the drill firmly and twist the collar. This opens up the jaws inside.
The Ratcheting Chuck
Some drills have a chuck that makes a clicking sound as you tighten it. This is called a ratcheting chuck. It helps you tighten the bit very securely.
You’ll still twist it by hand. The clicking is a sign it’s locking down the bit tightly.
Why The Chuck Matters
The chuck is designed to hold the bit so it doesn’t slip. When you drill, there’s a lot of force. The bit spins very fast.
If the chuck isn’t tight, the bit can wobble. It could even come loose. This can be dangerous.
So, understanding how to open and close it is key.
My First Time Changing a Drill Bit
I remember my first DIY project. It was a small bookshelf. I had my new cordless drill, all shiny and ready to go.
I’d watched a video, but seeing it is one thing. Doing it yourself is another. I needed to switch from a small drill bit to a larger one.
I grabbed the drill, ready to twist. Nothing happened. I twisted harder.
Still nothing. I started to panic a little. Was I going to break it?
Was I doing it wrong?
I looked at the front. I saw the metal part that looked like it should twist. I tried again, gripping it tight.
Then I noticed it. There were two parts. One part twisted easily.
The other part felt stuck. In my frustration, I’d been twisting the wrong part or not in the right way. I took a deep breath.
I looked closer at the drill. I saw little lines, almost like arrows, showing which way to turn. I gripped the main part of the chuck and twisted the collar the other way.
Suddenly, it opened up with a soft click! The old bit was loose. I felt a wave of relief.
It wasn’t broken. I just needed to be a bit more careful and observant.
How to Change a Drill Bit: Step-by-Step
Now, let’s walk through it together. This is for a standard keyless chuck. It’s simple once you know the steps.
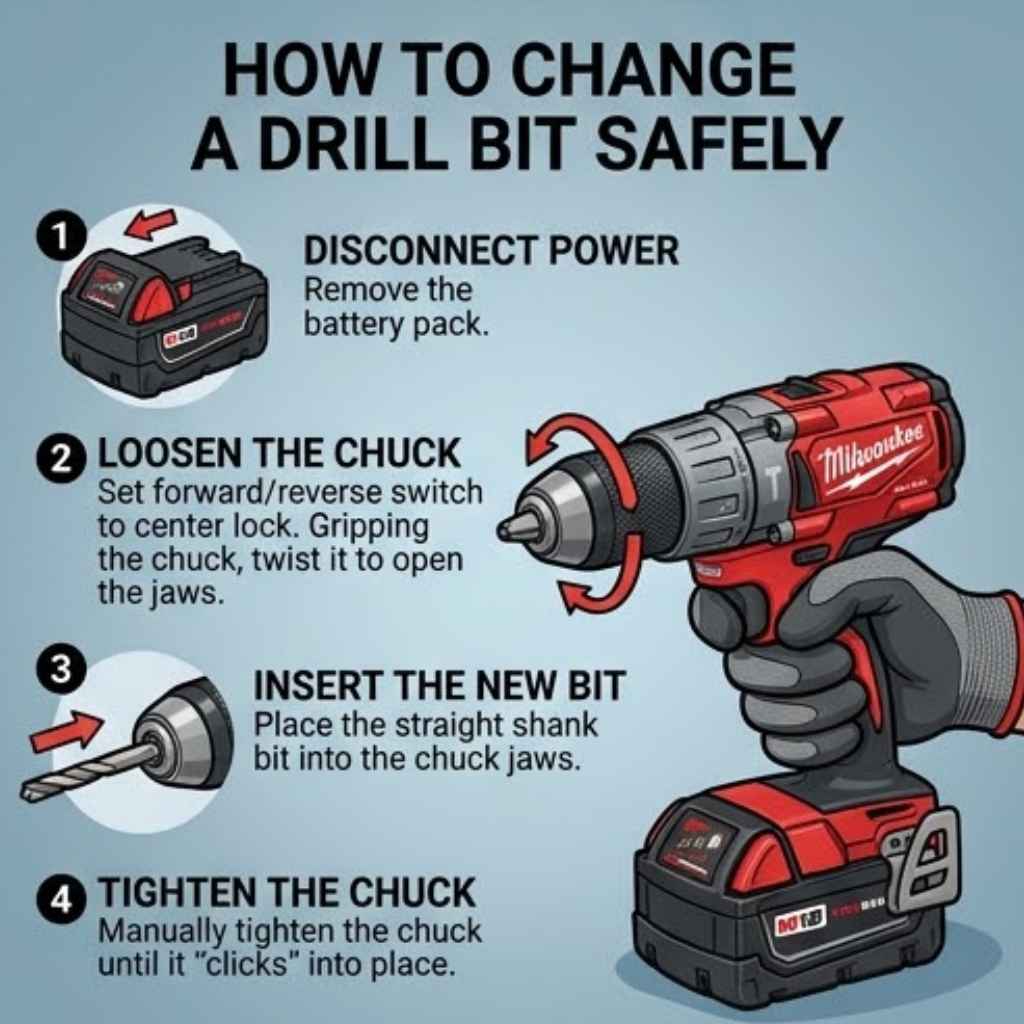
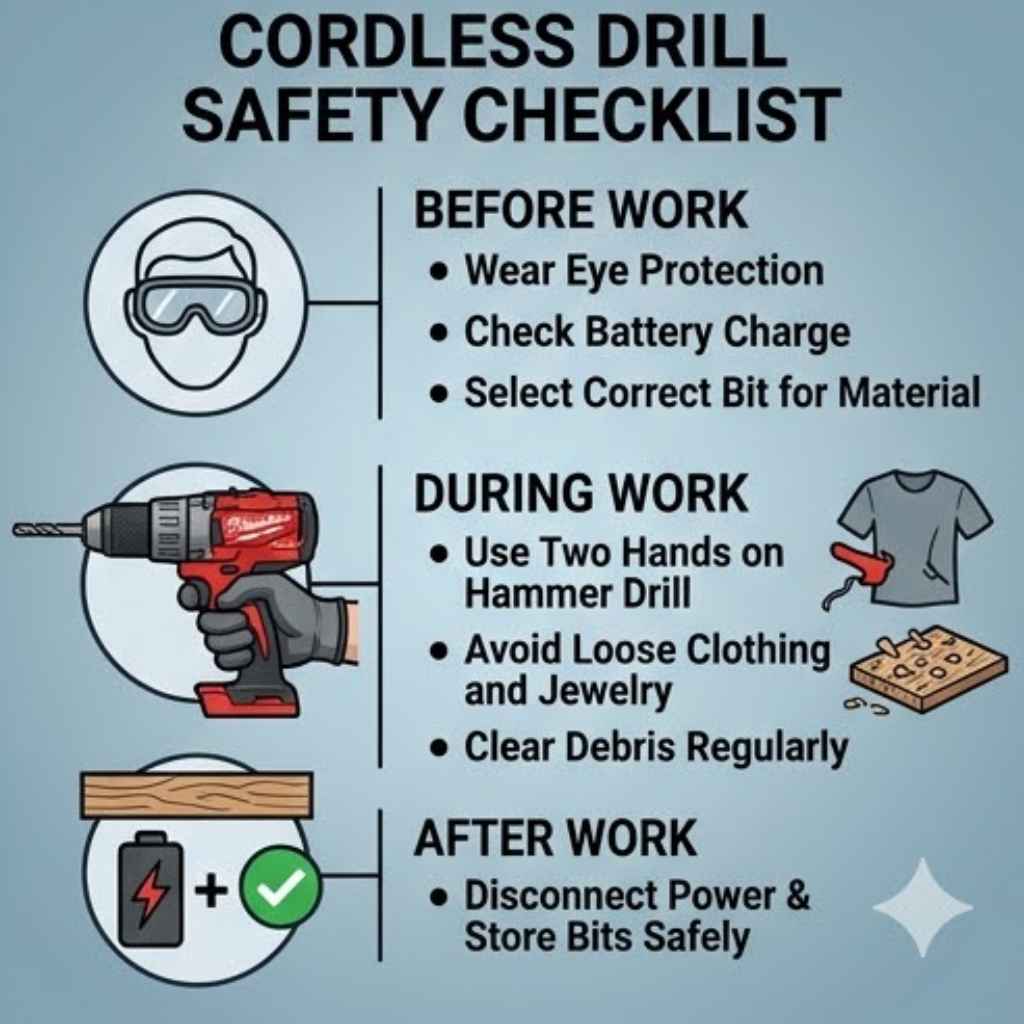
Step 1: Safety First!
This is the most important step. Before you touch anything, make sure the drill cannot accidentally turn on.
- Turn off the drill. Find the power switch. Make sure it’s in the off position.
- Remove the battery. On most cordless drills, the battery slides out from the bottom or back. Take it out completely. This stops any power from reaching the motor.
Quick Safety Check
Always Double Check: Battery out? Power switch off? Good.
You are now safe to proceed.
Step 2: Open the Chuck
Now it’s time to open the jaws of the chuck. This is where you’ll grip the collar and twist.
- Identify the collar. Look at the front of your drill. You’ll see the metal part that holds the bit. There’s usually a sleeve that you can rotate.
- Grip firmly. Hold the drill body tightly with one hand. This stops the whole drill from spinning.
- Twist the collar. With your other hand, grip the collar. Turn it counter-clockwise (to the left). You might need to apply some firm pressure. Listen for a slight click or feel the jaws opening.
Insight: What’s Happening Inside?
Chuck Jaws: Inside the chuck, there are usually three metal jaws. When you twist the collar, these jaws move closer together or farther apart. To remove a bit, you want them far apart.
To hold a bit, you want them tight together.
Step 3: Remove the Old Bit
Once the chuck is open enough, the bit should be loose. You might need to gently pull it out.
- Check the gap. Look at the end of the chuck. You should see a small gap between the jaws.
- Pull gently. Grasp the shank (the part that goes into the drill) of the old bit. Pull it straight out. It should slide out easily. If it’s stuck, open the chuck a little more.
Observation: Bit Stuck?
Mild Wobble: If a bit seems stuck, try wiggling it slightly while pulling. Sometimes a tiny bit of movement helps it release.
Step 4: Insert the New Bit
Now you’re ready for the new bit. Make sure you have the right bit for the job.
- Line it up. Take your new drill bit. Find the end that goes into the drill.
- Push it in. Insert the shank of the new bit into the open jaws of the chuck. Push it in as far as it will comfortably go. It should feel like it’s seated properly.
Contrast: Bit Types
Common Bits: Wood bits (sharp tip), metal bits (pointed tip, often black or gold), masonry bits (chisel tip for brick).
Wrong Bit: Using a wood bit on metal can dull it fast and make it hard to drill.
Step 5: Tighten the Chuck
This is as important as opening it. You need to make sure the new bit is held securely.
- Grip the drill. Hold the drill body firmly again.
- Twist the collar clockwise. Take the collar with your other hand. Turn it to the right. You will feel the jaws close around the bit.
- Tighten well. Keep turning until it feels snug. If you have a ratcheting chuck, you’ll hear clicks. Keep going until it stops clicking. The bit should not move at all.
- Check for wobble. Give the bit a gentle tug or try to twist it with your fingers. It should feel solid and not wobble.
Quick Scan: Tightening Tips
Feel it: Make sure the bit is centered and straight.
Tighten Fully: A loose bit is a safety hazard.
Two Hands: Use one hand to hold the drill body, the other to twist the collar.
Step 6: Reinsert Battery and Test
You’re almost done! It’s good practice to do a quick test.
- Replace battery. Slide the battery back into the drill.
- Test trigger. Hold the drill away from yourself. Gently squeeze the trigger. The bit should spin smoothly. It should not wobble. Turn it off.
Myth vs. Reality
Myth: You need a special tool to tighten the drill bit.
Reality: Most modern cordless drills use keyless chucks that you tighten by hand.
Real-World Context and Scenarios
Changing drill bits isn’t just about knowing the steps. It’s about knowing when and why you need to do it in different situations. The environment and your habits play a big role.
Working in Different Materials
The type of material you’re drilling into matters a lot. This affects the drill bit you choose and how well it stays in the chuck.
- Wood: Generally easy. Wood bits grab well.
- Metal: Needs sharper bits. Sometimes requires a pilot hole. A secure grip is vital because metal can be harder to penetrate.
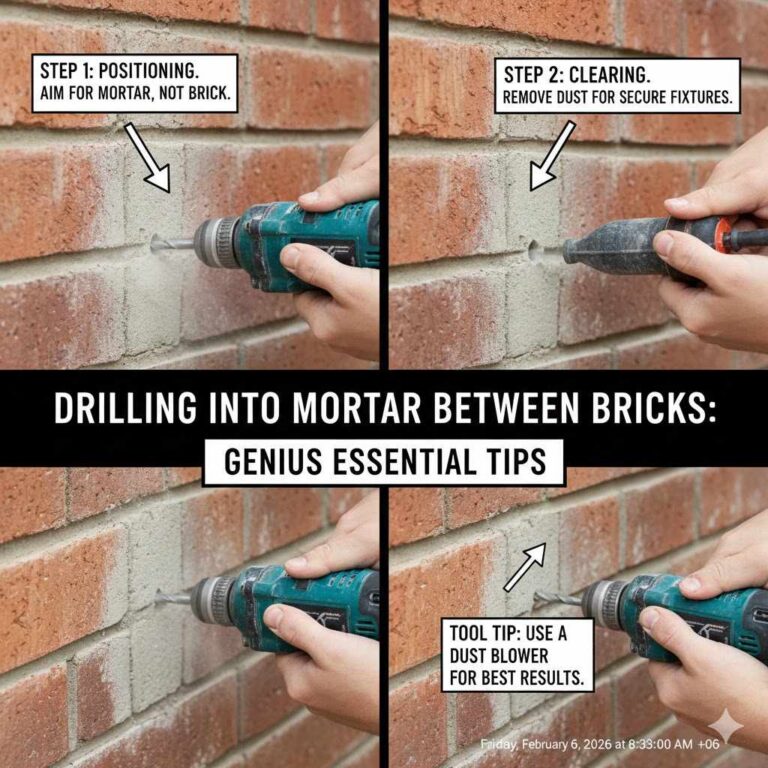
- Concrete/Masonry: Needs special masonry bits. These bits have carbide tips. They can chip away at hard surfaces. The force can be high, so a very tight chuck is crucial.
In tougher materials, the drill works harder. This can put more stress on the chuck. You might find yourself needing to re-tighten the bit more often.
This is normal. It just means the forces are greater.
Habits of a Good DIYer
What you do before and after changing a bit makes a difference. It’s about building good habits.
- Organized Tool Belt: Keeping bits handy stops you from fumbling.
- Cleaning Bits: Dust and debris can get into the chuck. Wiping bits clean after use helps them last longer and fit better.
- Regular Check-Ups: Once in a while, check the chuck itself. Does it look clean? Is anything bent?
I learned this the hard way. I was working on a deck outside. It was dusty.
I changed bits quickly, not thinking about the sawdust. Later, my chuck felt stiff. It was harder to open and close.
I had to clean it out carefully. Now, I always try to keep things a bit cleaner.
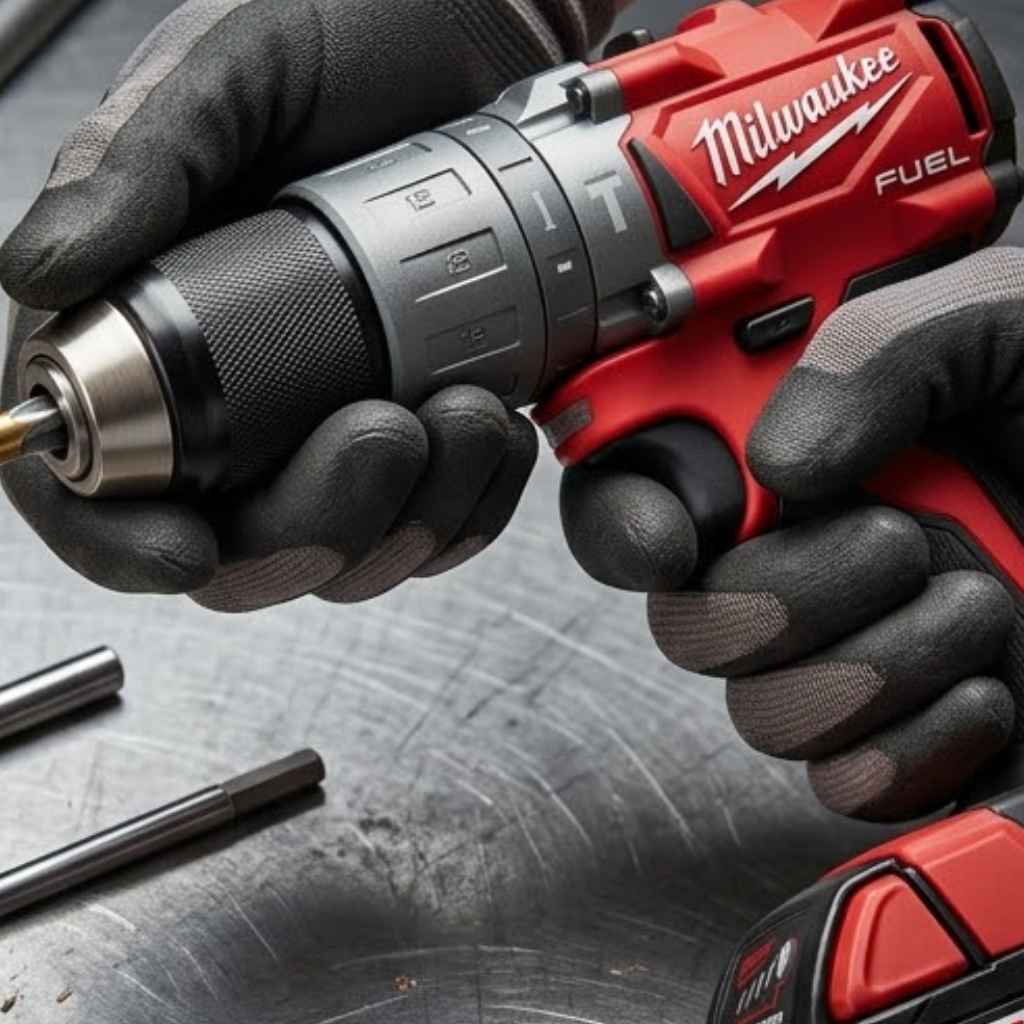
Design and Materials of Drills
Drills are built differently. This affects how the chuck feels and works.
- Size and Weight: A heavy-duty drill might have a beefier chuck. A smaller drill might have a lighter one.
- Chuck Material: Most are metal. Some might have rubber grips on the collar to help you hold them.
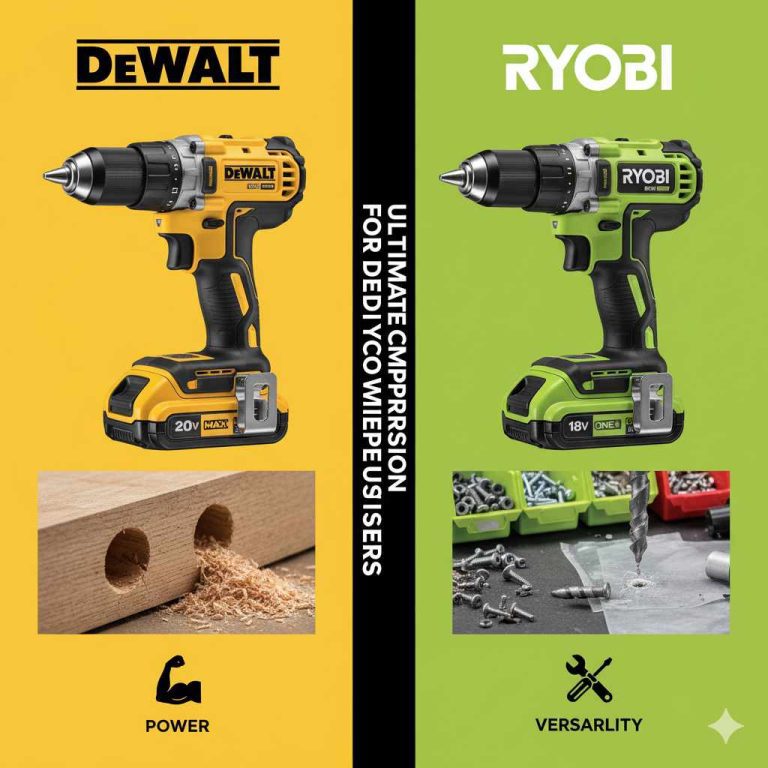
- Brand Differences: Even between brands, the feel of the chuck can change. Some are smoother, some are tighter.
Knowing your specific drill helps. When you first get a drill, spend a minute just opening and closing the chuck. Get a feel for how it works.
This helps you recognize when something feels off.
User Behavior and Common Mistakes
Most issues come from how people use the drill. It’s not usually the drill’s fault.
- Not Tightening Enough: This is the biggest one. The bit wobbles or falls out.
- Twisting the Wrong Part: As I did, people sometimes try to twist the whole chuck assembly instead of just the collar.
- Forcing It: If it feels really stuck, don’t just yank or twist with all your might. There might be a reason.
- Not Checking the Battery: Trying to change a bit with the battery still in is dangerous.
These are all common. The good news is that with a little practice, they become much rarer.
What This Means for You
Understanding how to change a drill bit is more than just a task. It impacts your projects and your safety.
When It’s Normal
It’s perfectly normal to need to change a drill bit many times during a project. Sometimes you need to switch from drilling to driving screws. Other times you need a different size bit for a specific hole.
You might also change bits if one gets dull or starts to overheat.
When to Worry
There are a few signs that something might not be right:
- Chuck Won’t Open or Close: If the collar is completely stuck and won’t budge, even with firm but careful pressure.
- Bit Still Wobbles: Even after tightening it as much as possible, the bit feels loose.
- Strange Noises: Grinding or clicking sounds when it shouldn’t be.
- Visible Damage: If the chuck looks bent or cracked.
These are times when you might need to get help or look into getting the drill serviced. Don’t force things that feel wrong.
Simple Checks You Can Do
Before you start a big project, or if something feels off, do these quick checks:
- Visual Inspection: Look at the chuck. Does it look clean and round?
- Feel the Movement: Open and close the chuck a few times with the battery out. Does it move smoothly?
- Test Grip: Insert a bit and tighten it. Try to wiggle it. It should feel very solid.
These small checks can save you a lot of frustration later on.
Quick Fixes and Tips
While you can’t always “fix” a faulty chuck without repair, you can use tips to make the process smoother and safer.
- Use Both Hands: Always use one hand to hold the drill body steady and the other to turn the chuck collar. This gives you control and leverage.
- Cleanliness is Key: Keep the chuck jaws free of dust and debris. A small brush or compressed air can help.
- Don’t Overtighten: While you want it snug, forcing it too hard can strip the threads or damage the chuck over time. Let a ratcheting chuck do its job.
- Center the Bit: Make sure the bit goes into the center of the chuck jaws. An off-center bit will wobble and make drilling inaccurate.
- Store Bits Properly: Don’t leave bits lying around. Store them in their cases or a dedicated bit holder. This protects the tips and keeps them organized.
- Know Your Bits: Use the right bit for the material. This makes drilling easier and puts less strain on your drill and chuck.
- When in Doubt, Consult the Manual: Every drill is a little different. Your drill’s manual has specific instructions for its chuck.
Tips for Different Chucks
Two-Piece Collars: Often, one collar locks while the other twists to open/close. Try holding the fixed part and twisting the other.
Keyed Chucks (Rare on Cordless): If you have an older drill with a key, insert the key into the holes on the chuck and turn it.
Frequent Questions About Changing Drill Bits
What if my drill bit is stuck in the chuck?
If a drill bit is stuck, first ensure the battery is removed. Then, try opening the chuck as wide as possible by twisting the collar counter-clockwise. Gently wiggle the bit while pulling it straight out.
If it’s still stuck, a tiny drop of penetrating oil on the shank (where it meets the chuck jaws) might help, but avoid getting oil inside the chuck mechanism. If it remains firmly stuck, there might be damage, and professional help could be needed.
How tight should I make the drill bit?
You should tighten the drill bit until it is very snug and secure. The goal is for the bit not to move or wobble at all. For drills with a ratcheting chuck, keep tightening until you hear it stop clicking.
For manual chucks, tighten until you feel firm resistance. Over-tightening can sometimes damage the chuck, but under-tightening is a more common safety issue.
Can I use a drill bit that looks a little bent?
It’s generally not recommended to use a drill bit that is visibly bent. A bent bit will cause the hole to be drilled inaccurately. It can also put extra stress on your drill and chuck, leading to faster wear and tear or even damage.
It’s best to replace bent drill bits to ensure good results and protect your tools.
Why does my drill bit wobble even when tightened?
If your drill bit wobbles after tightening, there are a few possible reasons. The chuck jaws might be dirty or worn and not gripping evenly. The drill bit itself could be slightly bent or damaged.
Or, the chuck itself might be damaged or misaligned. Ensure the bit is fully inserted and centered, and that the chuck is clean and tightened properly. If the wobble persists, inspect the bit and consider if the chuck needs service.
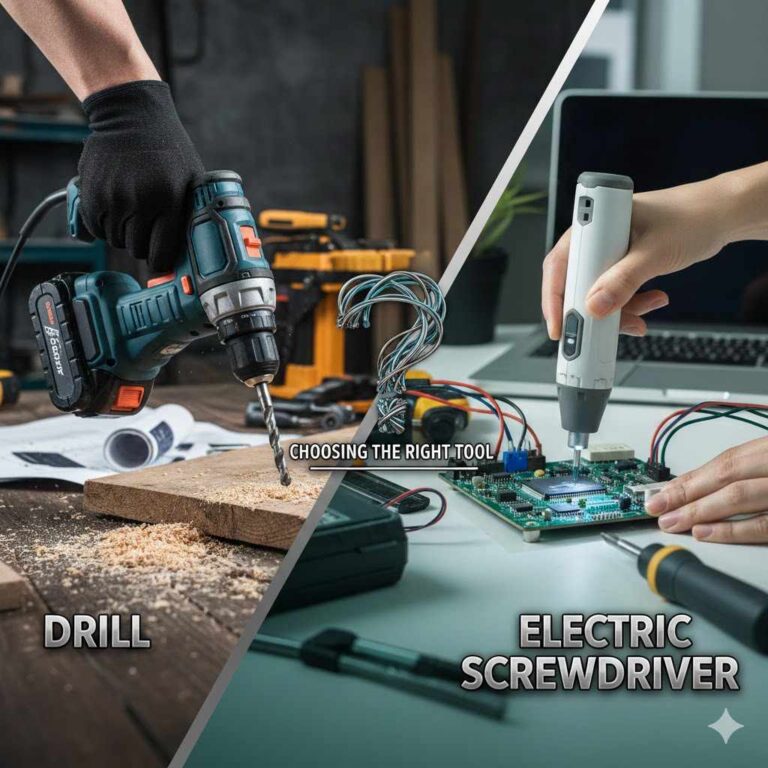
What is the difference between a drill bit and a driver bit?
A drill bit is used to create holes in various materials. They typically have a sharp point to start the cut. A driver bit (like a Phillips or flathead) is used with a Difference between a Hammer Drill And Impact Driver: Key Insights” href=”https://woodworkingadvisor.com/difference-between-a-hammer-drill-and-impact-driver/” target=”_blank” rel=”noopener” data-wpil-monitor-id=”21194″>drill or impact driver to drive screws.
They have tips designed to fit into the head of a screw. You can use a driver bit in your drill’s chuck just like a drill bit, but it’s important to select the right type and size for the screw.
How do I know if my drill chuck is a ratcheting type?
You can usually tell if your drill chuck is a ratcheting type by listening and feeling. When you tighten the chuck collar, you will hear a series of distinct clicks. This clicking sound indicates the jaws are locking down more securely with each click.
The chuck will also feel like it’s tightening incrementally rather than just turning smoothly.
Conclusion
Changing a drill bit is a fundamental skill for anyone using a cordless drill. It’s about safety, efficiency, and getting your projects done right. With these steps and tips, you can confidently swap out bits whenever you need to.
Remember to always prioritize safety by removing the battery and power source. You’ve got this!