How to Change a Blade on a Table Saw (The Reverse-Thread Nut Trips Everyone Up)
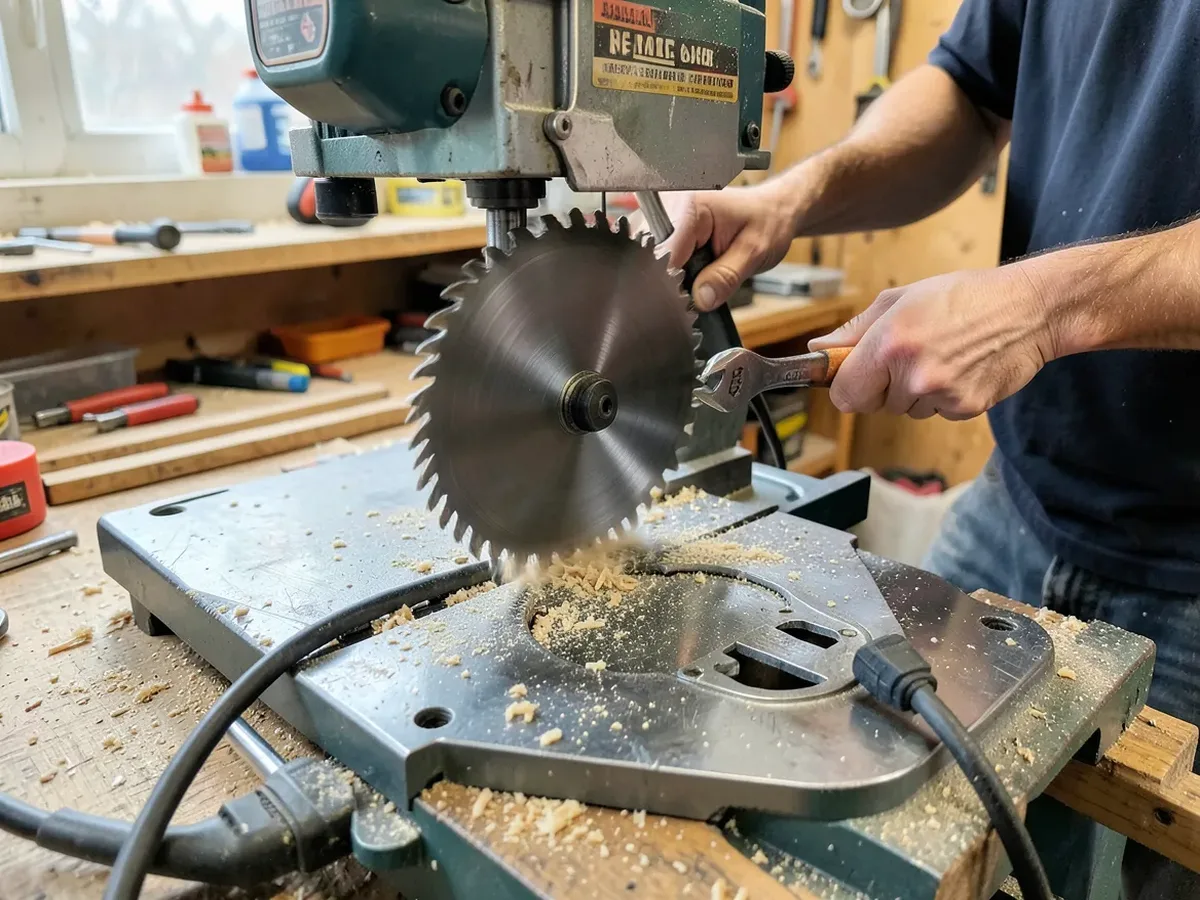
Unplug the saw, remove the throat plate, raise the blade to its highest position, then loosen the arbor nut with a wrench while locking the blade from spinning. That last part trips people up: on most table saws the arbor nut has a reverse (left-hand) thread, so it loosens turning clockwise, not counterclockwise — the opposite of a standard nut. It’s built that way on purpose, so the blade’s own spin during normal use tends to tighten the nut rather than loosen it.
Always check your specific saw’s manual to confirm the thread direction before forcing anything — a small number of models differ. But if the nut feels “stuck” turning one way, try the other direction before assuming it’s seized or stripped.
Before You Touch the Blade
Worth Installing While You’re In There
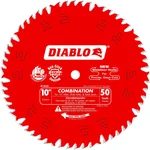 |
Diablo D1050X 10″ 50-Tooth Combination Blade – $42.97 If your old blade is dull, burning wood, or you’re not sure which type to reinstall, a 50-tooth combination blade rips and crosscuts well enough that most shops never need to swap blades between tasks.
|
Unplug the saw or, on a saw with a removable battery or a breaker you can lock out, cut power at the source rather than trusting the switch alone — a switch can be bumped. Put on safety glasses and, if you’re working near the blade’s edge, gloves; just be aware gloves come off once the blade is actually spinning again later, they’re for handling a blade with exposed teeth, not for use during cutting.
Raise the blade to its maximum height. This isn’t just for access — a fully raised blade exposes the arbor nut and washer clearly and gives you room to work without your wrench slipping toward the teeth.
Removing the Old Blade
- Remove the throat plate (insert). It usually lifts out after a light push at one end, or after removing one or two small screws, depending on your saw.
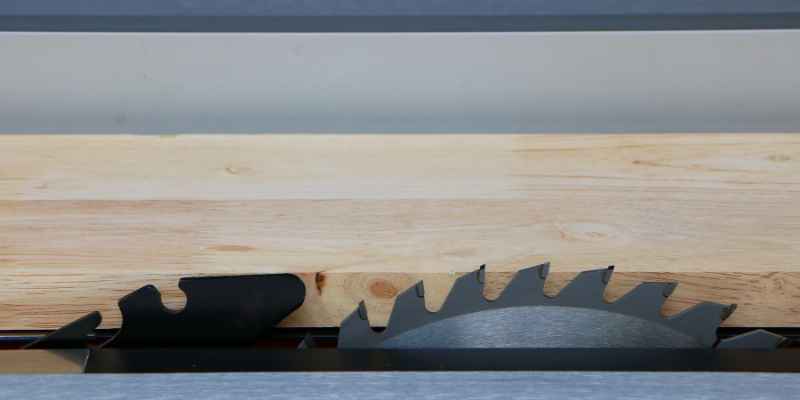
- Remove the riving knife or blade guard assembly if your saw requires it for blade access — check your manual for the release mechanism, which is usually a lever or a single bolt. You will reinstall this before making any cuts; never run the saw without it.
- Lock the blade from spinning. Some saws have a built-in arbor-lock button. If yours doesn’t, wedge a scrap block of wood against the front of the blade, between two teeth and the throat plate opening, to keep it from rotating while you work the nut.
- Loosen the arbor nut. Remember: clockwise to loosen on most saws, the reverse of a normal nut. Use a wrench sized correctly for the nut — a loose-fitting wrench is how knuckles get skinned when it slips.
- Remove the nut, the outer washer, and lift the old blade straight up and off the arbor. Set it down teeth-up, away from the edge of the bench.
Picking a Replacement Blade
| Blade Type | Tooth Count | Best For |
|---|---|---|
| Rip blade | ~24-30T | Fast cuts with the grain; leaves a rougher edge |
| Crosscut blade | ~60-80T | Clean cuts across the grain, slower feed rate |
| Combination blade | ~40-50T | One blade for both, the practical default for most home shops |
| Specialty (dado, plywood, etc.) | Varies | Grooves, melamine/plywood chip-free cuts, and other specific jobs |
Higher tooth count generally means a smoother cut and a slower safe feed rate; lower tooth count clears material faster but leaves a rougher finish. Match the blade’s bore size (commonly 5/8″ on 10″ saws) to your arbor — installing a blade with the wrong bore, even with an adapter bushing, is a real safety compromise, not just an inconvenience.
Installing the New Blade
- Check the rotation arrow. Every blade has a direction arrow stamped near the arbor hole; it must point the same direction as the arrow on your saw’s blade guard or housing. Installing a blade backward is a real, if less common, mistake and it will cut poorly and unsafely.
- Slide the blade onto the arbor, teeth facing the correct rotation direction, seated fully against the inner flange/washer.
- Replace the outer washer and nut. Lock the blade again (arbor-lock button or the wood-block trick) and tighten the nut snugly — firm, not gorilla-tight. Overtightening can distort the washer or make future removal genuinely difficult.
- Reinstall the riving knife or guard assembly and the throat plate. Confirm the riving knife is aligned with the blade’s plane; a misaligned riving knife can cause the workpiece to bind or kick back.
- Spin the blade by hand (with the saw still unplugged) to confirm it turns freely and doesn’t wobble or contact the throat plate opening.
First Cut After a Blade Change
Plug the saw back in, stand clear of the blade’s direct line, and run it briefly with no wood to listen and watch for wobble, unusual noise, or contact with the insert plate. Then make a test cut on a piece of scrap. If the cut wanders, burns, or the saw binds, stop and recheck the blade’s seating and the riving knife alignment before cutting real material.
Signs You Actually Need a New Blade
- Burn marks on the wood, especially at consistent feed rates that used to cut clean
- Splintering or frayed edges on cuts that were clean before
- The saw bogs down or binds on material it used to cut easily
- Visible chipped, missing, or bent teeth
There’s no fixed hour count that applies to every blade and material combo, but general contractor-grade carbide blades commonly go 20-50 hours of cutting before they need sharpening or replacement, less in abrasive material like MDF or plywood with glue-heavy cores. Visible performance loss is a better signal than a fixed schedule.
Frequently Asked Questions
Does the arbor nut on a table saw really loosen clockwise?
On most table saws, yes — the arbor uses a reverse (left-hand) thread so the blade’s normal spin tends to tighten the nut rather than loosen it. Always confirm in your specific saw’s manual, since it’s not universal across every model.
How often should I change my table saw blade?
General carbide-tipped blades often last 20 to 50 hours of cutting before needing sharpening or replacement, though abrasive material shortens that. Watch for burn marks, splintering, or binding rather than counting hours precisely.
What tools do I need to change a table saw blade?
A correctly sized wrench for the arbor nut, safety glasses, and (if your saw lacks a built-in arbor lock) a scrap block of wood to jam against the blade while you loosen the nut. Check your manual for whether your saw needs a second wrench to hold the arbor itself.
Can I change the blade without removing the guard or riving knife?
On most saws, no — the riving knife or guard assembly sits right behind the blade and typically has to come off (or move out of the way) to access the arbor nut. Reinstall it correctly before making any cuts; never run the saw with it removed.
How do I know it’s time to replace the blade instead of sharpening it?
Chipped, missing, or visibly bent teeth mean replacement, not sharpening. General dullness without physical damage can often be professionally sharpened once or twice before replacement makes more sense economically.
Bottom Line
Unplug the saw, remember the reverse-thread arbor nut, lock the blade before loosening anything, and never skip reinstalling the riving knife or guard before cutting again. The mechanical steps are simple; the two things that actually cause injuries are forcing the nut the wrong direction in frustration and running the saw without the guard back in place.
Sponsored / affiliate links. As an Amazon Associate I earn from qualifying purchases. I may earn additional commission from eligible campaigns.