How to Cut Ipe Wood Without Splitting It (2026 Guide)
Cutting Ipe wood cleanly comes down to three things: a 60 to 80-tooth carbide-tipped blade, a slow and steady feed rate, and pre-drilling before you drive any screw. Ipe (Brazilian Walnut) rates about 3,680 lbf on the Janka hardness scale – roughly three times harder than white oak – so tools and techniques that work fine on other decking woods will dull, burn, or split it.
That density is exactly what makes Ipe such a popular decking and outdoor-furniture wood in the first place: it resists rot, insects, and wear for decades with minimal upkeep. But the same fibers that make it durable outdoors make it genuinely hard on your tools indoors, in the shop. Below is what actually changes about cutting Ipe compared to a standard softwood or mid-density hardwood, based on the wood’s real Janka rating and how its natural oils behave under a blade.
What You Need to Cut Ipe Wood
Before you make a single cut, get these three things right: the blade, the feed rate, and eye/lung protection. Skipping any one of them is how most Ipe cutting mistakes happen – a dull blade tears the grain, a rushed feed rate burns the wood and overheats the carbide, and Ipe dust is a documented respiratory irritant that’s worse to breathe than sawdust from most domestic woods.
Best Blade For Cutting Ipe
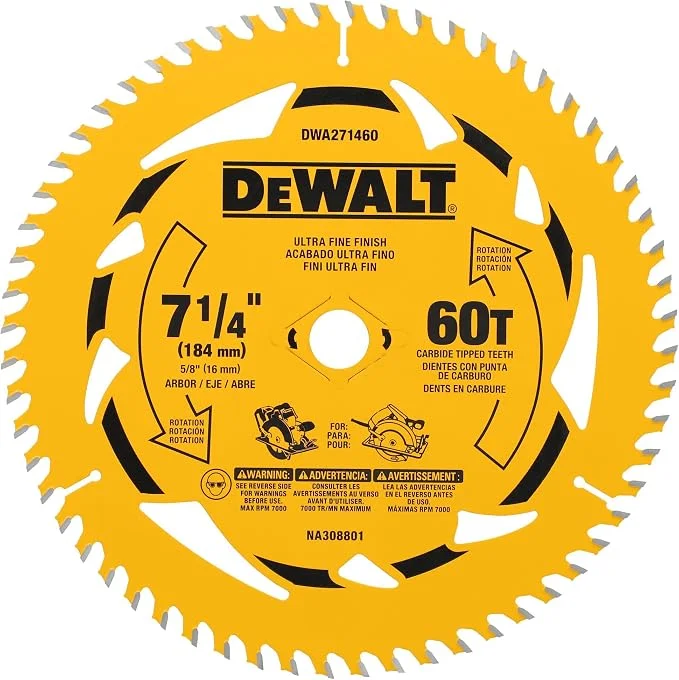 |
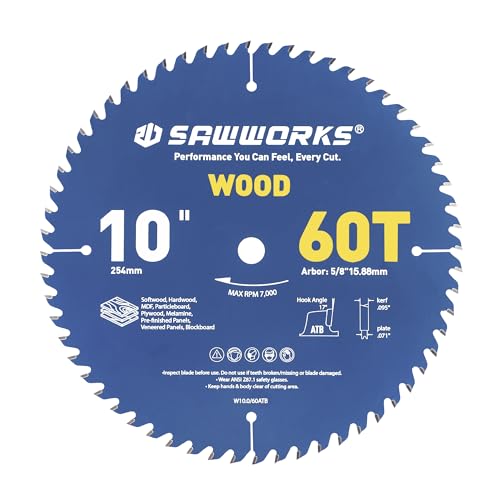
DEWALT 7-1/4" 60T Circular Saw Blade (DWA271460) – $23.99 A 60-tooth carbide-tipped blade with a heat-vent design and PTFE coating – exactly the tooth count and carbide construction Ipe’s 3,680 lbf density calls for.
|
Why Ipe Fights Back: The Real Numbers
The Janka hardness test measures the force needed to embed a steel ball halfway into a wood sample – it’s the standard way to compare how hard different woods are to cut, sand, and nail. Ipe lands at approximately 3,680 lbf. For comparison, white oak sits around 1,200 lbf and red oak around 1,290 lbf. That means Ipe takes roughly three times the force to work compared to the oak most woodworkers are already used to.
Two other traits compound the density problem. First, Ipe contains natural oils that helped it evolve rot- and insect-resistance in the rainforest – those same oils transfer onto your blade as resin buildup during a cut, adding friction on top of the wood’s raw hardness. Second, Ipe has very tight, interlocked grain, which is part of why it resists splintering in service but also why a dull or wrong-pitch blade tends to tear rather than slice through it.
Choosing and Maintaining Your Blade
A carbide-tipped blade in the 60 to 80-tooth range is the standard recommendation for Ipe on a circular saw or miter saw. Higher tooth counts reduce splintering and leave a cleaner edge; the tradeoff is a slightly slower cut, which is the correct tradeoff on a wood this dense anyway. Tooth sharpness matters more than brand – a sharp, well-matched blade from any reputable maker will outperform a dull premium one.
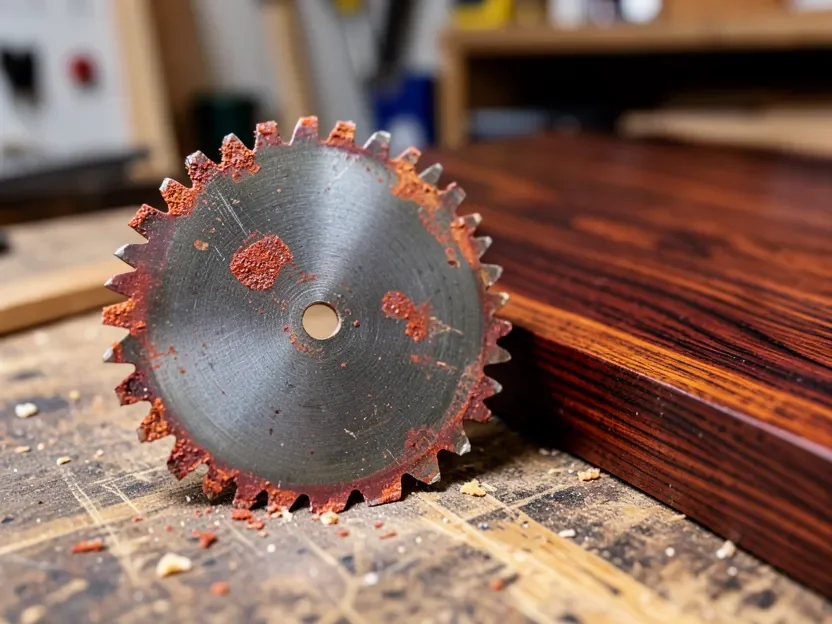
Because of that resin buildup, plan on cleaning the blade partway through a large project, not just at the end. A citrus-based degreaser (d-limonene) or a dedicated blade-and-pitch cleaner cuts through the oily residue better than plain water or a dry brush. Skip petroleum-based solvents like mineral spirits for this specific job – they can actually worsen an oily residue rather than lifting it. A quick soak followed by a stiff nylon or brass brush is usually enough to bring a gummed-up blade back to cutting speed.
Cutting Technique by Tool
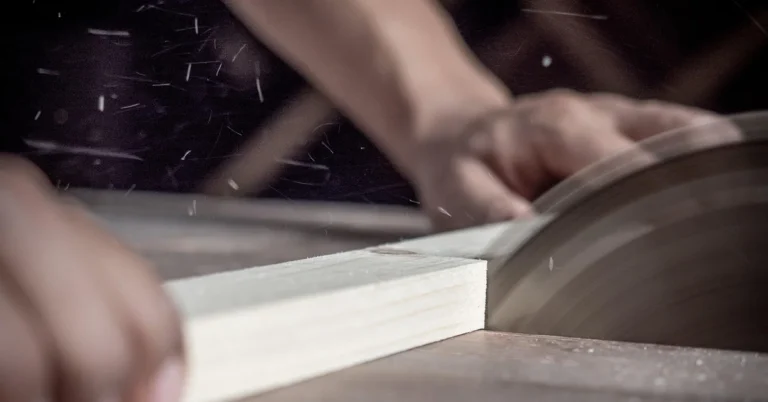
Circular saw: Best for straight rip and crosscuts on deck boards. Mark your line, let the saw reach full speed before contact, and feed at a slow, steady pace – forcing the cut is the single most common cause of a burned edge or a stalled motor on Ipe.
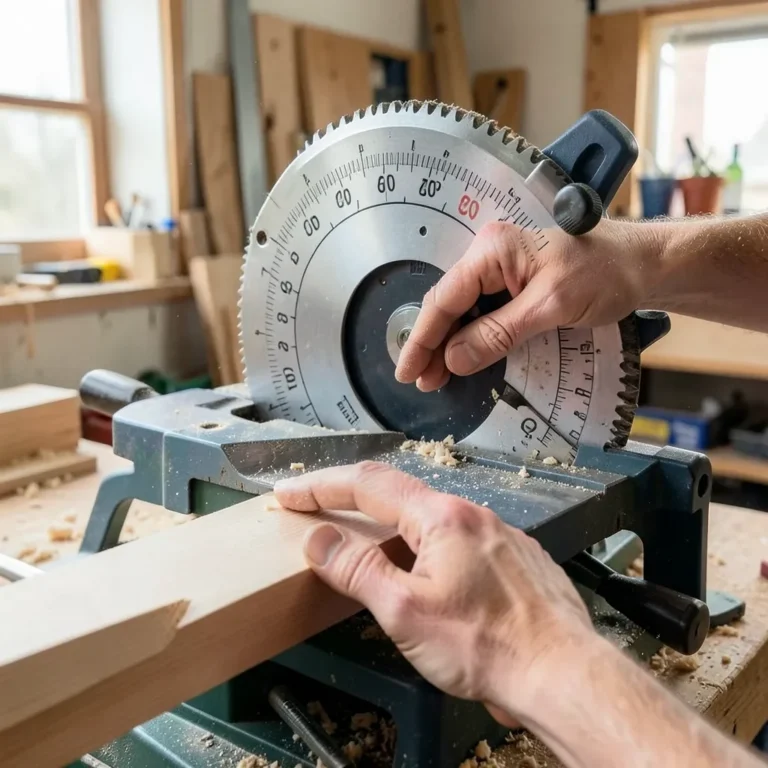
Miter saw: The better choice for angled cuts and repeat crosscuts where you need consistent angles across multiple boards. Clamp the workpiece firmly – Ipe’s weight and density make it more likely to shift mid-cut than lighter woods.
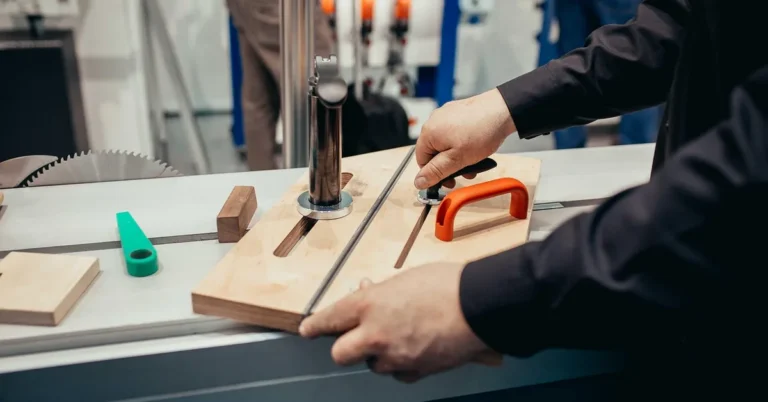
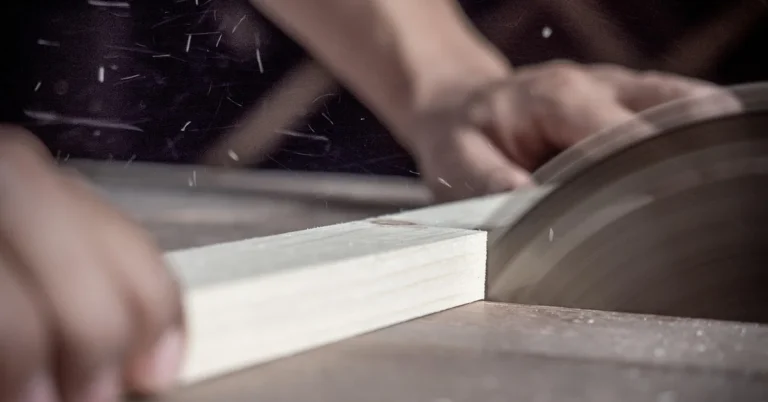
Table saw: Works well for ripping wide boards to width. Use a featherboard or push stick and keep the rip fence locked down tight; Ipe’s density means more resistance pushing back against the blade than you’d feel with pine or cedar.
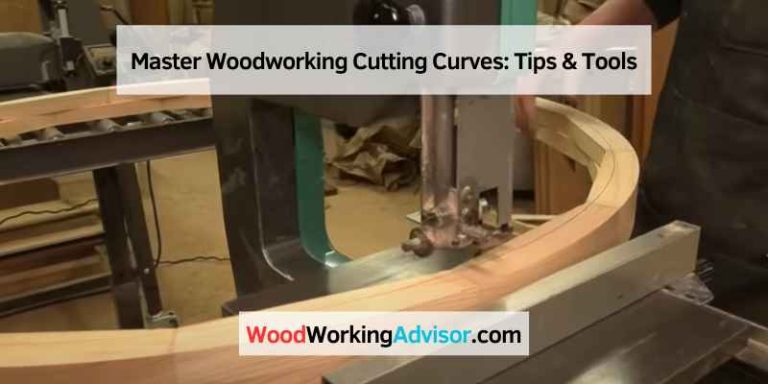
Jigsaw: For curved cuts, drill a starter hole at the beginning of the curve and guide the saw slowly. Expect a rougher edge than a straight cut – Ipe’s density limits how tight a curve a jigsaw blade can follow cleanly.
Pre-Drilling and Fastening
Pre-drilling is not optional on Ipe the way it might be on softer decking woods. The density that makes Ipe durable also makes it prone to splitting the instant a screw threads in without a pilot hole, especially near board ends. Use a high-speed steel (HSS) bit sized slightly smaller than the fastener’s shank, and drill every hole – including ones near the middle of a long board, not just the ends.
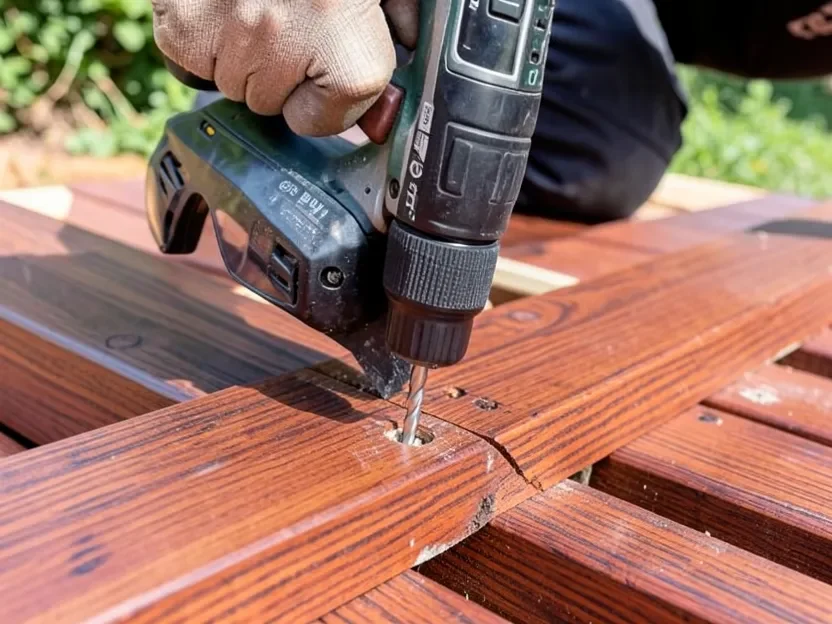
Fastener choice matters as much as the pilot hole. Stainless steel or brass screws resist the corrosion that Ipe’s natural acidity causes in regular steel fasteners over time – on an outdoor deck, that corrosion shows up as dark staining around each screw head within a season or two. It costs more upfront but avoids re-fastening the whole project a few years in.
Dust Safety: Irritant vs. Sensitizer
Ipe dust deserves more caution than sawdust from common domestic woods. It’s documented as both a skin and respiratory irritant, and repeated exposure carries a real risk of sensitization – where your reaction gets worse with each exposure instead of your body adjusting to it. That’s a different mechanism than a simple one-time irritant reaction, and it’s why occasional hobbyist exposure and a full day of Ipe deck-building call for different levels of protection.
For a few cuts, a properly fitted N95 dust mask and good ventilation are reasonable minimums. For an extended cutting session – a full deck’s worth of boards, for example – step up to a powered air-purifying respirator (PAPR) and run dust collection or a shop vac at the source. Eye protection matters too; fine Ipe dust irritates eyes as readily as it does lungs.
Sanding and Finishing After Cutting
Start sanding cut edges with a coarser grit (80-100) to knock down saw marks, then move to 150-220 for a smooth finish, always sanding with the grain. Ipe’s density means it takes longer to sand smooth than most woods, but it also holds an edge well once you’re there – you won’t need to repeat the process as often as with a softer species.
Because Ipe’s natural oils resist penetration, an oil-based finish made for exotic hardwoods works better than a standard deck stain, which can bead up and fail to cure properly on the surface. Reapply finish on the schedule the manufacturer recommends for dense tropical hardwoods, typically once a year for decking exposed to full sun and weather.
Troubleshooting Common Cutting Problems
Splitting or cracking: Almost always a pre-drilling or fastener problem, not a cutting problem. Check that every screw has a pilot hole and that you’re not driving fasteners too close to a board’s end.
Burned or scorched edges: A sign you fed the wood through the blade too fast, or the blade is dull or gummed with resin. Slow down and clean the blade before the next cut.
Torn or splintered edges instead of a clean line: Usually a tooth-count or sharpness issue. Move up to a higher tooth count (closer to 80T) for finish cuts, and retire a blade once it’s visibly dull rather than pushing through more cuts on it.
Frequently Asked Questions
Why Does Ipe Wood Dull Blades So Fast?
Ipe measures about 3,680 lbf on the Janka hardness scale, roughly three times harder than white oak. That density alone works carbide teeth harder than softer woods, and Ipe’s natural oils add resin buildup on the blade, which increases friction and heat. A standard wood-cutting blade will dull noticeably faster on Ipe than on pine, cedar, or even red oak.
Can You Cut Ipe Wood With a Regular Saw Blade?
You can start a cut with a standard blade, but it will dull within a few cuts and leave burned, torn edges instead of a clean line. A 60 to 80-tooth carbide-tipped blade built for hardwood is worth the cost difference, since a dull blade on Ipe is also a safety hazard, it’s more likely to bind or kick back.
Do You Need to Pre-Drill Before Screwing Into Ipe Wood?
Yes, always. Ipe’s density means driving a screw without a pilot hole will split the board, especially near the ends. Pre-drill with an HSS bit sized slightly smaller than the screw shank, then use stainless steel or brass fasteners since Ipe’s natural acidity corrodes regular steel over time.
Is Ipe Sawdust Dangerous to Breathe?
Ipe dust is a known respiratory and skin irritant, and repeated exposure can lead to sensitization, meaning your reaction gets worse with each exposure rather than your body building tolerance. Wear at least an N95 dust mask for occasional cuts, a powered air-purifying respirator for extended cutting sessions, and run dust collection or a shop vac at the saw whenever possible.
Sponsored / affiliate links. As an Amazon Associate I earn from qualifying purchases. I may earn additional commission from eligible campaigns.