Get a Straight Edge on Rough Cut Lumber (No Jointer Needed)
A jointer creates the flattest reference edge on rough cut lumber, but a hand plane or a clamped circular saw guide gets you there too without one – the goal is a straight line the board’s own edge cannot give you. Even 1/16 inch of remaining crook throws off every rip cut, miter, and glue-up that follows. This guide covers jointer and no-jointer methods, why a standard rip fence fails on rough stock, and how to check the result.
What Rough Cut Lumber Needs Before You Cut
Best Circular Saw Straightedge Pick
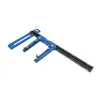
Kreg Rip-Cut Circular Saw Guide – $49.00
Clamps to the board and gives the saw a fixed rail to follow, exactly the “sawing fixture” setup described in Method 3 above – no dependence on the rough-sawn edge at all.
- Best for: long boards too big for a jointer bed.
- Why we picked it: self-contained rail and clamp system, no separate straightedge to align.
- Main drawback: slower to set up than a jointer for a whole stack of short boards.
Compare more straight-edge options
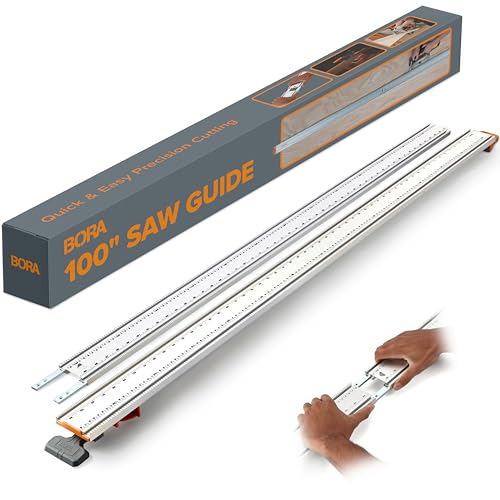
 Option 1 Bora NGX 100″ Guide Rail – $89.99
|
 Option 2 Jorgensen No.4 Hand Plane – $79.98
|
 Option 3 IRWIN Strait-Line Chalk Reel – $7.99
|
As an Amazon Associate we earn from qualifying purchases.
Rough cut lumber comes straight off the sawmill blade with no milled reference surface at all, so nothing about its factory edge can be trusted the way it can on dimensional lumber from a home center. Before you touch a saw, check the board for the three things that actually change your approach: warp (sight down the length for a bow or twist), knots or checks near where you plan to cut, and moisture content if the lumber was recently milled – wet stock moves as it dries and can throw off a cut made days earlier.
- Straightedge or level: lay it along the board and look for gaps to find high and low spots.
- Winding sticks or a quick sight-down-the-edge check: reveals twist that a straightedge alone will miss.
- Pencil and square: mark the flattest face before you commit to a cutting method.
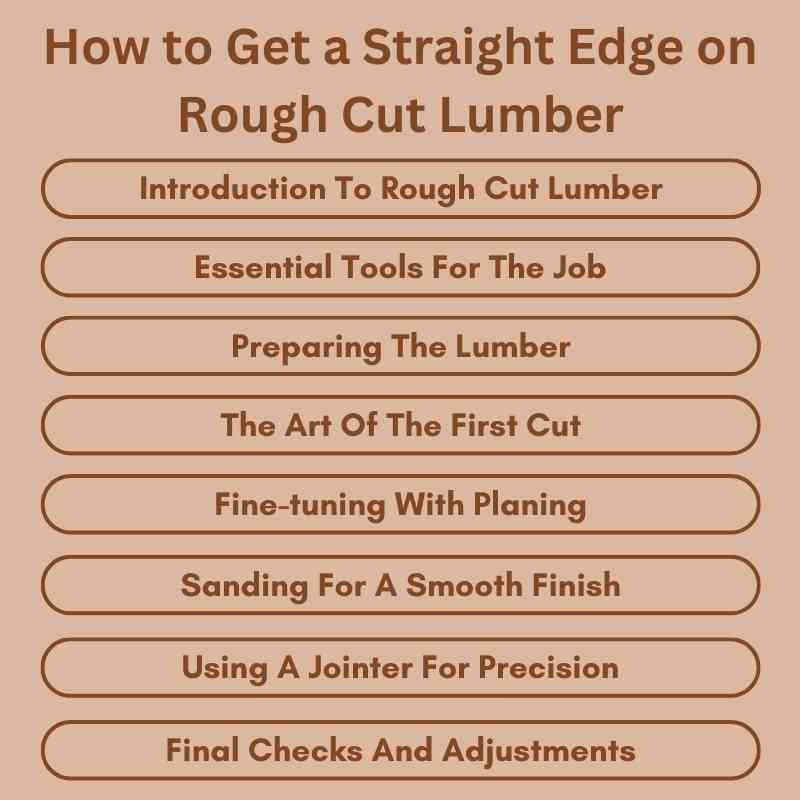
Straighten the Edge: 4 Methods That Actually Work
Pick the method based on the tools you already own and how bowed the board is. All four create a new reference edge instead of trying to “fix” the sawmill edge you started with.
Method 1: Jointer (Fastest for a Straight Stack of Boards)
A jointer is the fastest way to flatten a face and square an edge, especially if you are milling more than a couple of boards. Set the infeed table about 1/16 inch lower than the outfeed table, square the fence to the table, and run the concave face down first so the jointer removes the bow instead of following it.
- Check the blades: dull or nicked jointer knives tear grain instead of shearing it cleanly.
- Set the cut depth: about 1/16 inch per pass on rough stock; take more passes rather than one deep cut.
- Feed with push blocks: keep hands flat and clear of the cutterhead the entire pass.
- Flatten one face first, then run the edge against the fence for a square reference corner.
Method 2: Hand Plane, Then Table Saw
No jointer required – this is the method most hobbyists actually use. Plane one edge straight by hand, then use that fresh edge against the table saw fence to rip the opposite side clean.
- Set the plane for a thin shaving and work with the grain, not against it.
- Check with a straightedge every few passes until the gap disappears along the full length.
- Rip the opposite edge on the table saw using the newly planed edge against the fence.
- Make a test cut on scrap first to confirm the fence and blade are aligned.
Method 3: Clamped Straightedge and a Circular Saw
This is the method for boards too long or too rough for a jointer bed, and it is what most people mean when they search for a “sawing fixture” for a circular saw. Clamp a straight rail (a shop-made plywood batten or a dedicated guide like the Kreg Rip-Cut below) to the board so the saw rides the rail, not the lumber’s own crooked edge.
- Set the offset: measure from your saw’s blade to the edge of its base plate.
- Clamp the rail that distance from your cut line at both ends, plus the middle on long boards.
- Keep the saw base flat against the rail for the full length of the cut – do not let it drift.
- Rip in one continuous pass where possible; stopping mid-cut on rough stock invites a wandering line.
Method 4: Router With a Flush-Trim Bit
Tape or clamp a straight batten to the flattened face, then run a router with a flush-trim or pattern bit so the bearing rides the batten while the bit cuts the rough edge flush. It is slower than a circular saw pass but leaves a glue-ready edge with almost no tear-out on figured or knotty wood.
Why a Standard Rip Fence Fails on Rough Stock
A table saw’s rip fence measures off the board’s existing edge – if that edge is rough and wavy, the fence copies every wobble into your cut. This is the single biggest mistake people make trying to straighten rough cut lumber: running an un-jointed board through the table saw expecting the fence alone to fix it. A fence can only repeat an edge, not correct one. A clamped straightedge or a jointer creates a new, independent reference line instead, which is why Methods 1 through 3 above all straighten the edge before the fence ever gets involved.
| Method | What It References | Best For |
|---|---|---|
| Table saw rip fence alone | The board’s existing (rough) edge | Only after one edge is already straight |
| Jointer | Its own flat tables and fence | Batches of boards, shop with the tool |
| Clamped straightedge/circular saw | The clamped rail, not the board | Long boards, no jointer |
| Hand plane | Your eye and a straightedge check | Single boards, no power tools |
📊 An estimated 23,800 table saw kickback injuries are treated in the U.S. each year, and kickback is more likely during rip cuts than crosscuts – Source: U.S. Consumer Product Safety Commission, Stationary Saw Injury Survey. Ripping rough stock against a fence that is following a wavy edge is exactly the situation where the blade can bind and kick the board back – another reason to straighten the edge with a jointer or clamped guide before it ever meets the fence.
Sanding and Final Smoothing
Once the edge is straight, sanding removes the machine marks left by the jointer, saw, or plane. Start coarse and work up in grit – skipping grits leaves swirl marks that show up under a finish.
| Grit | Purpose |
|---|---|
| Coarse (40-60) | Removes mill and tool marks quickly. |
| Medium (80-120) | Levels the surface before final sanding. |
| Fine (150-220) | Final pass before stain or finish. |
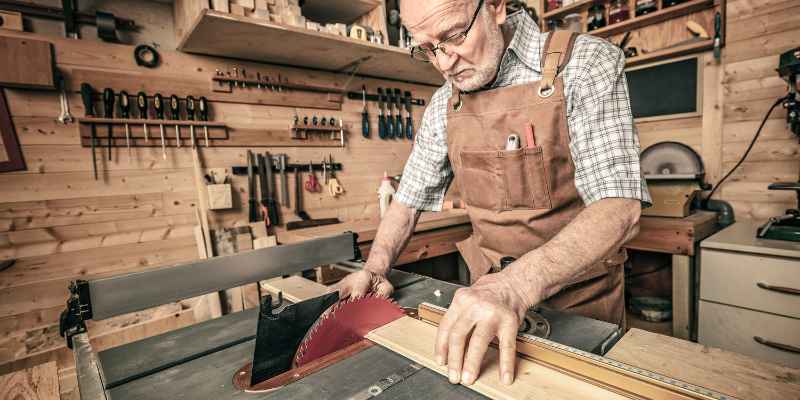
How to Check Your Work
Confirm the edge before you move on to the next board. Use a long straightedge along the full length and look for light gaps, or stretch a string taut against the edge and check for any bow. If you find a shallow high spot, a few extra hand-plane passes or a light pass over the jointer usually corrects it without re-cutting the whole board.
Frequently Asked Questions
How do I straighten rough cut lumber?
Use a jointer, a hand plane paired with a table saw, or a clamped straightedge guide with a circular saw. Flatten one face first, then straighten one edge against that flat reference before ripping the opposite edge parallel to it.
Is a jointer the best way to put a straight edge on rough cut lumber?
A jointer is the fastest option if you own one, especially for milling several boards at once. It is not required – a hand plane and table saw combo or a clamped circular-saw guide produces the same straight edge without the machine, just with more setup time per board.
Why won’t my table saw rip fence give me a straight cut on rough lumber?
The rip fence measures a fixed distance from the board’s existing edge, so it copies any wobble in that edge directly into the cut. Straighten one edge first with a jointer, hand plane, or clamped guide, then use the fence – it works well once it has a true edge to reference.
What tools do I need for straightening lumber?
At minimum, a straightedge or level to check flatness and a saw or plane to remove material. A jointer speeds up batches of boards; a clamped circular-saw guide or track saw handles long boards without one.
Can I use a hand planer instead of a jointer?
Yes. Take thin, even passes with the grain, checking against a straightedge every few passes. It is slower than a jointer but works on boards too long or too wide for most benchtop jointers.
How long does it take to straighten rough cut lumber?
A jointer pass takes a few minutes per board. Hand planing or a clamped straightedge setup typically takes 20 to 45 minutes per board depending on length and how much bow needs correcting.
Conclusion
A jointer is the quickest path to a straight edge on rough cut lumber, but it is not the only path – a hand plane, a table saw, or a clamped circular-saw guide like the jointer-free methods covered here all create the same reliable reference edge. Check your tool options against the board size and quantity you are working with, and confirm the result with a straightedge before you move to the next step. If you are still deciding whether the machine is worth buying, see our guide on whether you need a jointer for woodworking.
Sponsored / affiliate links. As an Amazon Associate I earn from qualifying purchases. I may earn additional commission from eligible campaigns.