How to Cut Wood Wedges: Angles, Wood Choice, and a Clean Split
To cut a wood wedge, rip a length of hardwood to width on a table saw, then tilt the blade (or the stock) to 10-20 degrees and make a single angled pass down its length — that one cut turns a straight board into a taper. For a one-off wedge, a hand saw and a marked line work just as well; the wood choice and the angle matter more than the tool.
A wood wedge looks like the simplest thing you can make in a shop, and mechanically it is — it’s an inclined plane, the same physics as a doorstop or an axe head. But most of the wedges people search for fall into two very different jobs: a splitting wedge driven into a log with a maul, and a thin shim wedge used to level furniture, tighten a loose tool handle, or hold a hand saw’s kerf open on a long rip cut. This guide covers how to cut both, which wood actually holds up under a hammer blow, and a specific trick — the V-notch sawyer’s wedge — that most wedge tutorials skip entirely.
Wood Wedges vs. Sawyer’s Wedges: Two Different Tools
Best for Marking Wedge Angles
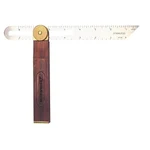 |
Swanson Sliding T-Bevel Angle Finder – $17.99 Lock in the exact taper angle before you cut instead of guessing with a pencil line.
|
Before cutting anything, it helps to know which wedge you actually need, because the shape and the wood are different for each:
- Splitting/shim wedge — a solid triangular block, typically 6-10 inches long with a wide 20-30 degree taper, used to split logs, level a wobbly table leg, or lock a loose hammer head onto its handle.
- Sawyer’s wedge (V-notch wedge) — a flatter wedge with a shallow taper (often under 10 degrees) that’s tapped into an open saw kerf during a long rip or crosscut to stop the wood from pinching the blade. Some have a V-shaped notch cut into the thick end so they can be driven in from either side without slipping off a round log. This is the tool behind searches like “wedge with a V indent for sawing” — it’s a kerf spreader, not a splitting wedge, and a hardware-store wood shim usually isn’t tapered enough to work well for it.
The cutting method below works for both — only the taper angle and thickness change.
Choosing Wood That Won’t Crush Under a Hammer
A wedge fails one of two ways: it crushes flat under impact (too soft) or it splits along the grain before it does its job (too brittle or cut with runout grain). Janka hardness — the force needed to embed a steel ball halfway into the wood — is a decent proxy for how well a species resists crushing:
| Wood | Janka Hardness (lbf) | Best Use as a Wedge |
|---|---|---|
| Shagbark hickory | ~1,880 | Splitting wedges, striking tools — the traditional choice for a reason |
| Sugar maple | ~1,450 | Sawyer’s wedges, shims that need to hold shape under repeated tapping |
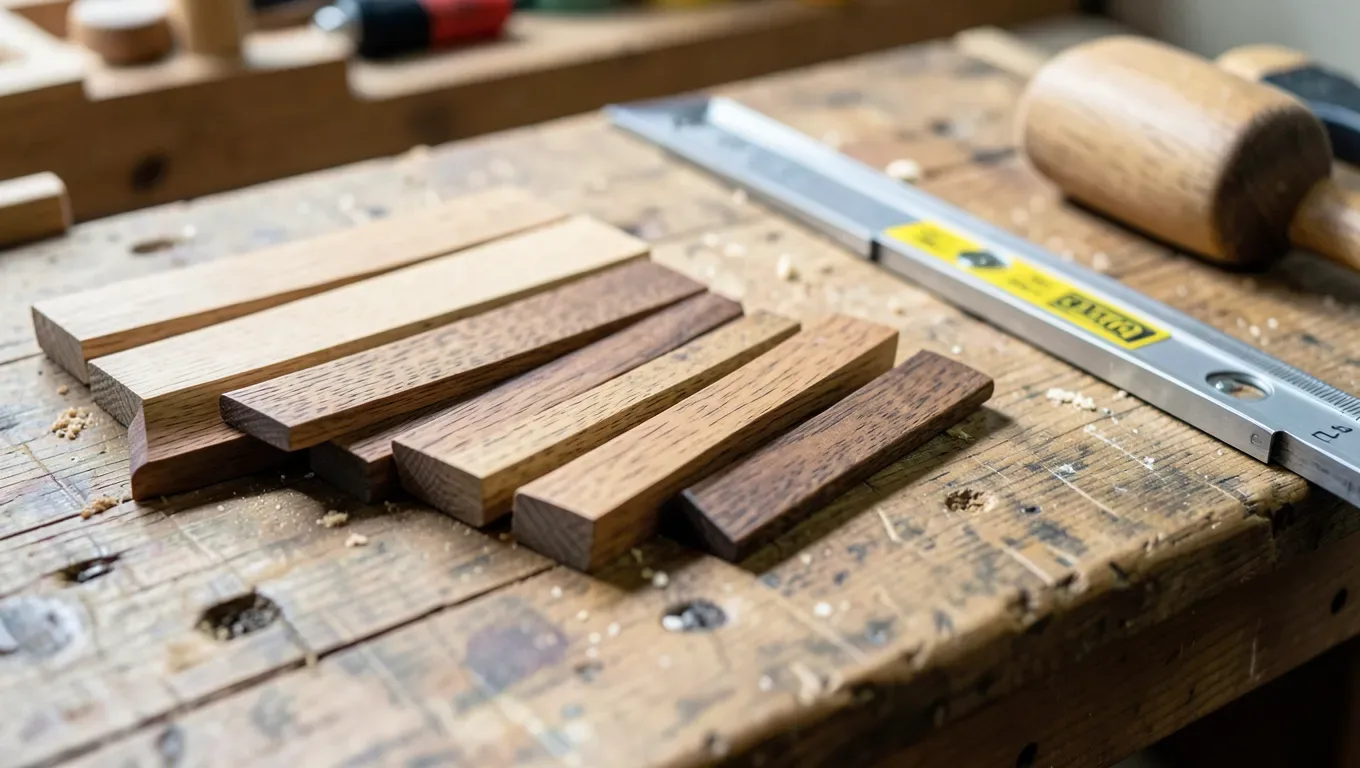
| Red/white oak | ~1,290-1,360 | General-purpose wedges, widely available at any lumberyard |
| Yellow birch | ~1,260 | Fine shims, furniture leveling — good grain stability |
| Eastern white pine | ~380 | One-time-use shims only; will compress under a mallet |
Straight, tight grain matters as much as species. A wedge cut so the grain runs parallel to the taper’s long edge will split the first time it’s struck — always orient the grain running the full length of the wedge, not across it. If you’re splitting hickory or oak specifically for wedge stock, a properly dried, straight-grained board stored flat (not leaned) will hold its shape far better than green or twisted stock.

Marking the Taper Angle
Guessing the angle by eye is the single biggest reason wedges come out crooked or unusable. Set your angle with a sliding T-bevel gauge: lock the blade to the taper you want (10 degrees for a sawyer’s wedge, 20-25 degrees for a splitting wedge), then ride the gauge’s handle along the board’s edge to scribe a straight, repeatable line down the face. This takes 30 seconds and eliminates the “close enough” pencil lines that make a table saw cut wander.
Mark both faces if you’re cutting on a band saw, since you’ll be sawing freehand along the line rather than referencing a fence.
Cutting a Wedge on a Table Saw (Fastest, Most Accurate)
This is the method for a batch of matching wedges:
- Rip your board to the wedge’s final width (2-4 inches is typical for a splitting wedge).
- Tilt the blade to your marked angle, or build a simple tapering jig from a scrap board with a wedge-shaped cutout — the jig rides the fence while the workpiece sits in the cutout, letting you keep the blade at 90 degrees.
- Feed slowly with a push stick once the offcut narrows past 3 inches from the blade — a wedge cut produces a thin, tapering scrap that can bind or kick back if your hands get close to the blade.
- Flip the board end-for-end and repeat if you’re cutting a double-taper (pointed on both ends) wedge for splitting.
Cutting a Wedge by Hand or Band Saw
For a single wedge, or stock too short/irregular to safely run through a table saw, cut freehand:
- Clamp the board firmly with the marked line overhanging the bench edge.
- Start the cut with the saw at a low angle to establish a shallow kerf, then bring the blade level with your line.
- Follow the pencil line, not the edge of the board — a hand saw drifts toward the path of least resistance, which is usually away from your line on the harder side of the grain.
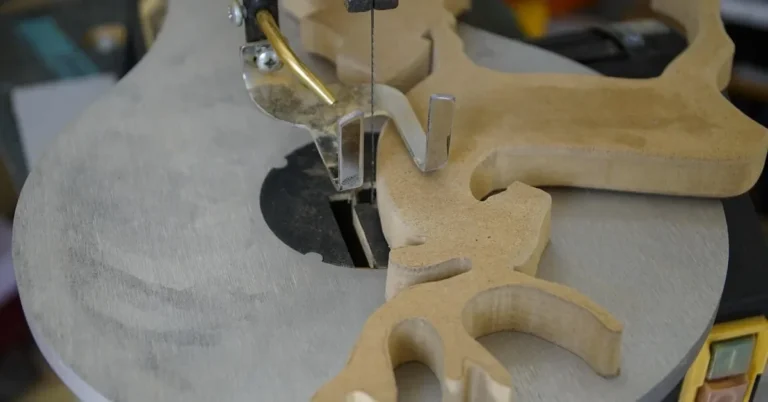
- On a band saw, feed at a steady pace and let the blade do the work; forcing a tight-radius turn on a wide wedge blade will bow the cut.
Cutting against the grain direction (into rising grain rather than with it) is the most common cause of a rough, torn cut on a hand-cut wedge — check which way the grain runs before you start and flip the board if needed.
Finishing and Testing the Wedge
Sand the thick end (the striking face) slightly rounded rather than square — a crisp 90-degree edge is the part most likely to mushroom and throw splinters after a few hammer blows. Leave the thin, tapered edge and faces as-cut; extra sanding there just softens the bite you need to start a split. If the wedge is for furniture leveling or indoor use rather than splitting, a coat of Danish oil or a paste wax will keep it from swelling and sticking once it’s tapped into place.
Before trusting a batch of wedges to a real job, test one: drive it into a piece of scrap with the same species you’ll be splitting or shimming. If the edge crushes rather than biting in, the wood is too soft for the job — go up a hardness tier rather than just swinging harder.
Where Wedges Actually Get Used
Beyond log splitting, a shop full of shop-made wedges earns its keep in smaller jobs: locking a loose axe or hammer head back onto its handle, shimming a table saw fence square, leveling cabinet feet on an uneven floor, or holding a workpiece at a fixed angle in a jig. Keep a small stock of pre-cut wedges in a few thicknesses on hand — a five-minute table saw job today saves a scramble mid-project later.
Frequently Asked Questions
How do you cut a wedge out of a 2×4?
Mark the taper angle on the face of the 2×4 with a sliding T-bevel, then rip along that line on a table saw with the blade at 90 degrees and the board fed through flat, or tilt the blade to the marked angle and cut the taper directly. A standard 2×4 is usually straight-grained construction lumber (pine or fir), which works fine for a one-time shim but won’t hold up to repeated striking the way oak or hickory will.
What is a wedge with a V-notch used for in sawing?
It’s a sawyer’s wedge — a shallow-taper wood or plastic wedge tapped into an open saw kerf during a long rip or crosscut to spread the cut open and keep the log or board from pinching the saw blade. The V-shaped notch on some designs lets the wedge grip a curved log surface from either side without sliding out while you keep cutting.
What tools are needed for cutting wood wedges?
A table saw (with a push stick) or a hand saw/band saw for the cut, a sliding T-bevel gauge to mark an accurate taper angle, a pencil, and safety glasses. A chisel is useful for cleaning up the striking end after cutting, and sandpaper for easing that same edge before use.
What type of wood is best for wedges?
Hickory is the traditional top choice for splitting wedges because of its high Janka hardness (~1,880 lbf) and resistance to splitting under impact. Oak and maple are solid, more widely available alternatives. Softwoods like pine work for a single-use shim but will compress and mushroom if struck repeatedly.
Conclusion
The cut itself is simple — a straight taper down a board — but getting a wedge that actually holds up comes down to two things most tutorials skip: picking a hard, straight-grained wood, and marking the angle precisely instead of eyeballing it. Whether you need a splitting wedge for the woodpile or a sawyer’s wedge to keep a long rip cut from pinching, the same table saw or hand saw technique gets you there.
Sponsored / affiliate links. As an Amazon Associate I earn from qualifying purchases. I may earn additional commission from eligible campaigns.