How to Fix Cedar Cladding: Expert Tips for a Flawless Finish
Cedar cladding weathers naturally to a silvery gray over time – that’s cosmetic, not damage, and doesn’t need fixing. Actual problems worth repairing are cracks, splits, rot, and loose or missing boards, and most of these are manageable DIY jobs with the right fasteners, filler, and technique. This guide covers how to tell the difference and walks through repairing cracks, replacing damaged boards, and refinishing cedar cladding correctly.
Cosmetic Weathering Vs. Real Damage
Avoid The Black Streaking Mistake
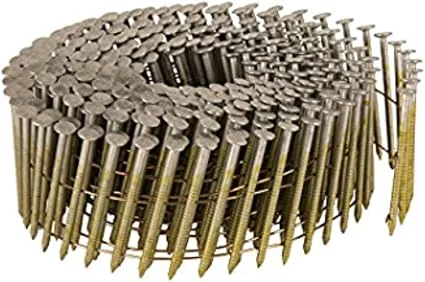 |
Metabo HPT Stainless Steel Ring-Shank Siding Nails Cedar’s natural tannins react with regular steel and zinc-coated fasteners, causing dark streaks – stainless steel is the correct fastener for any cedar repair.
|
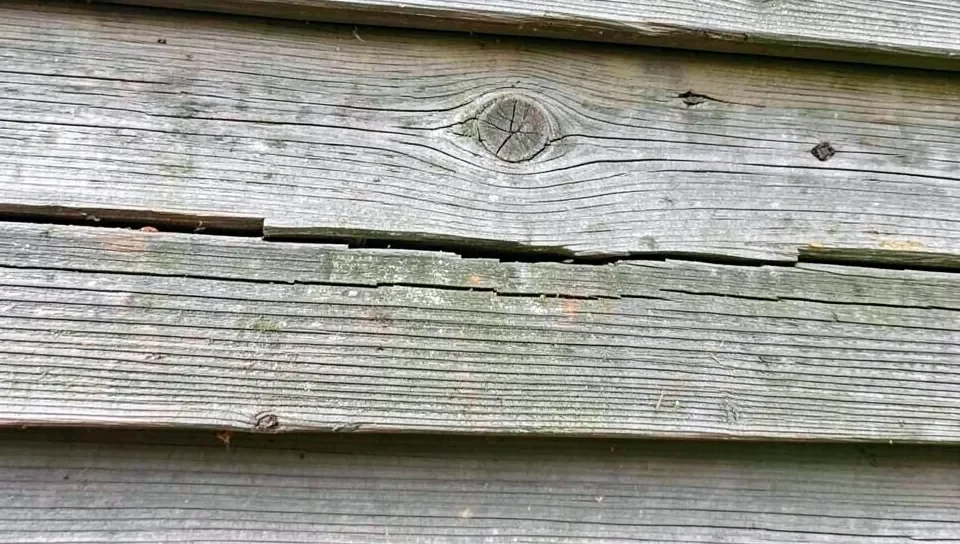
Unfinished or lightly finished cedar naturally turns a silvery gray as UV light breaks down surface lignin – this is a normal weathering process, not decay, and it doesn’t compromise the wood’s structure. Real damage looks different: cracks and splits running with the grain, soft or spongy spots (a sign of rot), dark discoloration that doesn’t wipe off (often water damage or the black staining that comes from a reaction between cedar’s tannins and the wrong type of fastener), and boards that have come loose or fallen off entirely. Knowing which one you’re looking at determines whether you need a repair or just a cleaning and a fresh coat of finish if you want to stop the graying process going forward.
Tools And Materials
For most repairs you’ll need a hammer or nail gun, a pry bar for removing damaged boards, a saw for cutting replacements, a tape measure and level, wood filler or exterior-grade epoxy filler, and sandpaper in the 80-120 grit range. For fasteners, use stainless steel or hot-dip galvanized nails or screws specifically – standard steel fasteners react with cedar’s natural tannins and cause dark streaking around the fastener head that gets worse over time and doesn’t wash off. For finishing, have a cedar-compatible stain or exterior paint, primer if painting, and a water-repellent sealer on hand.
Preparing The Surface
Clean the cladding with a soft brush and mild soap and water before doing any repair work – dirt and mildew on the surface can interfere with filler adhesion and hide the true extent of damage. Rinse and let the wood dry completely, which can take a full day depending on humidity, since sealing or filling over damp wood traps moisture in and leads to problems resurfacing later.
Inspect every board methodically, including corners and any area near ground contact or a downspout, since these locations see the most moisture and are where rot most commonly starts. Press on suspect areas with a screwdriver tip – wood that’s soft or that the tip sinks into easily has decay and needs to be replaced, not just filled and painted over.
Repairing Cracks And Splits
For small surface cracks, clean out any loose debris, press exterior-grade wood filler into the crack with a putty knife, and smooth it level with the surrounding surface. Let it cure per the product’s instructions (usually a few hours), then sand smooth and finish to match. For larger structural splits, work exterior wood glue into the gap, clamp the pieces together until the glue fully cures, and check for any remaining gap once dry – a second application of glue may be needed for a split that opened wider than expected. Sand flush and finish once the repair has fully cured.
Replacing Damaged Boards
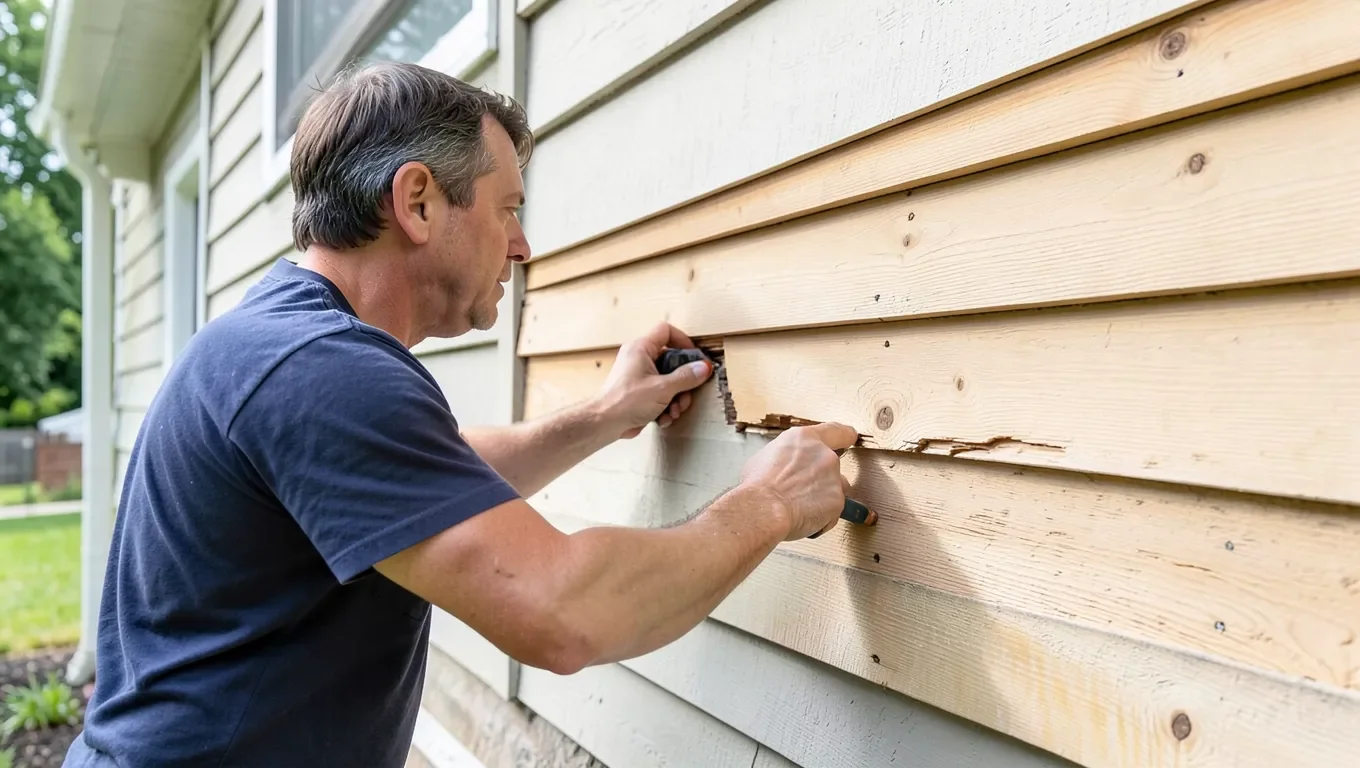
Pry out the damaged board carefully, working slowly to avoid cracking the boards above and below it, and remove every old nail or screw left behind rather than bending them out of the way. Measure the gap and cut a replacement to match the exact profile and thickness of the surrounding boards – a mismatched profile is one of the most visually obvious repair mistakes on cladding. Fasten the new board with stainless or hot-dip galvanized nails or screws (never plain steel, for the tannin-staining reason above), leaving the same reveal and gap spacing as the boards around it, then finish it to match once secure.
Sanding And Smoothing
Use 80-120 grit sandpaper on repaired areas – coarser grits can scratch the surrounding wood, while finer grits won’t level a filled repair efficiently. Always sand with the grain to avoid visible cross-grain scratches, and test on a small, inconspicuous area before committing to the whole repair if you’re unsure how the wood will respond. Wear a dust mask and work in a ventilated area, since cedar dust can irritate the respiratory system more than some other wood dust.
Applying Finishes
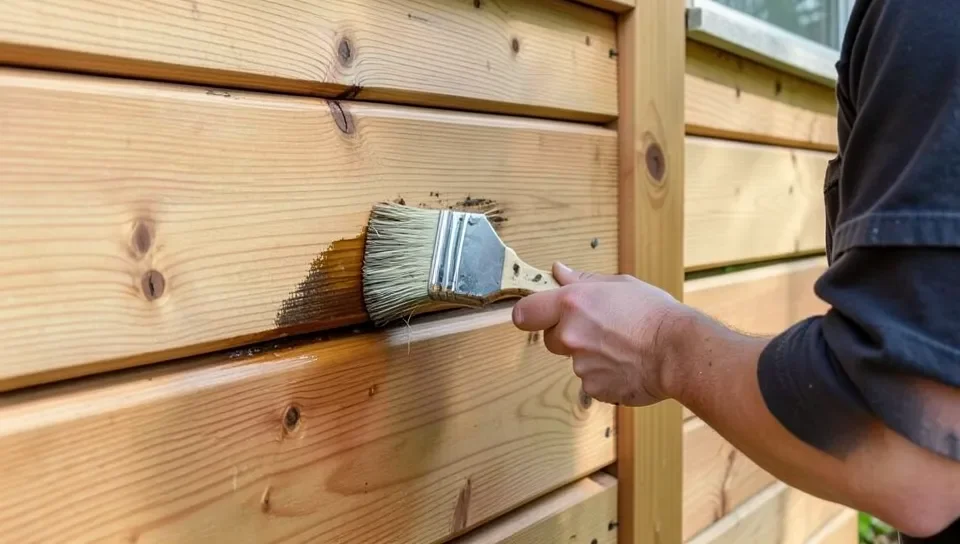
Clean the wood and let it dry fully before staining or sealing, since finish applied over a damp or dirty surface won’t bond properly and can peel prematurely. A semi-transparent exterior stain lets the grain show through while adding UV protection, which slows the graying process if that’s not the look you want; a solid stain or exterior paint fully hides the wood but needs a primer coat first for the best adhesion. Apply a water-repellent sealer as a final step or reapply it every couple of years even over stained or painted cladding – it’s the layer that actually keeps moisture from getting behind the finish and starting rot at the board edges.
Ongoing Maintenance
Wash cedar cladding with a soft brush and mild soap roughly twice a year, avoiding pressure washers on close settings since they can drive water into the wood grain and damage the surface fibers. Inspect for new cracks, soft spots, and discoloration during each cleaning, and address small cracks with filler before they widen into structural splits. Trim back bushes and plants growing against the cladding, since foliage held against the wood traps moisture and is a common, avoidable cause of localized rot.
Frequently Asked Questions
How Do You Prepare Cedar Cladding For Fixing?
Clean the cladding with mild soap and water, let it dry completely (this can take a full day), and inspect every board for cracks, soft spots, and loose fasteners before starting repairs. Sand any rough edges around the damaged area so filler or a new board sits flush.
What Tools Do You Need To Fix Cedar Cladding?
A hammer or nail gun, pry bar, saw, tape measure, and level cover most repairs. Add wood filler or exterior epoxy filler, sandpaper, and stainless or hot-dip galvanized fasteners specifically – standard steel fasteners react with cedar’s tannins and cause dark staining.
How Do You Secure Cedar Cladding?
Secure cedar cladding with stainless steel or hot-dip galvanized nails or screws driven into the wall studs, spaced evenly according to the cladding manufacturer’s or the original installation’s pattern. Avoid plain or electro-galvanized steel fasteners, since they corrode and react with cedar’s natural tannins, causing black streaking around each fastener head.
Can You Fix Cedar Cladding Yourself?
Yes, for most common issues – cracks, loose boards, refinishing – a DIY repair with the right materials and fasteners produces a good result. Rot that’s spread into structural framing behind the cladding, or damage across a large area, is a reasonable point to bring in a contractor rather than patching piece by piece.
Conclusion
Silvery weathering on cedar cladding is cosmetic and doesn’t need fixing; cracks, rot, and loose boards do. Use stainless or hot-dip galvanized fasteners for any repair or replacement to avoid the tannin-staining mistake that plagues cedar projects, let repairs cure fully before finishing, and keep up with the twice-a-year cleaning that catches small problems before they become board-replacement jobs.
Sponsored / affiliate links. As an Amazon Associate I earn from qualifying purchases. I may earn additional commission from eligible campaigns.