How to Fix a Cedar Spray Mop: Full Repair Guide
Most cedar spray mop problems come down to one of four things: a clogged nozzle, a cracked or loose reservoir seal, a wobbly handle connector, or a worn-out microfiber pad. Every one of them is fixable at home with a screwdriver, a brush, and about 15 minutes — no need to replace the whole mop.
This guide walks through a full teardown-and-repair of the mop itself — the nozzle, the handle, and the water reservoir. If your specific symptom is that the spray function has stopped working entirely, our dedicated troubleshooting guide for a spray mop that won’t spray covers that single issue in more depth; keep reading here if you want to repair the mop as a whole or aren’t sure yet what’s actually wrong.
Diagnosing the Problem First
Best For a Worn-Out Mop Pad
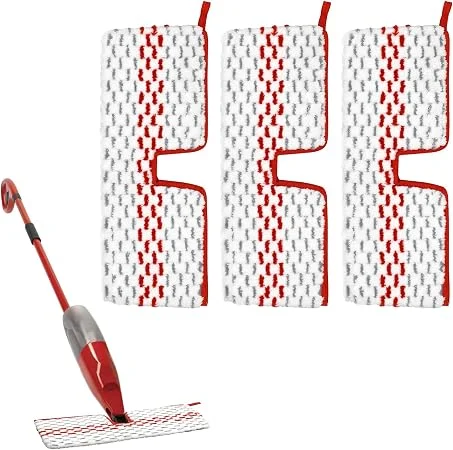 |
GFRED Microfiber Replacement Pads – $12.99 If your mop’s problem is a flattened, stained, or frayed pad rather than the spray mechanism itself, no amount of repair fixes that — it just needs replacing.
|
Before opening anything up, narrow down which part is actually failing:
- Mop doesn’t spray at all or sprays weakly: almost always a clogged nozzle or an empty/low reservoir — see “Fixing the Spray Mechanism” below.
- Mop leaks from the bottle or handle joint: a cracked reservoir, a bad seal, or a loose connector — see “Maintaining the Water Reservoir.”
- Handle feels loose or wobbly: a loose or stripped screw connection — see “Repairing the Handle.”
- Floor isn’t getting clean even though the mop sprays fine: the pad is worn out, not the mechanism — replace the pad rather than repairing anything.
Tools You’ll Need
A small Phillips screwdriver, a stiff-bristled small brush (an old toothbrush works), a straightened paperclip or thin wire, a cleaning cloth, and white vinegar. Pliers and a drop of silicone lubricant help but aren’t required for most repairs.
Fixing the Spray Mechanism
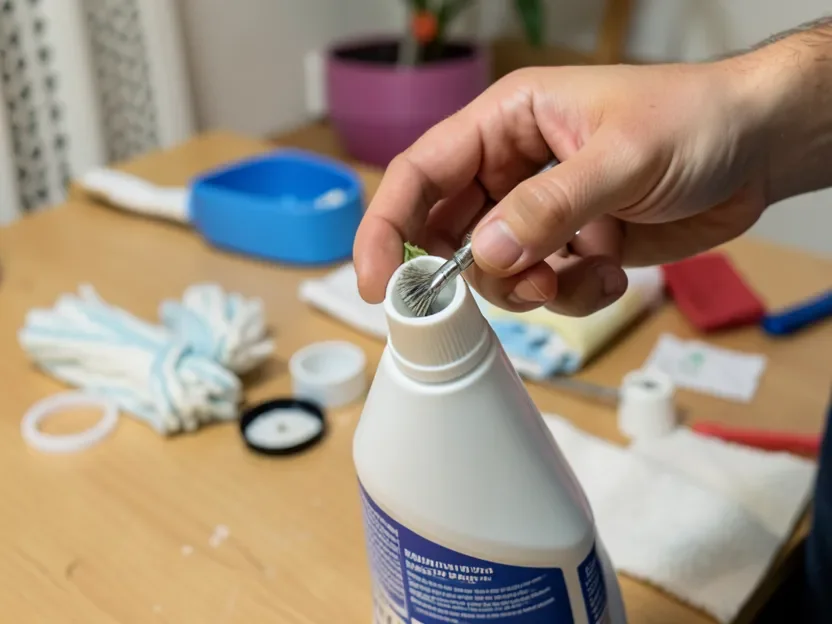
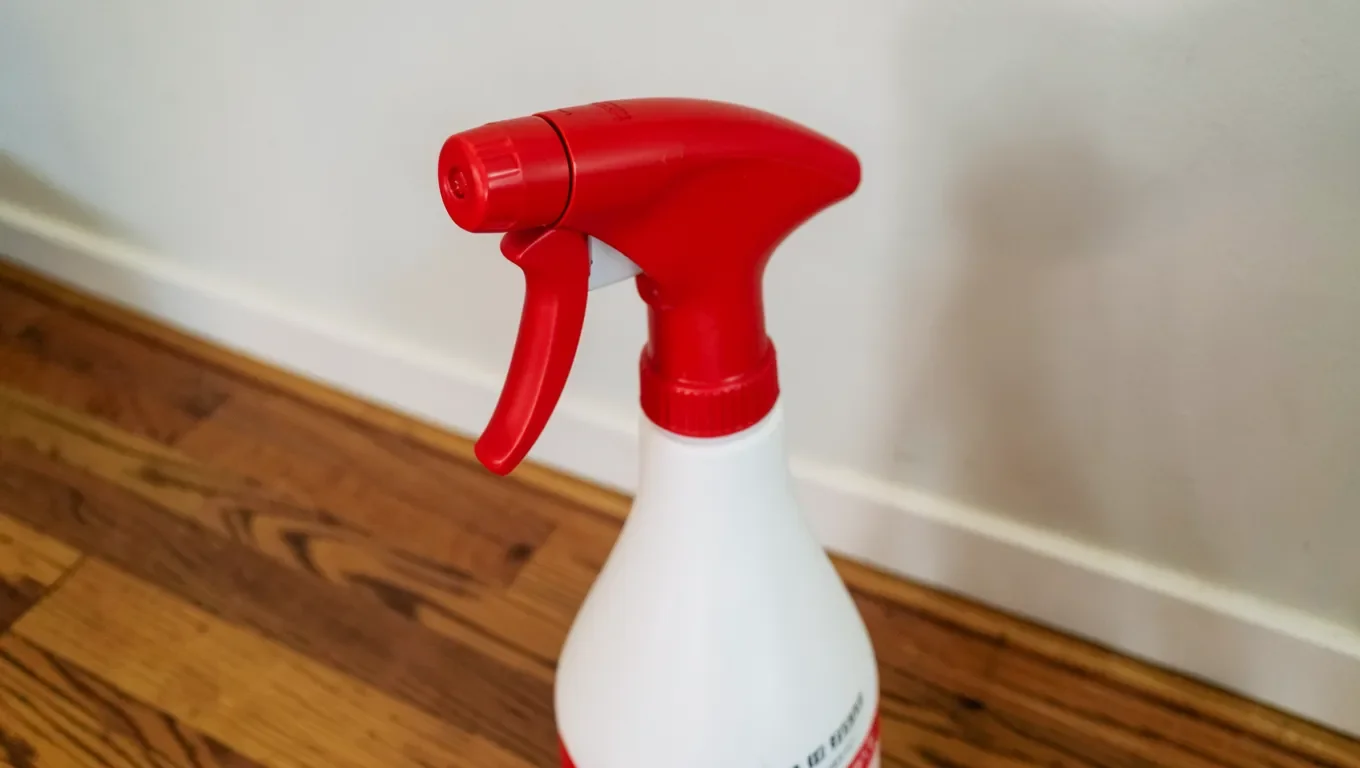
Most spray failures trace back to mineral buildup or debris in the nozzle, not a broken pump. Unscrew the nozzle cap from the bottle and inspect the small opening — hard water deposits often look like a white or gray crust around the hole. Soak the nozzle in warm water with a splash of white vinegar for 10-15 minutes to dissolve mineral buildup, then use a stiff-bristled brush or a straightened paperclip to clear the opening itself. Avoid widening the hole with anything metal and rigid — that changes the spray pattern permanently.
If the nozzle is clean but the mop still won’t spray, the tubing between the reservoir and the nozzle may be kinked or blocked. Remove the reservoir, straighten any visible kinks in the tube, and run a thin wire through it to clear blockages. Reattach everything, refill with clean water (tap water with heavy mineral content is a common repeat cause — distilled water avoids re-clogging the nozzle), and test the trigger a few times before returning to normal use.
Repairing the Handle
A wobbly handle is almost always a loose screw or a worn connector joint, not a broken shaft. Locate the screws at the base of the handle and the swivel head, and tighten each with a Phillips screwdriver — don’t overtighten into plastic threads, which strips them. If a connector joint still has play after tightening, the internal plastic tabs that lock it in place may have worn down or snapped; a replacement handle section (sold separately by most spray mop brands) is the fix at that point, since the tabs themselves aren’t repairable.
Maintaining the Water Reservoir
Leaks almost always come from one of two places: a cracked reservoir bottle or a worn gasket under the cap. Remove the reservoir and check the plastic for hairline cracks, especially near the base where it takes the most stress — a cracked bottle needs replacing, not patching, since anything sealing the crack will fail under the pressure of squeezing the trigger. If the bottle itself is intact, check the rubber gasket ring under the cap; a flattened or missing gasket lets water seep out around the threads even when the cap is tight. A basic O-ring from a hardware store’s assortment pack is a cheap substitute if the mop’s specific gasket isn’t sold separately.
While it’s apart, rinse the inside of the reservoir with warm water and a few drops of dish soap to clear any mold or mildew film, especially if the mop has sat with water in it for more than a few days between uses. Let it air-dry completely before reassembling — sealing in trapped moisture is what causes the musty smell some spray mops develop over time.
Reassembling and Testing
Reconnect the handle to the base until it clicks or seats fully, reattach the reservoir to its holder, and confirm the nozzle lines up with the trigger mechanism before snapping the pad back onto the Velcro strips on the mop head. Fill the reservoir with clean water, squeeze the trigger 3-4 times over a sink, and check for an even, cone-shaped mist rather than a weak dribble or an off-center stream — either of those means the nozzle or tubing still needs attention before it goes back into regular use.
Preventing the Same Problem Again
- Use distilled or filtered water if your tap water is hard — mineral buildup in the nozzle is the single most common cause of spray failure, and it’s also the easiest to prevent.
- Empty the reservoir between uses if you won’t be mopping again within a day or two, rather than leaving water sitting in the tank.
- Rinse the pad after every use and machine-wash it weekly without bleach, which breaks down microfiber over time.
- Store the mop upright in a dry spot rather than laid flat in a damp closet or garage.
Frequently Asked Questions
Why Does My Spray Mop Nozzle Keep Clogging?
Hard tap water is the most common cause — dissolved minerals crystallize inside the small nozzle opening every time it dries between uses. Switching to distilled or filtered water in the reservoir usually stops the problem from recurring, even after a one-time cleaning fixes the immediate clog.
How Do I Disassemble a Spray Mop for Cleaning?
Detach the microfiber pad from the Velcro strips first, then unscrew or unclip the reservoir bottle from its holder on the handle. Most handles separate into two or three sections by twisting and pulling apart at the visible seams — check for a small release button or clip at each joint before forcing it, since forcing an undisclosed locking tab is what usually cracks the plastic.
Can I Use Vinegar to Clean a Spray Mop Nozzle?
Yes — a short soak in a warm water and white vinegar mix is one of the more effective ways to dissolve mineral deposits in a clogged nozzle. Rinse the nozzle thoroughly with plain water afterward before reattaching it, so no vinegar residue ends up sprayed onto your floors.
How Long Should a Cedar Spray Mop Pad Last Before Replacing It?
With weekly washing, a quality microfiber pad typically holds up for 3-6 months of regular use before it stops picking up dirt effectively, though heavy daily use can wear one out faster. If the pad no longer feels plush or leaves streaks on an otherwise clean floor after washing, it’s worn out rather than dirty, and replacing it is the fix.
Conclusion
Most cedar spray mop failures are a clogged nozzle, a worn seal, a loose handle screw, or a tired pad — all fixable in under 15 minutes without replacing the mop. Work through the diagnosis steps above to find which part is actually failing before opening anything up, and switch to distilled water in the reservoir if hard water is the culprit, so the same clog doesn’t come back in a month.
Sponsored / affiliate links. As an Amazon Associate I earn from qualifying purchases. I may earn additional commission from eligible campaigns.