How to Get Bark off Wood: Tools, Methods, and Safety Tips
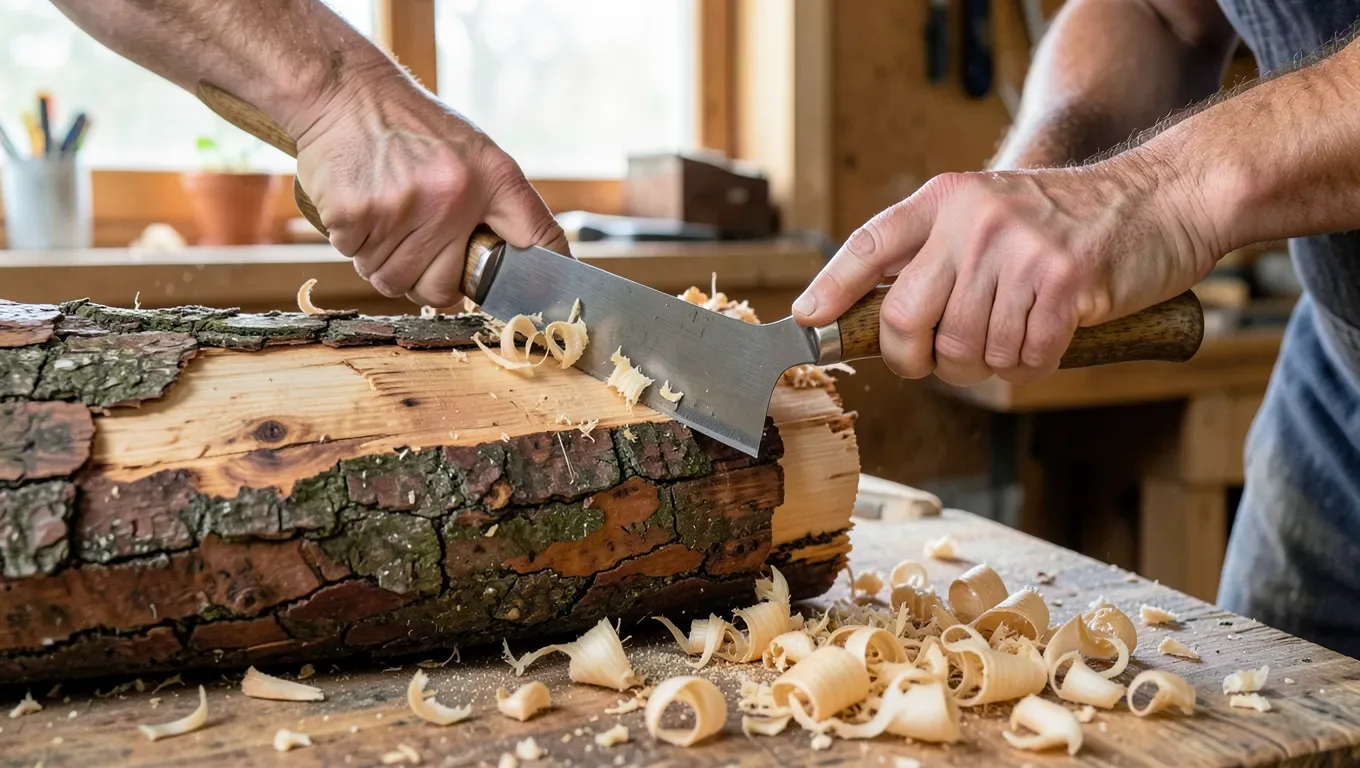
The fastest reliable way to get bark off wood is a drawknife: hold it at a low angle and pull it toward you along the grain, letting the blade lift the bark rather than digging into the wood underneath. For bark that’s stuck tight, soaking the log or letting it season for a few weeks first makes a real difference – green bark on freshly cut wood is far harder to remove than bark that’s had time to dry and separate naturally.
Below is the full range of methods – hand tools, boiling, and chemical strippers – what each one is actually good for, and the safety issues that matter with each.
Why Bother Removing Bark at All
Best Tool For Debarking Logs By Hand
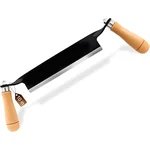 |
10-Inch Straight Drawknife – $20.59 The two-handed pull motion gives you far more control and speed than a chisel for stripping bark off logs and branches.
|
Bark traps moisture against the wood underneath, which is the direct cause of the rot and insect problems people run into on stored logs and slabs. It also hosts bark beetles and other pests that can spread to nearby lumber. For furniture, live-edge slabs, or turned pieces, bark removal is also just about the finished look – almost nothing under a clear finish looks worse than bark that’s started to flake and curl. If you’re working with a live-edge slab specifically, see our guide on how to debark live edge wood without damaging the slab for the timing and sealing steps that keep the contour intact.
The Right Tool for the Wood You Have
Drawknife: The standard tool for logs and branches – a long, sharp blade with handles on both ends that you pull toward yourself. Fast, controllable, and the best option for most bark-removal jobs.
Chisel and mallet: Good for stubborn patches a drawknife can’t get under, or for detail work around knots and branch stubs.
Bark spud: A flat, spade-like tool traditionally used by loggers to pry large sheets of bark off in one piece – efficient on freshly cut, green logs where the bark hasn’t bonded tightly yet.
Wire wheel on a drill or angle grinder: Works for thin bark or finishing off residue after hand-tool removal, but it’s aggressive – go slowly near the wood surface so you don’t gouge it.
Whichever tool you use, wear real cut-resistant gloves (not just any gloves), safety glasses, and a dust mask if you’re getting into the sanding stage – bark and the debris under it carry a lot of grit that dulls blades and throws splinters.
Prep: Let the Bark Loosen Itself First
Timing matters more than most guides admit. Bark on a tree that was cut within the last few days is usually bonded tight and fights you the whole way. Bark on wood that’s been down for a few weeks to a few months, especially through a wet/dry cycle, has often already started separating from the cambium layer underneath and comes off in much larger, easier pieces. If you’re not in a hurry, letting a log season for a few weeks before you start is the single easiest way to make this job faster.
Boiling Method (Small Pieces Only)
For smaller pieces – branches, sticks for craft work, small turning blanks – submerging the wood in a rolling boil for around 30 minutes softens the bark enough to peel by hand or with a putty knife once it’s cooled. This isn’t practical for anything log-sized, and boiling wood can affect its moisture content and future drying behavior, so it’s really a small-piece technique, not a general method.
Chemical Bark Strippers: Real Option, Real Risk
Commercial bark-stripping products exist, and some use sodium hydroxide or potassium hydroxide (lye) as the active ingredient to break down the bonding layer between bark and wood. These work, but they are genuinely caustic chemicals – they cause skin burns on contact and serious eye damage from splashes or fumes, not just mild irritation. If you use one:
- Wear chemical-resistant gloves (nitrile, not fabric or leather) and splash-rated eye protection, not regular safety glasses.
- Work outdoors or in a well-ventilated space – the fumes are more of a problem than most product labels suggest.
- Keep it away from kids, pets, and bare skin entirely, and have water on hand to rinse immediately if it contacts skin.
- Follow the dwell time on the label exactly – leaving it on longer doesn’t work faster, it just increases the burn risk when you rinse it off.
For most home-shop projects, a drawknife plus patience does the job without introducing a caustic chemical into your garage. Save the chemical strippers for large batches where hand tools genuinely aren’t practical.
After the Bark Is Off: Drying and Sanding
Stack the debarked wood somewhere dry with air circulating around every piece – stickers (thin spacer strips) between layers if you’re stacking more than one piece. Once dry, sand with a coarse grit first to knock down tool marks, then work up through progressively finer grits, always sanding with the grain. Wipe with a damp cloth afterward to pull off sanding dust before finishing.
When Bark Won’t Budge
A few spots that won’t lift with a drawknife usually mean the bark is still green and tightly bonded, or you’re working against a knot or branch stub where the grain runs differently. Switch to a sharp chisel for those spots and work in small sections rather than fighting the drawknife through them. If the whole piece is fighting you, it’s usually faster to let it season another week or two than to force it with more aggressive tools.
Removing Bark from a Living Tree
This is worth calling out on its own: stripping bark from a living tree can genuinely injure or kill it, since bark carries the vascular tissue the tree uses to move water and nutrients. A ring of bark removed all the way around a trunk (girdling) will kill everything above that point. If you need bark off a live tree for any reason, keep it to the smallest area possible and check with an arborist first – this isn’t the same low-stakes job as debarking a cut log.
What to Do With the Bark
Bark composts well – break it into smaller pieces so it breaks down faster, and mix it into a compost pile with kitchen scraps and yard waste rather than piling it alone (large chunks of bark alone can take a very long time to break down). It also works as mulch as-is if you’d rather skip composting.
Frequently Asked Questions
How can I remove bark from wood easily?
A drawknife held at a low angle, pulled toward you along the grain, is the fastest hand-tool method. Bark that’s had a few weeks to dry and separate from the wood comes off far easier than bark on a freshly cut log.
What tools are best for stripping bark?
A drawknife for most jobs, a chisel for stubborn spots and detail work around knots, and a bark spud for prying large sheets off green, freshly cut logs. A wire wheel can finish off thin residue but is aggressive on the wood surface.
Is it safe to remove bark from live trees?
Not without real risk to the tree. Bark carries the vascular tissue trees use to move water and nutrients, and removing a full ring around the trunk (girdling) can kill it. Keep any removal on a living tree minimal and check with an arborist first.
Can I use chemicals to remove bark?
Yes – commercial strippers using sodium or potassium hydroxide work, but they’re genuinely caustic and can burn skin or damage eyes on contact. Use chemical-resistant gloves and splash-rated eye protection, work in ventilated space, and reserve this method for large batches where hand tools aren’t practical.
Bottom Line
A drawknife handles the vast majority of debarking jobs, and letting the wood season for a few weeks before you start does more to make the job easier than any tool choice. Save boiling for small pieces and chemical strippers for large-volume work where the added risk is worth the time saved.
Sponsored / affiliate links. As an Amazon Associate I earn from qualifying purchases. I may earn additional commission from eligible campaigns.