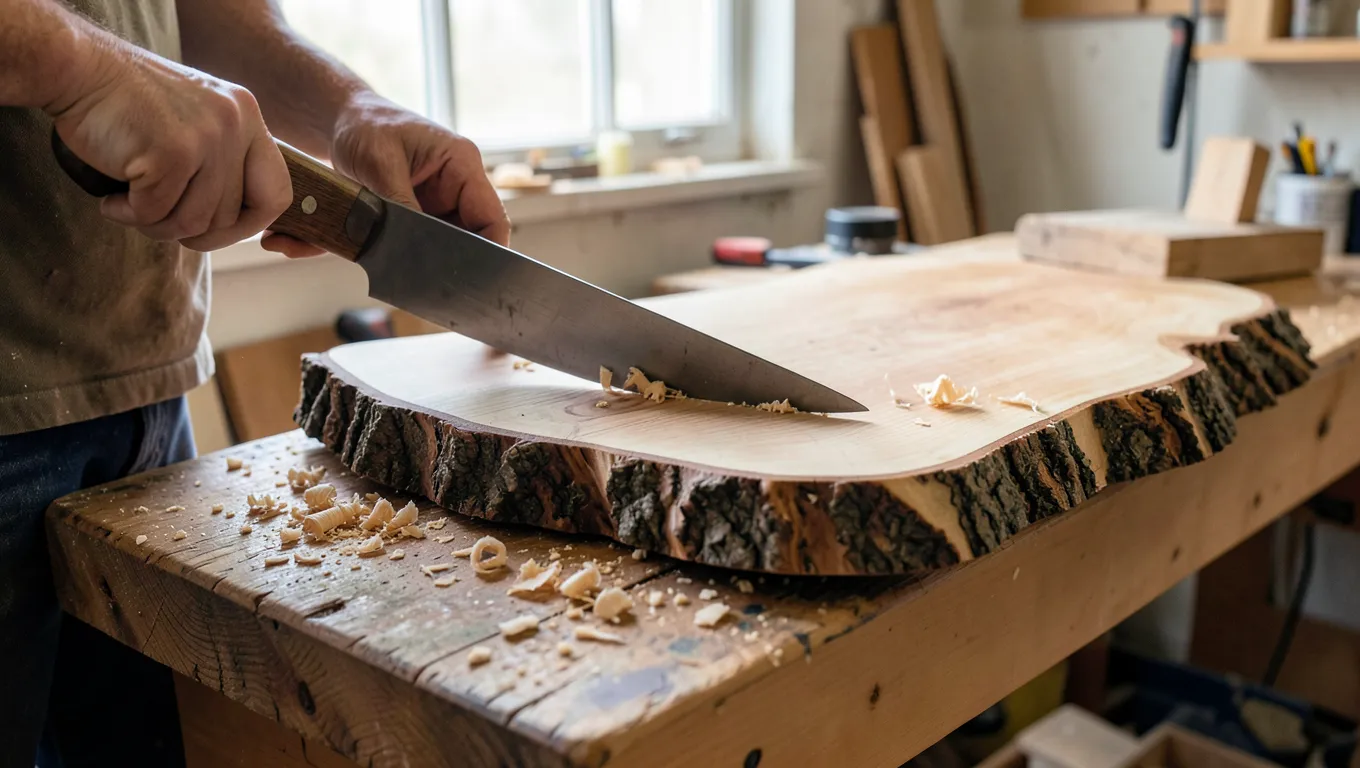
How to Debark Live Edge Wood Without Damaging the Slab
Debark a live edge slab with a curved drawknife or bark spud as soon as possible after milling, while the bark is still loose over the wet cambium layer – then seal the freshly exposed edge right away with an end-grain sealer to stop it from checking as the slab dries.
That sequence matters more than the tool you pick. Wait too long and the bark welds itself to the wood as it dries, turning a 20-minute job into an afternoon of fighting the slab. Skip the sealing step and the same undulating edge you worked to protect can split wide open in a matter of weeks. Here’s how to do both parts right, plus the tools that follow a live edge’s curves instead of gouging them.
Why Live Edge Slabs Need a Different Approach Than Regular Logs
Best Curved Drawknife for Live Edge Slabs
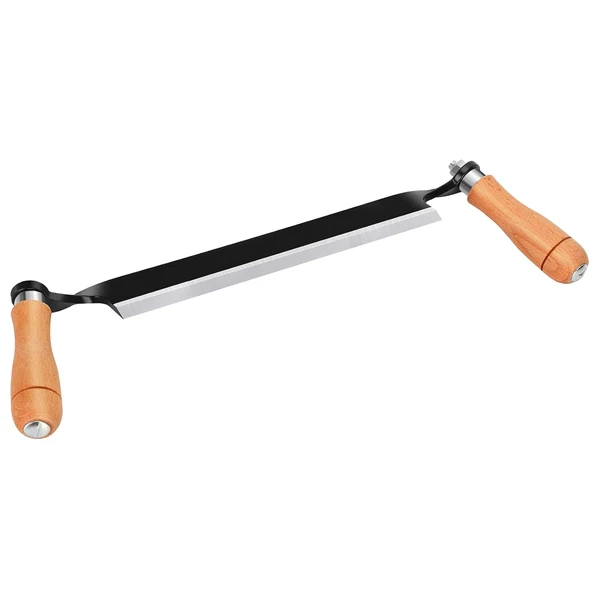 |
Beendou 8″ Curved Draw Knife – $21.99 Its curved blade rides over the bumps of a live edge instead of catching on them like a straight drawknife does.
|
Debarking a fence post or a piece of firewood is a one-and-done job – strip the bark and move on. A live edge slab is different because that bark line stays visible forever as the finished edge of a table, bench, or shelf. Every gouge, every torn-out sliver of sapwood, and every missed spot of bark shows up permanently in the final piece.
There’s also a practical reason to take debarking seriously on a slab: it’s going to sit around drying for months, sometimes over a year for a thick hardwood section. Bark left in place traps moisture against the sapwood underneath and gives bark beetles and other wood-boring insects a place to lay eggs undisturbed. On a log you’re burning next winter, that’s a non-issue. On a slab you’re planning to turn into a dining table, an infestation discovered a year into drying can mean throwing the whole piece away.
Live Edge Doesn’t Actually Mean Keeping the Bark
This trips up a lot of people starting their first live edge project: “live edge” refers to the natural, undulating contour of the tree’s outer surface – not to the bark itself. The bark almost always comes off. What survives into the finished piece is the shape that bark line traced: the bumps, curves, and knots that follow where the tree actually grew, instead of a machine-straightened rectangle.
A handful of species (some cherry and madrone in particular) have bark that’s thin, tight, and attractive enough that woodworkers occasionally stabilize small sections in place with cyanoacrylate glue or epoxy for a rustic look. But that’s the exception, chosen deliberately for a specific look, not the default. On the vast majority of slabs – oak, walnut, maple, elm – the bark comes off completely, and the “live edge” is the clean, bark-free wavy line underneath it.
Debark Right After Milling, Not After the Slab Has Dried
Timing is the single biggest factor in how hard this job is. Bark is attached to the trunk through a thin, moist layer called the cambium. In a freshly cut or freshly milled log, that layer is still wet and slightly slippery, which lets bark separate from the wood underneath in long strips with fairly light pressure.
Once a log or slab dries out – even for a few weeks in warm weather – the cambium layer dries and the bark effectively glues itself to the sapwood. At that point you’re not peeling bark anymore, you’re chiseling it off in small, stubborn pieces, and it’s far easier to tear out chunks of the soft sapwood underneath along with it. If you’ve picked up a slab that’s already been sitting for a while, expect the job to take noticeably longer and plan on more sanding afterward to clean up torn spots.
One exception worth knowing: in late winter and early spring, rising sap can actually make bark come off some species (many oaks and maples) even more easily than usual – sometimes called “slipping bark.” If you have a choice of when to fell or mill, that window is worth using.
Tools That Follow the Curve Without Gouging It
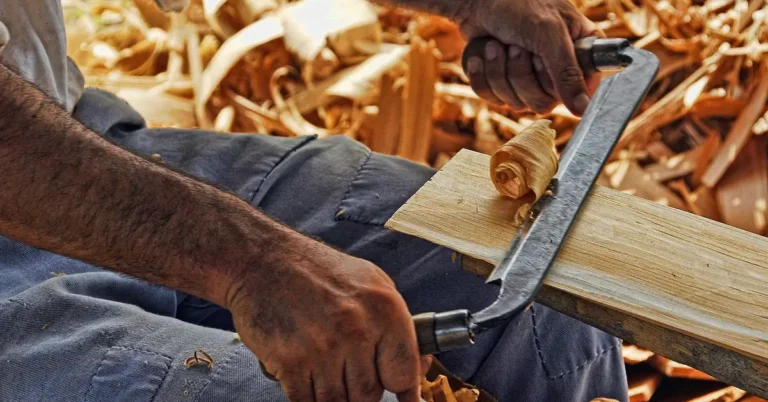
A straight drawknife works fine on a fence post, but a live edge slab’s contour rises and falls, and a long straight blade will catch on the high points and skip the low ones. A curved (or “compass”) drawknife is built for exactly this: the blade’s arc lets it ride over bumps and follow inward curves without you having to constantly change the angle of attack.
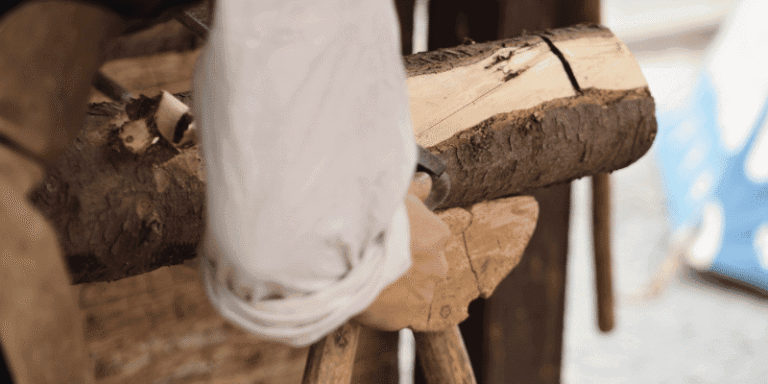
A bark spud – a flat, slightly curved blade on a handle, traditionally used by loggers – is the better choice for large, loosely-attached sheets of bark on a freshly cut slab; you drive it under the bark edge and pop long strips free without touching the wood at all. Save the drawknife for smaller sections and tight spots around knots.
For the last stubborn patches, especially around knots, forks, and burl areas where the grain runs every direction, a sharp chisel tapped gently with a mallet gives you more control than either the drawknife or spud. Skip the wire wheel on an angle grinder for anything near the actual edge line – it’s fast on flat bark, but it’s very easy to round over or chew into the live edge contour you’re trying to preserve, and there’s no fixing that afterward.
Step-by-Step: Debarking a Live Edge Slab
- Set the slab on sawhorses or a bench at a height where you can pull the drawknife toward you comfortably, bark side up.
- Start at one end where the bark is thickest or already lifting slightly – that’s usually the easiest place to get a strip started.
- Work the bark spud under the loosened edge and push forward along the grain to pop off large sheets where the bark allows it.
- Switch to the curved drawknife for the rest of the run, pulling in smooth, overlapping strokes and letting the curved blade follow the slab’s contour rather than forcing a straight line.
- Slow down around knots and forks – drop to the chisel and mallet here instead of pushing the drawknife through, since grain direction changes unpredictably in those spots.
- Once the bark is off, run a gloved hand along the whole edge feeling for any remaining slivers of bark or loose cambium, and lift them off with the chisel tip.
- Brush off any loose debris before moving straight to sealing – don’t let a bare edge sit exposed overnight if you can help it.
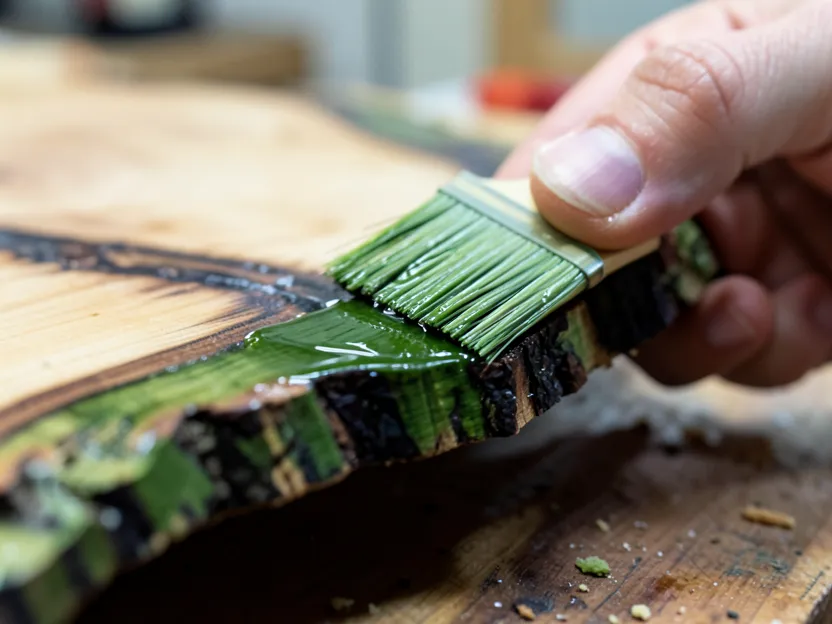
Seal the Edge Immediately After Debarking to Stop Checking
Wood loses moisture through its end grain many times faster than through its face grain, and a freshly debarked live edge is essentially one long strip of exposed end grain wherever the grain runs out to meet it. Left bare, that uneven moisture loss is what causes checking – the cracks that run in from the edge as the outside of the slab dries and shrinks faster than the still-wet interior.
A dedicated end-grain sealer (wax-emulsion products like Anchorseal are the standard in sawmills) brushed on within a day of debarking slows that moisture loss down to something closer to the rate of the rest of the slab. If you don’t have a dedicated sealer on hand, a coat of diluted PVA wood glue (roughly 1 part water to 3 parts glue) does a reasonable job in a pinch, though it won’t hold up outdoors as long as a purpose-made product.
Apply it heavier at the very edge and on any exposed knots, and don’t skip re-coating spots that look thin after the first coat soaks in. Then get the slab into a dry, covered, well-ventilated space stacked on stickers (small spacer strips) so air can move around it evenly – direct sun or a damp basement corner will undo the benefit of a good sealing job.
Mistakes That Ruin an Otherwise Good Slab
- Waiting too long to start: letting a slab sit for weeks before debarking turns an easy peel into a fight, and increases the odds of tearing sapwood.
- Grinding right up to the edge line: a wire wheel or flap disc is fine on the flat bark well away from the contour, but it rounds over the exact detail that makes a live edge look intentional.
- Skipping the seal coat: even one warm, dry afternoon with a bare edge can start a check that runs inches into the slab.
- Storing the slab flat on concrete or bare ground: uneven airflow underneath causes the bottom face to dry at a different rate than the top, which warps the whole board over time.
- Removing bark from only the “show” side: insects and moisture don’t care which side faces up in your shop – debark and seal the whole perimeter, not just the parts you can see.
Frequently Asked Questions
Do you have to remove all the bark on a live edge slab?
Yes, in almost every case. “Live edge” describes the wavy natural contour left behind once the bark is removed, not the bark itself. A few thin-barked species are occasionally stabilized and kept as an intentional design choice, but on most hardwoods the bark comes off completely and the clean edge underneath is the finished look.
What’s the best tool for debarking a live edge slab without damaging the edge?
A curved drawknife for the long runs, a bark spud for large loose sheets on a freshly cut slab, and a sharp chisel and mallet for tight spots around knots and forks. A straight drawknife or a wire wheel both tend to catch or round over the contour on curved sections.
How soon after milling should you debark a live edge slab?
As soon as you reasonably can, ideally within a few days. The cambium layer between the bark and the wood is still moist right after milling, which lets the bark separate easily. Once that layer dries out, the bark bonds tightly to the sapwood and takes much more time and effort to remove.
Do you need to seal a live edge slab after debarking?
Yes. The exposed edge loses moisture much faster than the flat faces of the slab, and that uneven drying is what causes checking and cracks. Brushing on an end-grain sealer (or a diluted PVA glue mix as a backup) within a day of debarking slows that moisture loss and significantly reduces the risk of cracks running into the slab.
Once the edge is debarked and sealed, the slab is ready for the slow part – drying. If you haven’t sorted out timing and end-sealing for the rest of the log, our full guide to drying wood logs without cracking covers stacking, stickering, and how long to wait before milling into lumber. And for project ideas once the slab is stable, see how a finished slab comes together in a live edge river table build.
Sponsored / affiliate links. As an Amazon Associate I earn from qualifying purchases. I may earn additional commission from eligible campaigns.
 Kukmakri 5 Pack Medium Wood Country Planks with Live Edge Bark, 7 x 11' Unfinished Rectangle Plank for Crafts and Laser Engraving
 VICASKY 2PCS Small Wood Maintenance Beeswax Polish for Furniture Floors Natural Yellow Seasoning Wax for Crack Repair Surface Protection Food Safe Organic Formula Easy Application for