How to Refinish Wood Railings
Refinish wood railings by cleaning, sanding sound finishes, stripping failing ones, and choosing stain or paint based on what remains. Skip proper prep and peeling, blotchy color, and weak adhesion return fast on high-touch rails. This guide covers interior banisters and exterior railings, with sanding, stripping, spot repair, and finish choices by condition.
Start with the railing condition
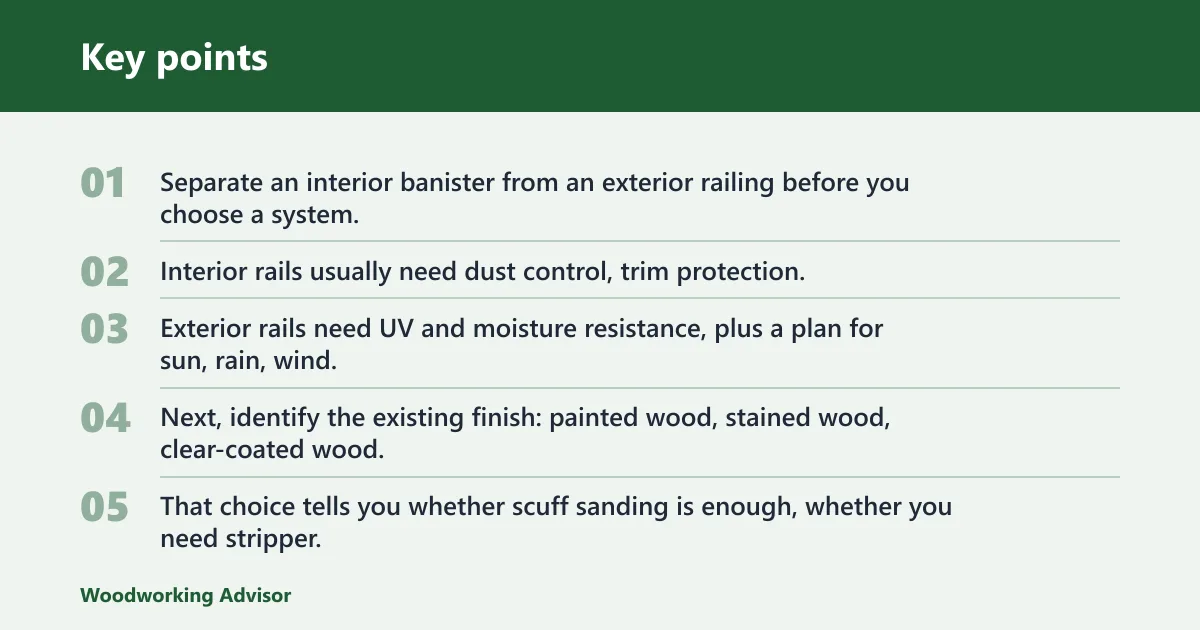


Separate an interior banister from an exterior railing before you choose a system. Interior rails usually need dust control, trim protection, and a finish that tolerates hand contact. Exterior rails need UV and moisture resistance, plus a plan for sun, rain, wind, and drying time.
Next, identify the existing finish: painted wood, stained wood, clear-coated wood, or bare wood. That choice tells you whether scuff sanding is enough, whether you need stripper, and whether you should stay with paint, move to stain, or use a sealer or topcoat.
Stop and inspect for loose rails, loose balusters or spindles, rotten posts, and code or safety issues before you sand. A wobbly handrail or a failing newel post is a repair job first. Do not cover a structural problem with finish.
What you’ll need
- Cleaner or degreaser for railings and stairs; TSP or a deck cleaner for exterior grime, if the label allows it
- Bucket, sponge, scrub pad, rinse water, and clean rags
- Orbital sander or palm sander
- Hand sanding blocks and folded sandpaper for profiles, spindles, and corners
- Sandpaper in a grit progression suitable for the finish condition
- Paint stripper that matches the existing coating and substrate
- Wood filler, epoxy, patching compound, and replacement fasteners
- Primer for paint projects, plus stain or sealer for the finish plan
- Brushes, mini-rollers, and a small tray
- Drop cloths, plastic sheeting, painter’s tape, and masking paper
- Shop vacuum, preferably with dust collection attachments
- Safety gear: gloves, eye protection, and a respirator or mask rated for sanding dust and stripper fumes
- Lead-safe supplies for older painted railings, including containment materials and disposal bags
Should you repair the railing first?
Yes. Fix looseness, rot, and cracked parts before any cosmetic work. A finish cannot stabilize a loose baluster or a soft newel post, and sanding can make a weak section worse if the wood is already failing.
When a loose baluster needs fastening
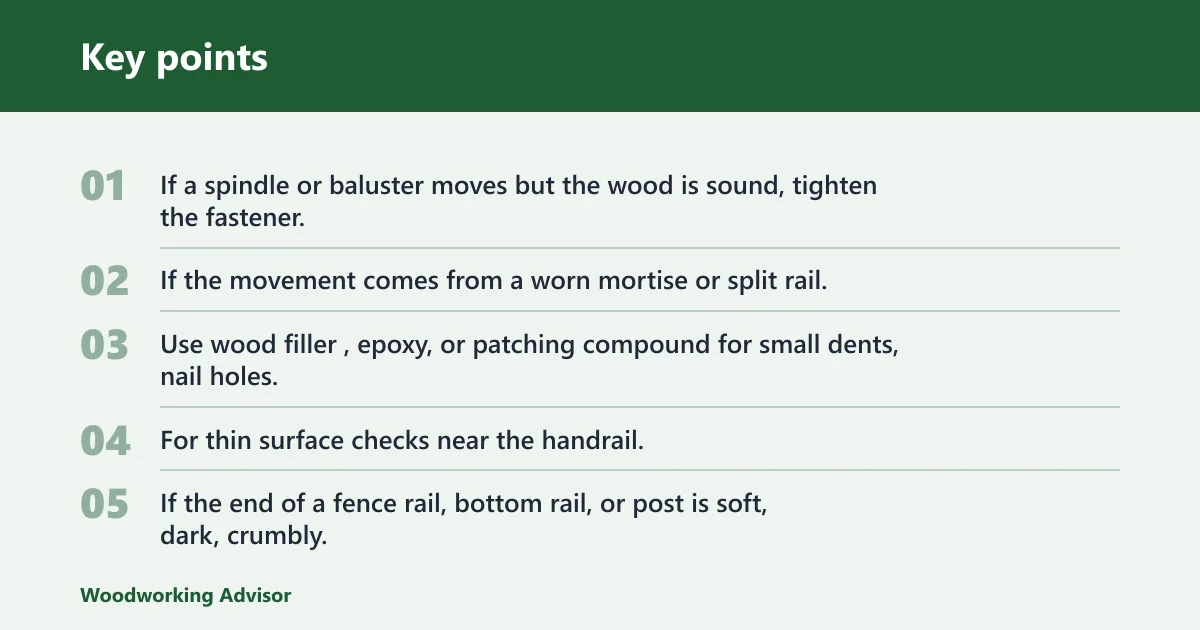
If a spindle or baluster moves but the wood is sound, tighten the fastener, reset the joint, or reglue as the joint allows. Check the top rail and bottom rail too. If the movement comes from a worn mortise or split rail, reinforce or replace the damaged part rather than filling over it.
When filler or epoxy is enough
Use wood filler, epoxy, or patching compound for small dents, nail holes, and shallow chips on sound wood. Let it cure fully, then sand flush. For thin surface checks near the handrail, a repair compound can be enough if the wood around it is still hard and attached.
When rot means replacement, not refinishing
If the end of a fence rail, bottom rail, or post is soft, dark, crumbly, or swollen from moisture, replacement is usually the right call. Localized rot on a nonstructural trim piece may be patchable. Rot on a load-bearing railing section is not a cosmetic issue.
Step 1: clean and dry the wood
Clean first so sanding does not push grime into the grain. Remove dust, skin oil, mildew, and old cleaner residue from the top rail, balusters, posts, and the underside where hands do not usually reach. Clean the railing and stairs before any finish work.
- Cover nearby floors and walls with drop cloths and masking paper.
- Vacuum loose debris from rails, spindles, and stair treads.
- Wash with the correct cleaner for the finish and exposure.
- Rinse or wipe away residue completely.
- Let the wood dry fully before sanding or coating.
For exterior work, use a deck cleaner or TSP only if the label supports the surface. A pressure washer may lift splinters and slivers on weathered wood, so use it carefully or skip it when the surface is already fragile.
Should you sand or strip first?
Use sanding when the finish is sound but dull, lightly scratched, or only needs deglossing. Use stripper when paint is peeling, finish is built up in layers, or the old coating is incompatible with the new one. On railings, the profile matters as much as the coating.
Use hand sanding on profiles, spindles, and corners
Use an orbital sander on flat rail faces and posts, then switch to hand sanding for spindles, rounded handrails, and tight corners. Sand with the grain. Start with a grit that levels the defect, then move to a finer grit for the final pass. On narrow profiles, hand sanding gives more control and less rounding over detail.
Treat older painted railings as possible lead paint
If the railing may have pre-1978 paint, use lead-safe practices before disturbing it. That means contain dust, avoid dry sweeping, and use proper disposal. If the coating is heavily failed, chemical stripping or a lead-safe removal plan is safer than aggressive sanding that spreads dust through the stair area. (Healthvermont)
Step 2: prep the surface for the new finish
After sanding or stripping, vacuum the railing thoroughly and remove residue with a clean cloth. Some tack cloths can leave residue that interferes with water-based finishes, so use them only if the product label allows it. On clear water-based systems, a vacuum and a lightly damp lint-free cloth are often the safer final wipe.
- Sand with the grain and step through finer grits until the surface feels even.
- Vacuum the rail, balusters, posts, and stair edges.
- Wipe off remaining dust with a clean cloth.
- Spot-prime bare patches on paint projects.
- Feather filler and repair edges so they disappear under finish.
For painted railings, use primer on bare wood and over repairs. Spot priming is often enough when the rest of the coating is sound. Full priming is commonly recommended when you strip to bare wood, switch from stain to paint, or need better bonding over mixed repairs.
Should you paint, stain, or seal it?
Choose paint when you want a fully opaque look or need to cover patchy color on an older railing. Choose stain when you want wood grain to stay visible. Choose a sealer or clear topcoat only when the existing finish is sound and compatible, and the wood species and exposure fit that choice.
For exterior work, a good clear waterproofer can suit fine wood species. A tinted waterproofer can renew natural wood color. Semi-transparent stain masks knots and discoloration better than a toner, while solid color stain hides wood grain and color completely.
Match the product to exposure. Exterior railings need UV and moisture protection. Interior banisters need a durable finish that tolerates hand wear without building a thick, slippery film on the top rail.
Step 3: apply the finish in thin coats
Use brushes and mini-rollers sized for railings, not oversized tools meant for broad siding. Work in the order that keeps your hand clear of wet areas: posts or newels first, then top rail, then balusters, then the bottom rail or lower trim. Apply thin, even coats to avoid drips and lap marks.
- Cut in edges and profiles with a brush.
- Roll broader faces with a mini-roller only where the surface allows it.
- Brush out runs immediately on vertical parts.
- Apply the next coat only inside the label’s recoat window.
- Let the coating cure before regular hand contact or outdoor exposure.
For exterior finish work, one application window is between 50 and 95 degrees F. Apply sealer in early morning or late afternoon when direct sun is less harsh. Avoid wind or rain/snow for at least 24 hours when the product calls for that protection.
Railing decision table
| Railing condition | Existing finish | Recommended prep | Finish choice |
|---|---|---|---|
| Glossy painted railing | Old paint in good shape, just slick or dull in spots | Clean, scuff sand, spot-prime bare patches, then sand lightly with the grain | Paint with a compatible primer and finish coat |
| Weathered exterior railing | Faded stain or worn clear coat with sun and moisture damage | Clean, dry, sand rough fibers, strip only if the coating is failing or peeling | Exterior stain or sealer matched to exposure; a semi-transparent stain is a strong choice when grain should stay visible |
| Bare but rough handrail | No remaining finish, raised grain, scratches, or tool marks | Sand through a grit progression until smooth, then remove dust | Stain and clear topcoat for visible grain, or paint if you want opaque color |
| Railing with localized rot | Any finish, but one area is soft or damaged | Repair only if the damage is minor and nonstructural; otherwise replace the part | Do not coat over rot; refinish only after repair or replacement |
| Do not refinish yet | Loose rail, active rot, or unsafe movement | Stop and correct the structural issue first | No finish until the railing is sound |
Common mistakes
Skipping lead-safe precautions on older painted railings spreads dust where people touch it most. Coating over damp wood traps moisture and shortens finish life. Using the wrong product over an old coating can cause peeling or bleed-through.
Another failure point is overloading narrow parts. Heavy coats on balusters and handrails create drips, ridges, and sticky spots that wear badly. If the existing finish is glossy and intact, scuff sanding is often enough. If it is peeling, stripping is safer.
Say your exterior railing has a chalky top rail and faded balusters, but the posts are still sound. Clean first, then sand the chalky areas and use a finish meant for exterior UV and moisture exposure. Suppose the same railing has a soft post base. Stop there and repair or replace that section first.
For paint projects, prime bare patches before the finish coat. For stain projects, test a hidden spot when the wood species changes along the rail. Mixed wood can take stain unevenly, so a solid color stain is often the safer call when color inconsistency is the main problem.
Frequently asked questions
How to refinish wood banister
Start by cleaning the banister, then inspect for loose joints, worn grip areas, and old finish failure. Sand sound coatings, strip only where needed, and keep dust contained around stair treads and trim. Use hand sanding on curved sections and profiles.
How to restain wood railing
Strip or sand off the old finish enough for the new stain to penetrate evenly. Then test color in a hidden area, especially on mixed wood or repaired sections. For exterior railings, pick a stain made for UV and moisture exposure, not an interior-only product.
Sponsored / affiliate links. As an Amazon Associate I earn from qualifying purchases. I may earn additional commission from eligible campaigns.