How to Hinge Two Pieces of Plywood: Butt vs. Piano vs. Cup Hinges
To hinge two pieces of plywood, pick a hinge that matches the panel’s thickness (a full-length piano hinge for thin plywood, a butt hinge for thicker doors), drill pilot holes before driving any screws, and mount into the plywood’s face whenever you can rather than its edge. Plywood’s layered construction makes edge screws noticeably weaker than face screws, so the hinge choice and screw placement matter more here than they do on solid lumber.
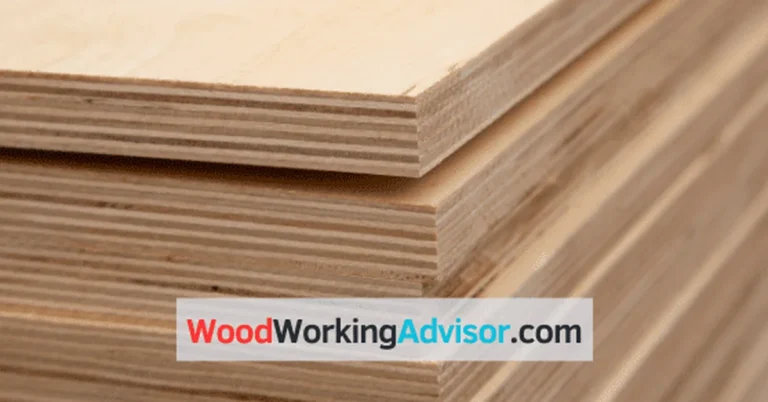
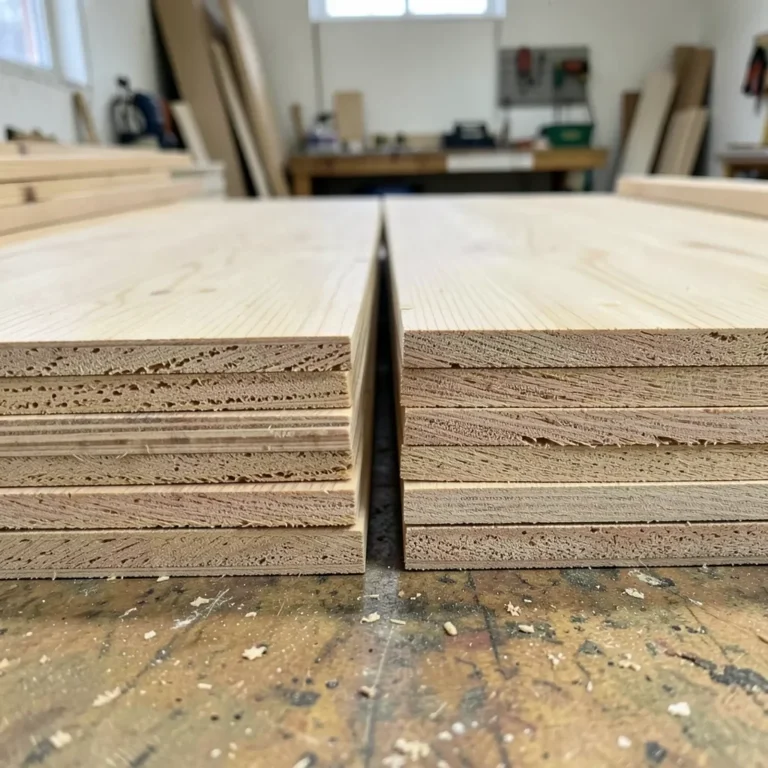
Plywood is built from thin layers of wood veneer glued together with the grain of each layer running perpendicular to the one beneath it. That cross-grain lamination is exactly what makes plywood strong and stable across its face, but it creates a real weak point at the edge: a screw driven into the edge grain isn’t biting into long continuous wood fibers the way it would in solid lumber. It’s driving into a stack of thin veneers and glue lines, which grip a screw’s threads much less securely and can split if you force it. Anyone who has watched a hinge screw slowly work loose from a plywood edge over a few months of use has run into this firsthand.
Why Plywood Edges Need a Different Approach
Best Piano Hinge for Thin Plywood
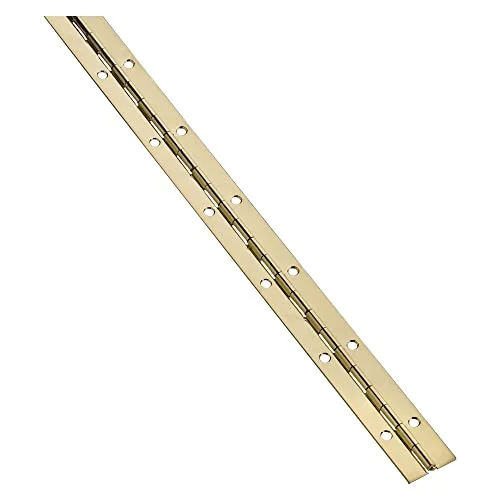 |
National Hardware N148-353 Continuous Hinge, Brass, 1-1/16" x 48" – $23.26 Its 25 screw holes spread the load across the whole edge instead of concentrating it at 2 to 3 points, which is exactly the fix for plywood’s weaker edge-grain holding power.
|
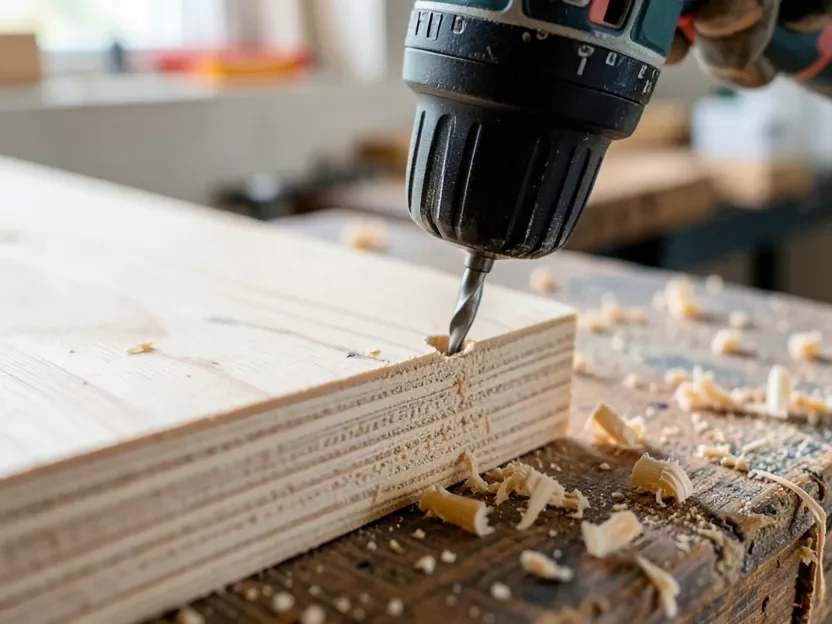
Two things matter more on plywood than on solid wood: pilot holes and screw length. Always drill a pilot hole slightly smaller than the screw’s shank before driving any hinge screw into plywood, especially at the edge, because the veneer layers split far more easily than solid grain when a screw is forced straight in. Screw length matters just as much. A screw that’s too long will poke through the opposite face or blow out the last veneer layer; one that’s too short won’t reach enough layers to hold. For 3/4-inch plywood, a screw in the 5/8 to 3/4-inch range for the hinge leaf is typically the right window, long enough to grip several veneer layers without exiting the other side.
Picking the Right Hinge: Butt, Piano, or Cup
The three hinge types worth knowing for plywood work each solve a different problem, and picking the wrong one is the most common reason a hinged joint fails early.
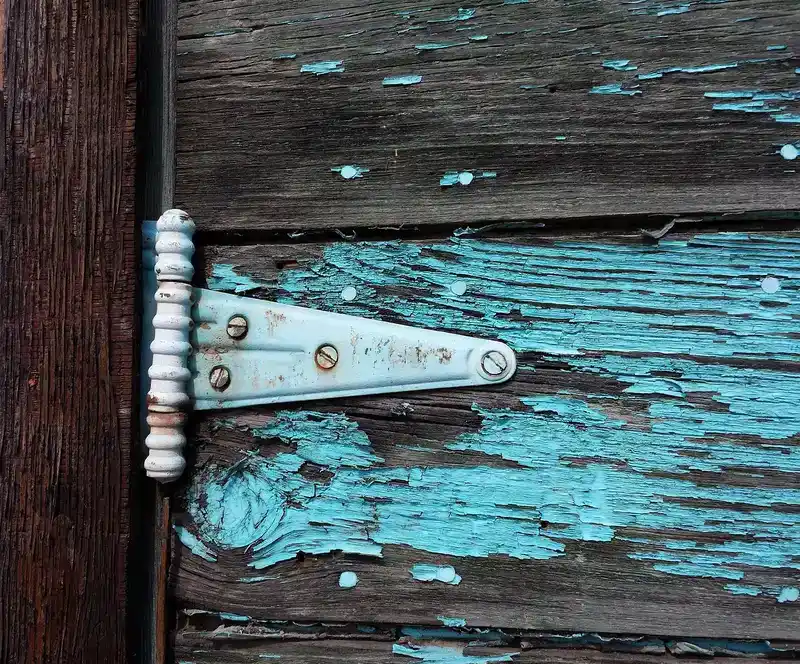
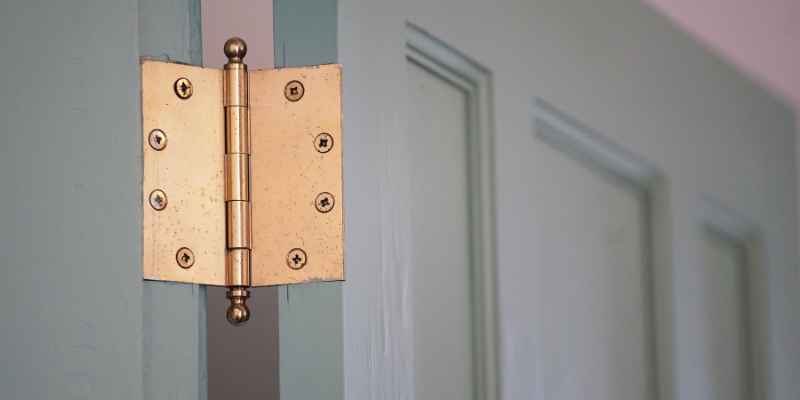
Butt hinges are the standard rectangular hinge most people picture, either surface-mounted or mortised flush into the wood. They work fine on plywood doors and lids of normal thickness, but because a butt hinge only has 2 to 3 screws per leaf, all of the joint’s holding load is concentrated at those few points. On thinner plywood (1/2 inch or less), that concentrated load is enough to work a screw loose from the edge over time.
Piano hinges (continuous hinges) run the full length of the joint with a screw hole every inch or two. That’s the real advantage for plywood specifically: instead of 2 to 3 screws carrying the whole load, you might have 20 or more screws sharing it, so no single screw is under enough stress to pull out of the edge grain. This is why piano hinges are the better choice for thin plywood lids, foldable tabletops, and anything that gets opened and closed often.
European (cup) hinges are built for cabinet-door-style applications. Instead of screwing a hinge leaf to the door’s edge at all, you drill a wide, shallow cup hole (commonly 35mm) into the back face of the door and the cup hinge’s body sits inside that hole, with mounting screws going into the face of the plywood rather than its edge. Since the face holds screws far better than the edge does, cup hinges sidestep the plywood edge-weakness problem entirely, which is part of why they’re the standard in factory-built cabinetry. They do require a cup-hole drilling jig or a forstner bit sized to the hinge, so they’re less of a quick hand-tool job than a butt or piano hinge.
| Hinge Type | Screws Sharing the Load | Best For |
|---|---|---|
| Butt hinge | 2 to 3 per leaf | Standard-thickness doors and lids |
| Piano/continuous hinge | 20+ along the full length | Thin plywood, foldable tops, frequently used lids |
| European/cup hinge | Screws mount to the face, not the edge | Cabinet-style doors |
Tools and Materials You Will Need
- Hinge – sized and typed for the job above
- Screws – the ones included with the hinge, or matched to its screw-hole diameter
- Drill/driver – for pilot holes and driving screws
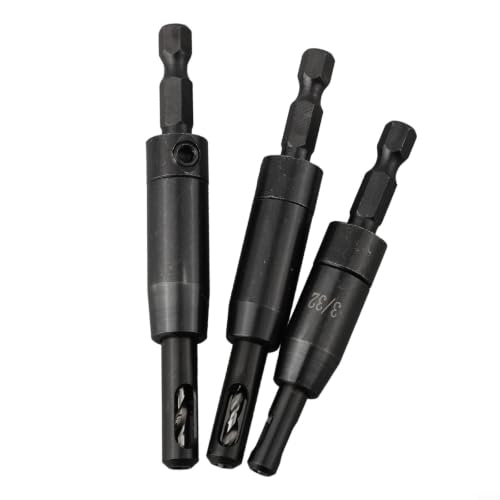
- Drill bit sized for a pilot hole – slightly smaller than the screw shank
- Combination square and pencil – for marking hinge placement accurately
- Clamps – to hold both plywood pieces aligned while you work
- Chisel – only needed if you’re mortising a butt hinge flush
Step-by-Step: Attaching the Hinge
Clamp both plywood pieces together, edge to edge, with a thin spacer (a piece of cardboard works) between them so the hinge has room to swing once installed. Lay the hinge across the joint and mark each screw hole location with a pencil through the hinge itself, this keeps the spacing accurate instead of eyeballing it.
Drill a pilot hole at every marked point before driving a single screw. This is the step that’s easy to skip and the one that causes the most edge-splitting when it’s skipped. Start each screw by hand for the first turn or two so it follows the pilot hole rather than wandering, then finish with the driver. Snug the screws down until the hinge sits flat; don’t overtighten, since forcing a screw past where it’s already seated is what strips the hole in plywood’s soft veneer layers.
If you’re installing a piano hinge, be aware that a standard pilot hole alone can leave the screw head sitting slightly proud, since the head has to seat against the hinge’s metal barrel, not just against the wood. Countersinking the screw holes in the hinge itself (with the hinge held in place) before final driving gives a flatter, more finished result.
Aligning the Two Pieces and Test-Fitting
Before you commit to final tightening, swing the joint open and closed a few times to check for binding. Both plywood faces should sit flush when closed, with no gap wide enough to see daylight through along the hinge line. If one side sits proud, it usually means the hinge wasn’t mortised or mounted at a consistent depth along its length, more of an issue with mortised butt hinges than with surface-mounted piano hinges. Small gaps can be corrected by loosening the hinge, shimming, and re-securing; don’t sand the plywood face to compensate, since removing material changes the fit permanently.
Common Problems and Real Fixes
A hinge screw that spins freely without tightening has almost always stripped out of the plywood’s edge-grain layers, the exact weak point covered above. Don’t just drive a longer screw into the same stripped hole, it usually won’t grab any better. Instead, fill the stripped hole with a glue-coated wood plug or toothpicks and wood glue, let it cure fully, then re-drill a fresh pilot hole through the plug. For a hinge that will see heavy daily use, moving that screw position slightly, or adding a thin strip of hardwood glued to the plywood edge before rehanging the hinge, gives future screws solid long-grain material to bite into instead of edge-grain veneer.
A hinge that binds or feels stiff usually means the two plywood faces aren’t perfectly flush, not a hardware problem. Check alignment before assuming the hinge itself is defective. A squeak, on the other hand, is a hardware issue: a drop of light machine oil on the pin resolves most squeaks in a continuous or butt hinge.
Maintenance
Check hinge screws periodically on anything that gets opened and closed often, plywood edge screws are the ones most likely to work loose first, well before a face-mounted screw would. A quarter-turn snug-up when you notice play is enough; don’t wait until the screw is spinning freely to address it. Wipe down exposed hinge metal occasionally to prevent surface rust, and keep the pin lubricated on hinges that see daily use.
Frequently Asked Questions
Why do hinge screws loosen faster in plywood than in solid wood?
Because a screw driven into plywood’s edge is gripping thin glued veneer layers instead of continuous wood fibers, it has less material to bite into than the same screw would in solid lumber’s edge grain. Screws driven into the plywood’s face, across those layers, hold significantly better than screws driven into the edge.
Is a piano hinge or a butt hinge better for plywood?
For thin plywood (1/2 inch or less) or anything opened and closed often, a piano hinge is the better choice because its many screw holes spread the load across the whole edge instead of concentrating it at 2 to 3 points like a butt hinge does. For standard-thickness plywood doors, a butt hinge is usually sufficient.
Do I need to pre-drill pilot holes for plywood hinges?
Yes, always. Driving a hinge screw straight into plywood without a pilot hole, especially into the edge, is the most common cause of split veneer layers and stripped screw holes. Drill a pilot hole slightly smaller than the screw’s shank at every mounting point first.
What do I do if a hinge screw strips out of plywood?
Don’t just drive a longer or fatter screw into the same hole. Fill the stripped hole with a glue-coated wood plug, let the glue cure, and drill a fresh pilot hole through the plug before reinstalling the screw. For a joint that takes heavy daily use, gluing a strip of hardwood to the plywood edge first gives future screws solid long-grain wood to hold onto.
Conclusion
Hinging two pieces of plywood comes down to matching the hinge to the panel and respecting plywood’s one real weak point, its edge grain. A piano hinge spreads the load for thin panels, a butt hinge is fine for standard doors, and a cup hinge sidesteps the edge entirely for cabinet work. Pilot holes and correctly sized screws matter on every one of them. If you’re joining the pieces permanently instead of with a hinge, our guide on how to connect two pieces of plywood covers screws, glue, and dowel options in more depth. For getting the pilot-hole-to-screw match right in general, see our wood screw drill size guide.
Sponsored / affiliate links. As an Amazon Associate I earn from qualifying purchases. I may earn additional commission from eligible campaigns.