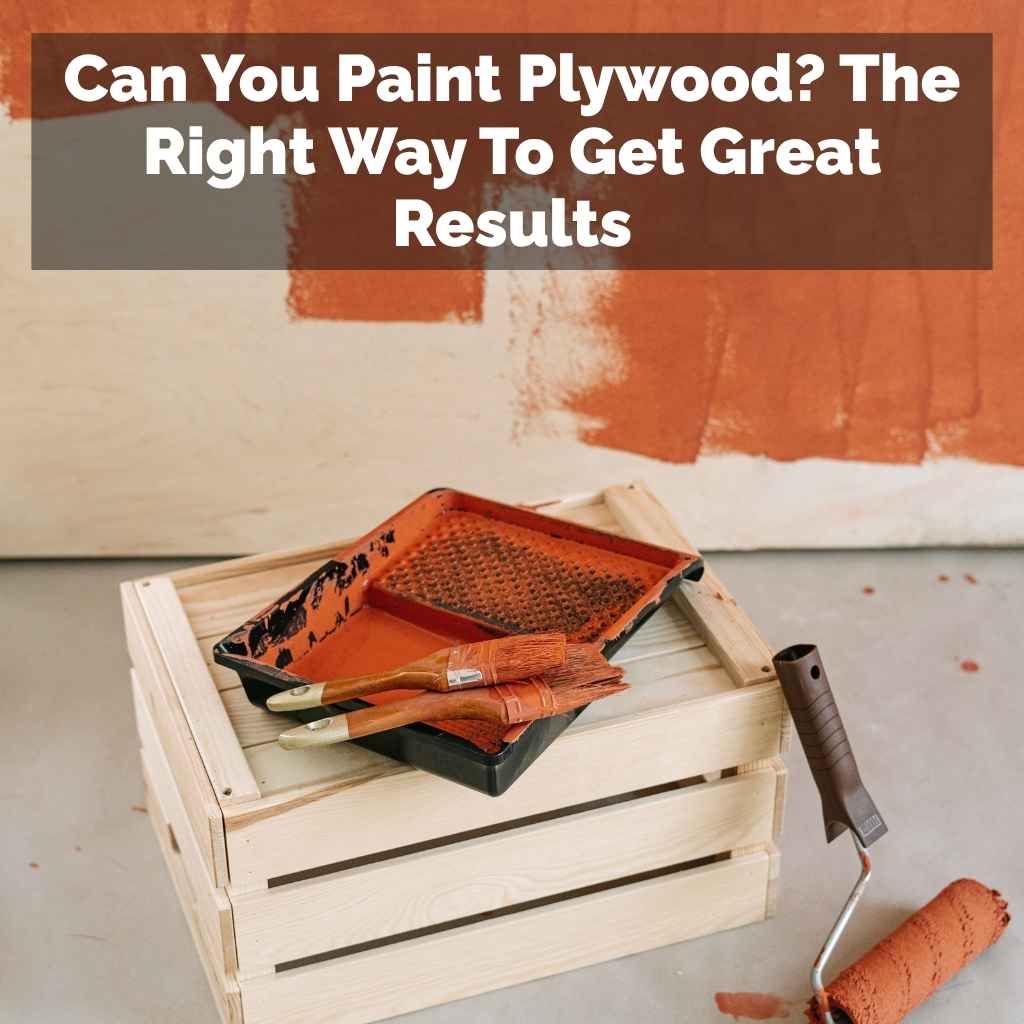
Can You Paint Plywood? The Right Way To Get Great Results
The key is understanding a few simple things. It’s not just about slapping paint on. A little preparation goes a long way.
This guide will walk you through exactly what you need to know. We’ll cover why it works, the best ways to do it, and how to avoid common pitfalls. You’ll learn how to make that plywood look like a pro job.
Yes, you can paint plywood and achieve great results with the right preparation. Properly priming, sanding, and using the correct paint type are crucial steps. This process helps cover the wood grain and any imperfections for a smooth, finished surface suitable for various projects.
Understanding Plywood Before You Paint
Plywood is made by gluing thin layers of wood together. These layers, called veneers, are stacked so their grain runs in different directions. This cross-graining makes plywood strong and less likely to warp or crack than a single piece of wood.
But this also means it has a distinct look and feel.
The top layer of plywood is called the “face veneer.” Sometimes, this face veneer has knots or is made of a less attractive wood. You might also see some rough patches or even small gaps where the wood layers join. These things can show through paint if you don’t prepare the surface well.
Different types of plywood exist. Some are made for outdoor use and have special glues. Others are made for furniture or cabinets.
The type you use can affect how it takes paint. Knowing your plywood helps you pick the best painting method. For most DIY projects, you’ll likely use standard grade plywood.
Why Proper Preparation is Key
If you just try to paint plywood without any prep, you’ll probably be unhappy. The paint might soak into some areas more than others. This is because plywood has uneven absorbency.
The wood itself, the glue lines, and any patches or knots can all act differently. This leads to a blotchy look.
Sanding is super important. It smooths out the surface. It also helps to remove any dirt or old finishes.
Sanding creates a better surface for the primer and paint to stick to. Without good sanding, your paint job might peel or chip later on. It’s like trying to build on uneven ground.
Primer is your best friend here. It acts as a bridge between the plywood and the paint. A good primer seals the wood.
It helps create a uniform surface for the topcoat. It also hides any dark spots or imperfections. Think of it as a base layer that makes the final color pop and stay put.
The Step-by-Step Painting Process
Let’s break down how to paint plywood the right way. It’s a simple process but involves a few key steps. Taking your time here will make a huge difference in the final look.
Step 1: Choose Your Plywood Wisely
Not all plywood is created equal for painting. For best results, look for high-grade plywood. This often means “cabinet grade” or “S4S” (surfaced four sides).
These types have smoother faces and fewer imperfections. For projects where the wood grain won’t show, even lower grades can work with enough prep.
Avoid construction-grade plywood if you want a smooth finish. It usually has many knots, voids, and a rough surface. If you’re on a budget and only have this type, don’t worry!
You can still paint it, but it will take more work to get it smooth. Just be prepared for extra sanding and filling.
Step 2: Clean the Surface
Before you do anything else, make sure your plywood is clean. Dust, dirt, grease, or any old finish needs to go. You can use a damp cloth with a little mild soap.
For tougher grime, a bit of mineral spirits might be needed. Make sure the wood is completely dry before moving on.
If your plywood has any old paint or varnish, you’ll need to remove it. Sanding will help with this. If it’s a thick coat of old paint, you might need a paint stripper.
But for most DIY projects, thorough sanding is usually enough to get down to a clean surface.
Step 3: Fill Any Imperfections
Plywood often has small holes, dents, or gaps. You need to fill these before painting. Wood filler or putty is your go-to for this.
Use a putty knife to press the filler into any holes or cracks. Make sure it’s smooth and level with the plywood surface.
Let the wood filler dry completely according to the product’s instructions. Once dry, it might shrink a little. You may need to apply a second coat to get it perfectly flush.
Don’t skip this step! These little flaws will be very noticeable once the paint is on.
Step 4: Sand, Sand, Sand!
This is arguably the most important step for a smooth finish. Start with medium-grit sandpaper, like 100 or 120 grit. Sand the entire surface of the plywood.
This removes any rough spots and makes the wood filler flush with the surface.
After the medium grit, move to a finer grit, like 180 or 220. This will give you a really smooth feel. Always sand in the direction of the wood grain.
This helps prevent noticeable scratches.
After sanding, wipe away all the dust. A vacuum with a brush attachment works well. Then, use a tack cloth or a slightly damp microfiber cloth to get any remaining fine dust.
Dust is the enemy of a smooth paint job. Really get rid of it.
Step 5: Apply a Quality Primer
Primer is essential for painting plywood. It seals the wood, blocks stains, and gives the paint something to grip. A good quality oil-based or shellac-based primer is often best for plywood.
They are excellent at sealing in any tannins from the wood and preventing them from bleeding through your paint.
Water-based primers can work too, especially newer formulas. Look for one labeled as a “stain-blocking” or “high-hide” primer. Apply a thin, even coat.
Use a brush or roller. Avoid applying it too thick, as this can cause drips or obscure the wood grain if that’s something you want to see slightly.
Let the primer dry completely. Check the manufacturer’s instructions for drying times. Once dry, you’ll likely need to do a light sanding again.
Use a very fine-grit sandpaper (220 or higher) or a sanding sponge. This smooths out any roughness the primer might have created and removes any dust. Wipe away all dust again.
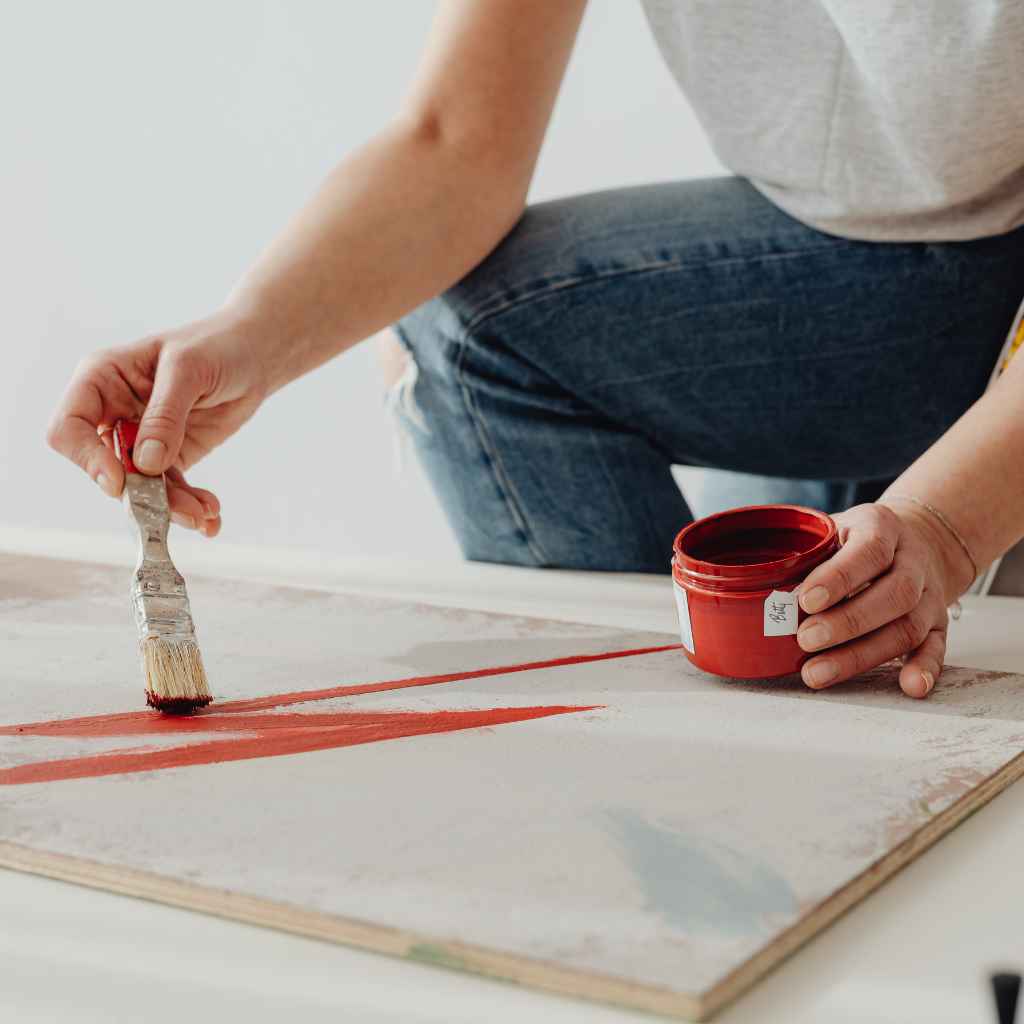
Step 6: Apply Your Paint
Now for the color! You can use various types of paint. Latex (water-based) paints are very popular.
They are easy to clean up and come in many finishes. Oil-based paints offer a very hard, durable finish but are harder to clean.
Apply your paint in thin, even coats. Don’t try to get full coverage in one go. It’s much better to apply two or three thin coats than one thick, uneven one.
Use a high-quality brush for edges and details. A roller is great for larger flat areas.
If you’re using a roller, a short-nap roller cover is best for smooth surfaces like plywood. Work in overlapping strokes to avoid roller marks. Again, always paint in the direction of the wood grain if you can see it.
Allow each coat of paint to dry completely before applying the next. This is crucial for a durable finish. Rushing this step can lead to peeling or scuffing.
Step 7: Optional: Add a Topcoat
For extra protection and durability, especially on surfaces that will see a lot of use, consider a clear topcoat. Polyurethane, polycrylic, or a clear varnish will add a protective layer. This is like adding a shield over your paint.
Apply one or two thin coats of the clear topcoat. Lightly sand between coats with very fine sandpaper (320 grit or higher) for the smoothest finish. Wipe away dust after each sanding.
This step really makes a painted plywood project look professional and last longer.
Choosing the Right Paint Finish
Satin: Offers a slight sheen. It’s durable and easy to clean. Good for cabinets and furniture.
Semi-Gloss: Has more shine. Very durable and washable. Great for high-traffic areas like trim or shelves.
Gloss: Very shiny and reflective. Makes surfaces look sleek but shows imperfections easily. Best for accent pieces.
Matte/Flat: No shine. Hides imperfections well. Not as durable or easy to clean.
Best for walls or low-wear surfaces.
Real-World Plywood Painting Experiences
I remember working on a built-in bookshelf project a few years back. We decided to use plywood to save some money. The contractor suggested a mid-grade plywood, which looked decent enough in the store.
But once we got it home and started prepping, I saw all these tiny pinholes and a few rough patches on the face veneer.
My first thought was, “Oh no, this is going to look terrible painted.” We spent a whole afternoon filling those little holes with wood filler. It felt tedious, and I worried we missed some. Then came the sanding.
We used an orbital sander and then sanded by hand. Dust was everywhere. I mean, everywhere!
Applying the primer felt like a turning point. Suddenly, the surface looked more uniform. But even then, after the primer dried, I could still see where the filler was if I looked closely.
Another light sanding and another coat of primer helped. When we finally applied the paint, it was such a relief. The final color looked smooth and even.
It really transformed the humble plywood into something that looked like it was made from solid, expensive wood. That experience taught me that patience with the prep steps is everything.
Quick-Scan Table: Plywood Painting Essentials
| Step | Key Action | Why It Matters |
|---|---|---|
| 1. Choose Plywood | Select cabinet-grade or S4S if possible. | Ensures a smoother surface to start. |
| 2. Clean Surface | Wipe with damp cloth, remove dirt/grease. | Paint adheres better to a clean surface. |
| 3. Fill Imperfections | Use wood filler for holes and cracks. | Creates a smooth, seamless look. |
| 4. Sand Thoroughly | Use medium then fine-grit sandpaper. | Smooths surface, removes dust, preps for primer. |
| 5. Prime Well | Apply stain-blocking primer, sand lightly. | Seals wood, blocks stains, creates even base. |
| 6. Paint | Apply thin, even coats of your chosen paint. | Achieves desired color and coverage. |
| 7. Topcoat (Optional) | Apply clear sealant for durability. | Protects paint and increases lifespan. |
Dealing with Plywood’s Unique Challenges
Plywood has some characteristics that make painting different from solid wood. One of the biggest is the wood grain and the edges.
The Wood Grain
Plywood has a visible wood grain on its surface. Depending on the type and how it’s sanded, this grain can sometimes show through paint. If you want a perfectly smooth, flat finish, you’ll need to sand very well.
You might even need to apply a grain filler if the grain is very deep.
However, many people like the slight texture that the grain provides. It can add a bit of character. If you’re going for a more rustic look, you might embrace the grain.
Just make sure it’s smooth enough that it doesn’t snag or feel rough to the touch.
The Edges
The edges of plywood are a different story. They show the layers of wood glued together. This layered edge can be rough and absorbent.
Often, the core layers are made of less attractive wood.
If the edges will be visible, you need to treat them carefully. You can use a wood filler or even a product called “edge banding” to cover them. If you plan to paint the edges, apply extra primer there.
They soak up paint like a sponge. Sanding the edges smooth after priming is also a good idea.
Contrast Matrix: Plywood Grain
Myth: Plywood grain always shows through paint.
Reality: With thorough sanding, priming, and multiple thin paint coats, the grain can be minimized significantly, leading to a very smooth finish.
Normal: Slight texture from wood grain is visible.
Observation: For many projects, a subtle wood grain texture adds character and warmth. It’s not always a flaw.
Concerning: Deep, rough grain is snagging or very uneven.
Action: This requires more intensive filling and sanding. Consider a grain filler or using a thicker primer.
Solution: Embrace the texture.
Approach: If the grain adds to the aesthetic, focus on smooth sanding and a durable paint that highlights it subtly.
Painting Techniques for a Smooth Finish
Beyond the steps, how you apply the paint matters. Little techniques can make a big difference.
Brush Strokes
When using a brush, always paint in long, even strokes. Try to maintain consistent pressure. For the final stroke on an area, lift the brush slowly and smoothly.
This helps to avoid leaving harsh brush marks.
If you see a mistake or a drip as you’re painting, fix it right away. Don’t let it dry. Once dry, it’s much harder to remove without damaging the surface.
Keep a damp rag handy to wipe away any small errors.
Roller Application
When rolling, load your roller evenly. Don’t overload it, as this can lead to drips. Roll in a “W” or “M” pattern to distribute the paint.
Then, go over the area with light, parallel strokes to smooth it out.
Overlapping your roller strokes by about half the roller width helps ensure you don’t miss any spots. For edges or corners where the roller can’t reach, use a brush. Keep a wet edge as you go, meaning the beginning of your next stroke should slightly overlap the end of the previous one.
This prevents lap marks.
Observational Flow: Achieving a Smooth Finish
Start: Clean, dry, and smooth plywood surface.
Apply Primer: Thin, even coat. Let dry completely.
Light Sand: Use fine-grit sandpaper to knock down any fuzzies.
Wipe Dust: Remove all dust with a tack cloth.
Apply First Paint Coat: Thin, even strokes. Work in sections.
Dry Thoroughly: Allow full drying time between coats.
Apply Second Paint Coat: Overlap strokes, smooth out. Ensure even coverage.
Final Inspection: Check for drips or missed spots. Touch up if needed.
Optional Topcoat: Apply for added protection and a polished look.
What Plywood Projects Can You Paint?
The possibilities are vast! Painted plywood is perfect for many home projects.
Furniture
From simple shelves to more complex cabinets, painted plywood can look fantastic. Think of painted nightstands, dressers, or even a coffee table. If you’re building custom furniture, plywood is a cost-effective choice that can be dressed up with paint.
Cabinetry
Kitchen cabinets, bathroom vanities, and built-in storage units are prime candidates for painted plywood. The key is a very smooth finish and a durable topcoat. This will make them look like they came from a high-end store.
Wall Paneling and Accents
You can create stylish accent walls or wainscoting using painted plywood. It’s a great way to add texture and color to a room without the expense of hardwood paneling.
Workshop and Garage Storage
For practical areas like workshops and garages, painted plywood offers a durable, easy-to-clean surface. Think tool cabinets, workbench tops, or storage shelves. The paint protects the wood from grease, dirt, and moisture.
Quick-Scan Table: Project Ideas
| Project Type | Considerations |
|---|---|
| Furniture (Shelves, Tables) | Requires good sanding for a smooth, non-snag surface. |
| Cabinet Doors/Boxes | Needs a durable finish (e.g., semi-gloss) and excellent prep work. |
| Wall Paneling | Choose smooth plywood. Grain can add texture. |
| Workshop Storage | Focus on durability and ease of cleaning. |
When Is Painted Plywood NOT the Best Choice?
While you can paint almost anything, sometimes it’s not the ideal solution. If you’re aiming for a natural wood look, painting obviously isn’t the way to go.
Also, if the plywood is very low grade with lots of large voids, knots, or delamination, it might take an excessive amount of work to make it look good painted. Sometimes, a decorative veneer or even replacing the material is a better use of your time and resources in those cases.
For projects where extreme durability is needed and the surface will be constantly wet or exposed to harsh chemicals, specific industrial coatings might be necessary. Standard paint might not hold up.
Common Mistakes to Avoid
We’ve talked about the right way, but what about the wrong way? Here are some pitfalls to watch out for.
Skipping the Primer
This is a big one. Priming seals the wood and creates an even base. Without it, your paint will soak in unevenly, leading to blotches and poor adhesion.
It also won’t block wood stains from bleeding through.
Not Sanding Enough
Smoothness is key. If you don’t sand thoroughly, especially after filling, the paint will highlight every little bump and rough patch. This includes sanding between coats of primer and paint for a truly professional feel.
Applying Paint Too Thickly
It’s tempting to get good coverage quickly. But thick coats of paint are more prone to drips, sags, and long drying times. Thin, even coats build up to a stronger, smoother finish.
It looks better and lasts longer.
Ignoring the Edges
The layered edges of plywood are often rough and porous. They need special attention. If you don’t fill, prime, and sand them well, they will stand out starkly against your beautifully painted surface.
Using the Wrong Tools
Cheap brushes and rollers can leave behind bristles or an uneven texture. Investing in good quality tools will make the job easier and give you better results. A high-quality primer and paint are also worth the extra cost.
Stacked Micro-Sections: Mistake Avoidance
Mistake: Skipping primer. Impact: Uneven color, poor adhesion, stain bleed-through.
Mistake: Insufficient sanding. Impact: Rough surface, visible imperfections, poor paint finish.
Mistake: Thick paint coats. Impact: Drips, long drying, weak finish.
Mistake: Neglecting edges. Impact: Rough, porous edges contrast with painted surface.
Mistake: Poor quality tools. Impact: Streaks, missed spots, frustrating application.

Frequently Asked Questions About Painting Plywood
Can I paint plywood without sanding?
Click to expand
While it’s technically possible, painting plywood without sanding will likely result in a poor finish. Sanding creates a smooth surface for primer and paint to adhere to, and it removes imperfections. Skipping this step can lead to peeling, blotching, and a generally unprofessional look.
Thorough sanding is crucial for good results.
What is the best primer for plywood?
Click to expand
For plywood, a high-quality stain-blocking primer is recommended. Oil-based or shellac-based primers are excellent because they seal in wood tannins and knots effectively. Water-based “high-hide” or “stain-blocking” primers can also work well, especially modern formulas.
The goal is to create a uniform, non-absorbent surface.
How many coats of paint do I need on plywood?
Click to expand
Typically, two to three thin coats of paint are needed for good coverage on plywood. It’s always better to apply multiple thin coats rather than one thick coat. This provides a more durable, even, and smooth finish.
Ensure each coat is fully dry before applying the next.
Should I paint the edges of plywood or cover them?
Click to expand
The best approach depends on the project and desired look. If edges will be visible, painting them requires extra attention: more primer, filling, and sanding. Alternatively, you can cover them with edge banding or a veneer for a seamless look.
If the edges won’t be seen, you can often get away with less treatment.
What kind of plywood is best for painting?
Click to expand
For the smoothest paint finish, look for cabinet-grade plywood or plywood labeled “S4S” (surfaced four sides). These grades have smoother faces and fewer imperfections. For less critical projects, standard grades can be used, but they will require more prep work like filling and extensive sanding.
Can I paint over plywood that already has a finish?
Click to expand
Yes, but preparation is key. You’ll need to clean the surface thoroughly and then sand it well to scuff up the existing finish. This creates a surface the new primer and paint can adhere to.
If the old finish is peeling or damaged, it’s best to remove it completely before repainting.
Conclusion
Painting plywood is a fantastic way to get a high-end look on a budget. It’s totally achievable with the right approach. Remember that preparation is the most important part of the process.
Taking your time with cleaning, filling, sanding, and priming will pay off. You’ll get a smooth, durable finish that makes your projects look amazing. Don’t be afraid to put in the effort; the results are well worth it.