How to Insulate a Workshop by Build Type and Material
Air-seal the shell first, then insulate walls and ceiling to suit the building type. For metal sheds, add a continuous thermal break and vapor control before adding fiberglass or rigid foam, as is commonly recommended. Poor sequencing traps moisture, wastes heat, and can rust tools and framing. This guide covers condensation control, draft stopping, and insulation choices for metal, wood-framed, and garage-based shops.
This guide is part of our Winter Woodshop Guide: Heat, Humidity, Rust and Safety series.
What you need


- Caulk or foam sealant for cracks, gaps, and penetrations
- Weatherstripping for door and window frames
- Door sweep for the bottom of exterior doors
- Fiberglass batts for framed wall and roof cavities
- Foam board insulation for walls, floors, and doors
- Reflective foil insulation for hot-climate radiant control
- Foil tape or manufacturer-approved tape for rigid insulation seams
- Utility knife, straightedge, and insulation knife
- Stapler, screws, washers, or furring strips, as the assembly requires
- Moisture meter or a simple visual check for damp framing and roof sheathing
- Gloves, eye protection, long sleeves, and a dust mask or respirator rated for fiberglass and dust
Inspect the shell first
Start by finding the biggest heat-loss points: door gaps, window leaks, roof condensation, and thin wall or ceiling sections. In most workshops, the right fix is not more insulation first; it is stopping air movement and moisture entry, then building the insulation stack around the structure you already have.
Check framing type and roof assembly
Wood-framed walls can usually take fiberglass batts or foam board between studs. Metal walls need extra care because steel moves cold and heat quickly, and the framing itself creates a thermal bridge. Roofs need extra attention because roof insulation should address moisture and ventilation first.
Look for roof vents, roof leaks, dark staining, and damp roof sheathing. If the roof is already showing condensation, solve that before closing the cavity.
Measure the biggest loss areas
Heat loss usually tracks surface area and leakage. Doors, ceiling planes, and slab edges often matter more than a single wall bay, especially in a garage-based shop. A 16-foot garage door can lose far more heat than a short insulated wall if it leaks around the perimeter.
Say your 20-by-24-foot detached shop has a vented roof, two windows, and a leaky overhead door. Seal the door first, then the ceiling, because that combination usually cuts drafts and cold spots the fastest.
Seal cracks and gaps before insulation
Seal air leaks before you add batts or panels. Caulk or foam sealant stops small cracks from moving air and water into the wall or roof assembly, and that matters more than adding extra thickness in the wrong place. Treat window frames, base plates, sill joints, and trim seams first.
Work from the outside-in
- Seal visible cracks, penetrations, and gaps with caulk or foam sealant.
- Install weatherstripping around operable windows and door frames; it is recommended to seal gaps around shed doors.
- Add a door sweep at the bottom edge; it blocks floor-level air infiltration.
- Check slab edges, sill plates, and trim joints for daylight or cold drafts.
- Recheck the door latch after adding seals so the door still closes evenly.
A common mistake is adding insulation around a damp wall section before fixing the source of water intrusion. That can hide the problem while leaving the draft and moisture path intact.
Which insulation fits your workshop?
Choose the material by cavity depth, climate, and moisture risk. Fiberglass batts are an affordable option for walls and roofs when the framing is regular and the cavities are open. Foam boards provide better thermal resistance where space is tight, and foam board insulation is lightweight and high R-value.
Compare the main options
| Material | Best use | Climate fit | Vapor control note |
|---|---|---|---|
| Fiberglass batts | Framed walls and vented roofs | Most zones when cavities are dry | Needs an air barrier and the correct interior vapor retarder in colder zones |
| Foam board insulation | Walls, floors, doors, slab edges | Good where depth is limited or thermal bridging is a concern | Can serve as a continuous thermal break; tape seams and seal edges |
| Reflective foil insulation | Hot climates and door skins | Best where radiant heat dominates | Needs an adjacent air space to work well |
| Polyisocyanurate foam | Layered door insulation and thin wall sections | Useful across many climates | Often foil-faced; seal cut edges and preserve the air gap where required |
Use climate to choose the stack
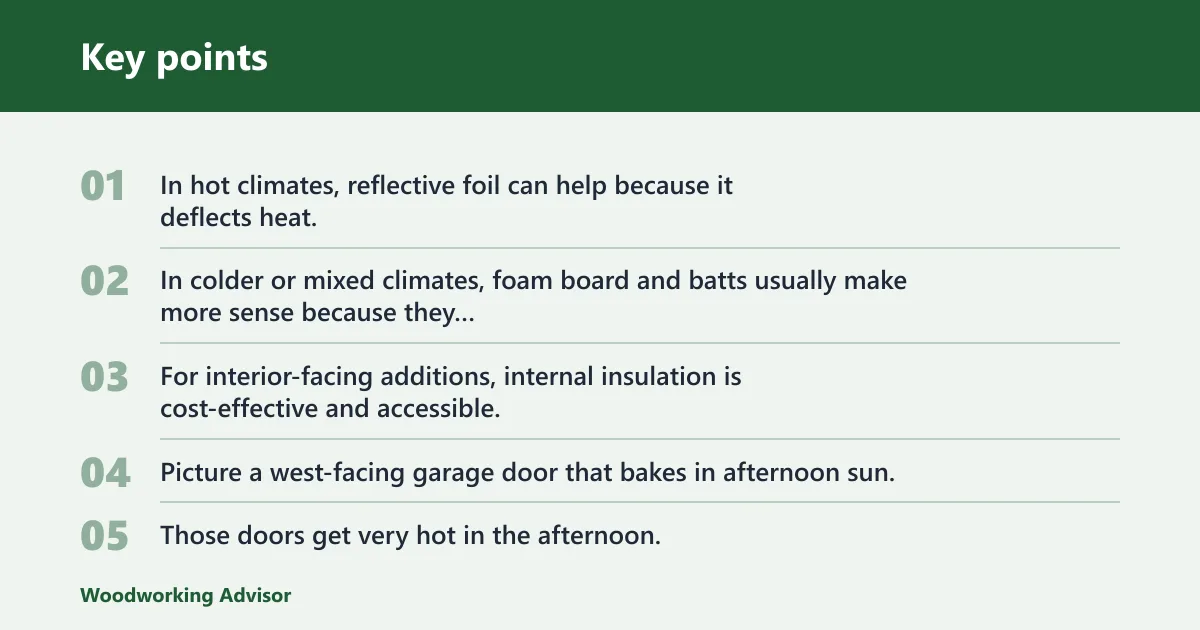
In hot climates, reflective foil can help because it deflects heat, but it only works well with an adjacent air space. In colder or mixed climates, foam board and batts usually make more sense because they slow conductive heat loss better. For interior-facing additions, internal insulation is cost-effective and accessible.
Picture a west-facing garage door that bakes in afternoon sun. Those doors get very hot in the afternoon, so a foil-faced layer with the required air space can cut summer heat gain better than a thin batt stuffed against the skin.
How do you insulate the roof?
Insulate the roof after you solve moisture control. Roof insulation should address moisture and ventilation first, because warm indoor air that reaches cold sheathing can condense there and wet the assembly. In vented roofs, keep airflow paths open; in unvented roofs, use a code-based design rather than a guess.
Vented roof assemblies
Roof vents are recommended to encourage airflow and prevent condensation buildup. Use them with a breathable membrane where the assembly calls for one, so moisture can escape while water ingress stays blocked. Fiberglass batts fit between rafters in a vented roof, but they should not block the ventilation channel.
Add a baffle if needed to preserve the air path from soffit to ridge. That keeps insulation from touching the roof deck where the design needs ventilation.
Unvented roof assemblies
An unvented roof needs an approved detail, not a generic fill-and-close approach. Use a continuous air barrier, the right ratio of rigid foam above or below the deck, and the vapor control layer in the correct position for the climate. If the assembly cannot meet those requirements, switch back to a vented roof plan.
Do not trap moisture between two impermeable layers unless the full roof design is meant for that condition. That mistake can hold condensation in the roof deck.
How do you insulate the walls?
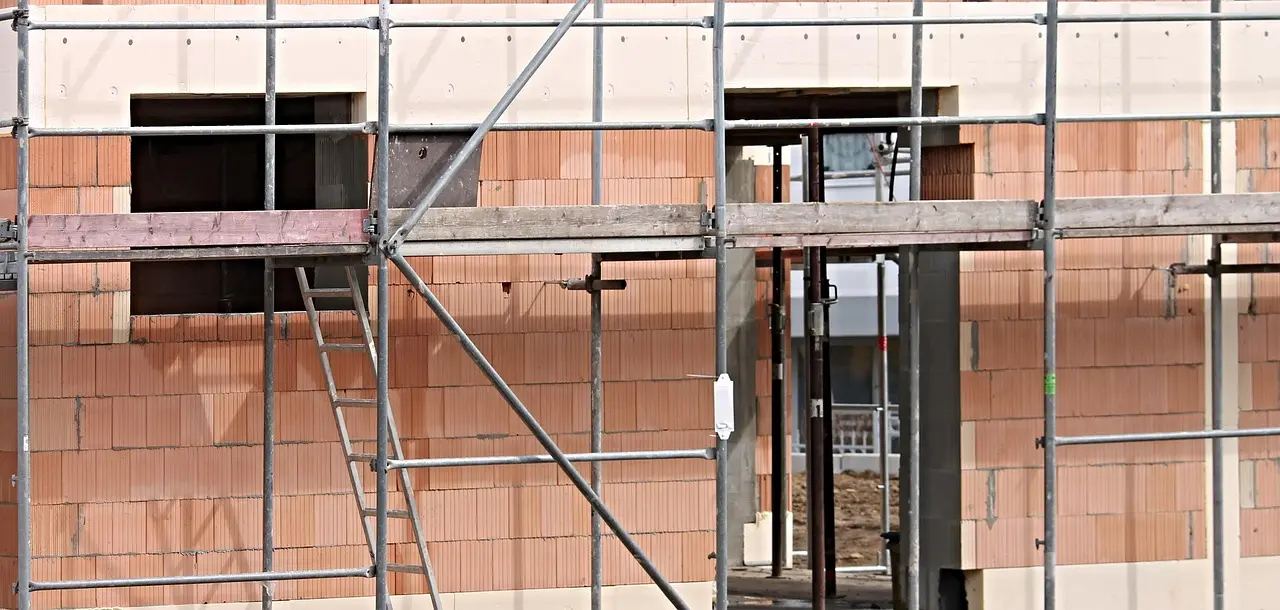
Wall insulation depends on framing. Wood-framed walls accept batts or foam board more easily. Metal workshop walls need a thermal break because the steel structure can pull heat through the wall and may condense moisture on cold surfaces. Attached garages add another layer of concern because the wall may need fire-rated separation from the house.
Wood-framed workshop walls
For open stud bays, fiberglass batts are a simple fit. In thin walls or where you want a continuous layer over studs, foam board works better because it cuts thermal bridging. Seal the perimeter of rigid panels, then cover them with the interior finish your build requires.
Use an interior vapor retarder only where the climate calls for it. In colder zones, a Class II or smart vapor retarder can slow indoor moisture from reaching cold sheathing. In hot-humid regions, the wrong vapor retarder on the wrong side can trap moisture in the wall.
Metal workshop walls
Metal shops need a thermal break before insulation goes in. A rigid foam layer against the framing or panel support can reduce contact between the metal shell and the interior finish, which matters more here than in a wood shed. Then add fiberglass batts or another cavity fill only where the assembly can dry safely.
Do not seal panel fasteners in a generic way. Many metal panel systems depend on manufacturer-specific details, and the wrong sealant can trap water instead of controlling it.
Attached garage walls
For an attached garage workshop, the wall between garage and house may have fire-safety requirements that differ from the exterior walls. Use the insulation stack that meets both thermal and code needs. Where the garage door is the weak spot, door insulation often beats wall work for the same budget.
Workshop insulation decision table

Use this table to pick the wall, roof, and door stack by building type, climate zone, and budget. The air-sealing step comes first in every row. Vapor control belongs on the warm-in-winter side in cold climates, but not as a universal rule for every assembly.
| Building type | Climate zone | Budget | Best wall / roof / door stack | Air sealing, vapor control, ventilation |
|---|---|---|---|---|
| Metal workshop | Cold or mixed | Low | Seal joints; add 1 to 2 in. rigid foam thermal break; finish with fiberglass batts where cavities allow; use foil-faced polyisocyanurate on the door | Caulk gaps, add weatherstripping and a door sweep, use interior vapor control on the warm side, keep roof venting if the roof is vented |
| Metal workshop | Hot-dry or hot-humid | Medium | Reflective foil with an adjacent air space, plus foam board where studs are exposed; radiant barrier on the door with about 3/4 inch airspace | Seal cracks first, use breathable roof layers where designed, keep ventilation paths open, avoid trapping moisture against the metal skin |
| Wood-framed workshop | Cold | Low | Fiberglass batts in walls and ceiling; add foam board at slab edge or thin wall sections; weatherstrip the door | Air seal penetrations, add an interior vapor retarder where climate calls for it, preserve roof vents |
| Wood-framed workshop | Mixed | Medium | Foam board over studs plus batts in cavities; insulated overhead door with polyisocyanurate foam layers | Seal the shell, use climate-appropriate vapor control, keep attic or roof ventilation active if the roof is vented |
| Attached garage workshop | Any zone | Low to medium | Start with the overhead door, then add ceiling insulation and slab-edge foam board if the floor is cold | Weatherstripping, door sweep, and perimeter air sealing first; match the garage-to-house wall to code, then add ventilation or a code-compliant unvented roof detail |
Should I insulate the workshop floor?
Insulate the floor when the slab is cold enough to affect comfort, tool storage, or moisture control. In an unheated garage workshop, slab-edge insulation often gives more value than insulating the full slab. If the slab sits on grade and stays moderately stable, perimeter sealing and edge insulation may be the better spend.
Use floor insulation where it pays back
Foam board insulation works well under new subfloors and at slab edges. In an existing slab, insulating only the edge and sealing perimeter gaps can reduce cold bleed without a full tear-out. Full floor insulation is more justified in cold climates, raised floors, or shops that stay heated for long periods.
Suppose a detached shop sits on an uninsulated slab in a cold zone. If the wall and roof are already improved, slab-edge foam board and perimeter sealant may cut the last major cold source more than adding another layer in the walls.
Common mistakes
- Skipping air sealing and stuffing insulation over leaks. Fix the openings first.
- Using reflective foil with no air space. It loses much of its value without that gap.
- Putting a vapor retarder on the wrong side for the climate. That can trap moisture in the wall or roof.
- Closing a roof cavity without ventilation where the design needs it. That often leads to condensation on the sheathing.
- Ignoring the garage door. The goal there is to keep out summer heat and keep in winter heat, and the door is often the weakest surface.
- Using fiberglass batts in a metal wall with no thermal break. The steel still conducts heat and can condense moisture.
Frequently asked questions
How to insulate a metal workshop
Start with a thermal break, then add insulation that matches the wall assembly. In many metal shops, rigid foam against the framing or liner, plus fiberglass batts in safe cavities, works better than batts alone. Seal air leaks, preserve the roof’s drainage and ventilation details, and avoid generic fastener sealing on panel systems.
How to insulate a garage workshop
Begin with the overhead door, then the ceiling. Weatherstripping, a door sweep, and insulated door panels usually beat wall work for quick gains. If the garage is attached, confirm the wall to the house meets fire and air-separation requirements before adding more insulation.
How to insulate workshop roof
Use fiberglass batts in vented roof cavities, or a code-compliant unvented assembly if the roof is built for that. Keep roof vents open where required, and use a breathable membrane where the assembly calls for moisture movement. If condensation is already present, fix that before closing the cavity.
What is the best way to insulate a workshop?
The best approach is the one that stops air leaks first, then matches the building type. For many wood-framed shops, batts plus a continuous foam layer is strong. For metal buildings, thermal break and condensation control come first. For garages, the door and ceiling often deliver the biggest return.
What is the cheapest way to insulate a workshop?
The lowest-cost path is usually air sealing, weatherstripping, and a door sweep, followed by fiberglass batts in open cavities. Internal insulation is cost-effective and accessible when the framing already exists. In hot climates, a reflective foil layer with an air space can be a lower-cost add-on for radiant heat.
Do I need ventilation when insulating a workshop roof?
Yes, if the roof assembly is vented. Roof vents are recommended to encourage airflow and prevent condensation buildup. If you want an unvented roof, use a designed assembly with the proper air barrier, vapor control, and foam thickness for the climate rather than closing the roof cavity and hoping for the best.
Sponsored / affiliate links. As an Amazon Associate I earn from qualifying purchases. I may earn additional commission from eligible campaigns.