Clamp Pressure Chart for Glue-Ups: PSI by Joint Type
For many wood glue-ups, a common rule of thumb is about 100 to 150 psi on hardwood face joints, about 80 to 120 psi on softwoods, and less on very porous or fragile stock; use the lower end when squeeze-out is steady and continuous. Too much pressure can starve the joint, while too little leaves gaps that weaken the bond. This guide shows a clamp pressure chart, how to estimate pressure from clamp force and surface area, and how to adjust for joint type, wood density, and glue behavior.
This guide is part of our Woodworking joinery and cutting techniques series.
What you’ll need


- Pipe clamps, bar clamps, or parallel clamps sized for the assembly
- Cauls for panel flatness, straight or slightly crowned
- Wood glue, usually PVA or white glue for furniture and general joinery
- A glue spreader or brush
- A clamp pressure gauge, if available
- A ruler or tape measure for glue area
- Scrap stock for a dry fit and pressure check
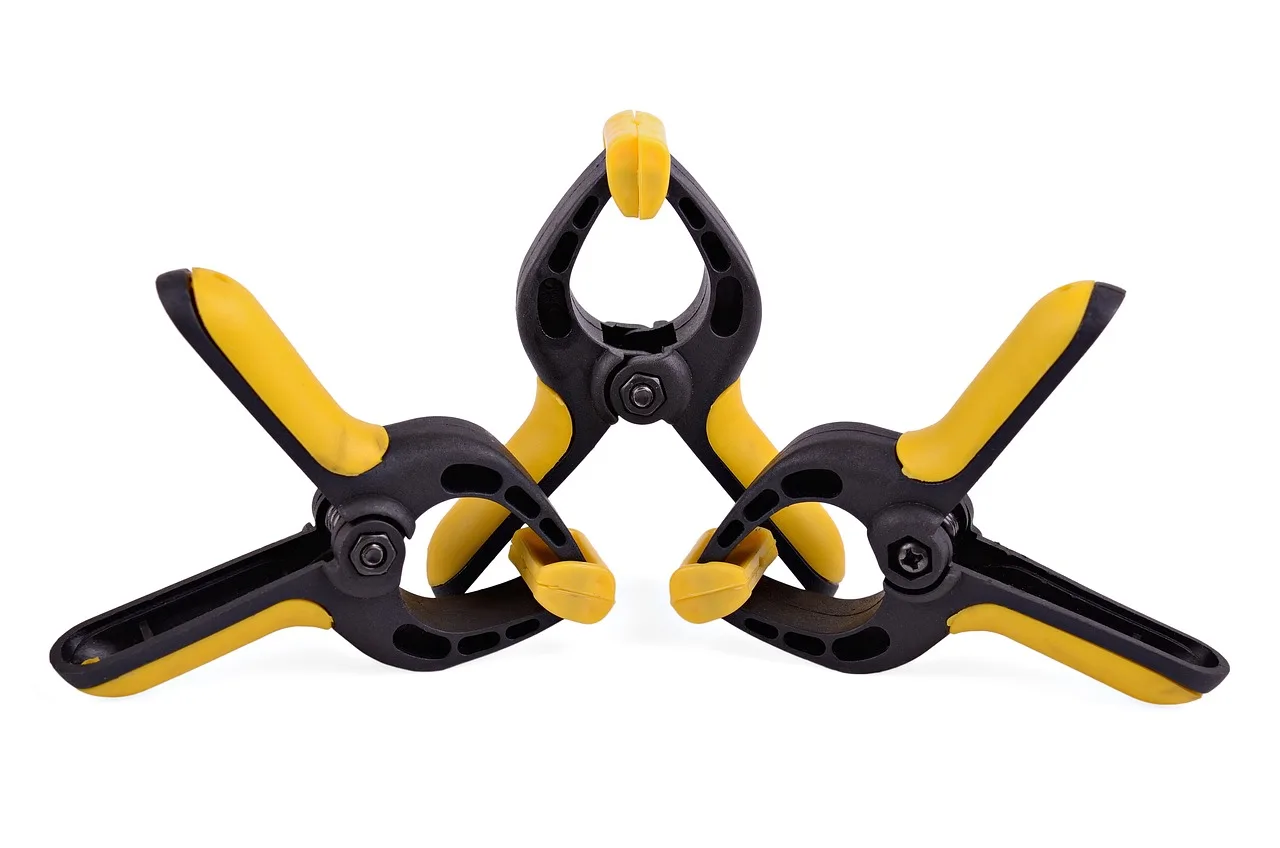
Start with the joint type. Panel glue-ups, mortise-and-tenon joints, and laminations do not need the same pressure, so the target changes with the joint. Then adjust for wood density and glue behavior. A practical estimate comes from clamp force divided by glue area: pressure in psi is commonly treated as pounds of force over square inches of bonded area.
- Measure the bonded area in square inches.
- Pick a target range from the table below.
- Check the glue label for the recommended clamp time and spread rate.
- Set clamps evenly so the load spreads across the joint.
- Recheck squeeze-out at the full-length seam, not at one spot.
Clamp pressure decision table
| Joint type | Wood density class | Glue type | Clamp style | Practical pressure range | Troubleshooting signs |
|---|---|---|---|---|---|
| Edge-to-edge panel glue-up | Softwood | PVA/white glue | Bar clamps with cauls | 80–100 psi | Gaps at the seam mean low pressure or poor flatness; bowing means clamp load is too concentrated. |
| Edge-to-edge panel glue-up | Hardwood | PVA/white glue | Parallel clamps with cauls | 100–150 psi | Dry, powdery line suggests starvation; heavy squeeze-out across the full edge suggests the lower end may be enough. |
| Edge-to-edge panel glue-up | Dense exotic | PVA or slower-setting glue | Parallel clamps | 120–180 psi | Uneven squeeze-out often points to poor surface prep or clamp spacing, not just low pressure. |
| Face glue-up | Softwood | PVA/white glue | Bar clamps or pipe clamps | 60–100 psi | Lifted edges or hollow spots mean the parts are not flat enough for the pressure you are applying. |
| Mortise-and-tenon | Hardwood | PVA/white glue | Pipe clamps or bar clamps | 80–120 psi on the tenon shoulders | Glue squeezed mostly from one side signals misalignment or an uneven shoulder fit. |
| Dowel or biscuit-assisted joint | Hardwood | PVA/white glue | Bar clamps | 70–110 psi | Out-of-plane shift or visible gaps means the joinery is not pulling the parts together evenly. |
| Lamination | Softwood | PVA or longer open-time glue | Strap clamps or multiple bar clamps | 70–120 psi | Springback or edge lift suggests too little total clamp load or too few clamp points. |
| Veneer or plywood face work | Any stable substrate | PVA, veneer glue, or manufacturer-specified adhesive | Cauls plus flat clamps or vacuum press | Low pressure, just enough for full contact | Telegraphing, squeeze-through, or panel warp points to excess pressure or uneven support. |
PVA and white glue are common for furniture and general joinery because they spread easily and tolerate moderate clamping pressure. Open time matters, because a glue that starts to skin over before the clamps are set can leave dry spots. Viscosity matters too: thin glue can starve sooner under high pressure, while thicker glue usually tolerates a bit more clamp load before the bond line closes too far.
Use a different clamp pattern for each glue-up. A panel needs even line pressure, a frame joint needs seating pressure at the shoulders or faces, and thin stock needs support so the assembly does not bow. Cauls help spread pressure and keep panels flat when the clamps would otherwise bend the work.
Edge-to-edge panel glue-ups
Place clamps above and below the panel line, alternating directions so the boards stay aligned. Add cauls if the panel wants to cup or bow. For most panels, clamp spacing of about 6 to 8 inches keeps pressure even enough that you do not have to over-tighten any one clamp.
Mortise-and-tenon and dowel joints
Seat the joint fully before tightening. A mortise-and-tenon joint needs pressure on the shoulders and cheeks, not brute force on the whole frame. Dowel and biscuit-assisted joints need the pieces drawn together, but not crushed; the joinery should align the parts before the clamps finish the job.
Laminations and veneer work
Thin laminations need many clamp points or strap support so every strip sees similar pressure. Veneer work is different from solid-wood glue-ups: you want full contact without crushing the surface. Cauls, a flat platen, or a vacuum system can do that better than hard point loads from a few clamps.
Suppose a 24-inch by 18-inch hardwood panel shows dry seams near one end and heavy squeeze-out near the other. That usually points to uneven pressure or uneven flatness, not a need for more force everywhere. Adding cauls and rebalancing clamp positions usually helps more than tightening harder.
How do you tell if pressure is right?
Right pressure leaves a thin, continuous glue line with steady squeeze-out along the seam, but not a puddle all along one side. If the joint closes fully and the parts stay flat, the clamp load is usually close enough. The goal is full contact, not maximum force.
A little squeeze-out is normal with PVA and white glue. The pattern matters more than the amount. Continuous beads along the full length usually mean the joint is seated well; squeeze-out from only one edge often points to uneven clamping or a crooked face.
- Inspect the seam before the glue sets.
- Look for gaps, steps, or dry spots along the line.
- Add 10 to 20 psi only where needed, then recheck.
- Use cauls if the assembly bows after tightening.
Too much pressure can starve the joint and leave a thin, weak bond line. Too little leaves visible gaps, hollow-feeling spots, or a joint that shifts under light hand pressure. Dense exotics often need a little more pressure than softwoods, but the joint still has to keep a wet glue line.
Common mistakes
Most bad glue-ups come from trying to fix fit problems with more clamp force. Pressure cannot correct twisted stock, crowned faces, or rough sanding marks that hold the parts apart. It only compresses what is already close enough to bond.
- Over-tightening clamps: Stop when squeeze-out becomes continuous. If the line turns dry, back off and reassemble with less force.
- Skipping flat surfaces and cauls: Flat prep and cauls do more for panel quality than extra clamp force.
- Using poor joint fit as a pressure fix: Dry-fit first. If the parts do not meet cleanly, plane or scrape the faces before gluing.
- Ignoring glue label directions: Follow the spread rate and clamp time on the adhesive container, especially for PVA and veneer work.
Say your 3/4-inch maple edge glue-up looks tight at the center but open at both ends. That often means the boards were not flat or the clamps were too far apart. Moving the outer clamps closer to the ends and adding a straight caul usually helps more than adding another clamp in the middle.
For plywood or veneer, use lower pressure and better support. The panel substrate already supplies much of the stiffness, so the main job is even contact. Excess force can print through veneer, shift the layup, or squeeze adhesive into dry spots that are harder to bond.
Clamp pressure gauges and estimation
A clamp pressure gauge can help verify applied pressure, but readings depend on the tool, the clamp style, and where the gauge sits. A gauge is most useful for calibration, not as a universal number for every glue-up. Metal press use and wood glue-ups are not the same setup.
If no gauge is available, estimate from known clamp force and glue area. For example, 900 pounds spread over a 9-square-inch joint area equals about 100 psi. That math is useful, but only if the clamp layout actually spreads force across the bond line. (Wikipedia)
What to check when you do have a gauge
- Confirm the gauge range matches the pressure you expect.
- Check the manufacturer’s calibration instructions.
- Place the gauge where the clamp load actually passes through the joint.
- Repeat the reading after the glue-up settles for a minute.
Frequently asked questions
How do I calculate clamping pressure for a wood glue-up?
Use pressure = force ÷ area. Measure the glued area in square inches, then divide the clamp force by that number. A 1,200-pound load over 12 square inches equals 100 psi. Check the glue label, then adjust upward for dense wood or downward for fragile stock.
How much clamp pressure do I need for hardwood glue joints?
A practical starting range is 100 to 150 psi for hardwood face or edge joints with PVA glue. Use the lower end when the joint closes cleanly and squeeze-out is even. If the glue line goes dry or the boards bow, reduce force and improve fit.
How much clamp pressure is too much for wood glue?
Pressure is too high when the glue line looks starved, the parts shift, or squeeze-out becomes thin and intermittent. For many PVA glue-ups, that happens somewhere above the recommended range for the joint type. Back off 10 to 20 psi and recheck the seam.
What clamp pressure should I use for plywood or veneer?
Use only enough pressure to get full contact. Plywood and veneer do better with even support, cauls, or a vacuum press than with high clamp force. Excess pressure can print through veneer or distort the sheet, so follow the adhesive label and keep the load spread out.
What clamp pressure should I use for edge glue-ups?
Start around 80 to 100 psi for softwood edges and 100 to 150 psi for hardwood edges. Keep clamp spacing even, then add cauls if the boards want to bow. The right pressure gives a continuous glue line without crushing the seam.
How can I tell if I have enough pressure without a gauge?
Look for a full-length seam, steady squeeze-out, and no visible gaps after tightening. If the joint closes cleanly and stays flat, the pressure is probably close. If one side opens or the glue line looks dry, add about 10 psi worth of force and check again.
Do pipe clamps, bar clamps, and parallel clamps apply different pressure?
Yes, because their jaws, reach, and stiffness change how force reaches the joint. Parallel clamps tend to hold faces more square, while pipe and bar clamps can concentrate load if the work is not supported well. The clamp style matters less than how evenly it spreads pressure.
How does wood species change the clamp pressure I need?
Softwoods usually need less pressure than hardwoods, and dense exotics often need more because the surfaces are less forgiving. Open-pored species can still need careful pressure control if the glue can sink too far into the grain. Always match the setting to the wood and the glue label.
Sponsored / affiliate links. As an Amazon Associate I earn from qualifying purchases. I may earn additional commission from eligible campaigns.