How Do You Keep Wood Against the Fence on a Table Saw?
A featherboard keeps wood pressed against a table saw fence — but only if it sits on the infeed side, ahead of the blade, never behind it. Placed the wrong way, the same jig that prevents kickback can cause it. This guide covers featherboard placement, fence-to-blade alignment, push-stick technique, and the mistakes that let a workpiece drift off the fence mid-cut.
Quick Answer
Clamp a featherboard to the table on the infeed side of the blade so its fingers press the board toward the fence before the cut reaches the blade. Back that up with steady hand pressure angled toward the fence, a push stick once your hand nears the blade, and a fence checked parallel (or toed out by no more than 1/64 in.) — never toed in toward the blade.
5 Steps to Keep Wood Against the Fence on a Table Saw
Best Wood-Against-Fence Safety Pick
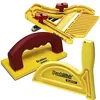
Milescraft 7334 Featherboard & Push Stick Safety Bundle
Bundles a featherboard, a push stick, and a push block — the three devices this guide recommends using together on every rip.
- Best for: shops that don’t already own a featherboard, push stick, or push block
- Why we picked it: covers every device recommended above in one purchase
- Main drawback: the included featherboard is a single-finger-row design, less rigid than a dedicated tandem unit for repeated heavy ripping
Compare more featherboard options
 Option 1 The Hedgehog Featherboard
|
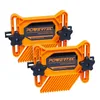 Option 2 POWERTEC Universal Tandem Featherboards (2-Pack)
|
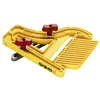 Option 3 Milescraft 1406 FeatherBoard
|
As an Amazon Associate we earn from qualifying purchases.
- Align the fence: Check the fence parallel to the blade using a combination square or dial indicator against one tooth at the front and back; toe out no more than 1/64 in. if it must be off, never toe in.
- Clamp a featherboard on the infeed side: Clamp a featherboard to the table or miter slot ahead of the blade only, angled so its fingers press the workpiece toward the fence before the cut.
- Confirm a riving knife or splitter is installed: Check that a riving knife or splitter sits just behind the blade so the kerf stays open and can’t pinch the blade as the cut finishes.
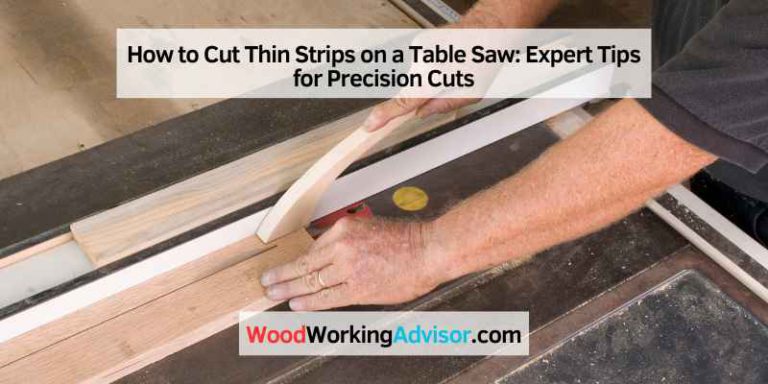
- Feed with steady pressure toward the fence: Feed the stock with hand pressure angled toward the fence, switching to a push stick or push block once your hand comes within about 6 in. of the blade.
- Test cut and check: Rip a scrap piece first and check it with a square; if it isn’t parallel, stop and recheck fence alignment before cutting the actual workpiece.
What Actually Holds Wood Against a Table Saw Fence
Five things keep a board tracking straight along the fence instead of drifting into or away from the blade — the same fundamentals covered across our table saw guides. Most cuts need at least two of these working together; a fence alone is rarely enough on a long rip.
- Featherboard — a set of angled fingers clamped to the table or miter slot that press the board toward the fence with constant spring pressure, freeing both hands for feeding.
- Push stick or push block — keeps fingers off the blade path while adding forward and, with a push block, sideways pressure toward the fence.
- Riving knife or splitter — a thin blade-height fin mounted just behind the blade that keeps the kerf from closing and pinching the blade after the cut.
- Hand pressure — angled slightly toward the fence, not straight down, for boards wide enough to keep your hand a safe distance from the blade. For narrow rips, switch to a push stick well before your hand nears the blade — see our guide to cutting thin strips safely.
- A longer fence face — clamping a straight board or level to a short factory fence gives more surface for the workpiece to register against on long rips.
Where a Featherboard Actually Goes (This Is the Part Most Guides Skip)
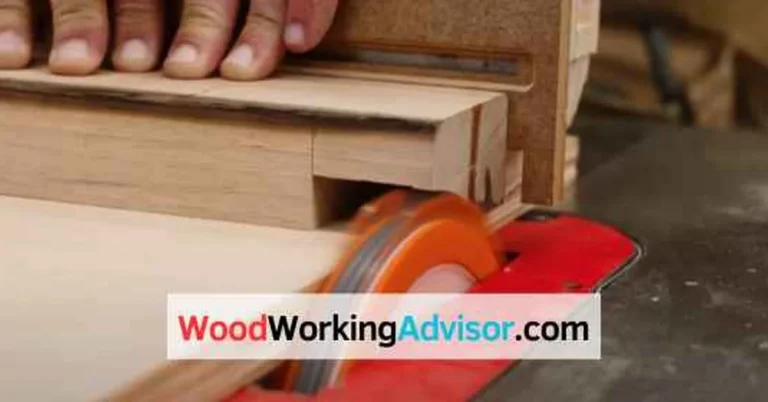
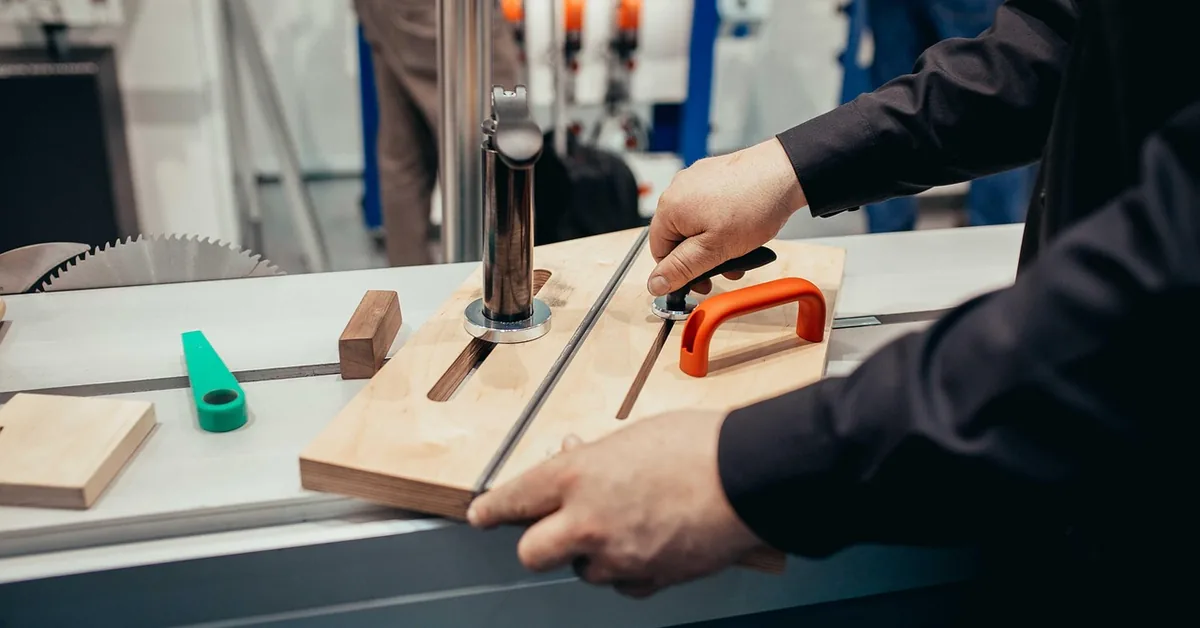
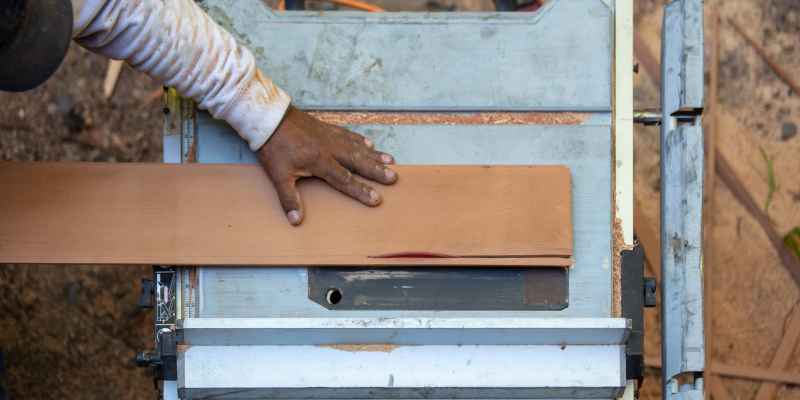
A featherboard belongs on the infeed side of the blade only — ahead of where the teeth meet the wood, never behind it. Clamp it to the saw table or into the miter slot, angled so the fingers point toward the operator and press the workpiece flat against the fence as it approaches the cut.
Placing a featherboard past the blade — on the outfeed side — is the mistake that turns a safety jig into a hazard. Once the cut piece is trapped between a spinning blade and a featherboard holding it from behind, it has nowhere to go but back at the operator. That pinch-and-kick sequence is the same mechanism riving knives exist to prevent, and it’s why the two devices are meant to work on opposite sides of the blade, not the same one.
📊 Table saws cause an estimated $3.91 billion a year in injury-related costs, with roughly 33,791 blade-contact injuries per year on average from 2016–2021 — Source: Power Tool Institute, citing CPSC NEISS injury data
Once a workpiece is trapped between a spinning blade and a featherboard mounted behind it instead of ahead of it, kickback is close to guaranteed — that one placement mistake is enough to turn a helpful jig into the exact hazard it was bought to prevent. Check featherboard position every time you move it, not just the first time you set it up.
“The featherboard placement rule is the one detail beginners skip because it looks like it should not matter which side of the blade it is on. It matters more than the angle of the fingers or how tight you clamp it.”
Featherboard vs. Push Stick vs. Splitter: What Each One Actually Does
| Device | Where It Goes | Best For |
|---|---|---|
| Featherboard | Infeed side, ahead of the blade | Constant fence pressure on long or repeated rips |
| Push stick / push block | In your hand, over the workpiece | Finishing a cut once your hand nears the blade |
| Riving knife / splitter | Just behind the blade | Keeping the kerf open so the offcut can’t pinch the blade |
None of these three replace each other. A featherboard holds the board against the fence before the cut; a riving knife stops the kerf from closing during the cut; a push stick keeps your hand clear after the board passes the point where fingers get too close. A safe rip setup on a long board typically uses all three together.
Get the Fence Parallel First — Or Nothing Else Here Helps
Every method above assumes the fence itself is aligned to the blade. A rip fence should be parallel to the blade or toed out very slightly — about 1/64 in. wider at the back than the front — never toed in toward the blade. A fence that narrows toward the back pinches the offcut against the blade as it exits the cut, which is a direct kickback cause regardless of how good your featherboard or push stick technique is.
Check it with a combination square or dial indicator against a single tooth at the front of the blade, then the same tooth rotated to the back. If the gap grows past about 1/32 in., the blade — not the fence — starts steering the cut, and the workpiece can drift regardless of how much pressure you apply by hand. See how to confirm your table saw fence is properly aligned for the full check.
For the technical reasoning behind toeing a fence out rather than leaving it dead-parallel, Rockler’s fence alignment guide covers the tolerance debate in more depth.
Which Side Should the Table Saw Fence Be On?
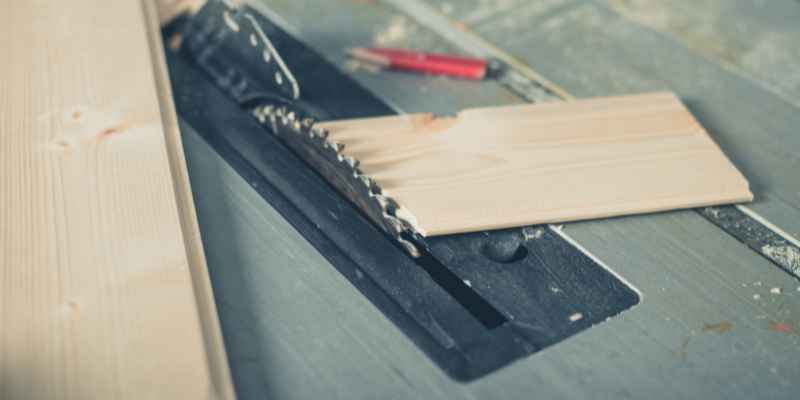
On most contractor and cabinet saws, the fence rail system is built longer on one side (commonly the right), so the fence itself generally isn’t repositioned based on which hand you favor — what changes is technique, not hardware. Feed the stock with your dominant hand while your other hand (or a featherboard) applies steady pressure toward the fence, staying a safe distance from the blade path at all times. If your saw’s rail genuinely supports mounting the fence on either side, keep it on whichever side gives you the clearer, more comfortable feed path for the cut you’re making.
Common Reasons the Cut Still Isn’t Straight
A board pressed firmly against the fence can still cut unevenly. Work through these before blaming the featherboard:
- Fence toed in toward the blade — recheck the 1/64 in. tolerance above; a fence narrowing toward the back pinches the cut.
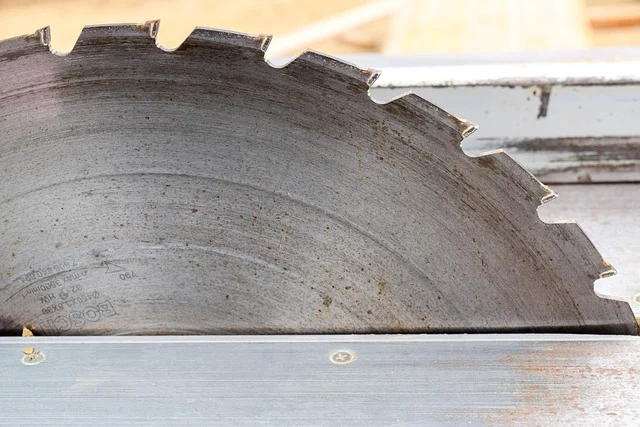
- Dull or dragging blade — a blade that isn’t cutting cleanly can push the workpiece off-line even with the fence perfectly aligned; check for pitch buildup or worn carbide.
- Inconsistent hand pressure — pressure that isn’t held toward the fence for the full length of the cut lets the tail end of the board wander right where accuracy matters most.
- Loose blade arbor nut — a blade that isn’t seated tight can wobble slightly, showing up as a faint wave along the cut edge.
Frequently Asked Questions
Where should a featherboard sit on a table saw — before or after the blade?
Before the blade, on the infeed side only. A featherboard clamped behind the blade can trap the cut-off piece against the spinning blade, which is a direct cause of kickback rather than a way to prevent it.
Why does my workpiece keep pulling away from the fence?
Usually a fence toed in toward the blade at the back, a dull blade dragging the cut, or hand pressure that isn’t consistently angled toward the fence. Check fence alignment first, then add a featherboard for constant pressure a hand alone can’t maintain.
Can you rip wood on a table saw without a fence?
Not safely for a straight rip — the fence is what defines cut width and keeps the workpiece from twisting into the blade. Freehand ripping removes that control entirely and is one of the more common ways operators lose consistent pressure right as the blade engages.
How do you stop table saw kickback?
Combine a featherboard ahead of the blade, a riving knife or splitter behind it, a push stick or push block once your hand nears the blade, and a fence checked parallel or very slightly toed out — never toed in toward the blade.
How parallel does a table saw fence need to be to the blade?
Within about 1/64 in. over the length of the blade, and if it has to be off slightly, wider at the back rather than narrower. A gap beyond roughly 1/32 in. lets the blade steer the cut instead of the fence.
Conclusion
Keeping wood against the fence isn’t one trick — it’s a fence checked to within 1/64 in., a featherboard clamped ahead of the blade, a riving knife behind it, and a push stick ready for the last few inches of the cut. Get the fence right first; every other method here depends on it. For building your own featherboard, see how to make a featherboard for a table saw, and for dialing in setup and finger tension, see how to use a featherboard on a table saw.
Sponsored / affiliate links. As an Amazon Associate I earn from qualifying purchases. I may earn additional commission from eligible campaigns.