How to Make a Water Tank Out of Wood: DIY Mastery
To make a wooden water tank, start by selecting durable, rot-resistant wood like cedar or redwood. Construct the tank using sturdy wooden planks, ensuring all joints are watertight.
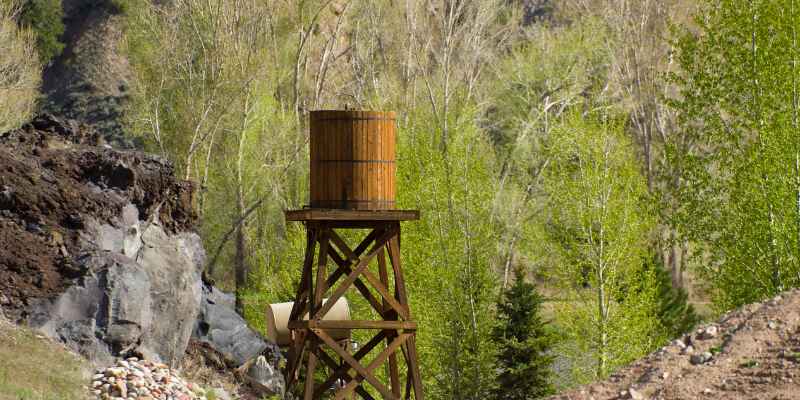
Creating a water tank from wood can be a rewarding DIY project, suitable for both storage and aesthetic purposes. Wooden tanks can blend beautifully into gardens or outdoor spaces. They are an eco-friendly choice, especially when using sustainably sourced materials.
Follow a few essential steps to ensure your tank is functional and long-lasting. Proper construction techniques will help prevent leaks and ensure the tank can withstand pressure. This guide will walk you through the process, from selecting the right materials to finishing touches that enhance both durability and appearance.
Introduction To DIY Wooden Water Tanks
Building a wooden water tank is a fun project. It can save money and provide a unique touch to your home. Many people enjoy creating their own water tanks. They offer a chance to learn new skills. Plus, you get to customize your design.
Before starting, consider safety and legal rules. Check local laws about water tanks. Some areas have specific requirements for construction. Make sure to use safe materials that won’t harm water quality. Always wear protective gear while working.
Ensure your tank is sturdy and leak-free. This will keep water safe for use. Enjoy the process of building your own wooden water tank!
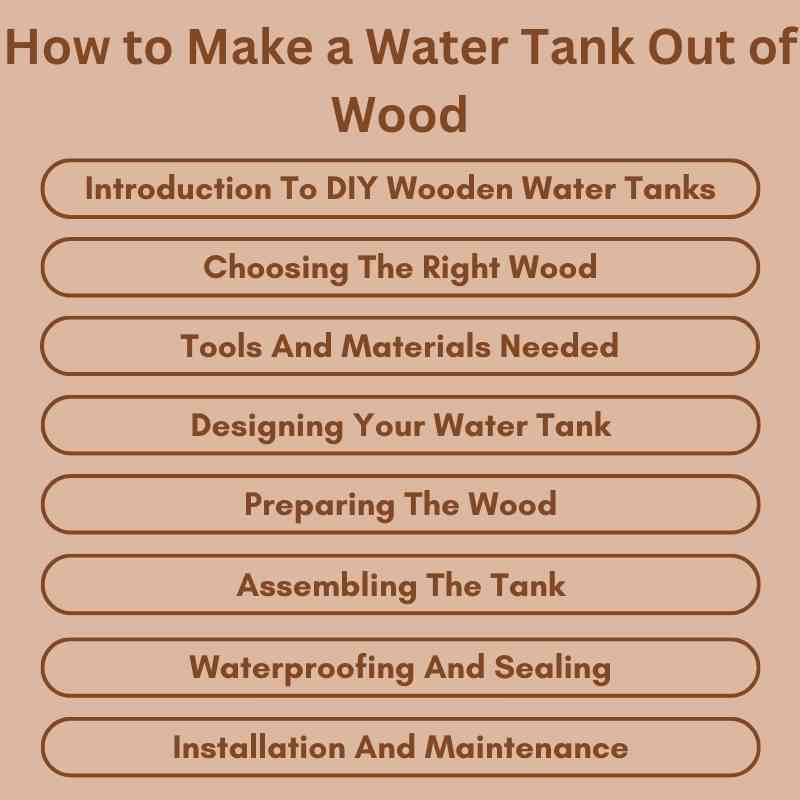
Choosing The Right Wood
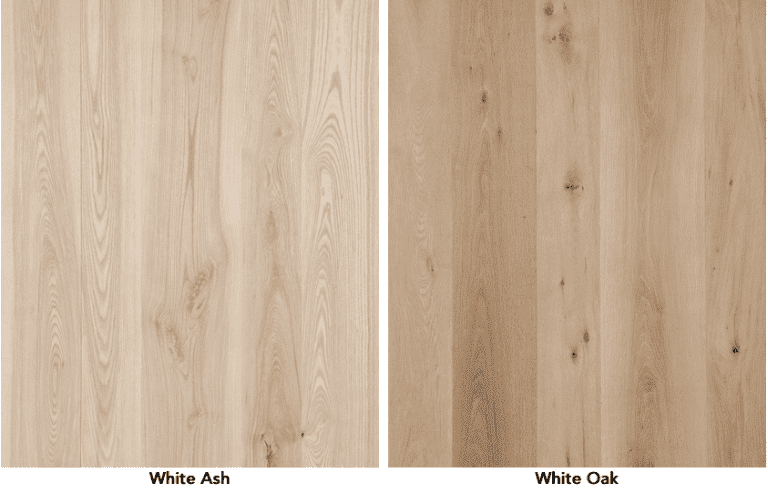
Choosing the right wood is essential for making a water tank. Some suitable types of wood include:
- Cedar: Naturally resistant to rot and insects.
- Redwood: Durable and has good water resistance.
- Pine: Cost-effective but needs treatment.
- Teak: Strong and weather-resistant.
Treating wood for water resistance helps extend its life. Common treatments include:
- Sealants: Create a waterproof barrier.
- Oils: Penetrate the wood and repel water.
- Preservatives: Protect against rot and pests.
Choose the right wood and treatment for a long-lasting water tank.
Tools And Materials Needed
Gathering the right tools is important for building a wooden water tank. Here are some essential tools:
- Saw – for cutting wood to the right sizes.
- Drill – to make holes for screws.
- Screwdriver – for tightening screws.
- Measuring tape – to measure wood accurately.
- Sandpaper – for smoothing rough edges.
Using the right materials ensures a strong water tank. Important materials include:
- Wood – choose durable, water-resistant types like cedar or redwood.
- Sealant – prevents leaks and protects the wood.
- Screws – select rust-resistant screws for durability.
Designing Your Water Tank
Designing a wooden water tank requires careful planning. Start by calculating the capacity you need. Think about how much water you will store. Use a simple formula for volume.
For example, multiply length, width, and height to find the volume. Next, determine the dimensions of your tank. Ensure the size fits your space.
Consider the structural integrity of the design. Use strong wood types like cedar or redwood. These woods resist rot and last longer.
The shape of the tank also matters. A rectangular tank often holds more water. Round tanks can be easier to build but may hold less.
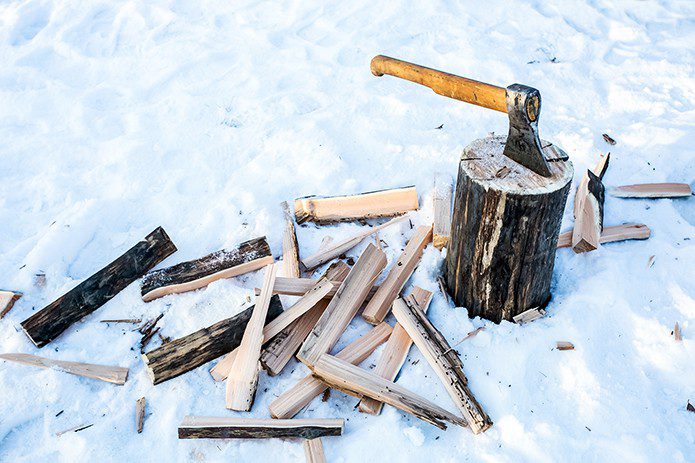
Preparing The Wood
Start by measuring the wood pieces. Use a saw to cut the wood to the right size. Make sure each piece fits together well.
Next, focus on sanding the edges and surfaces. This makes the wood smooth and safe to touch. Use sandpaper to remove any rough spots.
After sanding, check for splinters. Remove any splinters to avoid injuries. A smooth surface helps the water tank look neat.
Assembling The Tank
To create a strong base for your wooden water tank, select sturdy wood. Cut the wood into equal pieces for stability. Use nails or screws to secure the base firmly. Make sure it is level on the ground.
Erecting the walls comes next. Cut wooden planks to the desired height. Stand the planks upright and attach them to the base. Ensure the walls are straight and secure them tightly. This will help hold the water safely.
Finally, it’s time to add the top. Use a solid piece of wood to cover the tank. This will keep debris out and maintain water quality. Secure the top with hinges for easy access. Make sure everything is sealed properly to prevent leaks.
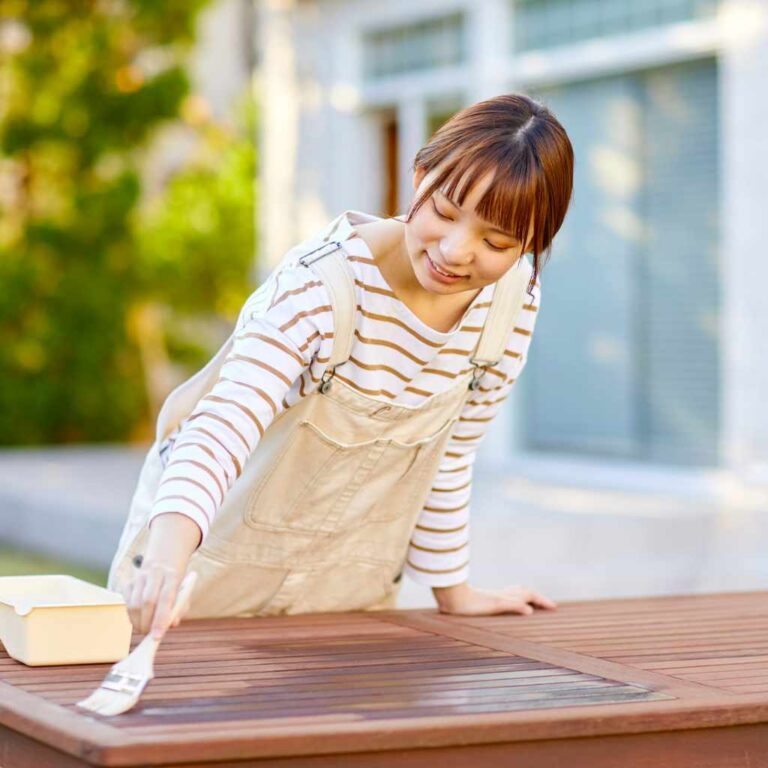
Waterproofing And Sealing
To make your wooden water tank last, applying a sealant is crucial. Choose a high-quality waterproof sealant designed for wood. Use a brush or roller to evenly coat all surfaces. Ensure every joint and seam gets special attention.
After applying the sealant, let it dry completely. This usually takes a few hours. Once dry, test for leaks by filling the tank with water. Check for any signs of moisture on the outside. If leaks appear, apply more sealant to those areas.
Repeat the testing process after each sealant application. This step guarantees your tank is fully waterproof and ready for use.
Installation And Maintenance
Choosing the right location for your water tank is very important. It should be a flat area, away from trees and debris. Ensure the ground can support the weight of the filled tank. A spot with good sunlight helps in keeping the tank warm.
Regular maintenance keeps your tank in good shape. Inspect for leaks and cracks often. Clean the inside to avoid algae and bacteria. Check the wood for rot or pests regularly.
Consider using a waterproof sealant for added protection. This helps to extend the life of your wooden tank. Always keep the area around the tank clear and accessible.
Customization And Aesthetics
Staining and painting your wooden water tank can enhance its appearance. Choose colors that match your surroundings. Light stains can highlight the wood grain. Dark colors can create a bold look. Use waterproof paint for better protection.
Adding personal touches makes your tank unique. Consider using stencils for designs. Decorative hardware can also elevate the look. Plants or flowers around the tank add a natural vibe. Be creative and let your personality shine through.
Frequently Asked Questions
How Can I Waterproof A Wooden Water Tank?
To waterproof a wooden water tank, use a sealant designed for wood. Apply multiple coats for better protection. Consider using food-safe sealants if the tank will hold drinking water. Regular maintenance is essential to prevent leaks and prolong the tank’s life.
What Type Of Wood Is Best For Water Tanks?
Cedar and redwood are excellent choices for building water tanks. They are naturally resistant to rot and insects. These types of wood also have a pleasant aroma and are less likely to leach chemicals. Ensure the wood is properly treated for longevity and safety.
How Do I Maintain A Wooden Water Tank?
Regularly inspect your wooden water tank for leaks and damage. Clean the tank periodically to prevent algae growth. Reapply sealants as needed to maintain waterproofing. Monitor water quality and replace the water every few months for optimal use and safety.
Can I Build A Water Tank Myself?
Yes, you can build a wooden water tank yourself. However, it requires careful planning and construction skills. Follow detailed instructions and ensure you have the right materials. Safety is crucial, so consider consulting an expert if you’re unsure about the process.
Conclusion
Building a wooden water tank is a rewarding project. It combines creativity with practicality. Following the steps outlined will ensure a sturdy, functional tank. Remember to use quality materials for durability. With a little effort, you’ll have a reliable water storage solution right in your backyard.
Happy building!