How to Sharpen Hand Planer Blades (Manual and Electric)
“Hand planer” means two different tools with two completely different sharpening processes. A manual hand plane (the traditional woodworking tool) gets its blade honed on a sharpening stone. An electric hand planer (the corded power tool) almost always uses disposable or reversible blades that get replaced or flipped, not honed on a stone – trying to sharpen a power-planer blade like a manual one is the single most common mistake people make with this search.
Which Hand Planer Do You Have?
For Electric Hand Planers
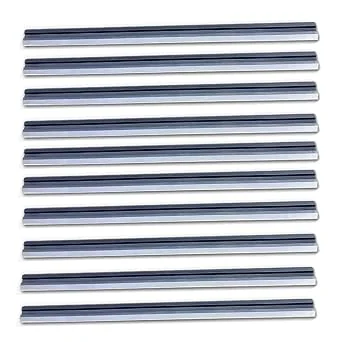 |
FOXBC 3-1/4″ HSS Planer Blades, 10-Pack Most electric hand planer blades aren’t meant to be sharpened at all – once both reversible edges dull, this is the actual fix, fitting Bosch, Makita, DeWalt, Ryobi, Wen, and Craftsman models.
|
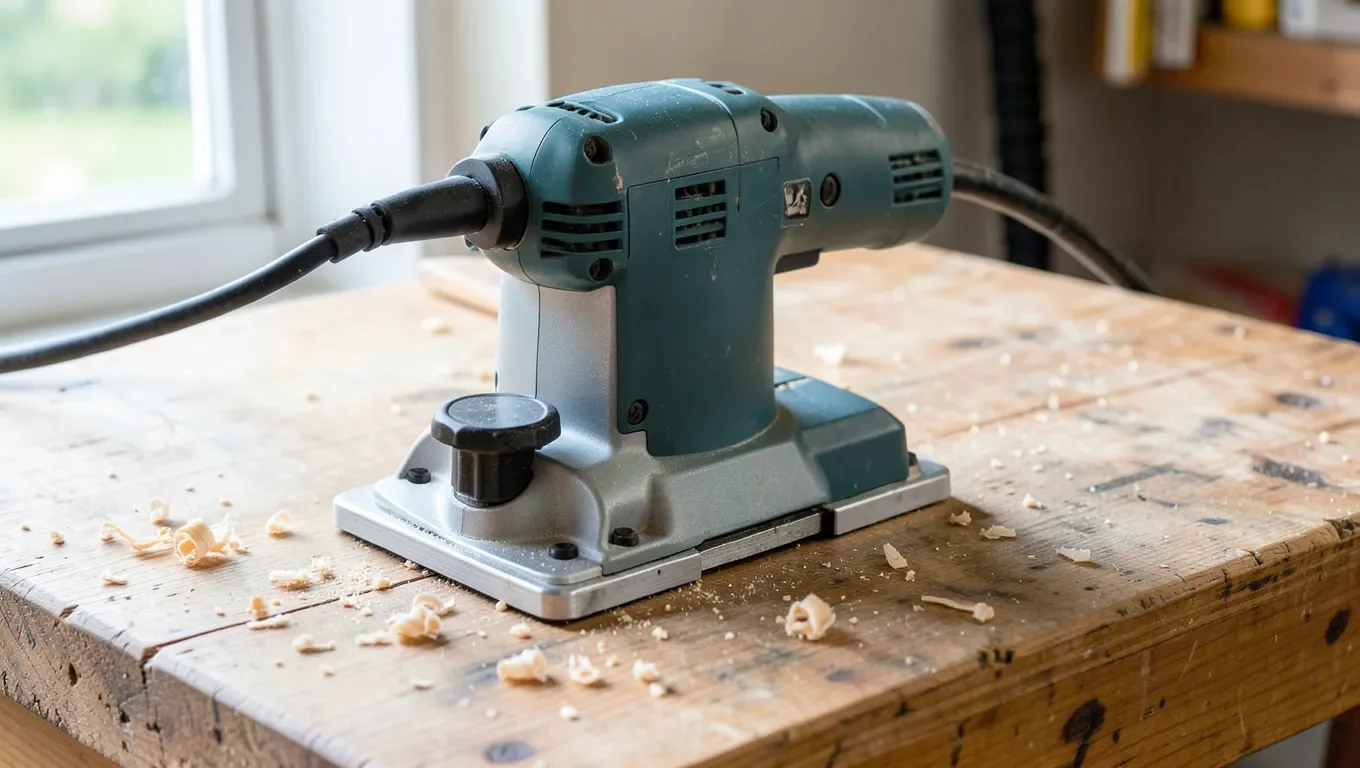
If your tool has a motor, a power cord (or battery), and a spinning cutter drum, you have an electric hand planer – skip to the electric section below. If your tool is a solid metal or wood body you push by hand, with a single blade held in place by a cap iron and adjusted with a knob, you have a manual hand plane – the sharpening-stone method further down applies to you.
This distinction matters because a lot of search results and even some tool manuals use “hand planer” loosely for both, which is exactly how the wrong method ends up applied to the wrong tool. A manual plane blade that’s honed correctly can last decades with periodic resharpening; an electric planer blade run through the same stone-honing process usually comes out with an inconsistent edge, because the thin carbide/HSS stock and factory bevel aren’t designed for hand-stone work.
| Manual Hand Plane | Electric Hand Planer | |
|---|---|---|
| Blade type | Single thick steel blade, meant to be resharpened many times | Thin double-edged carbide/HSS blade, usually disposable |
| Maintenance method | Honed on progressively finer sharpening stones | Flipped once, then replaced as a set |
| Typical cost to maintain | One-time stone purchase, reused indefinitely | $10-20 per 10-pack of replacement blades |
| Sharpening angle | 25-30°, set with a honing guide | Factory-ground – not adjustable by hand |
Electric Hand Planer Blades: Replace, Don’t Sharpen
Most electric hand planers (Bosch, Makita, DeWalt, Ryobi, Wen, and similar corded/cordless models) use small carbide or HSS (high-speed steel) reversible blades, usually two per cutter drum. These blades are double-edged: when one edge dulls, you loosen the retaining screws, flip the blade around to the sharp edge, and reinstall it. Once both edges are dull, the blades get replaced entirely – they are inexpensive enough (often under $15 for a 10-pack) that resharpening them by hand isn’t worth the time or the risk of throwing off the factory-ground edge angle.
Flipping or Replacing Electric Planer Blades
- Unplug the tool (or remove the battery). This matters more than it sounds – these blades are sharp enough to cut skin even without the motor running.
- Loosen the screws or clamp holding the blade in the cutter drum. Most models use a hex key or the wrench that came with the tool.
- Slide the blade out. Check both edges – if one is still sharp, flip it and reinstall with that edge facing the cutting direction.
- If both edges are dull, nicked, or chipped, replace with a new blade matched to your tool’s exact width (commonly 2″ or 3-1/4″ for consumer models).
- Set the blade height using the tool’s built-in gauge or a straightedge – both blades in a two-blade drum must sit at exactly the same height, or the planer will leave visible ridges in the wood.
- Tighten the retaining screws evenly and re-check the height before using the tool.
A small number of higher-end electric planers use resharpenable HSS blades rather than disposable carbide ones – check your tool’s manual for this before assuming yours can’t be honed. If it’s HSS and the manual explicitly allows sharpening, the manual-plane stone method below applies, just at whatever angle the manufacturer specifies (often ground differently than a hand plane’s 25-30°).
Manual Hand Plane Blades: Sharpening on a Stone
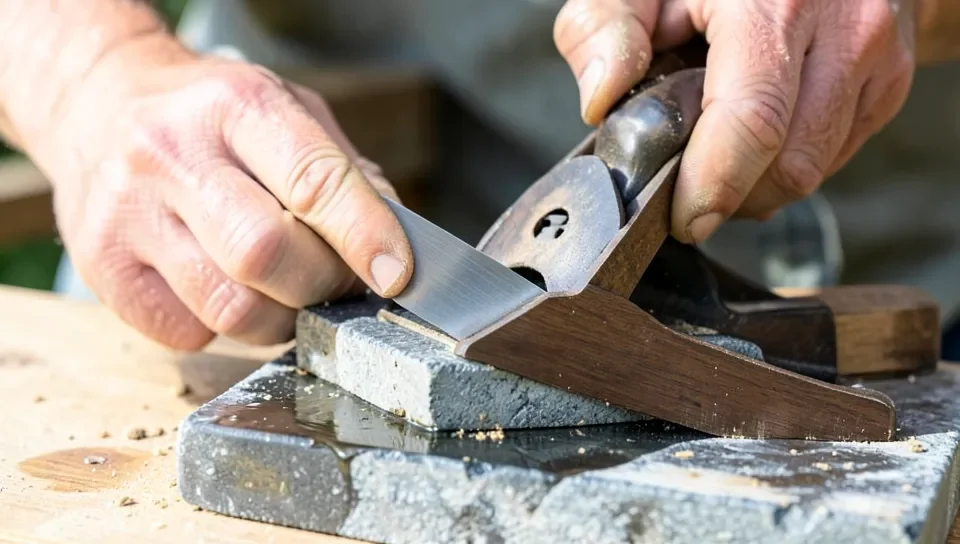
A manual hand plane blade is a single, thicker piece of steel meant to be resharpened many times over its life, unlike a disposable electric-planer blade. Remove the blade by releasing the cap iron and lever cap, then inspect the edge under bright light – a dull edge reflects a visible thin line of light along the cutting edge, while a sharp edge disappears into a hairline you can’t see reflect.
Tools You’ll Need
- Sharpening stones: a coarse (around 400-1000 grit), medium (1000-4000 grit), and fine/polishing stone (6000-8000 grit)
- A honing guide, to hold the blade at a consistent angle
- Water (for water stones) or honing oil (for oil stones) – don’t mix the two on the same stone
- A flat surface to work on
Sharpening Steps
- Set the honing guide to hold the blade at roughly 25-30 degrees – most bench plane blades are ground around 25° with a slightly steeper 30° micro-bevel honed on top.
- Start on the coarse stone if the edge is nicked or badly dull; skip straight to medium if it’s just lost its keenness. Move the blade back and forth under light, even pressure, keeping the angle steady.
- Progress through medium, then fine grit, spending less time on each successive stone – the coarse stone does the real shaping work, the finer stones just remove the previous stone’s scratch pattern.
- Flip the blade flat on the finest stone for a few light passes to remove the burr (a thin wire of displaced metal) that forms on the back edge during honing – this is the step most beginners skip, and skipping it leaves a rough, wire-thin edge that folds over almost immediately in use.
- Test the edge: it should catch lightly on a fingernail dragged across it (carefully) or shave a thin curl off end-grain scrap wood without tearing.
Fixing Nicks and Uneven Edges
A small nick usually grinds out on the coarse stone within a few extra minutes of steady, even strokes – work the whole edge, not just the nicked section, or you’ll create a visible low spot. A deep chip may need several extra minutes on the coarse stone before it fully grinds out; this is normal and doesn’t mean the blade is ruined, though a chip deep enough to still show after a couple minutes of steady coarse-stone work may mean the blade has hit something hard (a stray nail, grit embedded in reclaimed wood) and needs more aggressive regrinding than hand-stone work alone, in which case a bench grinder set up for the correct angle speeds things up considerably. An uneven edge (checked by holding the blade against a straightedge and looking for gaps) usually comes from inconsistent pressure or angle during a previous sharpening – correct it by sharpening the high spots down to match the rest of the edge, using more pressure on the high side only until the edge reads flat again.
Testing and Maintaining Sharpness
The real test is cutting, not looking: a sharp blade planing softwood end-grain produces thin, translucent shavings with no tearing or snagging. If the plane skips, tears the grain, or requires noticeably more force than it used to, the blade has dulled even if it still looks shiny under light.
Store manual plane blades with a light coat of oil in a dry place to prevent rust, and check the edge before starting any new project rather than waiting for it to fail mid-cut. For electric planer blades, keep a spare set on hand – swapping in a fresh pair takes minutes and avoids the tear-out and burn marks a dull power-planer blade leaves in hardwood.
Frequently Asked Questions
How often should I sharpen hand planer blades?
You should sharpen hand planer blades whenever they become dull. Regular sharpening maintains optimal performance and prolongs blade life.
What tools do I need to sharpen planer blades?
To sharpen planer blades, you’ll need a sharpening stone, honing guide, and lubricant. These tools ensure precise sharpening.
Can I sharpen planer blades without removing them?
It’s best to remove planer blades for sharpening. This allows for more accurate and thorough sharpening.
How do I know if my planer blades are dull?
Dull planer blades produce rough, uneven cuts and require more effort. Regularly check for these signs to maintain efficiency.
Can electric hand planer blades be sharpened like manual plane blades?
Generally no. Most electric planer blades are disposable carbide or HSS reversible blades meant to be flipped once and replaced when both edges dull, not honed on a stone. Check your specific tool’s manual – a small number of models use resharpenable HSS blades and will say so explicitly.
Conclusion
Figure out which tool you actually have first – a manual hand plane blade gets honed on a stone through progressively finer grits, while an electric hand planer’s blades almost always get flipped once and then replaced, not sharpened by hand. Getting this distinction right the first time saves both a ruined blade and a lot of wasted effort.
Sponsored / affiliate links. As an Amazon Associate I earn from qualifying purchases. I may earn additional commission from eligible campaigns.