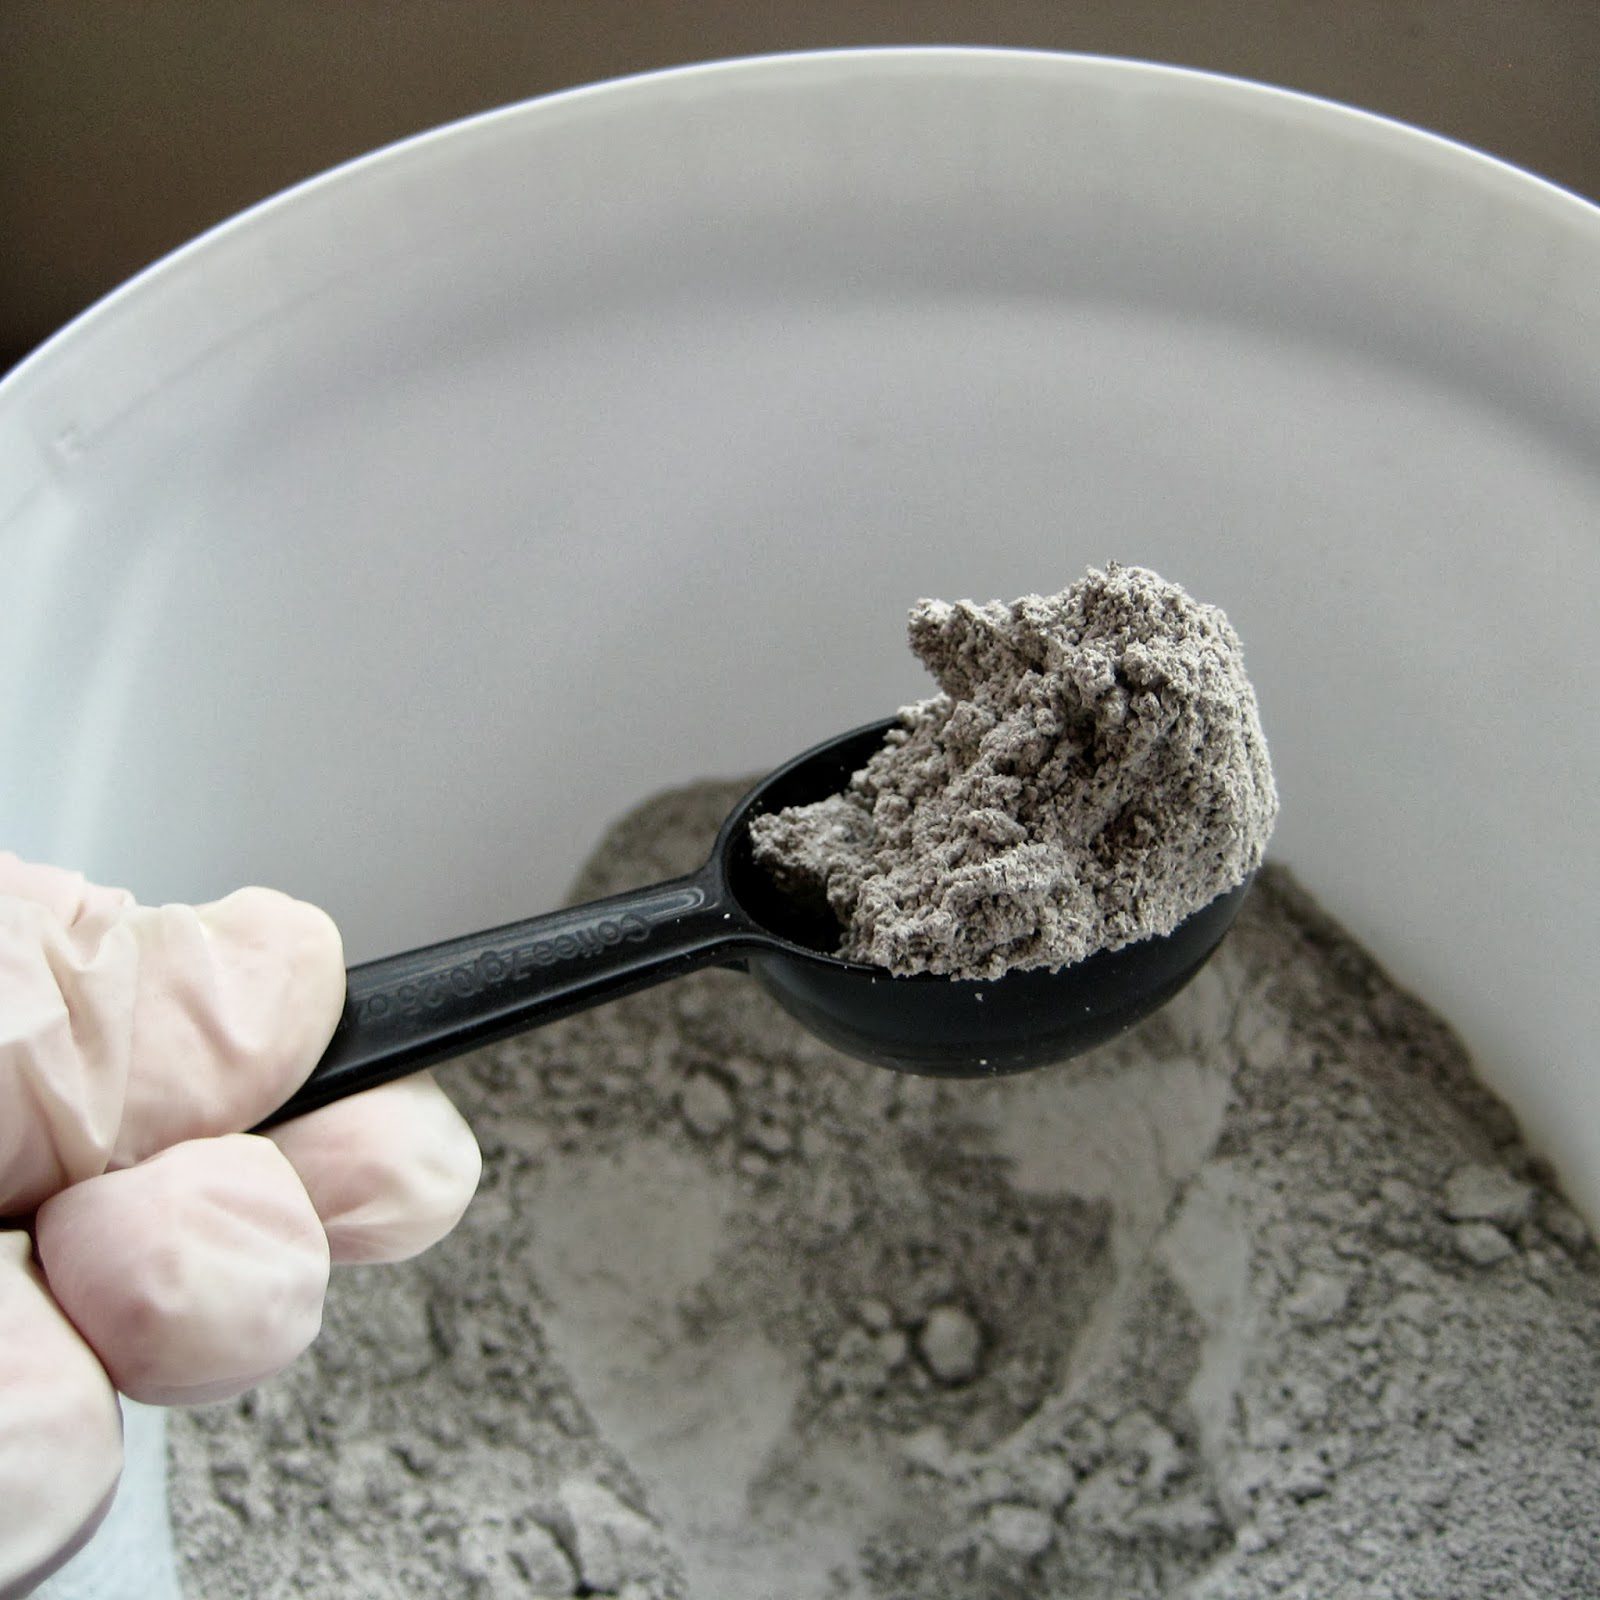
How to Make Wood Ash Glaze: A Step-by-Step Guide
Wood ash glaze is one of the oldest pottery finishes there is – a genuine glass-like coating made from little more than burned hardwood, water, and clay, fired onto the piece in a kiln. It won’t behave exactly the same way twice, since every batch of ash carries a slightly different mineral makeup depending on the wood it came from, which is exactly what gives ash-glazed pottery its unpredictable, natural variation instead of the flat uniformity of a commercial glaze.
What You Need
For Sifting And Washing Ash
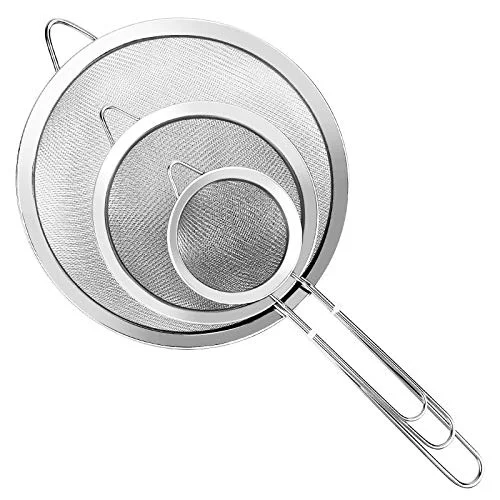 |
3-Piece Stainless Steel Fine Mesh Strainer Set Three graduated mesh sizes catch unburned charcoal chunks first, then strain the fine ash particles you actually want in your glaze mix.
|
- Clean wood ash – from hardwood only, never from wood that was painted, stained, or pressure-treated
- A fine mesh sieve – for straining out unburned chunks and charcoal before the ash goes anywhere near clay
- Pottery clay – smooth, wet, and free of debris, for structure and workability
- Clean water – room temperature, never salted or heavily mineralized
- A bowl and mixing spoon, plus gloves, goggles, and a dust mask for handling dry ash safely
Collecting the Right Wood Ash
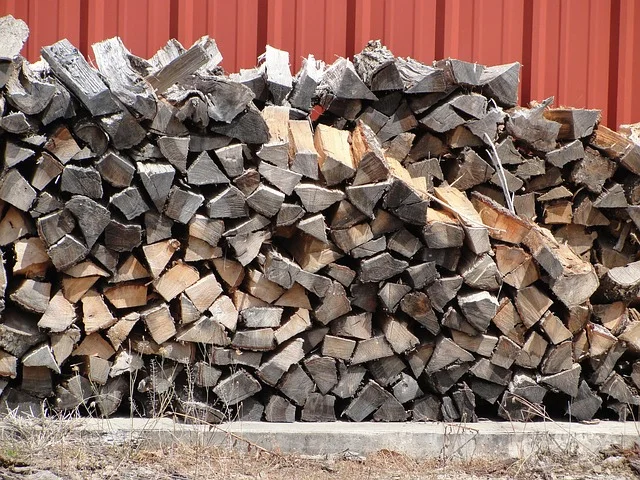
Hardwoods like oak, maple, and ash produce more usable ash per pound burned and a higher proportion of the calcium and potassium that actually melt into glaze during firing. Softwoods like pine burn faster and leave less residue, and what’s left tends to glaze less smoothly. Whatever species you use, it has to be clean wood only – no paint, stain, plywood, or treated lumber, since the chemicals in those can leach into the glaze and become genuinely hazardous once fired.
Ash is sharp, alkaline, and easy to inhale, so treat collecting it like any other dusty, caustic material: gloves to keep it off your skin, goggles since it scatters easily in a breeze, and a dust mask so you’re not breathing it in while you scoop it out of a cold fireplace or fire pit. Always let ash cool completely before handling it – a bed of coals can stay hot under a layer of ash for far longer than it looks.
Preparing and Washing the Ash
Sift the raw ash through a fine mesh sieve first, to catch unburned chunks of charcoal and debris before they end up in your glaze mix. What’s left after sifting still isn’t ready to use on its own – raw ash carries soluble salts (mostly potassium carbonate) that make an unwashed glaze crack, blister, or flake off during firing.
Washing removes those salts: mix the sifted ash with several times its volume of water, stir well, and let it settle for a few hours so the heavier ash sinks and the salt-laden water sits on top. Pour off that water, add fresh water, and repeat the process two or three times. Each wash pulls out more of the soluble salt, and most potters find two to three washes gets ash clean enough for a stable glaze. Dry the washed ash completely before measuring it into a recipe, since wet ash will throw off your ratios.
Mixing the Glaze
A simple starting ratio is one part washed, dry wood ash to one part clay, mixed with enough water to reach a pourable, cream-like consistency – roughly one cup of water per cup of dry ash-and-clay mix, adjusted as you go. Ash alone melts into a thin, often runny glaze at typical firing temperatures, so the clay isn’t just filler here; it adds the silica and alumina that keep the glaze from sliding off a vertical surface during the firing.
Stir until the mixture is smooth with no lumps, which usually takes a few minutes of steady mixing. Work in a ventilated space, since you’re still handling dry ash dust at this stage even after washing. This basic ash-and-clay mix is a genuine, functional glaze on its own – potters build entire glaze lines around ratios like this one, and it’s the same starting point traditional ash glazes have used for centuries before anyone added synthetic fluxes to the recipe.
Testing Before You Commit a Full Piece
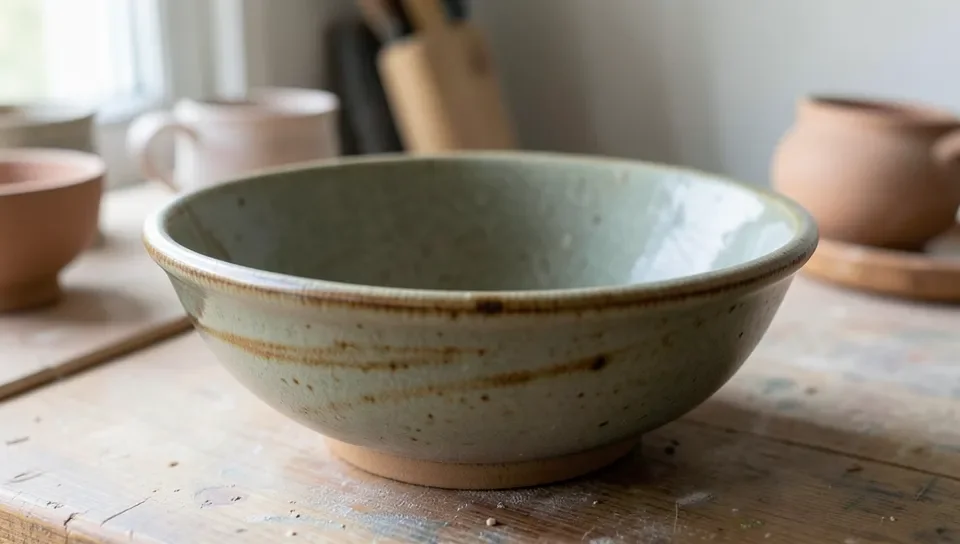
Never glaze a finished piece with an untested batch – ash content varies enough between batches that the same “recipe” can behave differently depending on what wood it came from and how thoroughly it was washed. Brush the glaze onto a few test tiles of the same clay body you plan to use, in a couple of different thicknesses, since a glaze that looks right wet can run, crawl, or come out glassy-thin once fired.
Fire the test tiles in your kiln at the temperature you intend for the finished piece, then let them cool inside the kiln rather than pulling them out hot. A thin coat that fires matte and dry means you need more ash or a longer soak at peak temperature; heavy running or pooling at the base of the tile means the mix is too thin or the firing ran too hot. Only move to a full piece once a test tile comes out the way you want.
Adjusting Texture and Color
Once the base ratio is working, small additions change the character of the glaze without starting over. More clay thickens the mix and mutes the glassy shine into something more matte and stony. A small amount of sand adds a gritty, textured surface. Feldspar, added in place of some of the clay, lowers the melting point and smooths the finish – it’s the standard flux potters reach for when a straight ash-and-clay mix isn’t melting evenly at their kiln’s firing temperature.
Metal oxides added in small percentages (start under 2% of the dry mix and test before scaling up) shift the color: iron oxide gives the warm ambers and browns most people associate with traditional ash glaze, cobalt oxide produces blue, and copper oxide turns green – though copper can also volatilize and drift onto neighboring pieces in the kiln, so keep copper-glazed pieces spaced apart during firing.
Applying and Firing
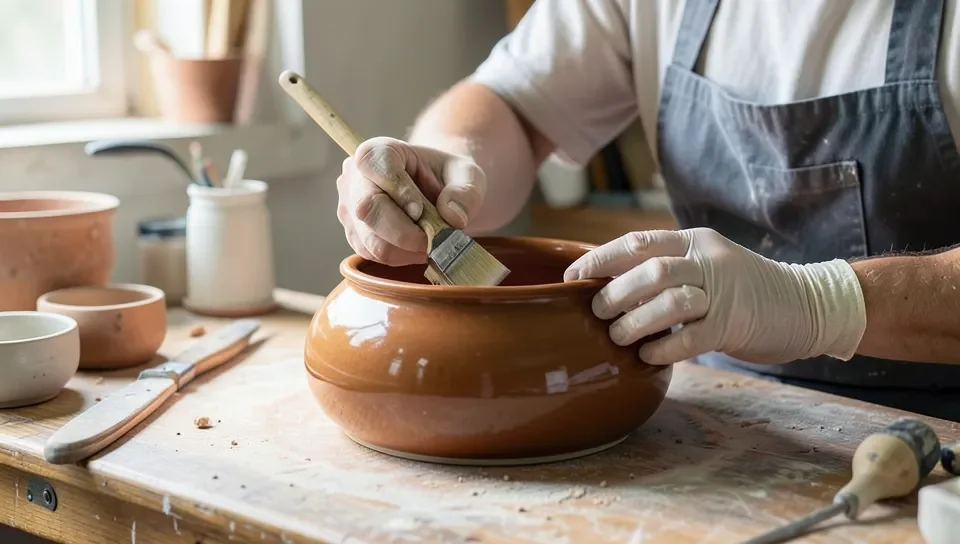
Brush or dip thin coats rather than one thick one – ash glazes are prone to running at high temperatures, and a thin first layer gives you room to add a second coat if the color or coverage needs it. Let each coat dry fully before adding another; stacking wet layers is one of the most common causes of cracking and flaking once the piece goes into the kiln.
Ramp the kiln up gradually rather than firing at full heat from the start – a slow climb gives the glaze time to melt and settle evenly instead of blistering. Once firing is done, let the kiln cool on its own schedule with the door shut; opening it early or pulling pieces out hot is one of the most reliable ways to crack a glaze that fired perfectly well.
Fixing Common Problems
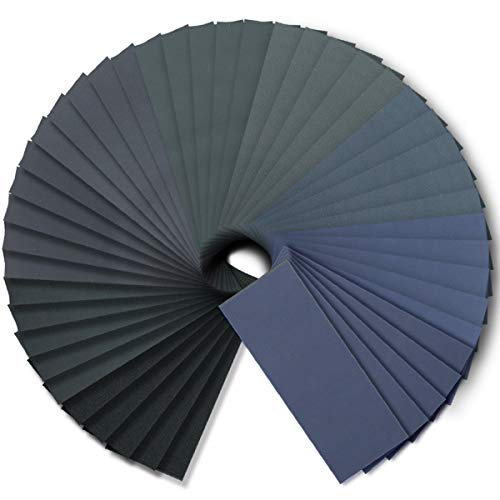
Cracking (called crazing in ceramics) usually means the glaze and the clay body are expanding and contracting at different rates as they cool – often because the glaze coat was too thick, or the piece cooled too fast. Thinner, even coats and a slow cooldown fix most cases. A rough or bumpy finish after firing can be sanded smooth with fine-grit sandpaper and rinsed clean, though catching an uneven application before firing with a good test-tile check saves you the extra step.
Frequently Asked Questions
How do you make wood ash glaze?
Wash sifted hardwood ash to remove soluble salts, then mix it roughly one-to-one with pottery clay and enough water to reach a pourable consistency. Test the mix on sample tiles before committing to a full piece, since the exact ratio that melts smoothly depends on the specific ash you’re using.
What are the ingredients in ash glaze?
A basic ash glaze is wood ash, clay, and water. Many potters also add a flux like feldspar to lower the melting point and smooth the finish, and small amounts of a metal oxide (iron, cobalt, or copper) to shift the fired color.
How do you wash wood ash for glaze?
Sift the ash first to remove unburned chunks, then mix it with several times its volume of water, stir, and let it settle for a few hours before pouring off the water. Repeat two to three times to remove most of the soluble salts, then dry the washed ash completely before measuring it into a recipe.
Which wood makes the best ash for glaze?
Hardwoods like oak, maple, and ash produce more usable ash with a higher mineral content than softwoods like pine, which is why potters generally prefer hardwood ash for glazing. Only use ash from untreated, unpainted wood – chemicals from treated lumber can end up in the finished glaze.
Conclusion
Wood ash glaze rewards patience more than precision – wash your ash thoroughly, test every batch before committing a finished piece, and expect some variation from one firing to the next. That variation is the point: an ash glaze looks the way it does because it’s made from a genuinely unpredictable, natural material, not a bag of standardized commercial powder. Start with a simple one-to-one ash and clay ratio, keep notes on what worked, and adjust from there.
Sponsored / affiliate links. As an Amazon Associate I earn from qualifying purchases. I may earn additional commission from eligible campaigns.