How to Make Wood Ash: Step-by-Step Guide
Wood ash is the mineral-rich residue left after wood burns completely — burn dry, untreated hardwood in a controlled fire, let it cool fully, then collect it into a metal container. It’s a genuinely useful byproduct for the garden, cleaning, and pest control, and making it yourself from scrap wood costs nothing but a bit of patience.
How Much Ash Does a Given Amount of Wood Actually Produce?
Store Ash Safely, Not in Plastic
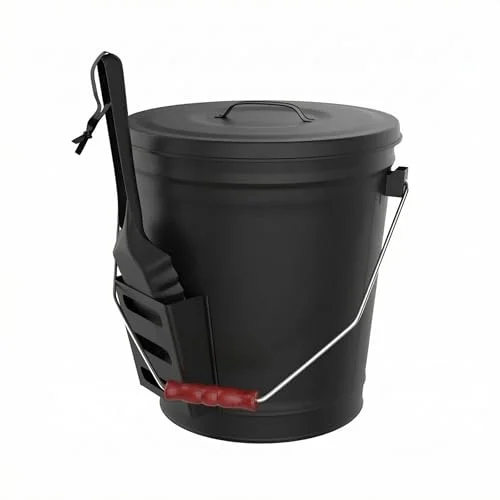 |
Pure Garden Metal Ash Bucket & Shovel, 4.75 Gal – $35.74 Ash can hold hidden embers for days — a metal bucket with a tight lid is the actual safety requirement here, not just a tidy way to store it.
|
As a practical rule of thumb, expect roughly 5 to 10% of a dry hardwood log’s original weight to come back as ash in a typical backyard fire — so burning 100 lbs (about 45 kg) of dry hardwood yields somewhere around 5 to 10 lbs (2 to 4.5 kg) of ash. The exact figure swings with wood species, moisture content, and how completely the fire burns: a hot, efficient, fully-burned fire leaves less residue, while a smoldering or incomplete burn leaves more unburned char mixed in with the true ash. Hardwoods (oak, maple) generally leave noticeably more ash than softwoods (pine, cedar) for the same weight burned.
What’s Actually in Wood Ash
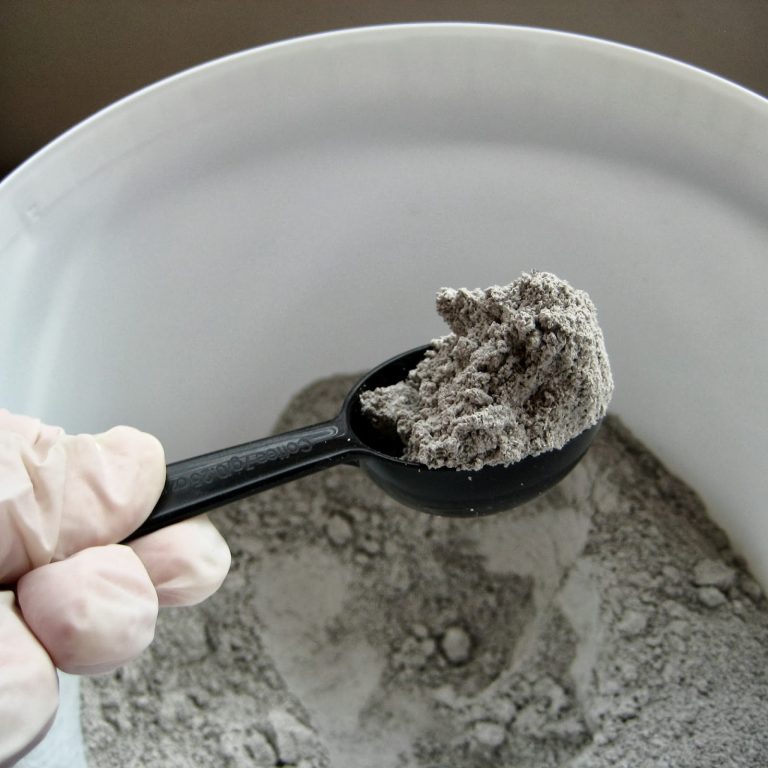
Wood ash is mostly the wood’s non-combustible mineral content — primarily calcium carbonate, plus potassium, phosphorus, and magnesium. That mineral profile is exactly why it works as a garden soil amendment (it raises soil pH and adds nutrients) and why it needs the same caution as lime: mix it into soil rather than piling it on, and skip it around acid-loving plants like blueberries and azaleas.
Choosing the Right Wood
| Wood Type | Good for Ash? | Why |
|---|---|---|
| Hardwoods (oak, maple) | Yes — best choice | Burns hot and clean, produces good ash yield |
| Fruit woods (apple, cherry) | Yes | Clean burn, pleasant aroma |
| Softwoods (pine, cedar) | Avoid if possible | Burns sappy, leaves more residue/soot than true ash |
| Treated, painted, or stained wood | Never | Releases toxic chemicals into the ash and smoke |
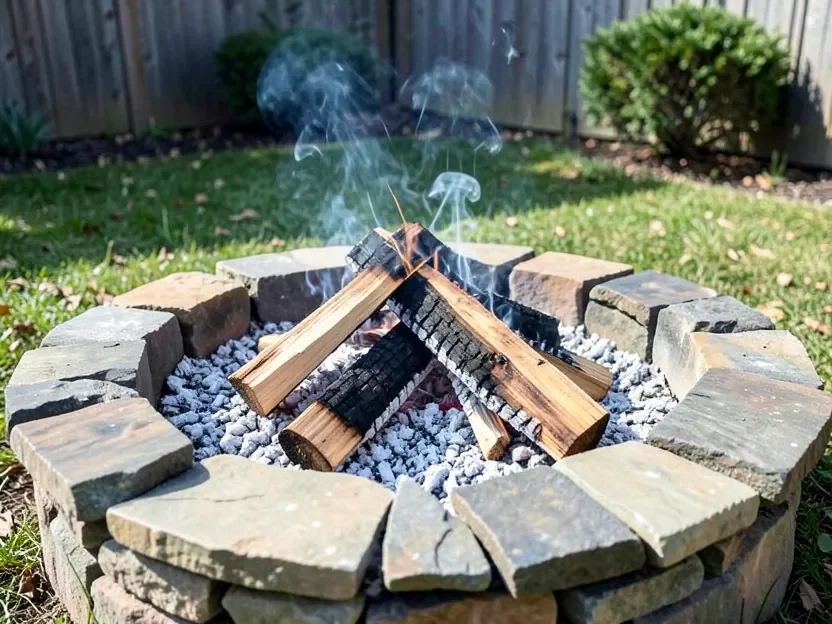
Setting Up a Safe Fire
- Choose a spot well clear of trees, bushes, structures, and fences
- Clear leaves and dry debris from the area, and keep the ground flat
- Dig a shallow pit (about a foot deep) and ring it with stones, or use a fire pit ring
- Keep water or sand within reach the entire time
- Never leave a fire unattended, even briefly
Burning the Wood
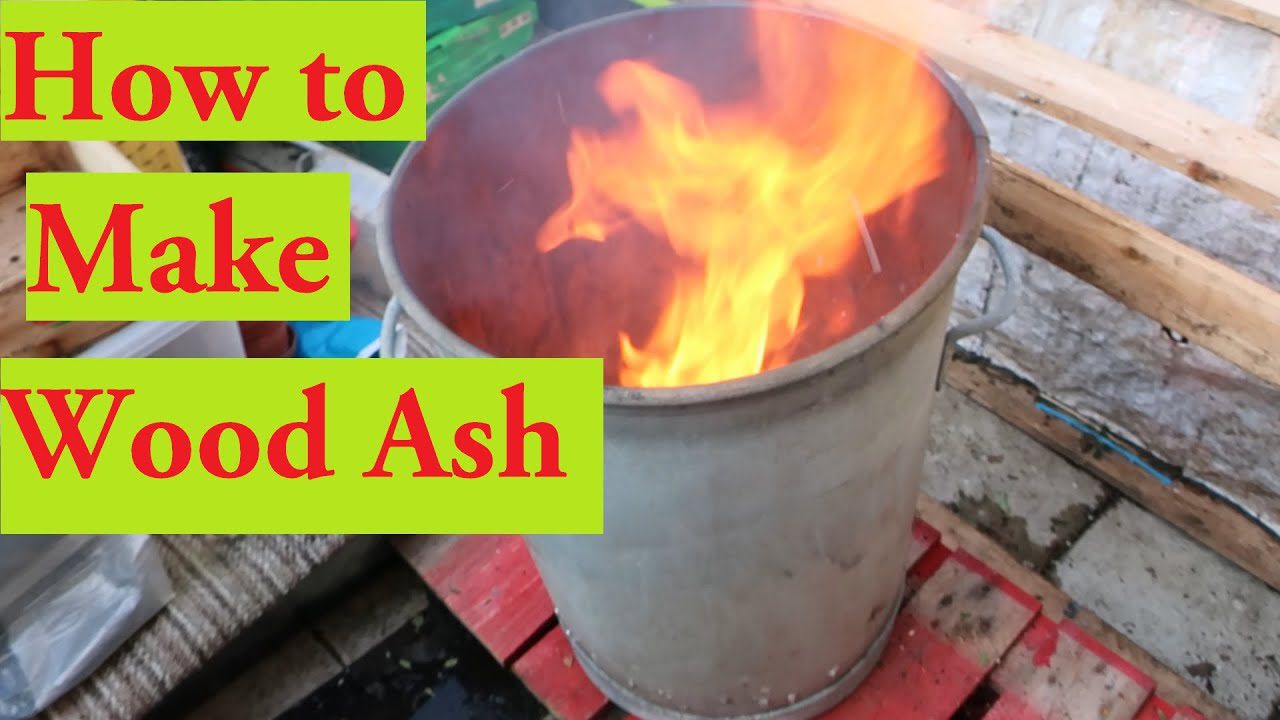
Start with dry kindling and small sticks, then build up to larger logs once the fire is established — dry wood burns more completely and produces cleaner, finer ash than damp wood, which tends to smolder and leave more char. Arrange the wood with space for air to move through it, and stir occasionally to expose unburned pieces to the flame. Let the fire burn all the way down; a fire you stop early leaves you with charcoal and half-burned chunks instead of usable ash.
Collecting the Ash Safely
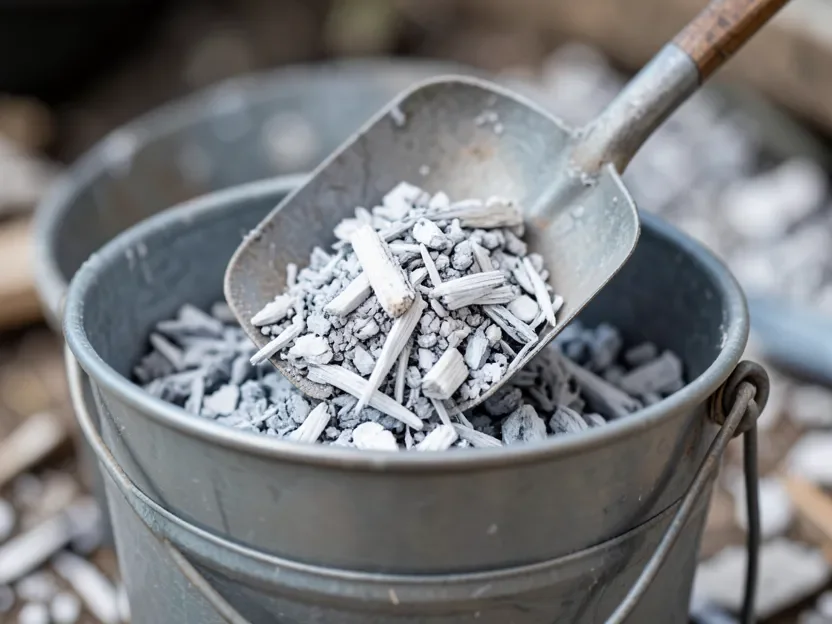
This is the step where most safety mistakes happen. Ash can hold live embers for days even when the surface looks cold, so wait until the pit has been fully out and cool for at least 24-48 hours before collecting — poke around with a stick to check for any glowing bits before you scoop. Use a metal shovel (plastic melts) and collect into a metal container with a lid (plastic can catch fire, and so can a wooden box). Avoid stirring up dust while scooping, since fine ash is easy to inhale.
Storing Wood Ash
Keep stored ash in a metal container with a snug lid, in a dry spot away from the house and out of reach of kids and pets. Moisture is the main enemy of stored ash — wet ash clumps, turns slippery, and loses potency as a fertilizer or cleaner, so keep the lid on and store it somewhere rain and snow can’t reach.
Putting Wood Ash to Use
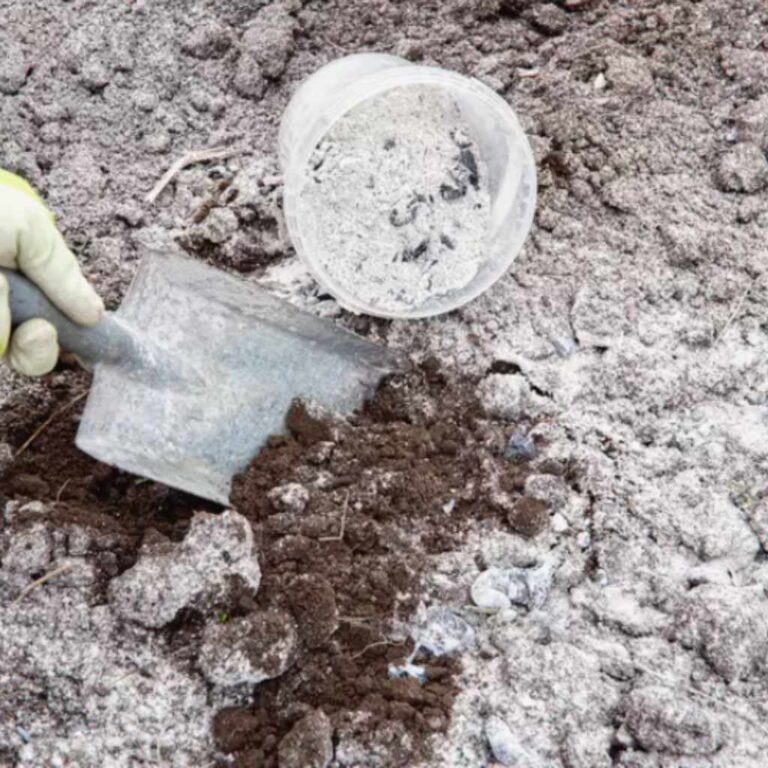
- Garden fertilizer: mix a thin layer into soil around most plants for potassium and calcium — skip acid-loving plants and never pile it directly on roots
- Cleaning: mix with a little water to make a mild abrasive paste for grimy fireplace glass or metal tools (wear gloves, and skip delicate surfaces it could scratch)
- Compost odor control: a light sprinkle in a compost bin can help manage odor and speed breakdown
- Pest deterrent: a light dusting around plant bases can discourage some soft-bodied pests
Frequently Asked Questions
How much wood ash do you get from a given amount of wood?
Roughly 5-10% of a dry hardwood’s original weight, so 100 lbs of dry hardwood yields about 5-10 lbs of ash. The exact amount depends on species, moisture, and how completely the fire burns.
Is wood ash just burnt wood?
It’s the mineral residue left after wood burns completely, mostly calcium carbonate along with potassium, phosphorus, and magnesium. It’s useful as a natural fertilizer, soil amendment, and mild cleaning abrasive, as long as the wood burned was untreated.
How do you get wood ash safely?
Burn dry, untreated hardwood completely in a controlled fire, then wait until it’s been fully cool for at least a day before collecting. Use a metal shovel and store the ash in a metal container with a lid, since ash can hold hidden embers long after it looks cold.
Conclusion
Making usable wood ash is simple in principle — burn dry hardwood completely, let it cool fully, and collect it into metal — but the safety details (embers hiding for days, plastic melting, moisture ruining the batch) are where it actually goes wrong. Get those right and you’ve got a free, genuinely useful byproduct for the garden and shop.
Sponsored / affiliate links. As an Amazon Associate I earn from qualifying purchases. I may earn additional commission from eligible campaigns.