How to Make Wood Plugs Without a Plug Cutter: DIY Secrets
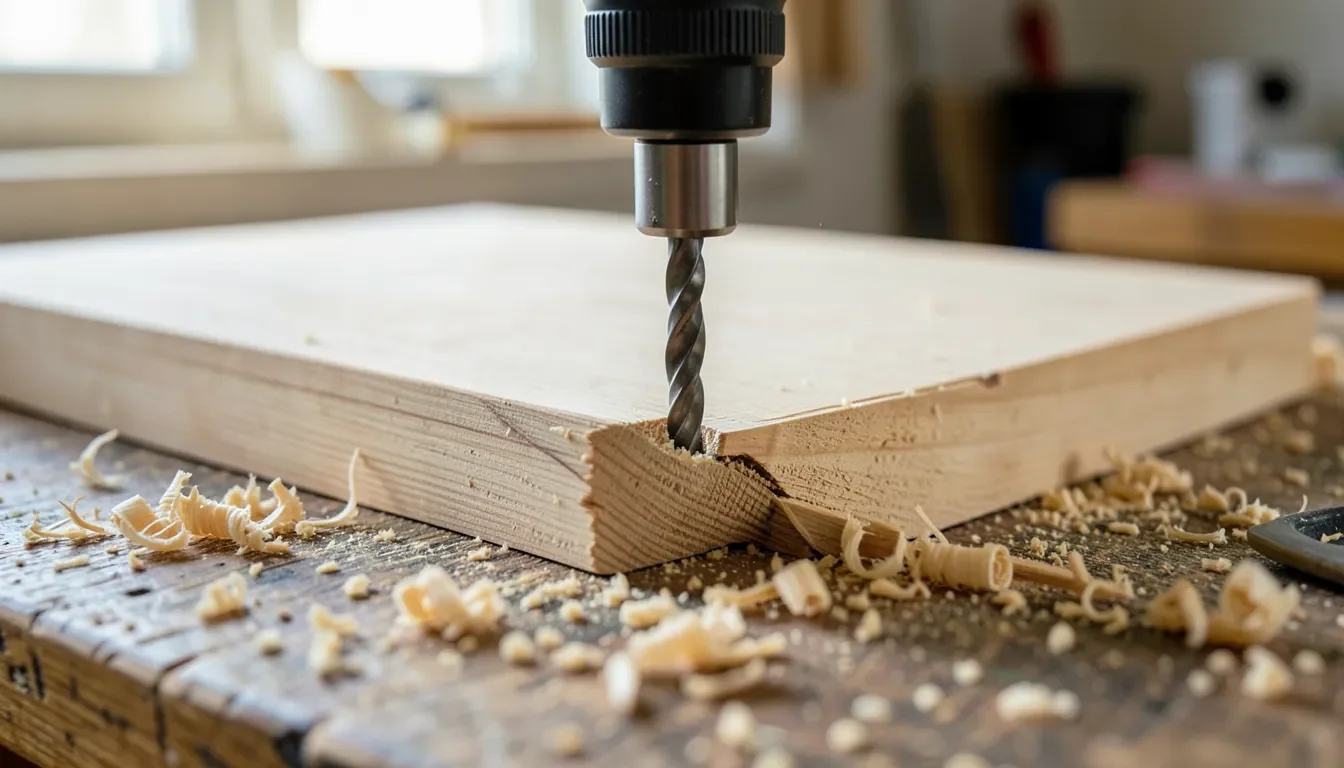
Without a dedicated plug cutter, the most reliable method is boring a shallow hole into the edge of a scrap board with a Forstner bit (matched to your screw hole’s diameter), then slicing that bored section off with a saw to free the plug. Dowel rod cut to length works too if you happen to have the exact matching diameter on hand, but the edge-bore method lets you match any hole size and grain direction exactly.
Materials And Tools You’ll Need
Best For Precisely-Sized Plugs
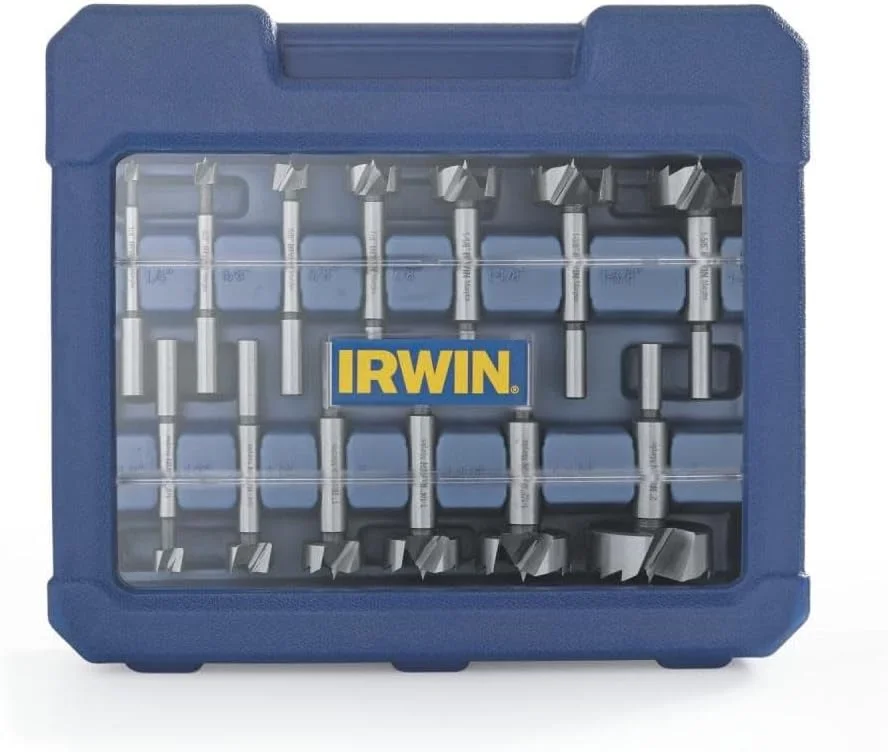 |
IRWIN Marples Forstner Bit Set, 14 Pieces – $68.79 Forstner bits bore clean, flat-bottomed holes in a full range of sizes — the actual tool that makes the edge-bore plug method work, no dedicated plug cutter needed.
|
Beyond the bit, you’ll need scrap wood that matches your project’s species (this matters most for a visible plug — grain and color mismatch shows), a saw to free the bored plug from the scrap board, a chisel for fine-tuning the fit, sandpaper, and wood glue. Wear safety glasses and a dust mask when drilling and sanding.
Choosing Wood That Actually Matches
Use scrap from the same board or the same species as your project whenever possible — grain direction and color variation between different boards of “the same” species (like two different pieces of oak) can still be noticeable once stained. Hardwoods like oak or maple hold up better structurally for load-bearing plugs; softwoods like pine are easier to bore and shape but less durable for outdoor or high-wear spots. For anything going outside, pick a wood that matches the project’s weather resistance, not just its color.
Boring The Plug Blank
- Measure your hole’s exact diameter and pick a bit that matches it — a Forstner bit, hole saw, or router with a straight bit all work for this step.
- Clamp a scrap board securely and bore straight down into its edge (not its face) to a depth slightly deeper than your plug needs to be.
- Use a drill press if you have one — it keeps the bit perfectly perpendicular, which a hand drill struggles to guarantee on repeated plugs.
- Practice on extra scrap first if this is your first time; the technique takes a couple of tries to get consistent.
Freeing And Shaping The Plug
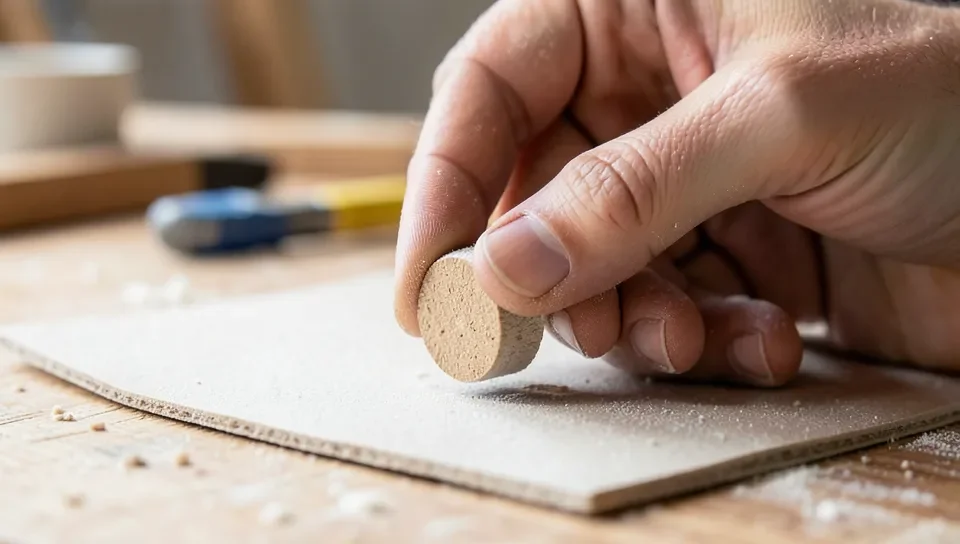
Once bored, cut the plug free from the scrap board with a hand saw or bandsaw, slicing just below the bottom of the bored hole. Clean up the cut face and taper the plug’s leading edge very slightly with a chisel or sandpaper — a small taper helps it start into the hole without binding, similar to how a real plug cutter shapes its product. Sand the sides lightly if the fit feels tight; don’t force an oversized plug, since that can split the surrounding wood.
Gluing And Finishing The Plug
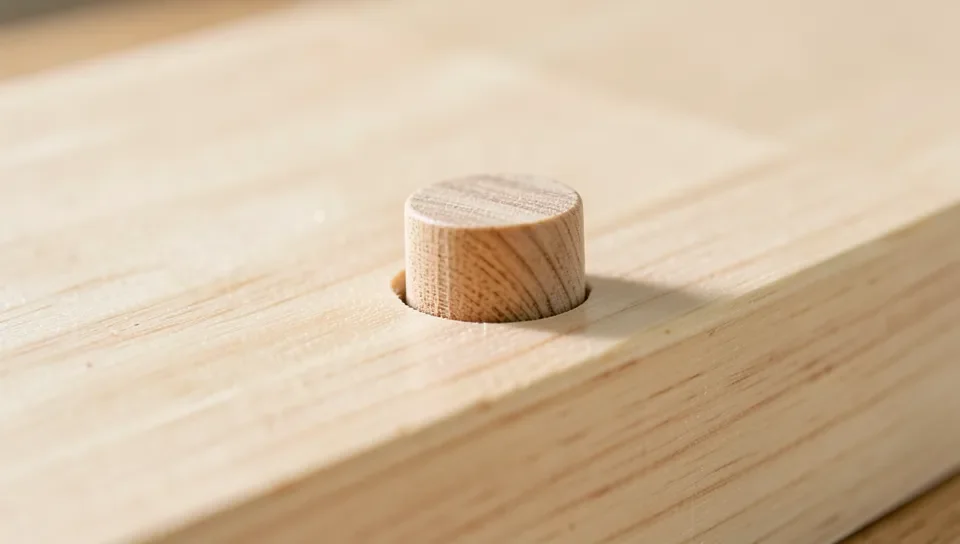
Apply wood glue to the hole (not the plug), and orient the plug’s grain to run in the same direction as the surrounding wood before pressing it in — this is what makes a plug disappear visually rather than read as an obvious repair. Let the glue cure fully, then sand the proud plug flush with the surface, working from coarser to finer grit and always sanding in the direction of the surrounding grain, never across it.
Troubleshooting Common Problems
- Plug too tight: sand the sides lightly rather than forcing it — forcing an oversized plug can split the wood around the hole.
- Plug too loose: pack the gap with wood filler mixed with fine sawdust from the same wood before it’s fully lost, or bore a fresh plug at the correct size.
- Visible color/grain mismatch: source plugs from the same board or batch as the original project, and orient the grain to match before gluing — mismatched grain direction is often more visible than a slight color difference.
- Plug sits proud after sanding: you likely sanded across the grain instead of with it, or stopped before the plug was fully flush — continue sanding with the grain, checking often by feel.
Beyond Repairs: Other Uses For Wood Plugs
Wood plugs aren’t just for hiding fasteners — contrasting-species plugs (a dark walnut plug in a light maple project, for example) are a common decorative accent on furniture, and the same technique scales down for small craft projects like coasters or jewelry blanks. Once you can bore and shape a clean plug reliably, the technique is useful well beyond the repair that first sent you looking for it.
Frequently Asked Questions
How Can I Make Wood Plugs Without A Cutter?
Bore a shallow hole into the edge of a scrap board with a Forstner bit, hole saw, or router bit matching your hole’s diameter, then cut the bored section free with a saw. Sand and lightly taper the edge before gluing it into place.
What Materials Do I Need For Making Wood Plugs?
A piece of scrap wood matching your project’s species, a drill with a bit sized to your hole, a saw to free the plug, sandpaper, and wood glue. A chisel helps fine-tune the fit for a tight, visible repair.
Conclusion
A dedicated plug cutter is convenient, but the edge-bore method with a Forstner bit or hole saw does the same job with tools most woodworkers already own. Match the wood species and grain direction to the surrounding project, glue carefully, and sand flush with the grain — that combination is what actually makes a plug disappear, more than which specific tool cut it.
Sponsored / affiliate links. As an Amazon Associate I earn from qualifying purchases. I may earn additional commission from eligible campaigns.