How to Install Wood Button Plugs (And When You Actually Want a Flush Plug Instead)
Drill a hole sized to match your plug (typically 3/8″ to 1/2″), put a small dab of wood glue inside, and tap the plug in flush or proud with a hammer and scrap block. Button plugs sit on top of the surface with a domed “mushroom” head, unlike flush wood plugs that get sanded level — so you’re installing them as a visible decorative detail, not hiding them.
That distinction trips people up more than the installation itself: a true button plug is meant to be seen, sitting slightly above the wood surface with a rounded cap, the way you’d see on a mission-style bench or a butcher block cutting board. If your plug is supposed to disappear flush with the surface instead, you actually want a standard flush wood plug, and the installation and sanding steps differ. Here’s how to do both correctly.
Button Plug vs. Flush Plug: Which One Do You Actually Have?
Best All-Purpose Button Plugs
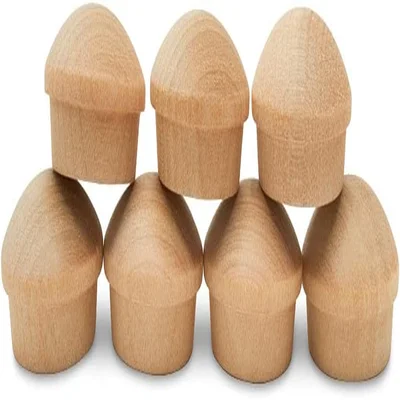 |
Woodpeckers Maple Button Top Wood Plugs, 1/2″ (100-Pack) – $9.99 Pre-sized, sanded maple plugs with the correct domed top for a true button-plug look — no need to cut your own from dowel stock.
|
Look at the plug itself before you drill anything. A button plug has a rounded, domed top and a straight or slightly tapered shank — it’s designed to sit above the surrounding surface as a visible feature. A flush plug (sometimes cut from the same species as your workpiece with a plug cutter) has a flat top and gets sanded down level with the wood once installed, so the repair disappears.
This matters for the hole depth: a button plug hole only needs to be deep enough for the shank, since the domed head stays above the surface by design. A flush plug hole needs to be deep enough that the plug’s full length sits below or level with the surface, with enough material on top to sand flush without exposing the screw or dowel underneath.
Tools and Materials
- Drill with a brad-point or Forstner bit matched to your plug’s shank diameter (measure the plug with calipers rather than guessing — “1/2 inch” plugs often run a hair under that nominal size)
- Wood glue (standard PVA is fine for interior furniture; use a waterproof Type I glue for anything that sees weather)
- A hammer or mallet, plus a scrap block of wood to protect the plug’s dome while tapping it in
- A pencil and a square or ruler for marking hole locations
- Fine sandpaper (220-grit) if you’re finishing the surrounding wood
Installing Button Plugs (Domed, Stays Visible)
- Mark and drill the hole. Mark your location, then drill straight down using a bit matched to the plug’s shank diameter. Drill only as deep as the shank is long — going too deep leaves the dome sitting lower than intended, and too shallow means the plug won’t seat.
- Test-fit dry first. Push the plug into the hole without glue. It should go in with firm hand pressure or a light tap, not force that risks splitting the wood around the hole. If it’s too tight, widen the hole slightly rather than forcing it and cracking the surrounding grain.
- Apply a thin bead of glue inside the hole, not on the plug itself — this keeps squeeze-out to a minimum. Rotate the plug slightly as you insert it to spread the glue evenly around the shank.
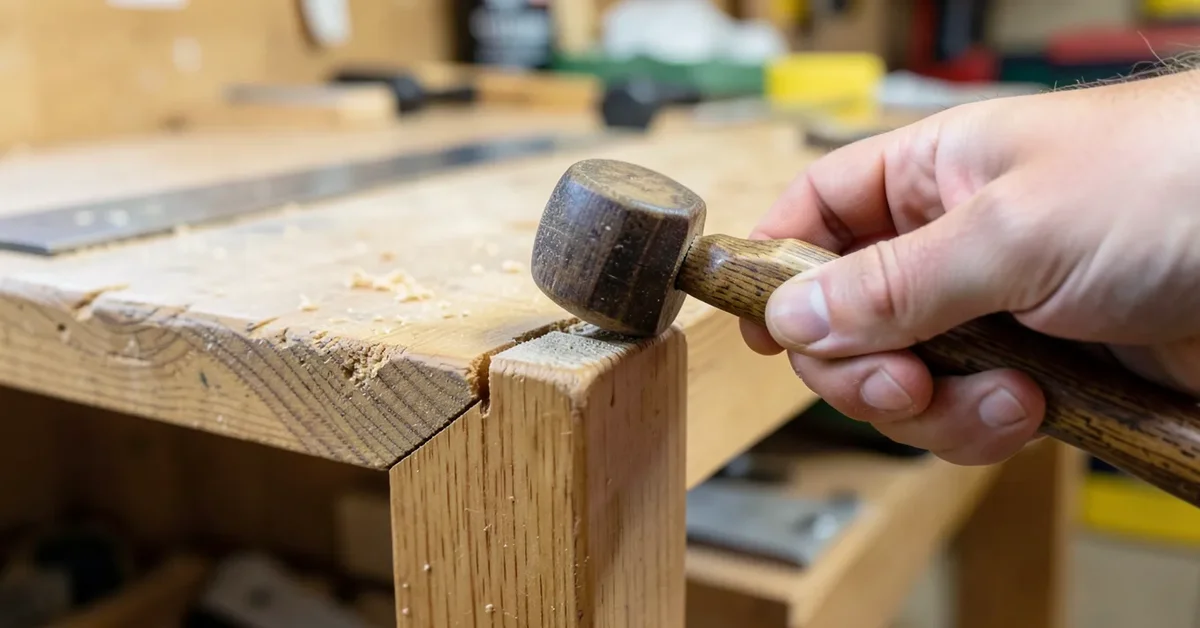
- Seat it with a scrap block and hammer. Place a flat scrap of wood over the plug’s dome and tap gently until the shoulder sits against the surface. Never hit the dome directly — you’ll dent or crack it.
- Wipe excess glue immediately with a damp rag before it cures, especially if you plan to stain the surrounding wood later (dried glue blocks stain absorption the same way it does anywhere else on a project).
- Let it cure fully — check your glue’s listed cure time, typically 24 hours — before subjecting the piece to load or handling.
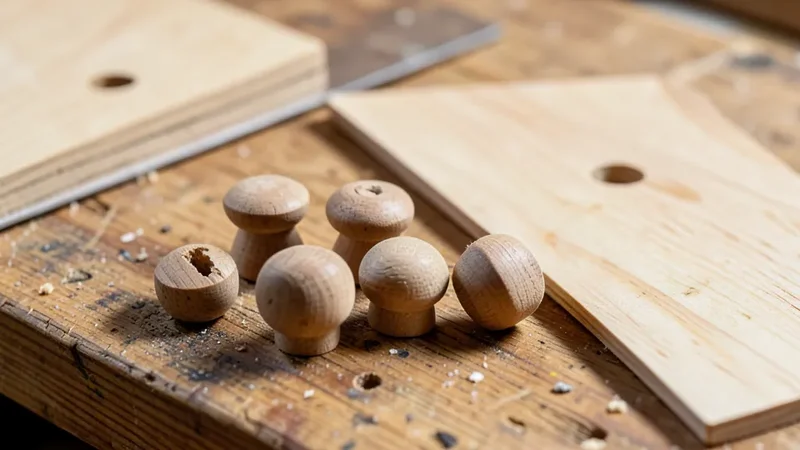
Installing Flush Plugs (Disappears, Gets Sanded Level)
If you’re covering a countersunk screw and want the repair invisible, the process is similar but the finishing step is different:
- Drill or countersink the screw hole deep enough that a flush plug can sit at or slightly above the surface once inserted — typically 3/8″ deep for a standard plug.
- Apply glue inside the hole, orient the plug so its grain direction matches the surrounding wood (this makes the repair far less visible once finished), and tap it in with a scrap block, proud of the surface by a millimeter or two.
- Once the glue is fully cured, pare off the excess with a sharp chisel held nearly flat against the surface, working with the grain to avoid tearing out a chip.
- Finish with 220-grit sandpaper until the plug is perfectly level and you can’t feel a seam by running a fingernail across it.
Matching grain direction is the single biggest factor in how invisible a flush plug repair ends up looking — a plug with grain running perpendicular to the surrounding wood will show as an oval or circle no matter how well you sand it, even under stain.
Common Mistakes That Ruin the Look
- Drilling the hole slightly off-square. Even a few degrees off-perpendicular makes a button plug’s dome sit visibly crooked. Use a drill press or a doweling jig for anything where the plug is a visible design feature, not just a hidden screw cover.
- Wrong species or finish match on flush plugs. A maple plug in an oak project will take stain differently and stand out even when perfectly sanded flush — match species, not just color, whenever the repair needs to disappear.
- Forcing an oversized plug into an undersized hole. This is the most common cause of a cracked ring around the plug. If a dry test-fit needs real force, redrill the hole slightly larger rather than hammering harder.
- Skipping the dry fit. Once glue is in the hole, you don’t get a second attempt at orientation without risking a messy removal. Always dry-fit first, especially for grain-matched flush plugs.
Removing and Replacing a Damaged Plug
A cracked or loose plug isn’t worth trying to save. Drill it out with a bit slightly smaller than the plug’s diameter to remove the bulk of it, then clean out the remaining glue and wood fragments with a chisel or a rolled piece of sandpaper. Inspect the hole for damage — if the surrounding wood cracked when the old plug failed, you may need to widen the hole slightly and step up to the next plug size rather than reusing the original diameter. Glue and seat the replacement using the same steps above.
Frequently Asked Questions
A button plug has a domed top that stays visible above the surface as a decorative detail. A flush plug has a flat top that gets sanded level with the surrounding wood so the repair disappears.
A drill with a bit matched to the plug’s shank diameter, wood glue, a hammer, and a scrap block to protect the dome while tapping it in. A chisel and 220-grit sandpaper are needed instead if you’re installing flush plugs.
Yes. Unfinished plugs take paint or stain the same as any bare wood. Match the plug’s species to the surrounding wood if you’re staining, since different species absorb stain differently even when the color looks close unfinished.
Almost always an oversized plug forced into an undersized hole, or the dome getting struck directly instead of through a protective scrap block. Dry-fit every plug before gluing, and always tap through a flat scrap of wood.
Bottom Line
Confirm whether you actually have a button plug (stays visible, domed) or a flush plug (gets sanded level) before you drill — the hole depth and finishing steps differ. Dry-fit every plug, glue the hole rather than the plug, and always seat it through a scrap block instead of striking the dome directly. Those four habits prevent nearly every installation mistake people run into.
Sponsored / affiliate links. As an Amazon Associate I earn from qualifying purchases. I may earn additional commission from eligible campaigns.