How to Glue a Guitar Neck or Headstock: Luthier Tips
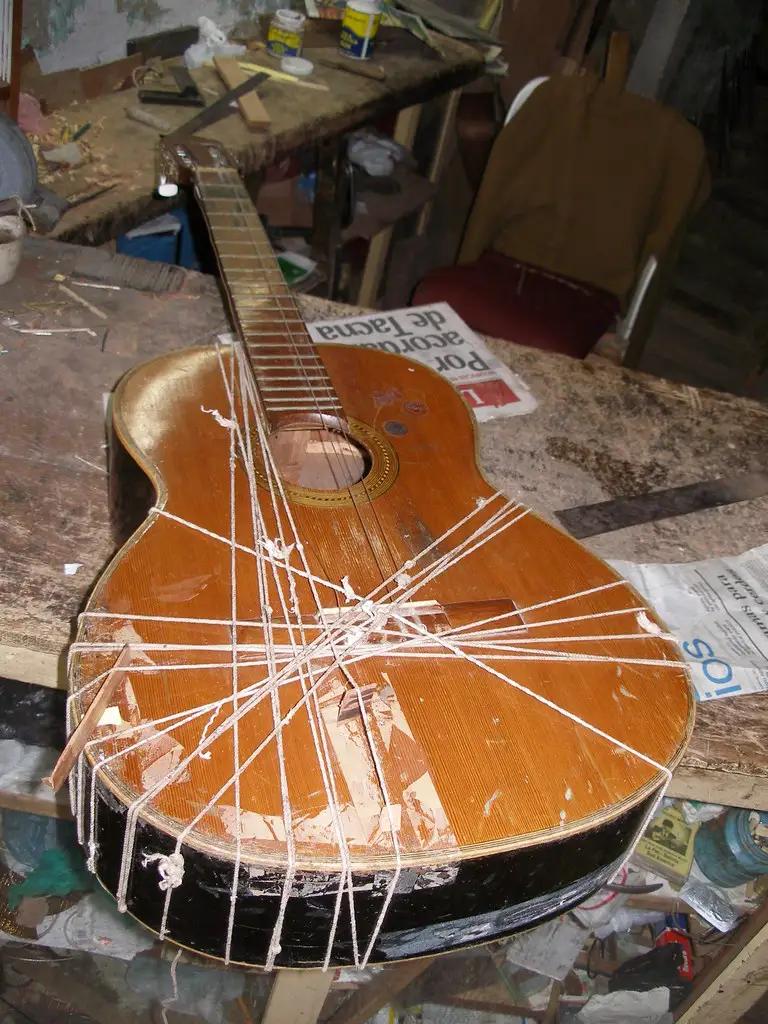
For most neck resets, headstock repairs, and traditional glue joints, I reach for hot hide glue because it bonds well and opens again with heat and moisture; I use epoxy only when the joint is badly damaged or nontraditional. Pick the wrong glue, and a future repair can turn into a neck replacement. This guide explains which glue fits each joint, how to prepare it, and how to glue a guitar neck or headstock with serviceability in mind.
This guide is part of our Wood glue essentials: types, uses, and cure times series.
What you’ll need before you start
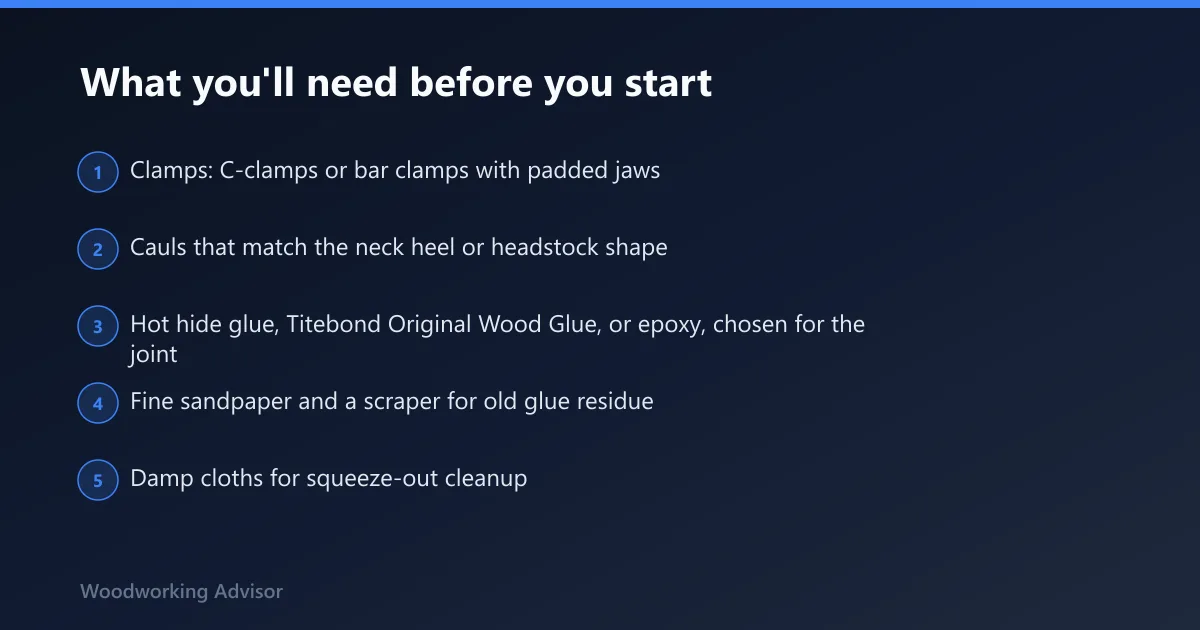


- Clamps: C-clamps or bar clamps with padded jaws
- Cauls that match the neck heel or headstock shape
- Hot hide glue, Titebond Original Wood Glue, or epoxy, chosen for the joint
- Fine sandpaper and a scraper for old glue residue
- Damp cloths for squeeze-out cleanup
- Masking tape to protect finish edges
- Dry paper towels for quick cleanup
- A bright light for alignment checks
- Optional: heating blanket or steam source for old-hide-glue work
What luthiers are trying to preserve
The glue line matters, but future service matters too. A neck joint that can be reopened cleanly is far easier to reset later than one locked together with a hard, gap-filling adhesive.
Set necks are glued to the guitar body rather than being held on by screws. That makes alignment, fit, and repair planning more important than with a bolt-on neck. Many kit builders prefer finishing before attaching a set neck, because finish work around a glued joint is easier before the neck is locked in place.
The neck heel and neck cavity should be clean and test-fit first. If the joint is misfit, the best glue will not fix geometry.
Should you use Titebond Original, hide glue, or epoxy?
For a clean wood-to-wood joint, hide glue is often the first choice when later removal may be needed. Titebond Original Wood Glue is a common pick among DIY electric guitar kit builders, and it works well when the fit is good and clamping is solid. Epoxy is often used as a fallback when the break is ugly or the fit is imperfect.
When PVA is the right fit
Wood glue is the go-to adhesive for woodworkers. It can bond two pieces of wood and heal cracks and splits, but it usually needs clamps for full holding power. Titebond Original has a minimum 30-minute clamp time, and the joint should have no stress for 24 hours after clamping. Use it for clean neck heels, tight headstock repairs, and routine wood-to-wood work.
When hide glue is the better call
Hide glue is the traditional repair adhesive for a reason. It can be reopened with heat and moisture, which is useful when a neck reset or crack repair may need to be revisited later. Its open time is shorter than PVA, so the fit must be ready before the glue hits the joint. That speed helps on well-prepared repairs, but it punishes hesitation.
When epoxy is the fallback
Epoxy is useful when the joint has lost too much wood, the break leaves small voids, or the surfaces no longer mate cleanly. It can bridge imperfections better than PVA or hide glue, but cleanup is slower and later removal is harder. Use it when the repair is already outside normal service territory, not as the first choice for a sound, tight joint.
Can you glue a set-neck guitar yourself?

A set-neck repair can be realistic for a careful DIY builder if the joint fit is good, the break is clean, and the alignment can be checked from every angle before clamp-up. It becomes a poor DIY candidate when the heel or cavity is chewed up, the old glue is brittle and uneven, or the neck no longer seats without force.
Can I glue a set-neck guitar with wood glue? Yes, if the surfaces are wood, the fit is tight, and the repair is more like a fresh glue-up than a reconstruction. Set-neck repairs are harder than bolt-on repairs because the neck angle and centerline are locked in by the joint itself.
If that didn’t work, send it out
Stop and hand the job to a luthier if the headstock break has missing wood, the heel has shifted, or the cavity walls are crushed. Oily woods, metal inserts, and mixed materials are another warning sign. Wood glue won’t bond metal, glass or plastic well, and polyurethane adhesive may add foaming and cleanup problems without fixing a bad fit.
- Dry-fit the neck heel and neck cavity until the joint seats without force.
- Scrape old glue and dust from both mating surfaces.
- Apply glue evenly to both faces, then bring the parts together at once.
- Clamp with even pressure, check alignment from the centerline, and avoid over-tightening.
- Wipe squeeze-out immediately with a damp cloth, keeping liquid away from finished edges.
- Leave the joint untouched until the glue reaches full cure for that adhesive.
How do I clamp a glued guitar neck properly?
Use even pressure, not brute force. The clamps should close the joint without bowing the heel or pushing the neck out of line. Padded jaws or cauls help protect the finish, especially near a set-neck joint where clamp marks can ruin an otherwise clean repair.
For a neck joint, one clamp in the wrong place can twist the assembly. Put pressure where the joint closes flat, then recheck the centerline, neck angle, and shoulder contact before walking away.
Common clamp setup mistakes
- Using bare metal jaws against a finished neck
- Over-tightening until glue starves out of the joint
- Clamping before the neck is fully seated
- Letting the neck drift off-center while tightening
How do I avoid squeeze-out and finish damage on a neck joint?
Mask the finish edge first, then keep a damp cloth ready before the glue goes on. Wipe squeeze-out right away while it is still fresh, because dried glue is harder to remove and more likely to damage lacquer or pore-finished wood. Clean surfaces matter as much as adhesive choice here.
Use only enough adhesive to leave a thin wet film on both mating faces. Extra glue does not make the repair stronger; it only gives you more cleanup to manage. On a headstock repair, keep the cloth damp, not dripping, so water does not creep into unglued areas or soften surrounding finish.
How long should a glued guitar neck stay clamped?
Clamp time depends on adhesive and joint mass. Titebond Original requires a minimum 30-minute clamp time, then no stress on the joint for 24 hours. Hide glue often sets faster, but the part should still be left alone until the bond has cooled and firmed up fully. Epoxy usually needs the longest patience.
Heavy neck blocks, thick heels, and cool shop conditions can slow the practical cure. If the joint feels soft, do not test it early. A clamped joint that is nudged before cure can creep out of alignment even when the glue line looks closed.
Luthier decision table for neck and headstock repairs
The best adhesive depends on repair geometry, not just brand preference. Luthiers pick the glue that gives the best blend of fit tolerance, cleanup, and reversibility if the instrument needs service later.
| Repair scenario | Preferred adhesive | Clamp time / cure note | Reversibility and cleanup risk | Refuse the job when |
|---|---|---|---|---|
| Clean set-neck reset with tight wood fit | Hot hide glue | Short open time; leave undisturbed after clamp-up | High reversibility; cleanup is manageable while fresh | Old glue is brittle and the joint is distorted |
| DIY kit set neck with good wood-to-wood contact | Titebond Original Wood Glue | Minimum 30-minute clamp time; no stress for 24 hours | Moderate reversibility; squeeze-out must be wiped immediately | The heel does not seat fully without force |
| Headstock break with clean fracture faces | Hide glue or PVA | Clamp until full set; keep pressure even | Good cleanup if caught early; reversible with effort for hide glue | Missing splinters leave a wide void |
| Headstock break with gaps or crushed fibers | Epoxy | Longer cure; allow extra time before handling | Lower reversibility; cleanup is slower and messier | The repair must be reopened in future service |
| Mixed materials, oily wood, or metal inserts in the joint | Special repair assessment | Do not guess | Poor bond predictability | Any wood-to-wood fit cannot be restored cleanly |
Common mistakes
Too much clamp pressure is a common failure. It can squeeze out too much adhesive and leave the joint starved, especially with wood glue and hide glue. Another mistake is trusting a dirty or oily surface; wood glue is water-soluble when wet, but once dust, oil, or old finish gets in the way, the bond suffers fast.
Bad alignment before clamp-up is harder to fix than most builders expect. A neck that is a hair off-center at the start will usually stay that way. Finish damage usually comes from rushed cleanup, so keep the damp cloth nearby and protect the edges before the glue goes on.
Prevention
Dry-fit the joint under the same clamp setup you will use for the real glue-up. That single rehearsal catches most alignment and pressure problems before they become permanent.
Frequently asked questions
What glue do luthiers prefer for a guitar neck joint?
Hot hide glue is often preferred when future service matters, because heat and moisture can release it later. For clean DIY kit work, Titebond Original is also common. The right choice depends on fit, joint type, and whether the neck may need another reset later.
Is Titebond Original good for gluing a guitar neck?
Yes, for a clean wood-to-wood joint it is a strong practical choice. It needs clamps, a minimum 30-minute clamp time, and no stress for 24 hours. It can be less forgiving than epoxy if the fit is poor, so dry-fit first.
Should I use hide glue, PVA, or epoxy on a headstock repair?
Use hide glue for a clean break when reversibility matters. Use PVA when the faces are tight and easy to clamp. Use epoxy only when the break has gaps, crushed fibers, or irregular damage that a normal wood glue joint will not fill well.
What tools do I need before gluing a guitar neck?
Have clamps, padded cauls, sandpaper or a scraper, masking tape, and a damp cloth ready before opening the glue. A bright light helps with alignment checks, and a dry rehearsal clamp-up can reveal fit problems before the adhesive is mixed or opened.
Sponsored / affiliate links. As an Amazon Associate I earn from qualifying purchases. I may earn additional commission from eligible campaigns.