How to Glue Cabinet Face Frames Without Slipping
Glue cabinet face frames by pinning one rail and one stile first with small pins or brads, then clamp lightly from the center out so the frame cannot slide; apply final clamp pressure only after both corners register cleanly. Skip that order, and the frame creeps, corners rack, and you lose time to planing or rebuilding. This guide shows the full glue-up sequence, clamp placement, and squeeze-out control that keeps face frames aligned.
This guide is part of our Wood glue essentials: types, uses, and cure times series.
What you’ll need
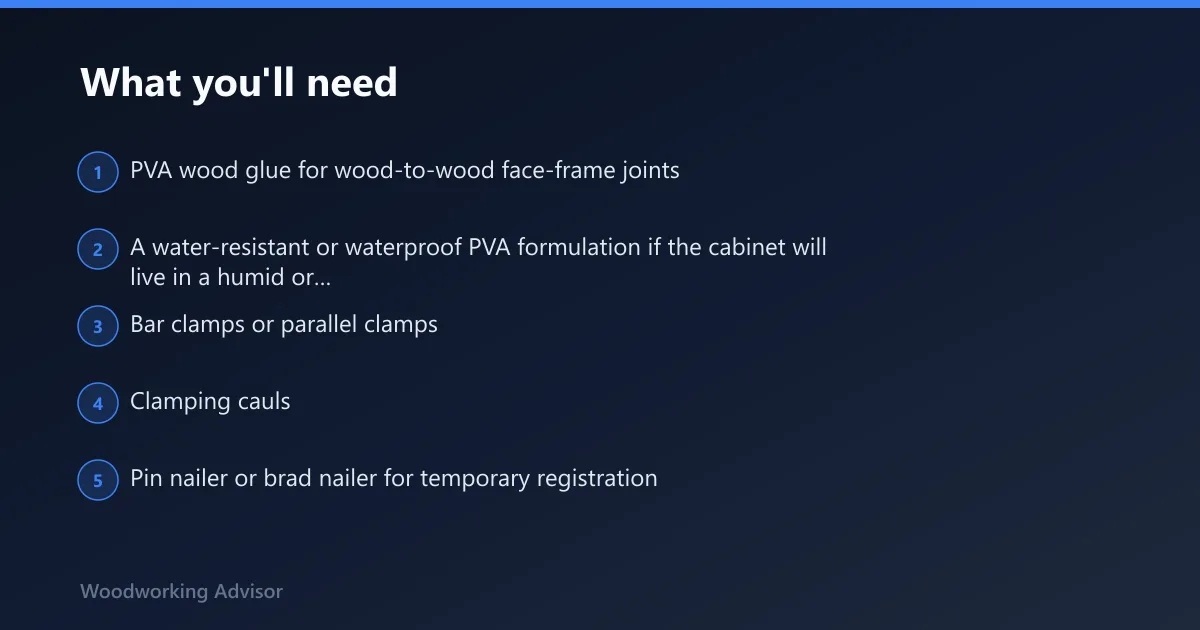


- PVA wood glue for wood-to-wood face-frame joints
- A water-resistant or waterproof PVA formulation if the cabinet will live in a humid or wet service area
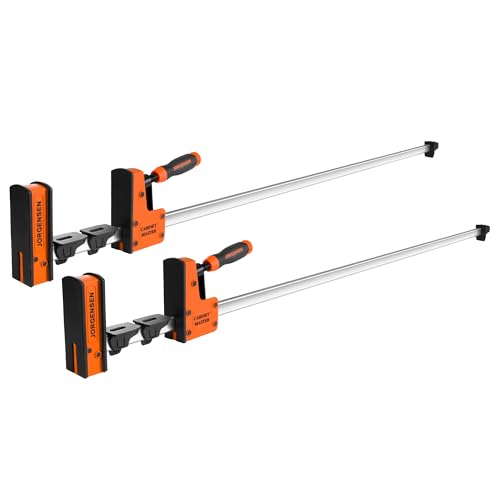
- Bar clamps or parallel clamps
- Clamping cauls
- Pin nailer or brad nailer for temporary registration
- Biscuits or dowels as alignment aids
- Squares, a tape measure, and a pencil
- Clean rags or a scraper for squeeze-out
Why cabinet face frames slip during glue-up
A cabinet face frame stays stable only when the joints are flush, square, and locked before clamp force peaks. Most movement comes from clamp skew, uneven tightening, too much wet glue acting like a lubricant, or joints that were never registered well enough at the start.
PVA wood glue is a common adhesive for woodworkers because it bonds wood to wood well. It usually needs clamps for full holding power, and some versions are waterproof after they dry. That still does not stop slip by itself. Registration does. (familyhandyman.com)
Clamp pressure that pushes parts sideways
Bar clamps and parallel clamps can shove a rail or stile out of line if the jaws sit at an angle or one side gets tightened far ahead of the others. The frame often looks square for a moment, then drifts as pressure builds.
Too much wet glue acting like lubricant
Heavy glue coverage can make the shoulder area slick, especially on prefinished or painted parts where cleanup takes longer. Flooding end grain does not improve the bond. It usually just leaves a slippery joint and more squeeze-out to chase.
Weak registration from poor fit or rushed layout
If the frame pieces are not flush before clamps go on, the clamps have to solve a fitting problem they were never meant to solve. Biscuits, dowels, or light tack fasteners can help locate the parts. They do not replace a sound fit.

How do you register the face frame before any clamps go on?
Dry-fit the rails and stiles, then pin one corner and one long member so the frame cannot walk when pressure starts. A face frame that starts flush and square is much easier to keep that way when the clamps come in.
- Lay out the frame on a flat bench.
- Check both diagonals and mark any mismatch.
- Bring the faces flush at each joint.
- Drive small pins or brads through one rail into one stile to lock the position.
- Add biscuits or dowels only if they improve location or reduce racking.
Biscuits and dowels help with registration and racking control. Here, they are alignment aids, not the main structural answer. For small face frames, a light pin or brad often stops slip better than a loose-fitting alignment aid.
How do you apply glue without making the joints slippery?
Spread a thin, even coat on both mating surfaces and keep it off the visible shoulders as much as possible. Work inside the open time so the glue stays wet and active, but do not wait so long that the parts start drifting while you search for clamps.
- Open the glue and stage the clamps before spreading.
- Apply a thin film to both faces of each joint.
- Wipe off heavy puddles at the shoulders.
- Bring the parts together immediately.
Open time matters because a face frame can move while the glue is still wet enough to slip, then grab in the wrong place. If the cabinet will see humidity or wet service, choose a water-resistant or waterproof PVA formulation. That changes durability, not the anti-slip sequence.
How do you clamp a face frame without shifting it?
Set the clamps square to the frame, not at a skew, then bring pressure up gradually and in small steps. Use cauls to keep the frame flat and the faces flush. The goal is to hold the frame still while pressure increases, not to force alignment with clamp load.
Clamp placement diagram
| Clamp position | Where pressure should land | What to avoid |
|---|---|---|
| Top rail | Centered over the joint, with jaws square to the stile | Angled clamp jaws that push the rail sideways |
| Bottom rail | Centered and snug, then brought up after the first clamp settles | Cranking one end fully tight before the other end is set |
| Mid-span caul | Across the face to keep the frame flat | Direct jaw pressure on a thin stile face |
If that didn’t work, try this next
- Loosen the skewed clamp and reset the jaws square to the frame.
- Back off all clamps, realign the corners, and re-tighten in alternating turns.
- Add a caul across the bowed area and bring it into contact before final clamp pressure.
- If the joint still creeps, add a temporary pin or brad at the next assembly.
How long should you leave the face frame clamps on?
Leave the clamps on until the glue has reached handling strength and the frame stays square when checked. The adhesive label sets the baseline, but temperature and humidity change the pace. Remove clamps only after the frame no longer shifts under light hand pressure.
- Check the glue label for clamp time.
- Keep the frame on a flat surface while it sets.
- Confirm the diagonals still match before unclamping.
- Remove one clamp at a time and watch for spring-back.
Do not use clamp removal as a test of bond strength. A face frame can feel firm and still move if you release all pressure at once. Let the joints set under controlled pressure, then verify flush faces and square corners again.
What clamps keep a face frame from sliding during glue-up?
Bar clamps and parallel clamps both work, as long as their jaws stay square to the frame and they tighten evenly. The clamp type matters less than the way it is placed. Skewed jaws create lateral slip; even jaws hold the frame where you put it.
Common clamp choices
- Bar clamp: useful for long reaches, but easier to angle and push a frame sideways.
- Parallel clamp: keeps the jaws aligned better and helps reduce jaw twist on wide face frames.
- Cauls with clamps: spread pressure and help hold thin stiles flat.
For a painted or prefinished face frame, clamp pads and cauls matter more because squeeze-out cleanup is harder. Slow, even pressure keeps finish damage and glue smear to a minimum.
Do you need biscuits or dowels to stop a face frame from shifting?
No. Biscuits and dowels can help locate the joints and reduce racking, but they are not the main fix for slipping. If the frame still moves when clamped, the problem is usually clamp sequence, poor registration, or too much wet glue at the shoulder.
- Use biscuits or dowels when they improve alignment on long rails or wide stiles.
- Use a pin nail or brad when you need temporary anti-slip registration.
- Do not rely on loose alignment aids to correct a bad fit.
- Re-cut or plane the joint if the parts refuse to meet flush.
How do you keep joints square while clamping a face frame?
Measure both diagonals before and after clamp-up, then make small pressure changes until the numbers match. A square face frame stays square because the corners are registered first and the clamps only hold that layout in place.
- Check diagonals after dry-fit.
- Pin or brad one corner before full clamp pressure.
- Bring clamps up in alternating turns.
- Recheck diagonals after each adjustment.
- Use a square on both corner shoulders before leaving the frame to set.
Failure-diagnosis table
| Visible problem | Likely cause | Fix |
|---|---|---|
| Gap at one corner | Clamp pressure landed off-center or the joint was not fully seated | Loosen, re-seat the joint, and clamp directly over the shoulder |
| Frame racks out of square | Uneven tightening or no temporary registration | Add a pin, check diagonals, and tighten in small alternating steps |
| Bowed stile | Over-tightening without cauls | Use a caul to flatten the face before final pressure |
| Diagonal mismatch | One corner slid while glue was still wet | Break the clamp cycle, reset the parts, and lock one joint first |
Common mistakes
Over-tightening one clamp before the rest are set is the fastest way to make a face frame drift. The same problem shows up when glue is used as if it were filler for a bad fit. A sloppy joint stays a sloppy joint after clamping.
- Do not skip the dry assembly.
- Do not flood the joint with glue.
- Do not chase squeeze-out before the frame is registered.
- Do not trust a single clamp to square the whole frame.
Prevention
Stage the clamps, tack one corner first, and verify both diagonals before the final tighten. That one habit prevents most repeat slip problems.
Frequently asked questions
How do you glue cabinet face frames without them slipping?
Pin one rail and one stile first, then bring clamps up in small alternating turns. Use a thin glue coat, not a flooded joint, and confirm both corners register before full pressure. If the frame starts to drift, back off and reset it before the glue grabs.
How long should you leave cabinet face frame clamps on?
Leave them on until the glue has reached handling strength and the frame stays square under light pressure. Follow the glue label, then add time if the shop is cool or damp. Remove clamps one at a time and watch for movement.
Can wood glue hold a face frame without mechanical fasteners?
Yes, if the joints fit well and the frame is held square during clamp-up. Wood glue can bond two pieces of wood to each other, but it usually needs clamps for full holding power. Mechanical fasteners mainly help with registration, not final strength.
What glue works best for cabinet face frames?
PVA wood glue is the standard choice for wood-to-wood face-frame joints. Use a water-resistant or waterproof formulation only when the cabinet will see humidity or wet service. Polyurethane glue expands as it dries and often foams out of the joint, so it is not the first choice for clean face frames.
Sponsored / affiliate links. As an Amazon Associate I earn from qualifying purchases. I may earn additional commission from eligible campaigns.