How to Paint Outdoor Furniture: Wood, Metal & Plastic Guide
To paint outdoor furniture so it actually survives outside, clean and sand the piece first, then apply a primer and paint matched to its material — a stain-blocking exterior primer for wood, a rust-inhibiting primer for metal, or a plastic-adhesion primer for resin. Finish with an exterior-rated, UV-resistant enamel or acrylic paint that stays flexible as the material expands and contracts, and let it cure fully before use.
Most “outdoor paint” fails outside for one reason: it wasn’t built to move with the material underneath it or survive direct sun. Ordinary interior paint and cheap all-purpose paint both go brittle and crack as wood swells with humidity and shrinks in dry heat, and their pigments chalk — turning powdery and dull — under steady UV exposure within a season or two. A paint job that actually lasts starts with matching the primer and paint to the specific material, because wood, metal, and plastic/resin each fail in a different way and need different prep.
Why Exterior-Rated, UV-Resistant Paint Actually Matters
Two things separate a paint job that lasts years from one that peels by next summer. The first is UV resistance: sunlight breaks down the resin binder in cheap paint through photo-oxidation, which is what causes fading and that chalky, powdery residue you can wipe off a badly weathered painted surface with a finger. A genuine exterior-rated paint uses UV-stable pigments and binders that resist this breakdown. The second is flexibility — wood in particular absorbs and releases moisture constantly, swelling and shrinking with the seasons. A rigid paint film can’t move with that, so it cracks along the grain. Flexible acrylic and enamel formulas stretch and contract with the wood instead of splitting.
Best UV-Resistant Exterior Enamel
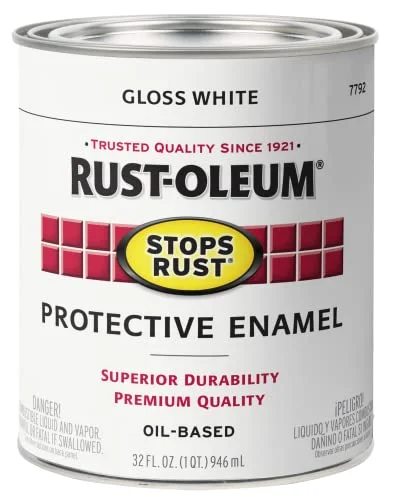 |
Rust-Oleum Stops Rust Protective Enamel, Gloss White – $16.98 An oil-based exterior enamel built for rust and corrosion resistance with a hard, glossy finish that holds its color outdoors on both wood and metal.
|
What You’ll Need
Gather everything before you start so you’re not stopping mid-project with wet primer drying on the brush.
- Cleaning: A bucket, warm water, dish soap or a dedicated outdoor furniture cleaner, a scrub brush, and old towels.
- Safety gear: Work gloves, safety glasses, and a dust mask for sanding and spraying.
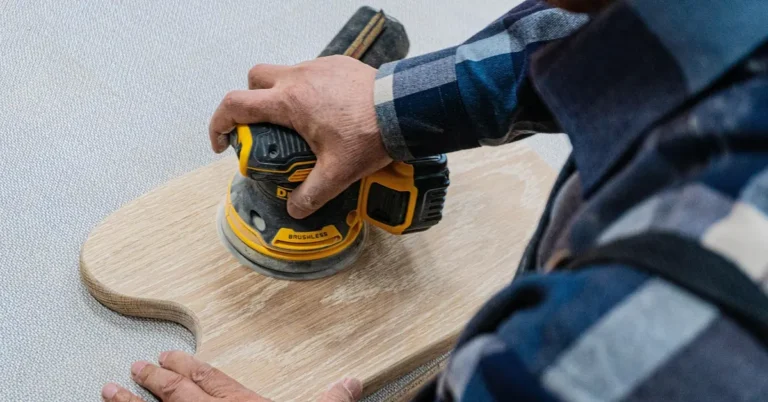
- Sanding tools: Medium-grit (120) and fine-grit (220) sandpaper, plus a sanding block or orbital sander for larger pieces.
- Repair materials: Paintable wood filler for wood, or a metal/plastic epoxy filler for those surfaces.
- Painter’s tape and drop cloths to protect hardware and your work area.
- Primer matched to your furniture’s material (see below) and a quality exterior-rated paint.
- Application tools: A 2-inch angled brush, foam rollers for flat surfaces, or a paint sprayer for a smooth finish on spindled or wicker pieces.
- Tack cloth for wiping away sanding dust before you prime.
Priming and Painting by Material: Wood, Metal, and Plastic/Resin
This is the step most generic guides skip, and it’s the reason a lot of DIY paint jobs fail within a season. Wood, metal, and plastic/resin bond to paint in completely different ways, so a single one-size-fits-all primer doesn’t work well on all three.
Wood
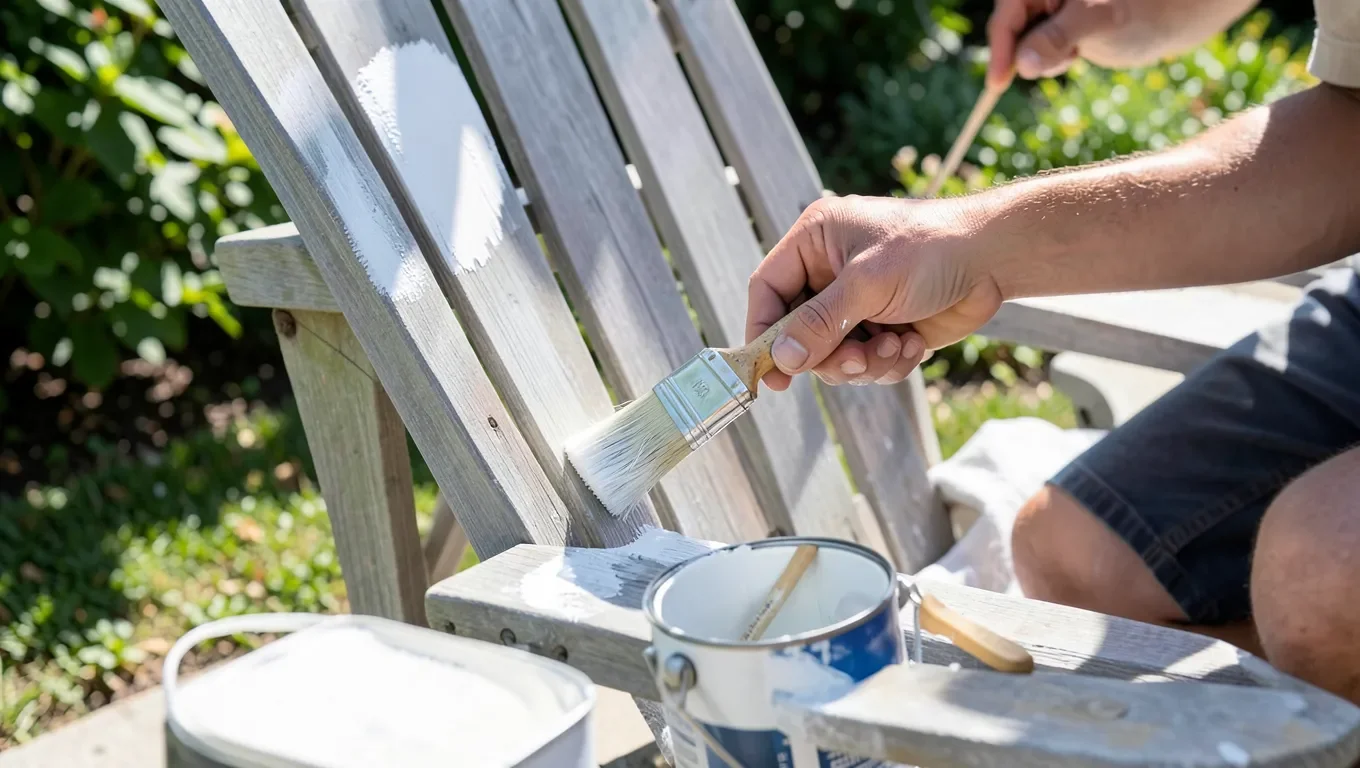
Use a standard exterior wood primer that blocks tannins — without it, natural tannins in woods like cedar and redwood can bleed through and discolor your topcoat months later. Pair it with a flexible exterior acrylic latex paint, which is the best all-around choice for wood since it moves with seasonal swelling and shrinking instead of cracking along the grain.
Metal (Steel, Iron, Aluminum)
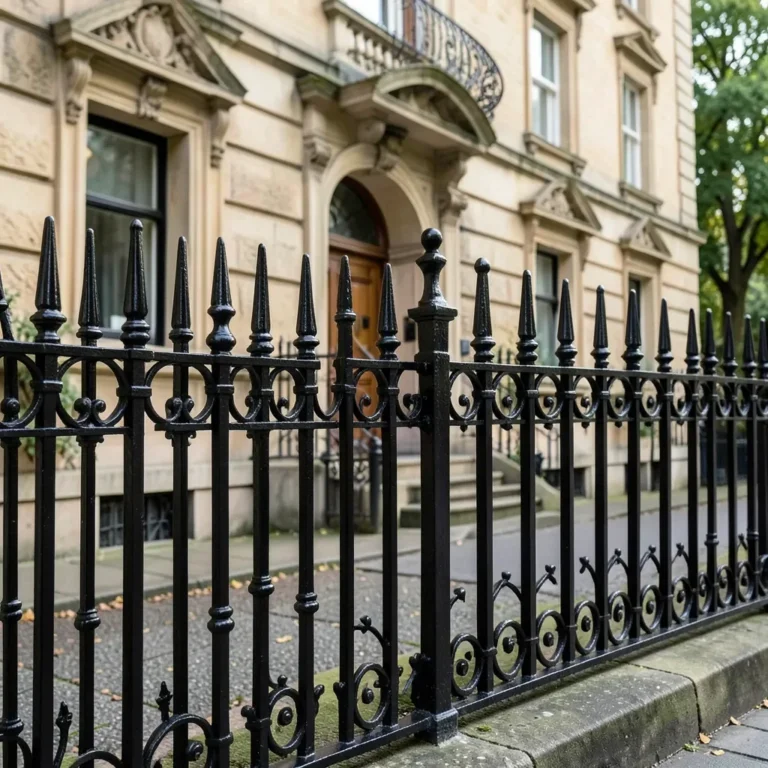
A rust-inhibiting primer isn’t optional on metal furniture. Without one, rust forms underneath the paint film and pushes it off from the inside, no matter how good the topcoat is. Wire-brush off any loose or flaking rust first, wipe the surface down with mineral spirits to remove oils, then apply a rust-inhibiting metal primer before your direct-to-metal or oil-based enamel topcoat.
Plastic & Resin
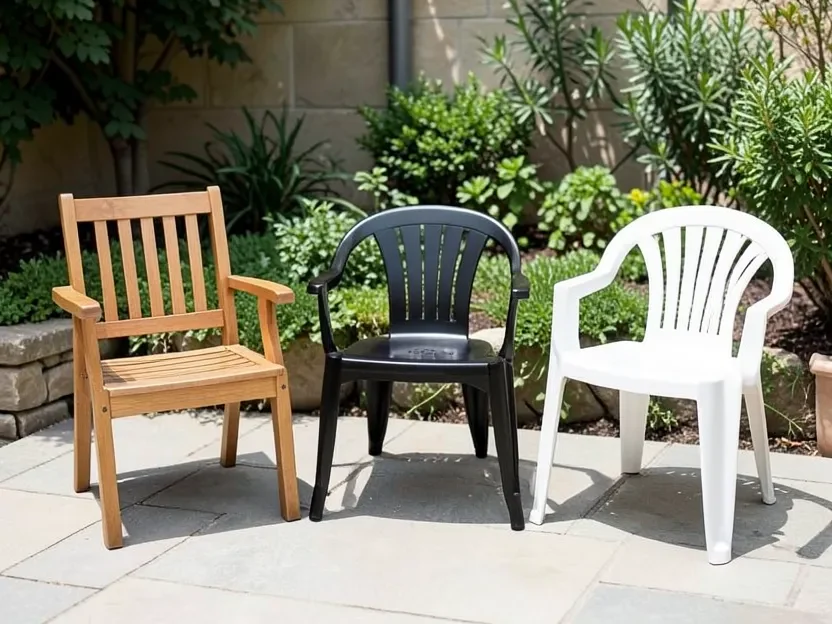
Plastic and resin furniture is non-porous, so ordinary paint just sits on the surface and peels off in sheets. A dedicated plastic-adhesion (bonding) primer is what makes the difference — it chemically etches into the plastic so paint has something to actually grip. Lightly scuff the surface with fine-grit sandpaper first, and always test your primer and paint on a hidden spot, since some plastics (especially certain resins) don’t take paint well no matter what you use.
Step-by-Step: From Bare Furniture to a Weatherproof Finish
Step 1: Set Up and Clean
Work in a well-ventilated area — a garage with the door open, a covered patio, or your lawn on a calm, dry day. Lay down drop cloths, then wash the furniture with warm water and dish soap (or a commercial deck/furniture cleaner for mildew and sap), scrubbing into every joint. Rinse thoroughly and let it dry completely; this can take a full day depending on humidity. Paint will not bond to a damp or dirty surface.
Step 2: Repair Damage
- Wood: Fill cracks and gouges with paintable wood filler, slightly overfilled since it shrinks as it dries.
- Metal: Wire-brush away loose rust; fill any holes with a metal epoxy filler.
- Plastic: Lightly sand shallow scratches; use a plastic-friendly epoxy for cracks.
Step 3: Sand
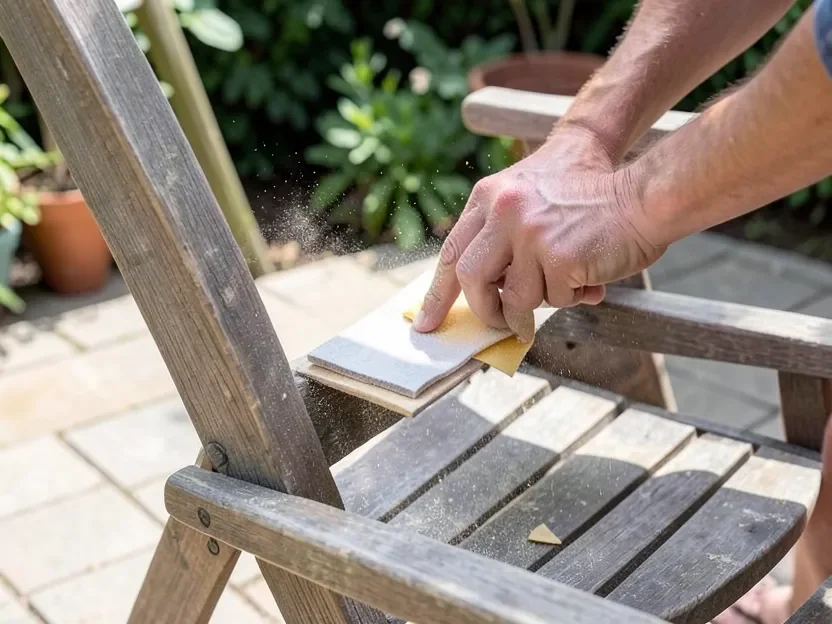
Sand repaired spots smooth with 120-grit first, then lightly scuff every surface you’re painting: enough to remove the glossy sheen on wood or an old finish, enough to dull metal, or a light pass on plastic to help the primer grip. Vacuum the dust, then wipe everything down with a tack cloth — a regular rag misses the fine dust that keeps primer from bonding.
Step 4: Prime
Stir (don’t shake) your material-matched primer and apply one thin, even coat — thin beats thick here. Work legs and spindles first, then the larger surfaces. Let it dry fully per the can’s instructions before moving on; it may feel dry in an hour but still need several more to cure.
Step 5: Paint
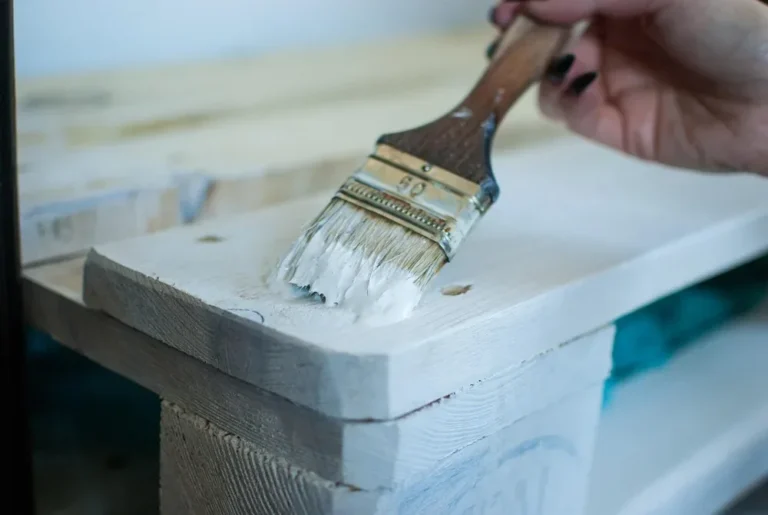
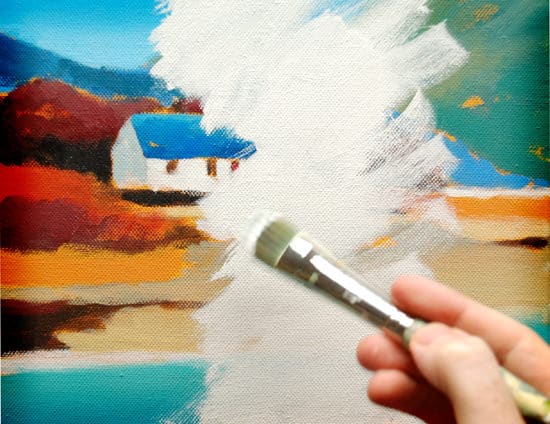
Apply your first coat of exterior paint in long, even strokes, keeping a “wet edge” by always painting back into the section you just finished to avoid lap marks. Let it dry completely, then apply a second thin coat for full coverage and durability. If you’re spraying, keep the sprayer moving at a consistent speed and distance — practice on cardboard first, and always wear a mask.
Step 6: Cure Before Use
Paint feels dry to the touch within hours, but curing — the chemical hardening that gives it real durability — takes 24 to 72 hours depending on the product and humidity. Move the furniture to a covered, protected spot and leave it alone during this window; sitting or setting objects on it too soon will leave permanent marks in the still-soft finish.
Quick Reference: Primer and Paint by Material
| Material | Key Prep Step | Best Primer | Best Paint |
|---|---|---|---|
| Wood | Clean off mildew, sand with the grain, fill and smooth repairs. | Exterior wood stain-blocking primer. | Exterior acrylic latex for flexibility, or an oil-based enamel for a harder shell. |
| Metal (Steel/Iron) | Wire-brush off all rust; wipe with mineral spirits to remove oil/grease. | Rust-inhibiting metal primer. | Direct-to-metal (DTM) or oil-based enamel. |
| Plastic/Resin | Scuff lightly with fine-grit sandpaper; clean thoroughly. | Plastic-adhesion (bonding) primer — essential for grip. | Spray paint formulated for plastic, or exterior acrylic latex over the bonding primer. |
If you’re dealing with furniture that may have been painted before 1978, be aware of potential lead-based paint. The EPA has guidelines for handling that safely.
Already Painted and Peeling? That’s a Different Job
Everything above assumes you’re painting furniture that’s bare, faded, or has an old finish still firmly bonded to the surface. If your piece already has paint that’s peeling, alligatored, or flaking off in chips, prepping it the same way just traps the problem under a new coat that fails just as fast. That’s a restoration job, not a fresh-paint job — see our guide on restoring and repainting outdoor furniture for how to deal with failing old finishes, bonding primers for glossy/uncertain surfaces, and stripping technique.
Frequently Asked Questions
Do I really need to sand outdoor furniture before painting?
Yes. Sanding smooths imperfections, but more importantly it creates a slightly rough surface for primer and paint to grip. Skipping it is the single biggest reason paint peels off outdoor furniture within a season.
What’s the best paint for outdoor wood furniture?
A high-quality 100% acrylic latex exterior paint is the best all-around choice for wood. It’s flexible enough to expand and contract with the wood, UV-resistant against fading, and it cleans up with soap and water. An oil-based exterior enamel is a good alternative where you want a harder, glossier shell, such as tabletops.
Can I use a paint sprayer for this project?
Yes — a sprayer gives a smooth, professional finish with no brush marks, which is especially useful on wicker or spindled furniture. Thin the paint per the sprayer’s instructions, practice on cardboard first, and wear a mask.
How long will my new paint job last?
With correct prep — thorough cleaning, sanding, and a material-matched primer — a paint job on outdoor furniture typically holds up for several years. Climate and weather exposure affect the timeline; covering or storing the furniture in winter extends it further.
Do I need a top coat or sealer over the paint?
Usually not. Most modern exterior paints are formulated as an all-in-one protective coating with the necessary durability and weather resistance already built in. An extra sealer can sometimes yellow in the sun or crack if it isn’t compatible with the paint underneath — two solid coats of a quality exterior paint is normally enough.
It started raining right after I painted — what do I do?
Move the furniture under cover immediately if you can. Rain on wet paint causes spotting and streaks. Let it dry completely for a day or two, lightly sand the affected spots smooth, wipe away the dust, and apply another thin coat over just those areas.
The Bottom Line
A paint job on outdoor furniture lives or dies on two things: matching the primer to the material underneath, and using a genuinely exterior-rated, UV-resistant, flexible topcoat instead of whatever paint happens to be on sale. Do the prep work properly — clean, repair, sand, prime for the right material — and two thin coats of a quality exterior paint will protect wood, metal, or plastic furniture for years instead of one season.
Sponsored / affiliate links. As an Amazon Associate I earn from qualifying purchases. I may earn additional commission from eligible campaigns.