Exterior Paintable Wood Filler: Epoxy vs Polyester vs Acrylic
The best exterior paintable wood filler for most repairs is a two-part polyester or epoxy filler, not an acrylic tube, because acrylic can shrink 10-25% and reopen outdoors. Whichever type you pick, prime the cured patch before painting, and test for rot first, since filler cannot fix soft wood. This guide covers which type fits each repair, cure times, and a prep-to-paint routine.
Best Exterior Paintable Wood Filler for Most Repairs
For clean cracks, holes and gaps in dry, solid wood, our pick is a two-part polyester filler: it sands in minutes and takes paint well. For deep holes or rotted wood, step up to an epoxy system instead (see the comparison below). We have not lab-tested these products; the picks come from manufacturer specifications and the independent material data cited in this article.
Best Exterior Paintable Pick | |
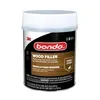 |
3M Bondo Wood Filler, 30 oz with cream hardener: $20.50 A two-part polyester filler that the manufacturer rates for interior and exterior wood, and lists as paintable, stainable and water resistant. It matches the fast, sandable repair on dry trim and siding described in this guide.
|
As an Amazon Associate we earn from qualifying purchases. | |
Epoxy vs Polyester vs Acrylic: Which Exterior Filler Type to Use
Almost every exterior filler falls into one of three chemistries, and they behave very differently once rain and sun hit them. The table below uses figures from an independent materials comparison.
| Filler type | Cure time | Shrinkage | Flexibility | Best use |
|---|---|---|---|---|
| Epoxy (two-part) | 12-72 hours | 0-2% | Moderate | Rot repair, holes deeper than 1 inch, decks and posts |
| Polyester (two-part) | 20-60 minutes | 2-5% | Very low (brittle) | Fast fixes on dry trim, siding and sills |
| Acrylic / latex | 1-4 hours | 10-25% | High | Hairline cracks and nail holes, under 1/4 inch |
Acrylic fillers can shrink 10-25% as they cure, versus 0-2% for epoxy. Source: Wood Work Science, exterior wood filler comparison
That shrinkage figure is the reason a “paintable” label alone tells you little. Paintable only means paint will stick; it says nothing about whether the filler survives a winter. A deep acrylic patch pulls back from the edges as it dries, leaving a hairline gap where water gets in, and the paint over it cracks along that line. Polyester has low shrinkage but is brittle, so it can crack on boards that flex or swell a lot. Epoxy is the most forgiving outdoors but is slower to cure and costs more.
Not sure whether you need filler, putty or something else entirely? Our guide to water putty vs Bondo compares two common choices, and is wood filler waterproof goes deeper on moisture resistance.
Is It a Crack or Is It Rot? Test Before You Fill
This is the check most quick guides skip, and it decides whether the repair holds. A filler is only as strong as the wood it is stuck to. Press a screwdriver tip into the wood around the damage. If it feels firm, you have a crack or hole and any suitable filler will work. If the tip sinks in easily or the wood feels soft, spongy or crumbly, that is rot.
For rot, the usual professional approach is two steps: a penetrating epoxy consolidant (wood hardener) first, then a thickened epoxy filler on top. The consolidant soaks into the soft fibers and cures them into a firmer base. Our guides on repairing wood rot with epoxy and what wood hardener does walk through that process. Also check moisture: the wood should be below roughly 15% moisture content before you apply filler, and a cheap pin or pinless moisture meter will tell you.
Match the Exterior Filler to the Damage
| Damage | Best filler type | Why |
|---|---|---|
| Nail holes and hairline cracks (under 1/4 inch) | Acrylic / exterior latex | Easy to apply, flexible, shrinkage is invisible at this depth |
| Gaps and dents in dry trim, siding or sills | Polyester | Cures in minutes and sands smooth the same day |
| Large or deep holes (over 1 inch) | Epoxy | Minimal shrinkage, strong bond, can be built up in layers |
| Soft or punky wood | Epoxy consolidant plus epoxy filler | Hardens the base before filling |
| Cracks in decks, beams or posts | Epoxy | Handles wet-dry cycling better than rigid or fast-shrinking fillers |
For decks and posts, see how to fill cracks in pressure-treated wood, and for oversized damage, wood filler on large holes breaks the fix down by hole size. If your project is a painted fence, our wood fence paint guide covers prep, primer and coats.
How to Apply and Paint Exterior Wood Filler
- Clean and dry the area: remove dirt, loose paint and splinters, and let the wood dry fully.
- Cut back any rot: scrape out soft wood, treat it with consolidant if needed, and let that cure first.
- Mix only what you can use: two-part polyester and epoxy start curing as soon as the hardener goes in, so mix small batches per the label.
- Press the filler in: work it into the damage with a putty knife and leave it slightly proud of the surface so you can sand it flush.
- Let it cure fully: follow the label, and allow extra time in cool or damp weather.
- Sand flush: start with a coarse-to-medium grit (about 80 to 120) and blend the edges into the surrounding wood.
- Prime, then paint: brush on an oil-based or 100% acrylic exterior primer, let it dry, then apply your exterior topcoat.
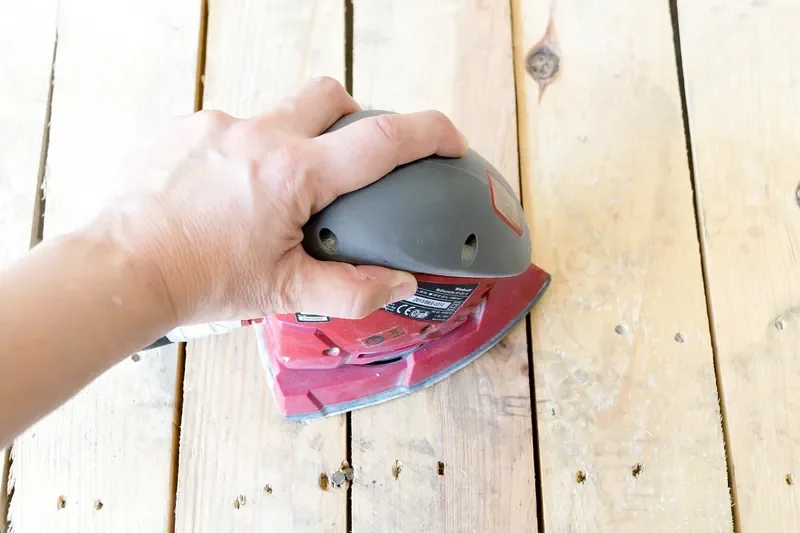
Cure times matter more than most people expect. Small repairs commonly need 24 to 48 hours before they are fully ready, and deep cavities can take up to a week, while epoxy may feel hard in hours but keep curing for days in cool weather. Our guide on how long wood filler takes to dry before sanding gives more detail.
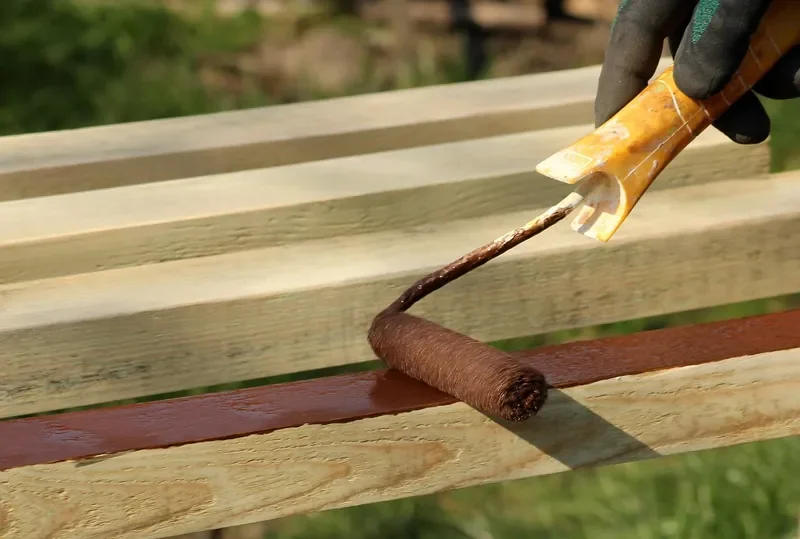
Safety notes: polyester and solvent-based products can be flammable and give off strong fumes, so work outdoors or with good ventilation, wear gloves, and follow the label. Wear a dust mask when sanding cured filler.
Common Mistakes That Make Exterior Filler Fail
- Using interior filler outdoors: it is not built for moisture and temperature swings.
- Filling over rot: the patch sits on weak wood and loosens as the wood keeps deteriorating.
- Using acrylic in deep holes: heavy shrinkage opens a gap at the edge of the patch.
- Skipping primer: the porous patch drinks paint unevenly and shows through the topcoat.
- Painting before full cure: trapped solvent or moisture can blister the paint.
- Leaving it unpainted: even exterior-rated filler lasts longer when sealed with exterior paint.
Bottom Line: Choosing Exterior Paintable Wood Filler
Match the chemistry to the damage: acrylic for hairline cracks, polyester for fast fixes on dry trim, epoxy for deep holes and anything near rot. Check the wood is solid and dry, let the filler cure, then prime and paint. For broader upkeep, see our wood care and maintenance guide.
Exterior Wood Filler FAQ
Can I use interior wood filler outside?
Generally no. Interior fillers are not built to handle rain, sun and temperature swings, and water-based types can swell, soften or crack outdoors. Pick a filler whose label says it is rated for exterior use, then prime and paint it so the patch is sealed.
Is exterior wood filler waterproof?
Epoxy fillers resist water best and are described as impermeable once cured, while polyester and acrylic fillers are water resistant but not impermeable. None of them should be left bare outdoors. Sealing the cured patch with exterior primer and paint is what keeps moisture out for the long term.
How long does exterior wood filler take to dry?
It depends on the chemistry. Polyester sets in roughly 20 to 60 minutes, acrylic in about 1 to 4 hours, and epoxy in 12 to 72 hours, longer in cool weather. Small repairs often need 24 to 48 hours before they are fully ready, and deep cavities can take up to a week.
Can you use acrylic filler on an exterior crack?
Only on very shallow, hairline cracks. Acrylic filler can shrink 10 to 25 percent as it cures, which is why it is unsuitable for anything deeper than about a quarter inch. For wider or deeper cracks in decks, beams or fences, use epoxy or a polyester filler.
Do I have to prime exterior wood filler before painting?
Yes, prime it. Cured filler is more porous than the surrounding wood, so topcoat paint can look dull or uneven over the patch. Prime the cured filler with an oil-based or 100 percent acrylic exterior primer, then apply your exterior topcoat once the primer has dried.
What is the best exterior filler for large holes?
Epoxy is the usual choice for holes deeper than about an inch because it shrinks very little and bonds well. Build deep repairs in layers if the label allows, let it cure fully, then sand, prime and paint. If the wood around the hole is soft, treat it with a consolidant first.
Sponsored / affiliate links. As an Amazon Associate I earn from qualifying purchases. I may earn additional commission from eligible campaigns.