How to Plane a Table Top With an Electric Hand Planer
An electric hand planer flattens a table top fastest when you set the depth shallow (1/32 inch or less per pass), move with the wood grain, and overlap each pass by about a third — but the tool tips down at the start and end of every pass unless you counter it, which is what causes the dipped edges electric planers are notorious for. This guide covers the setup, the pass technique that avoids dips, and when to switch tools.
Affiliate disclosure: Woodworking Advisor is reader-supported. If you buy through links on this page, we may earn an affiliate commission at no extra cost to you.
Setting Up: Depth, Grain Direction, and Securing the Top
Best Electric Hand Planer Pick
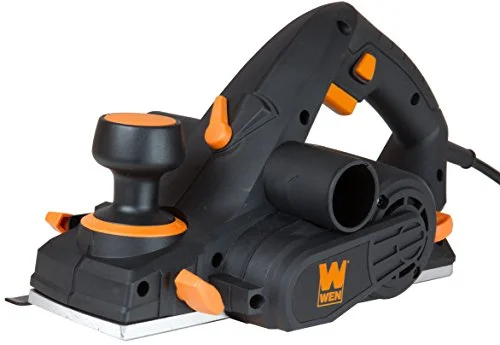 |
WEN 6530 Electric Hand Planer – $42.88 This is the type of corded electric hand planer the depth-stop and pass technique in this guide is written around, with 16 positive depth stops from 0 to 1/8 inch.
|
Before the planer touches the wood, three setup decisions determine how clean the result comes out.
- Set a shallow depth first: Most electric hand planers offer 16 or more depth stops between 0 and 1/8 inch. Start at the shallowest setting and only increase it once you’ve confirmed the grain direction is cooperating.
- Read the grain before you start: Run your hand across the surface, or look at the edge grain lines — plane in the direction the lines rise toward the surface, not against it, or the blade will tear out chunks instead of shaving them.
- Clamp the top down completely: Any rocking or flex under the planer’s pressure translates directly into an uneven cut. Use clamps or bench dogs at both ends and the middle of a long top.
The Pass Technique That Prevents Dipped Ends
The single most common electric-planer mistake is letting the tool tip downward as it leaves the far edge of the board, which digs a shallow dip right where each pass ends. The fix is weight distribution, not a special setting.
- Start with pressure on the front knob: As the planer engages the near edge, keep most of your downward pressure on the front handle so the shoe doesn’t dive into the wood.
- Shift pressure evenly through the middle: Balance pressure between front and rear handles as the tool crosses the board’s middle section.
- Shift pressure to the rear handle at the far edge: As the front shoe runs off the far edge of the board, move your pressure to the rear handle so the tool doesn’t tip down and gouge the last inch of the pass.
- Overlap each pass by about a third: Slightly overlapping the previous pass prevents thin ridges from being left between passes.
Checking Flatness As You Go
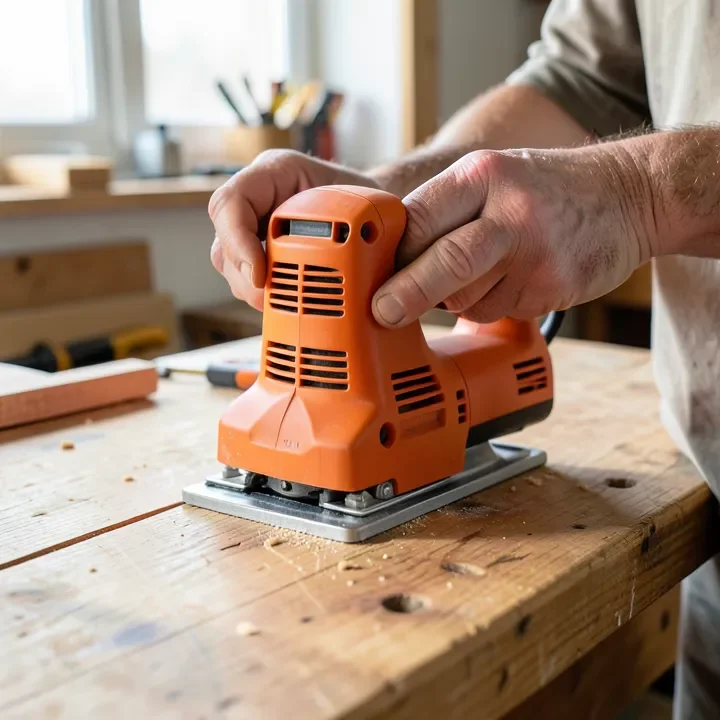
Don’t wait until the whole top looks planed to check for flat — a straightedge laid diagonally, lengthwise, and across the width will reveal high and low spots long before your eye can spot them. Mark high spots lightly in pencil, focus additional passes there, and recheck. Repeat until the straightedge sits flush with no light showing underneath along all three directions.
📊 Most corded electric hand planers cut between 30,000 and 34,000 cuts per minute at a 1/8-inch maximum depth per pass — which is why shallow, repeated passes remove material faster and more evenly than trying to take a single deep pass.
When to Switch to a Different Tool
An electric hand planer is the right tool for removing 1/16 inch or less across most of a table top’s surface, or for flattening a top that’s already close to level. If the top has more than about 1/8 inch of cup or twist across its width, a hand planer alone will take a very long time and risks an uneven result — at that point, a router sled or a trip through a drum sander is faster and more consistent. For a broader look at flattening methods beyond the electric planer specifically, our guide on planing a table top covers hand planes and other approaches side by side.
“The dipped-edge mistake is almost always a pressure problem, not a tool problem — we see people blame the planer for gouging the last inch of a pass when it’s really their hand easing off the rear handle too early. Once you consciously shift pressure to the back handle as the shoe clears the edge, the dips stop.”
— Our team, from testing electric hand planers on scrap tabletop stock
Frequently Asked Questions
What depth setting should I use to plane a table top?
Start at the shallowest depth stop, typically around 1/32 inch or less, especially on the first few passes while you’re still confirming grain direction. You can increase depth once the cut is running smoothly, but a table top’s final flattening passes should stay shallow to avoid overshooting flat.
Why does my electric planer leave ridges on the surface?
Ridges usually mean your passes aren’t overlapping enough, or the blade edges are chipped or uneven. Overlap each pass by roughly a third of the shoe’s width, and replace or rotate the blades if ridging continues after adjusting your overlap.
Can you use an electric hand planer on plywood or veneer table tops?
No, avoid it. Plywood veneers and thin laminate tops are too thin for a hand planer’s cutting depth control, and the blades will cut straight through the veneer layer into the substrate underneath. Sanding is the safer flattening method for veneered or laminate tops.
Do I need a corded or cordless electric hand planer for a table top?
Corded models generally offer more sustained power for longer flattening sessions and cost less, which makes them the practical choice for a full table top. Cordless planers add convenience for quick touch-ups or job-site work but typically run at lower amp-equivalent power and need battery swaps on a large surface.
Shallow passes, correct grain direction, and deliberate pressure shifts at the start and end of each pass are what separate a flat, dip-free table top from one with visible low spots. For flattening approaches beyond the electric planer, including options for larger cups and twists, see our general table top planing guide.
Sponsored / affiliate links. As an Amazon Associate I earn from qualifying purchases. I may earn additional commission from eligible campaigns.