How to Build a Dining Chair Out of Wood (Joinery, Angles & Wood Choice)
Building a solid wood dining chair comes down to three things most tutorials skip: choosing a wood with enough Janka hardness to survive years of sliding on a hard floor, cutting the leg splay at a real compound angle instead of drilling straight down, and orienting the seat grain so it doesn’t crack under a sitter’s weight. Get those three right and the joinery methods below (mortise and tenon, doweling, or pocket screws) will all hold.
Most dining chairs don’t fail because the wood was wrong — they fail because of racking: the front-to-back wobble that shows up 8 to 18 months after the glue-up, once the joints have taken thousands of sit-down/stand-up cycles. A table leg only has to hold weight straight down. A chair leg gets pushed sideways every time someone leans back, and that sideways load is what tears a weak joint apart. This guide focuses on the parts of chair-building that actually determine whether yours is still solid in five years.
Choosing Wood by Janka Hardness, Not Just Reputation
Best For Aligning Chair Joints
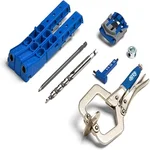 |
Kreg Pocket-Hole Jig 320 (KPHJ320-22) – $49.00 If you’re not cutting mortise-and-tenon joints by hand, this is the fastest way to get chair rails and stretchers square and tight without a mortiser.
|
“Oak is strong” doesn’t tell you much when you’re deciding between three species at the lumberyard. The Janka hardness scale measures how much force it takes to embed a steel ball halfway into the wood — it’s a real proxy for how well a chair leg resists dents and wear from being kicked back and dragged across tile:
| Wood Species | Janka Hardness (lbf) | Best Chair Use |
|---|---|---|
| Hard Maple | 1,450 | Legs and stretchers — best resistance to dents and wobble over time |
| White Oak | 1,360 | Legs, rails, and seat — slightly more open grain, takes stain evenly |
| Red Oak | 1,290 | Seat and back slats — visible grain, moderate durability |
| Black Cherry | 950 | Show surfaces only — too soft for legs that get kicked |
| Eastern White Pine | 380 | Practice joints or a chair that won’t see daily use |
For a chair that gets used at every meal, stay above roughly 1,200 lbf on the legs. Pine and poplar are fine for a mockup to test your dimensions, but they dent and loosen at the joints faster once real weight starts cycling through them.
Seat Dimensions and the Compound Leg-Splay Angle
Start with dimensions that actually fit a body at a table, not just round numbers:
| Part | Dimension |
|---|---|
| Seat height | 17–18 in from floor |
| Seat width (front) | 18–20 in |
| Seat depth | 16–17 in |
| Backrest height above seat | 14–16 in |
| Backrest recline | 95–100° from seat |
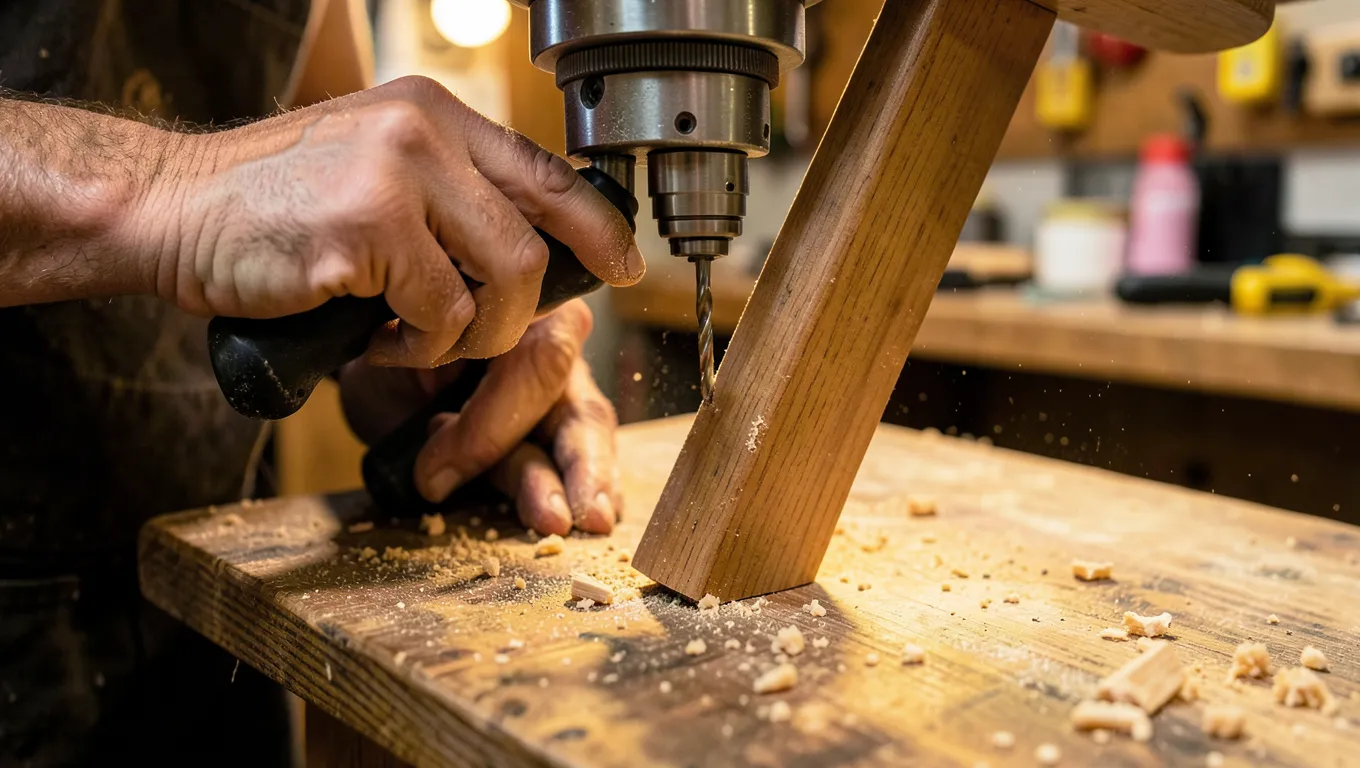
Here’s the detail most plans leave out: dining chair legs are almost never perfectly vertical. They splay outward a few degrees (typically 3–6° front-to-back and 2–4° side-to-side) for visual stability and so the sitter’s knees clear the seat rail. That means each leg mortise or dowel hole is bored at a compound angle — two angles at once, not one. Guessing this angle by eye is the single most common reason a beginner’s chair legs don’t sit flat on the floor.
The fix: build a simple angled drilling block from scrap (a wedge cut to your target angle, clamped to the drill press table or used as a guide for a hand drill), and test-bore into scrap first. Check the leg against a flat surface before you commit glue — if it rocks, the compound angle is off on one leg, not the floor.
Cutting the Seat Blank: Grain Direction Matters More Than the Saw
If the seat is a solid glued-up panel rather than upholstered plywood, grain orientation decides whether it survives. Wood is strongest along the grain and weakest across it. A seat blank glued up with the grain running front-to-back will eventually crack along a growth ring when someone sits down hard near the front edge, because that load crosses the grain at its weakest point. Orient the boards so the grain runs side to side (left armrest to right armrest) instead — the load from sitting then runs mostly along the grain’s length, which is dramatically stronger.
When gluing up multiple boards for a wide seat blank, alternate the end-grain direction of each board (flip every other board so the growth rings curve opposite ways). This cancels out cupping as the panel expands and contracts with humidity — a flat seat today that isn’t still flat in a dry winter is a wood-movement problem, not a joinery problem.
Joinery: Which Method Actually Survives Racking
All three joinery methods below can build a chair that looks finished on day one. They differ a lot in how long they resist the sideways racking load described earlier.
| Joinery Method | Racking Resistance | Skill/Tools Needed |
|---|---|---|
| Mortise and tenon | Highest — the long-grain glue surface inside the joint carries the load | Chisel or hollow-chisel mortiser, moderate skill |
| Doweled joints (3+ dowels per joint) | Moderate — fails if dowel holes aren’t perfectly aligned or too few dowels are used | Doweling jig, easy to moderate |
| Pocket-hole screws + glue | Lower alone, adequate when paired with corner glue blocks | Pocket-hole jig, easiest |
If you use pocket screws (the realistic choice for most first-time builders), add glued corner blocks inside the seat frame where the front and side rails meet the legs. That single addition does more to stop long-term wobble than upgrading screw size or count — it triangulates the joint so racking force has to break two glue lines instead of one.
Finishing the Seat Before Assembly, Not After
Sand through the grits in order — 120, then 180, then 220 — and stop there for most stains; going finer can burnish the surface and make stain absorb unevenly. Finish the underside of the seat and the inside faces of the legs before final glue-up. It feels like extra work, but an unfinished underside is exactly where humidity gets absorbed unevenly and pulls the seat out of flat months later. A water-based finish dries in hours and cleans up easily; an oil-based polyurethane takes longer between coats but builds a slightly more abrasion-resistant film for a surface that gets bumped by chair legs sliding under a table.
Diagnosing Wobble After Glue-Up
Set the finished chair on a flat floor or a known-flat sheet of plywood and rock it gently. If one leg lifts, don’t sand that leg shorter — you’ll be cutting into the good leg instead of fixing the actual problem, and it throws off the seat’s level. Instead, check which diagonal pair of legs the chair rocks on: that tells you which single joint is slightly proud (not fully seated) rather than which leg is “too long.” Loosen the clamps on that joint if the glue hasn’t cured yet, reseat it, and re-clamp. If the glue has already set, a thin shim glued to the short leg’s foot is a legitimate permanent fix — better than removing material from three other legs to match a mistake in the fourth.
Frequently Asked Questions
What wood should I use for a dining chair?
Pick a species with a Janka hardness above roughly 1,200 lbf for the legs and stretchers — hard maple (1,450), white oak (1,360), and red oak (1,290) all hold up to daily use. Softer woods like cherry or pine work for show surfaces or a practice build but dent and loosen at the joints faster under regular sitting and sliding.
What tools are needed to build a wooden chair?
A saw, drill, sander, tape measure, and clamps cover the basics. For joinery you’ll also need either a chisel and mallet for mortise-and-tenon, a doweling jig for dowel joints, or a pocket-hole jig for pocket screws — plus wood glue, since glue (not the fasteners alone) carries most of the long-term load in every one of those joint types.
How long does it take to build a dining chair?
Plan on 6 to 10 hours of hands-on shop time for a first chair, spread across a weekend so glue can cure fully between assembly stages (24 hours for the frame before adding stress, longer before heavy daily use). Rushing glue-up time is the most common reason first chairs develop early wobble.
Can I customize my dining chair design?
Yes — seat shape, backrest slat count, and armrests are all easy to change once you understand the leg-splay angle and joinery choices above. Keep the seat height (17–18 in) and backrest recline (95–100°) close to the ranges given here, since those two numbers affect comfort more than any stylistic detail.
Conclusion
A dining chair that’s still solid in five years comes down to the choices that don’t show: wood hard enough to take daily wear, a seat panel glued with the grain running the right direction, a compound leg-splay angle bored accurately instead of eyeballed, and a joint (mortise-and-tenon, dowels, or reinforced pocket screws) matched to how much racking load it will actually see. Get those right and the rest — sanding, finish, upholstery — is just detail work on a chair that will genuinely last.
Sponsored / affiliate links. As an Amazon Associate I earn from qualifying purchases. I may earn additional commission from eligible campaigns.