How to Plant a Maple Seed: Best Local Gardening Tips
Many people want to grow a maple tree from seed. The process of How to Plant a Maple Seed: Best Local Gardening Tips 2026 might seem tricky at first, especially for folks new to gardening. It’s not as hard as you might think.
We’ll walk you through it step by step. You’ll learn everything you need to know to get your own maple sapling started.
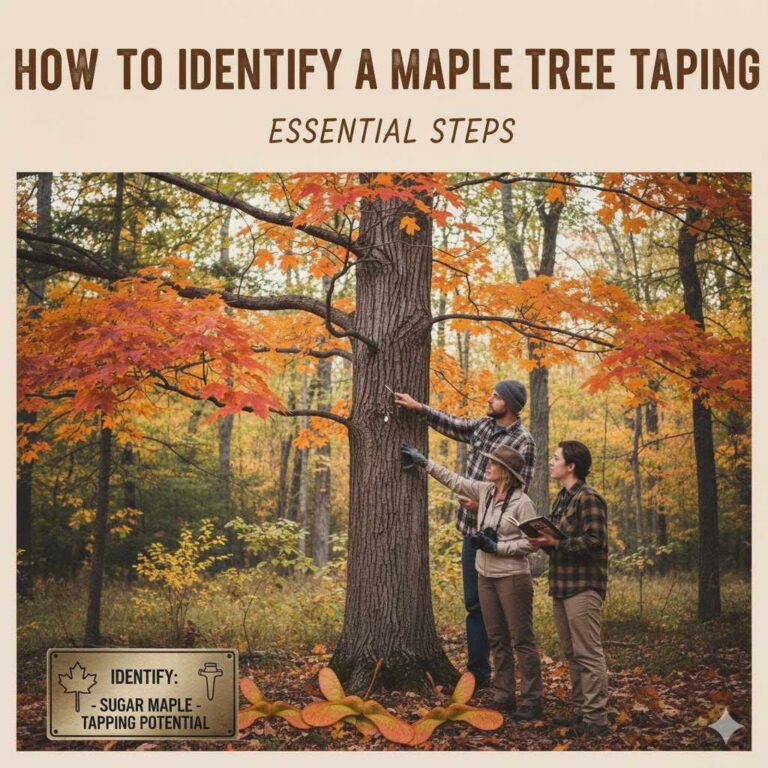
Planting Maple Seeds Getting Started
Starting a maple tree from a seed is a rewarding experience. It connects you directly to nature and allows you to nurture a tree from its very beginning. This section covers the initial steps, from identifying the right seeds to preparing them for planting.
It sets the stage for successful germination and growth.
Finding the Right Maple Seeds
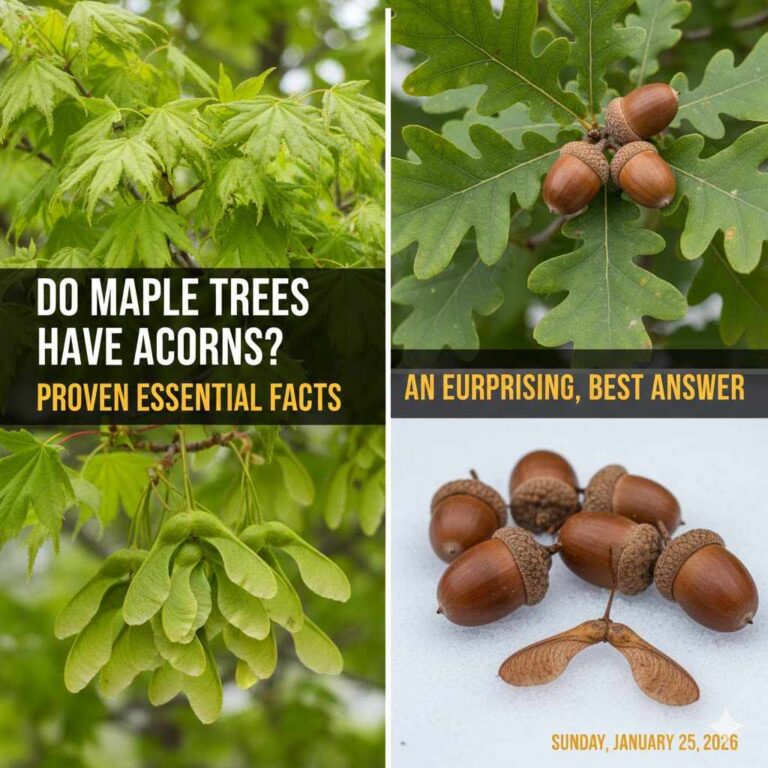
The first step to planting a maple seed is to find the right kind of seeds. Maple seeds, often called samaras, are those winged fruits that twirl down from maple trees. You can find them on many different types of maple trees, like sugar maples, red maples, and silver maples.
It’s important to collect seeds from healthy trees. Look for mature seeds that are fully formed and haven’t been damaged by insects or disease.
Collecting seeds in the fall is usually the best time. After the leaves change color, maple trees release their seeds. You’ll see them falling to the ground.
Gently pick up seeds that look plump and firm. Avoid any that are cracked, dried out, or show signs of mold.
Some common maple varieties that are good for home gardeners include:
- Sugar Maple Acer saccharum known for its beautiful fall colors and sweet sap. Its seeds are typically collected in autumn.
- Red Maple Acer rubrum which also boasts vibrant red fall foliage and tolerates various soil conditions. Its samaras are ready for collection in late spring to early summer.
- Silver Maple Acer saccharinum a fast-growing tree with deeply lobed leaves and a silvery underside. Its seeds mature quickly and are often found on the ground in late spring.
Each type of maple has slightly different needs, but the basic principles of seed collection and planting are similar. Pay attention to the tree’s health and the seed’s appearance. This will give your new maple tree the best start.
Collecting and Cleaning Maple Seeds
Once you’ve found potential maple seeds, the next step is to collect and clean them. You want to gather seeds that are mature. Mature seeds usually feel firm and have a healthy color, not dried and brittle.
You can often tell they are ready when they begin to fall from the tree naturally.
After collecting, it’s a good idea to clean them. Gently remove any remaining bits of the fruit or debris. You can do this by hand or by using a soft brush.
Avoid washing them vigorously, as this could damage the seed coat.
Some seeds might not be viable. To test them, you can place them in a glass of water. Seeds that sink to the bottom are usually good.
Seeds that float are likely empty or not viable and probably won’t germinate. This is a simple but effective way to sort out the best seeds before you put in the effort to plant them.
After testing, lay the good seeds out to dry for a few days. Don’t let them get too dry, just enough so they aren’t damp. This prevents mold and makes them easier to handle.
Storing them properly will be the next important step before you plant.
Preparing Maple Seeds For Planting
Maple seeds often require a period of cold, moist stratification to mimic their natural winter conditions. This process breaks their dormancy and signals them that it is time to grow. Without this preparation, many maple seeds will not germinate.
This section details how to properly stratify and prepare your seeds.
Understanding Stratification For Maple Seeds
Maple seeds have a natural dormancy. This means they won’t sprout right away, even if conditions are perfect. They need a period of cold and moisture to “wake up.” This process is called stratification.
It’s like tricking the seed into thinking winter has passed and spring has arrived.
Different maple species might need slightly different stratification periods. However, most common maples benefit from cold, moist stratification. This typically involves keeping the seeds in a cold, damp environment for several weeks or months.
The ideal temperature for stratification is usually between 35 and 41 degrees Fahrenheit (1.7 to 5 degrees Celsius). This is the temperature you find in most home refrigerators. The key is to keep the seeds consistently moist but not waterlogged.
Too much water can cause the seeds to rot.
The length of stratification can vary. Some seeds might need 30 days, while others might need 90 to 120 days. For most maple seeds collected in the fall, a longer stratification period is better.
This ensures they are fully prepared to sprout when you plant them.
Cold Stratification Process
To perform cold stratification, you’ll need a few simple materials. Get some damp peat moss, vermiculite, or sand. You can also use a damp paper towel.
A resealable plastic bag or a small container works well for storage.
First, moisten your chosen medium. It should be damp, like a wrung-out sponge, not soaking wet. Mix the seeds with this damp medium.
Ensure each seed is coated but not buried in excess moisture.
Place the seed and medium mixture into your plastic bag or container. Seal it loosely to allow for some air circulation. Label the bag with the date and the type of maple seed, if you know it.
Put the bag or container in your refrigerator. Check on it every few weeks. If the medium looks dry, add a little more water.
Also, look for any signs of mold. If you see mold, you might need to discard the affected seeds or gently clean the others. This vigilance is key to successful stratification.
The duration of stratification depends on the maple species. For many common maples like the Red Maple or Sugar Maple, a period of 60 to 120 days is often recommended. Some sources suggest even longer for certain types.
Patience is crucial here; do not rush the process.
Warm Stratification Alternative
Some maple species, like the Norway Maple, might benefit from a warm stratification period before the cold one. This mimics the initial period after the seeds fall in late summer or early fall. Warm stratification involves keeping the seeds at room temperature for a short period.
To do this, mix the seeds with a damp medium as described before. Place them in a container or bag and keep them at room temperature for about 30 to 60 days. The ideal temperature is around 68 to 77 degrees Fahrenheit (20 to 25 degrees Celsius).
After the warm period, you would then move them to the refrigerator for cold stratification. This two-step process can improve germination rates for certain maple varieties. It’s a bit more involved but can yield better results if you know your maple type requires it.
Always research the specific maple species you are working with. Knowing its natural germination requirements will help you decide if warm stratification is necessary. For most beginner gardeners, focusing on cold stratification after seed collection is usually sufficient.
How to Plant a Maple Seed: Best Local Gardening Tips
Now that your maple seeds are properly stratified, it’s time to plant them. This section offers practical advice on choosing the right soil, planting depth, and location. These tips are tailored for local conditions, ensuring your sapling has the best chance to thrive.
Choosing the Right Potting Mix
For young maple seedlings, a well-draining potting mix is essential. You don’t want the soil to hold too much water, as this can lead to root rot. A good mix usually contains a blend of peat moss, perlite, and compost.
A common ratio is one-third peat moss, one-third perlite, and one-third compost. Peat moss helps retain moisture, perlite improves drainage and aeration, and compost provides nutrients. You can also find pre-made potting mixes specifically designed for seedlings.
Avoid using heavy garden soil in pots, as it can become compacted and prevent proper root growth. The goal is to create an environment that is airy and allows excess water to escape easily.
For best results, use fresh potting mix. Old soil might contain diseases or pests that could harm your young plants. Sterilizing your own mix by baking it in the oven can also be an option, but it’s often easier and safer to buy a quality potting mix.
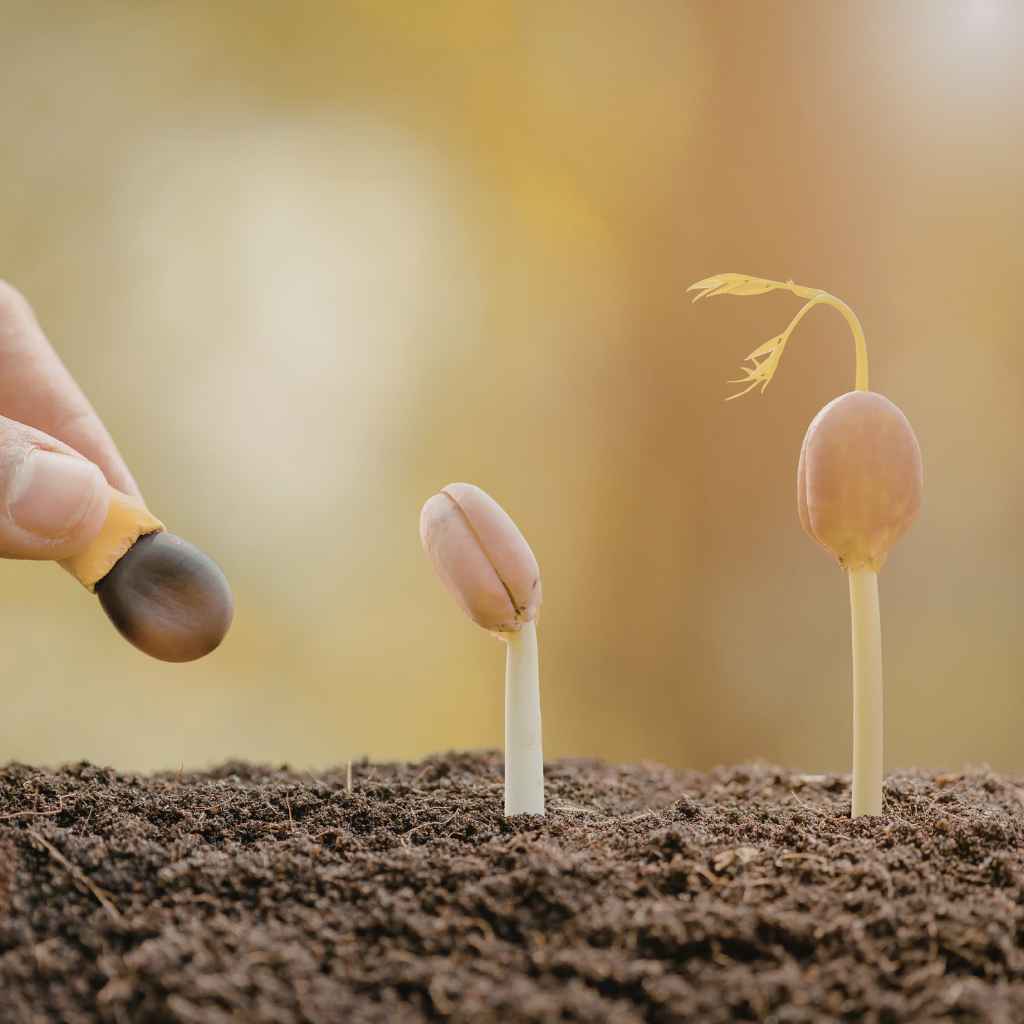
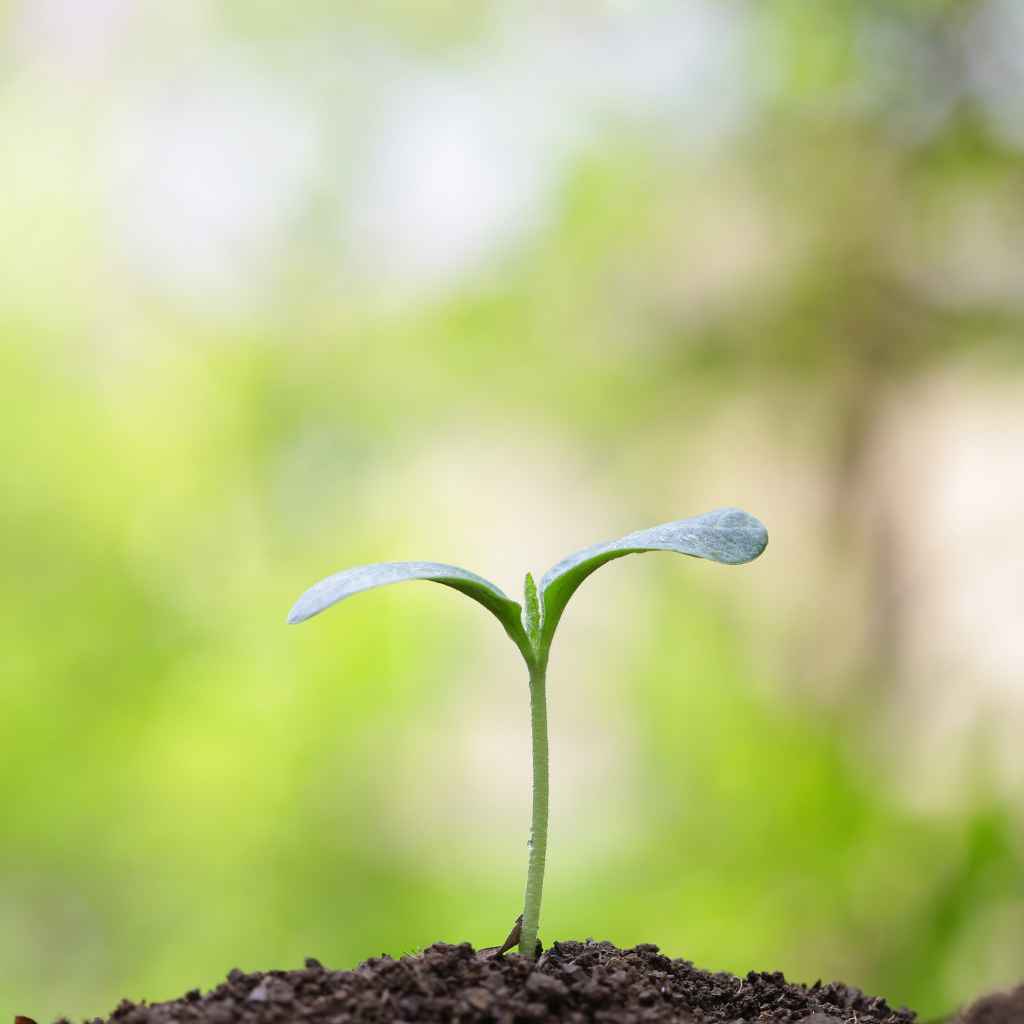
Planting Depth and Spacing
When planting your stratified maple seeds, depth is important. You want to plant them about 1/4 to 1/2 inch deep into the potting mix. Too deep, and they may struggle to reach the surface.
Too shallow, and they might dry out too quickly or be dislodged.
If you are planting multiple seeds in the same container, give them some space. Plant them about 1 to 2 inches apart. This prevents overcrowding, which can lead to competition for light, water, and nutrients.
You can use small pots, seed trays, or even recycled containers like yogurt cups with drainage holes poked in the bottom. Ensure each container has adequate drainage to prevent waterlogging.
After planting, gently water the soil. You want it to be moist but not soggy. Covering the pots with a clear plastic lid or plastic wrap can help retain moisture and create a mini-greenhouse effect, encouraging germination.
Remember to remove the cover once you see sprouts.
Location and Light Requirements
Once your maple seeds are planted, find a suitable location for them. They need warmth and light to germinate and grow. A spot that receives bright, indirect sunlight is ideal.
A windowsill that faces east or north is often a good choice.
Avoid placing them in direct, hot sunlight, especially when they are just seedlings. The young plants can be easily scorched. If natural light is limited, you can use a grow light.
Position the light about 6 to 12 inches above the pots.
The temperature should be relatively consistent, ideally between 65 and 75 degrees Fahrenheit (18 to 24 degrees Celsius). Avoid placing them near drafts from windows or heating vents, which can cause temperature fluctuations.
As the seedlings grow, they will need more light. Gradually introduce them to brighter conditions. Once they have developed a few sets of true leaves, they can handle more direct sunlight.
This careful transition helps them become strong and resilient.
Caring For Your Maple Seedlings
Caring for young maple trees requires consistent attention. This section covers watering, feeding, and protecting your seedlings from common problems. These practices will help ensure they grow into healthy young trees.
Watering Your Seedlings
Watering is one of the most critical aspects of seedling care. Young maple seedlings need consistent moisture. The soil should be kept lightly moist at all times.
Check the soil moisture daily by touching the surface. If it feels dry, it’s time to water. Use a gentle watering can or a spray bottle to avoid disturbing the delicate seedlings.
Water until you see excess moisture drain from the bottom of the pot.
It’s better to water thoroughly and less often than to water sparingly every day. This encourages deeper root growth. However, avoid letting the soil become waterlogged, as this can lead to fungal diseases like damping off.
The frequency of watering will depend on several factors, including the temperature, humidity, and the type of potting mix used. In warmer, drier conditions, you may need to water more often. Always err on the side of caution; it’s easier to recover from slightly dry soil than from overly wet soil.
Fertilizing Young Maple Trees
Young maple seedlings do not need a lot of fertilizer. The potting mix usually contains enough nutrients to get them started. Over-fertilizing can actually harm them, burning their delicate roots.
Once your seedlings have developed a few sets of true leaves, you can start to fertilize them lightly. Use a balanced liquid fertilizer that is diluted to half or quarter strength. Apply this about once every 2 to 4 weeks during the growing season.
Look for a fertilizer that has a balanced N-P-K ratio, such as 10-10-10 or similar. This provides a good mix of nitrogen for leaf growth, phosphorus for root development, and potassium for overall plant health.
Remember to water your seedlings before applying fertilizer. Applying fertilizer to dry soil can increase the risk of root burn. If you notice your seedlings are growing slowly or have pale leaves, a light feeding might be beneficial.
Pest and Disease Prevention
Young maple seedlings can be susceptible to pests and diseases. The most common issue is damping off, a fungal disease that causes seedlings to rot at the soil line. Good air circulation and proper watering can help prevent this.
Keep an eye out for common pests like aphids, spider mites, and fungus gnats. Aphids are small, green insects that cluster on new growth. Spider mites are tiny and can cause stippling on leaves.
Fungus gnats are small flies that are attracted to moist soil.
If you spot pests, try to remove them manually first. You can use a strong spray of water to dislodge aphids. For more persistent pests, insecticidal soap or neem oil can be effective and are generally safe for young plants.
Good hygiene is also important. Keep your workspace clean and remove any dead or diseased plant material promptly. This helps prevent the spread of problems.
Healthy plants are also more resistant to pests and diseases.
Transplanting Seedlings
When your maple seedlings have grown large enough, usually when they have several sets of true leaves and a good root system, it’s time to transplant them. This usually happens after the last frost in your local area.
Choose a new pot or a prepared spot in your garden for the transplant. Make sure the new location has well-draining soil and adequate sunlight. Dig a hole that is slightly larger than the seedling’s root ball.
Gently remove the seedling from its original pot. Be careful not to damage the roots. If the roots are tightly bound, you can gently tease them apart.
Place the seedling in the hole, ensuring the top of the root ball is level with the soil surface. Fill in the hole with soil and gently firm it around the base of the plant. Water thoroughly after transplanting to help settle the soil and reduce transplant shock.
Common Issues and Solutions When Planting Maple Seeds
Even with the best care, you might encounter a few problems when trying to germinate and grow maple seeds. This section addresses common challenges like low germination rates, slow growth, and potential environmental issues, offering practical solutions.
Low Germination Rates
One of the most frustrating issues is when very few, or no, seeds sprout. This can happen for several reasons. The seeds might not have been mature when collected, or they might not have been stratified correctly.
If you suspect immaturity, try collecting seeds earlier next year or from a different tree. For stratification issues, ensure you followed the steps for cold, moist conditions accurately. Check the temperature and moisture levels throughout the process.
Sometimes, even with proper preparation, some seeds simply won’t germinate. This is natural for many seeds. Planting a few extra seeds than you need can help ensure you get enough seedlings.
Another factor can be the quality of the seed itself. Tiny or shriveled seeds are less likely to germinate. The float test mentioned earlier can help eliminate some of these before you even start stratification.
Slow Seedling Growth
If your maple seedlings are growing very slowly, there could be a few causes. They might not be getting enough light. Seedlings need ample bright, indirect light to develop strong stems and leaves.
Another possibility is nutrient deficiency. While they don’t need much fertilizer initially, as they grow, they will require some. Ensure you are using a good potting mix and consider a light feeding with a diluted balanced fertilizer if growth seems stunted.
Watering practices also play a role. Both overwatering and underwatering can stress the plant and slow its growth. Aim for consistent moisture without waterlogging the soil.
Finally, temperature can be a factor. If the ambient temperature is too low or fluctuates wildly, it can inhibit growth. Maintaining a consistent, moderate temperature will help encourage steady development.
Environmental Challenges
Maple seeds and seedlings are sensitive to their environment. Extreme temperatures, strong winds, and poor soil conditions can all pose challenges.
In very hot weather, seedlings can dry out quickly. Provide shade during the hottest parts of the day. In colder conditions, protect them from frost.
This might mean bringing them indoors or covering them with a protective layer.
Soil quality is paramount. If planting directly into the ground, amend heavy clay soils with compost and other organic matter to improve drainage. Sandy soils may need more compost to help retain moisture.
If you are experiencing specific local conditions, like high winds common in some areas, consider placing young plants in a more sheltered spot or using a windbreak. Understanding your local climate is a key part of successful gardening.
Dealing with Pests and Diseases Effectively
When pests or diseases appear, prompt action is best. For common pests like aphids or mealybugs, a gentle washing with water or a cotton swab dipped in rubbing alcohol can be effective for small infestations.
Neem oil is a natural pesticide that can control a variety of pests and fungal diseases. Follow the product instructions carefully, as it can sometimes harm beneficial insects if applied incorrectly. Always test on a small area first.
For damping off, the best defense is prevention. Ensure good air circulation, avoid overwatering, and use sterile potting mix. If it does appear, remove infected seedlings immediately to prevent it from spreading.
Learning to identify common problems allows you to respond quickly and effectively. Observing your plants regularly will help you catch issues early before they become serious threats to your young maple trees.
Frequently Asked Questions
Question: When is the best time to collect maple seeds
Answer: The best time to collect maple seeds is in the fall, after the leaves have changed color and the seeds are naturally falling from the trees. Look for mature, firm seeds.
Question: How long does it take for maple seeds to germinate
Answer: Germination times can vary greatly depending on the maple species and whether they have been properly stratified. Some may sprout in a few weeks after planting, while others might take several months, especially if they are sown before their full stratification period is complete.
Question: Can I plant maple seeds directly in the ground outside
Answer: While it’s possible, it’s often best to start maple seeds in pots or seed trays indoors. This allows you to control their environment, protect them from pests, and ensure they receive adequate moisture and light until they are strong enough to transplant outside.
Question: What if my maple seeds float during the water test
Answer: Seeds that float during the water test are usually not viable. They are likely empty or have not developed properly. It’s best to discard these seeds and focus on the ones that sink, as they have a much higher chance of germinating.
Question: How do I know when to transplant my maple seedling
Answer: You should transplant your maple seedling when it has developed several sets of true leaves and its root system is well-established. This usually occurs sometime in the spring or early summer, after the danger of frost has passed and the seedling is a few inches tall.
Summary
Growing a maple tree from seed is a rewarding experience. By following the steps for collecting, preparing, and planting your maple seeds, you are well on your way to nurturing a new tree. Focus on proper stratification and consistent care for your seedlings.
Enjoy the process of watching your own maple grow.