How to Fill Nail Holes in Trim: Expert Tips for a Flawless Finish
The fastest fix for a nail hole in trim is wood filler or spackle pressed in with a putty knife, sanded flush once dry, then touched up with matching paint or stain — and on trim that’s already painted, a dab of white caulk or a color-matched wax stick can hide a hole with zero touch-up at all. Below: which filler to use for which situation, how to blend a repair into trim you don’t want to repaint, and the mistakes that leave a visible bump or dent behind.
Quick Answer: Clean the hole, press in wood filler (unfinished/stained trim) or lightweight spackle (painted trim) with a putty knife slightly proud of the surface, let it dry fully, then sand flush with 120-220 grit. For trim you don’t want to repaint, skip the filler entirely and use a color-matched wax fill stick or a dab of paintable white caulk instead.
Preparation
Gather a putty knife, your chosen filler, fine-grit sandpaper, and a damp cloth. Wipe the trim clean of dust so the filler actually bonds to the wood instead of sitting on a layer of grime, and let it dry fully before you start filling.
Choosing the Right Filler for Your Trim
The right product depends entirely on whether the trim is stained/natural or already painted, and whether you’re willing to touch up paint afterward.
| Situation | Best Filler | Notes |
|---|---|---|
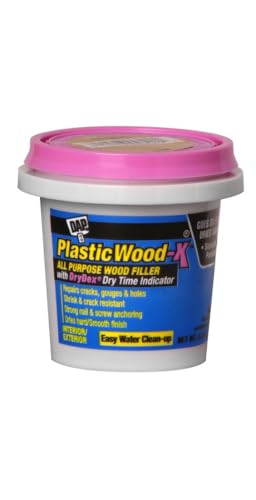
| Stained/natural wood trim | Stainable wood filler (e.g. DAP Plastic Wood-X) | Dries with a wood-tone color-change indicator so you know when it’s ready to sand |
| Painted trim, willing to touch up | Lightweight spackle or wood filler | Sands smoothly; needs a matching paint touch-up after |
| Painted trim, want zero touch-up | White paintable caulk or a color-matched wax fill stick | No sanding or repainting needed on white/light trim |
| Gaps and cracks (not round holes) | Caulk | Flexible, but cannot be sanded smooth |
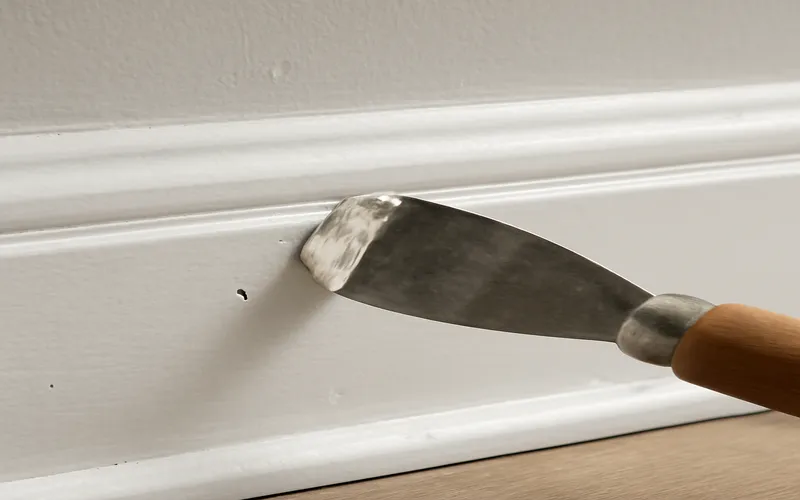
How to Fill Nail Holes on Trim That’s Already Painted (No Full Repaint)
This is the situation most DIYers actually run into: the trim is already painted and looks fine except for a scatter of nail holes, and repainting the whole piece feels like overkill for a few small dents. A few real options, roughly in order of how much touch-up they need:
- White wax fill stick — rubbed into the hole and buffed with a cloth; invisible on white/light trim with no drying time and no paint needed at all.
- Paintable white caulk — fills and dries flush, matches white trim closely enough that many holes need no further touch-up.
- Lightweight spackle (e.g. 3M Patch Plus Primer) — dries fast and sands smooth, but will need a small dab of matching paint over the top.
If you do need to touch up paint, don’t sand the surrounding finish to blend it — instead wipe the dried filler with a damp sponge to level it, which avoids scuffing the surrounding sheen, then use a small artist’s brush to dab on just enough matching paint to cover the repair.
Filling the Holes: Step-by-Step
Clean the hole of any dust or debris first. Press filler into the hole with a putty knife, smoothing it level and slightly proud of the surface to account for shrinkage as it cures. Let it dry completely per the product’s label before sanding — rushing this step is the single most common cause of a repair that looks fine one day and sunken the next.
Application Technique
Work in small amounts rather than overfilling — it’s much easier to add a thin second pass than to sand down a proud lump. Smooth the surface with the flat of the knife, let it dry fully, then sand lightly.
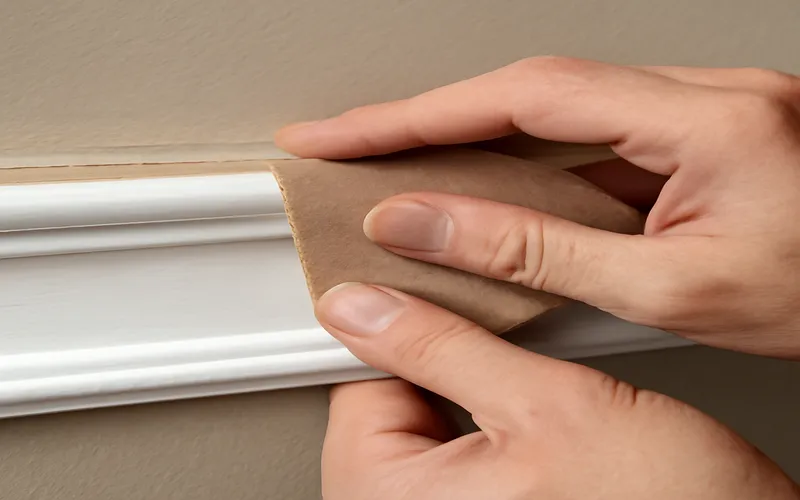
Sanding the Repair
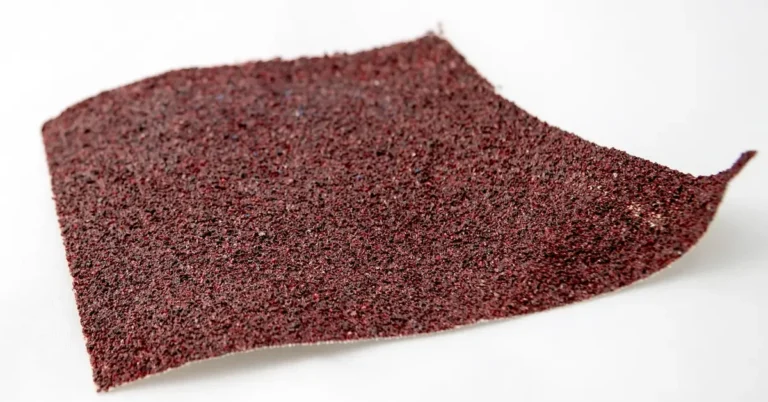
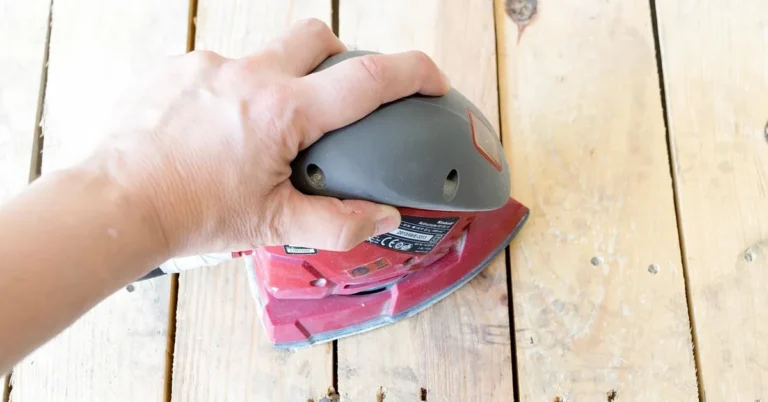
Use fine-grit sandpaper — 120 to 220 grit works well for most fillers. Coarser grit can leave visible scratch marks in the surrounding paint or stain. Sand in the direction of the wood grain with light pressure, checking your work often rather than sanding in one long pass.
Priming and Painting the Trim
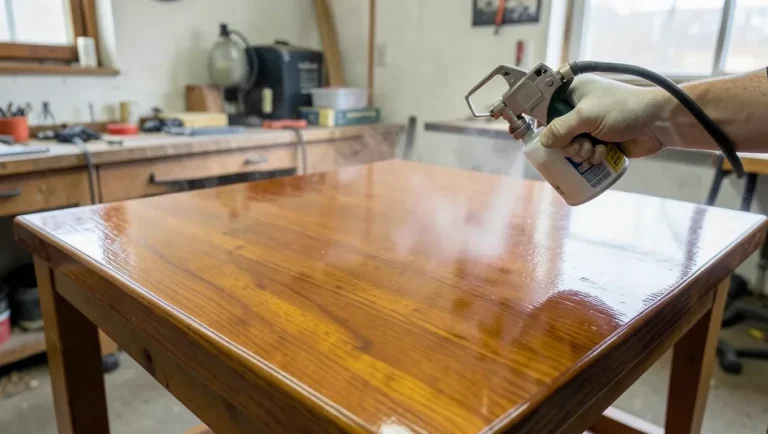
If you’re painting the whole piece of trim rather than spot-touching a repair, prime the filled areas first — primer helps the topcoat adhere evenly and keeps the repair from “flashing” (showing through as a slightly different sheen) under the final coat. For wood trim, oil-based paint tends to hold up best; for touch-ups on white trim specifically, matching the exact sheen (satin vs semi-gloss) matters as much as matching the color.
Recommended Fillers and Tools for Trim Repair
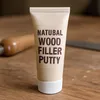 |
DAP Plastic Wood-X with DryDex (5.5 oz) Best for stained/natural trim — goes on pink, dries to natural wood color so you know exactly when it’s ready to sand. Check on Amazon |
3M Patch Plus Primer Spackling (16 oz) |

Elmer’s Stainable Carpenter’s Wood Filler |

Warner 3″ Flexible Putty Knife |
Avoiding Common Mistakes
Don’t rush the drying process — always let the filler cure fully per the label before sanding, or it will collapse or crack later. Don’t sand too aggressively; heavy pressure can gouge the surrounding trim finish. Use the right amount of filler — overfilling creates a bump that’s harder to sand flush than underfilling and adding a thin second coat. And always clean the hole of dust first so the filler actually bonds.
Frequently Asked Questions
What is the best thing to fill nail holes in trim?
For stained or natural wood trim, use a stainable wood filler. For painted trim, lightweight spackle or a color-matched wax fill stick works well — apply, smooth, let dry, then sand if needed.
What do professional painters use to fill nail holes?
Professional painters commonly use lightweight spackle or wood filler for their fast dry time and easy sanding, and often keep white wax fill sticks on hand for quick touch-ups on painted trim that don’t require any paint at all.
Is it better to fill nail holes with caulk or wood filler?
Wood filler is better for round nail holes since it can be sanded flush and holds its shape. Caulk works better for gaps, seams, and cracks — it stays flexible but cannot be sanded smooth.
Can you fill nail holes in trim without repainting the whole piece?
Yes. A white wax fill stick or a dab of paintable white caulk can hide a hole on white or light trim with no touch-up paint at all. If you do need color, wipe the dried filler with a damp sponge to level it instead of sanding, then dab on matching paint with a small artist’s brush rather than repainting the whole piece.
What is the best compound for filling nail holes?
For most trim repairs, a stainable wood filler with a dry-time color indicator (like DAP Plastic Wood-X) is the easiest to get right, since it visibly changes color when it’s ready to sand rather than leaving you guessing.
Maintaining Your Trim
Wipe trim down periodically with a soft, damp cloth rather than harsh cleaners, which can dull paint or strip a natural finish over time. Regular light cleaning also makes it easier to spot new nail holes or dings early, before dust and grime make a small repair harder to blend in.
If your trim is unpainted and you specifically want a natural-wood-matching repair with no paint step at all, see our dedicated guide to filling nail holes without painting for color-matching tips specific to that approach.
Conclusion
Filling nail holes in trim is a quick fix once you match the filler to your situation: stainable wood filler for natural trim, lightweight spackle or a wax stick for painted trim you don’t want to fully repaint. Clean, fill slightly proud, let it cure fully, sand lightly, and touch up only what actually needs it.
Sponsored / affiliate links. As an Amazon Associate I earn from qualifying purchases. I may earn additional commission from eligible campaigns.