How to Sand Birch Plywood Without Sanding Through the Veneer
To sand birch plywood without sanding through the face veneer, start at 120 to 150 grit instead of the 80-grit most general plywood guides recommend, use light and even pressure, sand with the grain, and work up to 220 grit before finishing. Birch’s face veneer is often thinner than a millimeter – well under 1/32 inch – glued over a lower-grade core, so the real danger isn’t which grit you stop at. It’s dwelling too long in one spot or leaning on an edge. Here’s the grit sequence, technique, and the one visual check that warns you before you’ve cut through.
Why Birch Plywood’s Face Veneer Sands Through So Fast
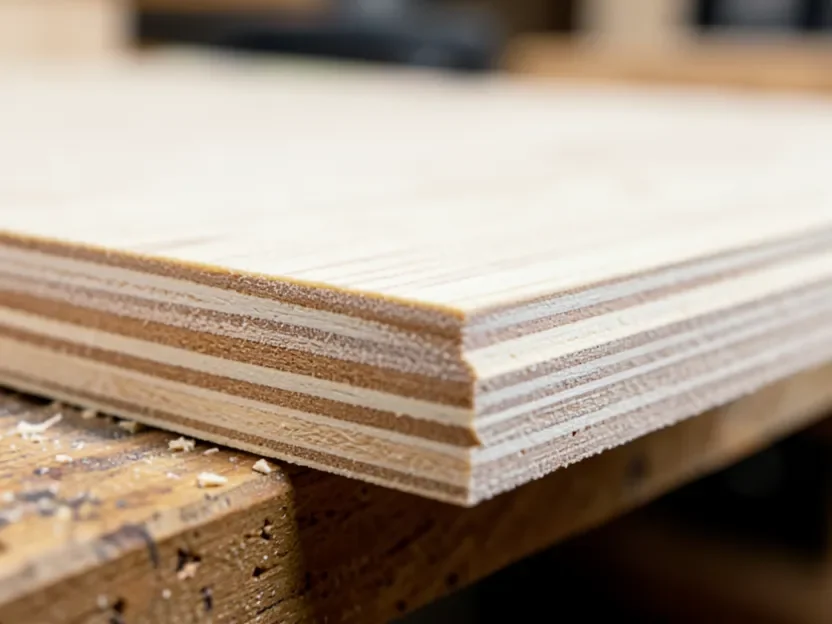
Standard birch plywood is built from a thin decorative birch face veneer, rotary-peeled off the log in a continuous sheet and glued over a cheaper softwood or lower-grade core. That face layer is typically under a millimeter thick – nowhere near the inch-plus of material you’d have to work with on a solid birch board. On solid lumber, sanding through a low spot just means more material to level out. On birch plywood, there is no reserve to sand into; once the sander cuts through the face veneer, the core underneath is a different color and grain pattern, and that patch is visible under any clear finish or light stain for good.
Best Random-Orbital Sander for Thin-Veneer Plywood
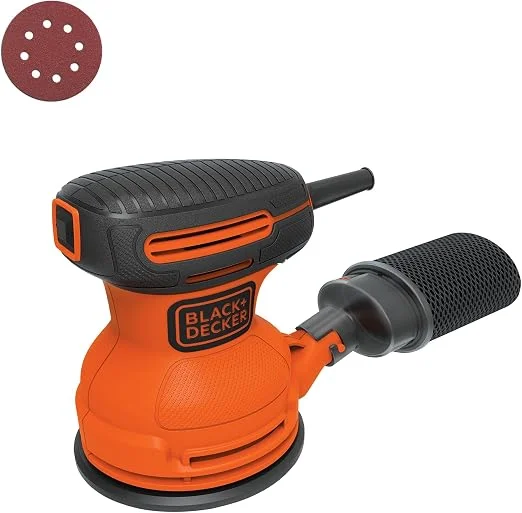 |
BLACK+DECKER BDERO100 5-Inch Random Orbital Sander – $39.99 Random-orbital action removes material evenly instead of digging in at one spot – the exact failure mode that sands through thin birch veneer.
|
Start at 120-150 Grit, Not 80
Most general plywood-sanding advice tells you to start at 80-grit to knock down mill marks before working up through the grits. That’s fine for construction-grade plywood or a rough-sawn edge, but it’s the wrong starting point for birch’s thin face veneer, and it’s the single biggest reason people sand through without meaning to. An 80-grit disc removes material fast – that’s exactly what you don’t want on a layer of wood thinner than a credit card. Birch face veneer usually leaves the factory reasonably smooth already, so unless you’re dealing with a genuinely rough or damaged surface, there’s rarely a reason to go below 120-grit at all. Start there, and let 150-grit handle anything 120 doesn’t fully level.
The Full Grit Progression and Technique
- 120-grit: Levels minor mill marks and surface roughness without aggressive stock removal. Keep the sander moving in slow, overlapping passes – never let it sit still while running.
- 150-grit: Removes the light scratch pattern 120-grit leaves behind. This is often enough on its own if the panel was already smooth.
- 220-grit: The finishing grit for a surface that’s ready for stain, paint, or clear coat. Going finer than 220 before staining can actually burnish the wood and make it absorb stain less evenly, so there’s no benefit to pushing past it here.
Pressure matters more than grit choice. Let the sander’s own weight do the cutting instead of pushing down – on a random-orbital sander, added downward pressure doesn’t just slow the cut, it flattens the orbital pattern into something closer to a straight-line scratch, which is both less effective and more likely to dig a flat spot through the veneer. Always sand with the grain, not across it; cross-grain scratches on a thin veneer show up clearly once stain or a clear finish is applied, and there’s no sanding them out afterward without risking a second sand-through.
The Visual Check That Warns You Before You Sand Through
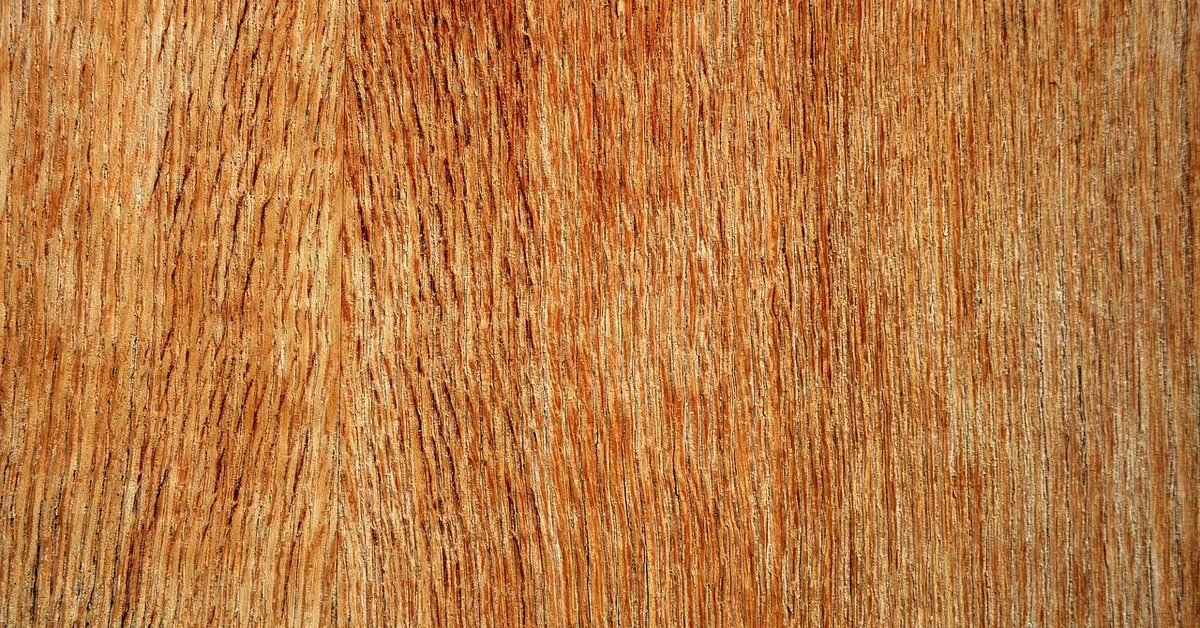
Most sanding guides tell you to stop at a grit number and hope for the best. There’s a better, more reliable check: stop every minute or two and look at the surface under a raking light – a work light or flashlight held low and to the side, so it skims across the panel instead of shining straight down. Raking light reveals grain figure and subtle color shifts that direct overhead light hides completely. As soon as you see the grain pattern flatten out, lose its figure, or shift even slightly lighter or more uniform in one area, stop sanding that spot immediately – that’s the face veneer thinning out before it fully breaks through. Catching that early moment is the difference between a panel that finishes evenly and one with a visible bare patch.
Sanding Edges and Corners Without Blowing Through the Veneer
Edges and corners are where sand-through actually happens most often, not the middle of a flat panel. A random-orbital sander’s pad can rock slightly at an edge, concentrating the cut on a smaller area for a fraction of a second longer than the rest of the pass – on a full-thickness panel that’s harmless, but on a thin veneer it’s often enough. A simple fix: lay a strip of painter’s tape along the edge of the adjoining face before you sand, so the tape’s edge acts as a visual and physical stop-guide that keeps the sander’s pad from rolling over the corner. For the corners themselves, switch to hand sanding with a sanding block or a multi-grit sanding sponge instead of the power sander – you trade speed for the kind of fine control that keeps light, consistent pressure exactly where you want it, which is worth it on the highest-risk part of the panel.
Random-Orbital Sander vs. Hand Blocks and Sanding Sponges
A random-orbital sander is the right tool for the flat field of a panel – it covers area fast and its orbital motion, used correctly, is less likely to leave a directional scratch pattern than sanding by hand. But it’s the wrong tool for edges, inside corners, and any spot where you need to feel the surface change under your fingers. A firm rubber or cork sanding block gives even pressure across a small area for detail work, and a multi-grit sanding sponge – typically packaged with a coarse, medium, and fine face in one block – is genuinely useful here because its slight give conforms to an edge without the sharp, flat-footed contact a rigid block or power sander makes. Most birch plywood projects go faster and cleaner with both: the orbital sander for the field, and a block or sponge for edges, corners, and the final light pass before finish.
Common Sanding Mistakes That Cause Sand-Through
Starting at 80-grit out of habit is the most common mistake, for the reasons already covered above. A close second is dwelling in one spot – pausing the sander over a stubborn mark instead of keeping it moving in overlapping passes, which concentrates the cut in exactly the wrong way. Leaning extra weight into the sander to “speed things up” is the third, and it’s the one that turns a normal pass into a sand-through in seconds rather than minutes. Skipping the raking-light check because the panel “looks fine” under normal lighting is the mistake that turns a minor thin spot into a fully exposed core, since the flattening grain pattern that warns you is very easy to miss under flat overhead light.
How This Differs From Sanding Regular Plywood
Our general how to sand plywood guide covers the 80-to-220 grit sequence that works for construction-grade sheet goods and thicker veneers. Birch plywood is the exception to that starting point specifically because of how thin its face veneer runs compared to other common plywood faces – treat the 80-grit starting advice there as the baseline for tougher, thicker-veneer sheet goods, and the 120-grit start here as the birch-specific adjustment.
What to Do After Sanding
Once the surface is sanded through 220-grit and wiped free of dust, what comes next depends on the finish you’re after. If you’re planning to stain, birch’s tight grain absorbs stain unevenly no matter how well it’s sanded – our guide on whether you can stain birch plywood without it blotching covers the pre-stain conditioning step that actually fixes that. For the full sequence from bare sanded plywood through the final topcoat, including how many coats to apply and how to sand lightly between them, see our complete birch plywood finishing guide.
Frequently Asked Questions
What grit should you start sanding birch plywood with?
Start at 120-grit, not the 80-grit often recommended for general plywood. Birch’s face veneer is thin enough that an aggressive low grit can cut through it before you realize it, so 120-grit is coarse enough to level minor mill marks without removing more material than the veneer can spare.
How do you know if you’ve sanded through birch plywood veneer?
Check under a raking light held low and to the side rather than straight overhead – it reveals a flattening or color shift in the grain figure before the core is fully exposed. Once the veneer is actually breached, you’ll see a visibly different color and grain pattern from the core layer underneath, most often at an edge or corner.
Can you use an orbital sander on birch plywood?
Yes, a random-orbital sander is a good choice for the flat field of a birch plywood panel as long as you use light pressure, keep it moving in overlapping passes, and don’t let it dwell in one spot. Switch to a hand sanding block or sponge for edges and corners, where the power sander’s pad is more likely to round over and cut through.
Do you sand birch plywood edges the same way as the face?
No. Edges and corners are the highest-risk spots for sanding through, since a power sander’s pad can rock slightly and concentrate the cut there. Use painter’s tape as a stop-guide along the adjoining face, and finish edges by hand with a sanding block or multi-grit sponge instead of the orbital sander.
Bottom Line
Birch plywood sands just fine – the risk isn’t the wood, it’s treating it like thicker sheet goods. Start at 120-grit instead of 80, work up to 220 with light and even pressure, sand with the grain, and check your progress under a raking light so you catch a thinning spot before it becomes a sand-through. Handle edges and corners by hand instead of with the power sander, and the panel will come out ready for stain or finish with no bare patches to explain.
Sponsored / affiliate links. As an Amazon Associate I earn from qualifying purchases. I may earn additional commission from eligible campaigns.
 Baltic Birch Plywood Sheets Box of 45 - Laser Engraving Cutting, Scroll Saw Nature Veneer Color, Stronger Than Basswood, A/A Grade,12 x 12 x 1/8”, 3mm Thickness Perfect for Wood Burning
 LISHINE 8 Pack 12 x 12 x 1/4 Inch Baltic Birch Plywood 6mm Wood Sheet, Baltic Birch Sheets for Cricut Maker, Architectural Models, Drawing Painting, Wood Burning Laser