How to Finish Birch Plywood Without Blotching (7-Step Guide)
To finish birch plywood, sand progressively from 120 to 220 grit, apply a pre-stain conditioner before any stain to prevent blotching, then top-coat with two to three thin coats of water-based polyurethane. Birch plywood’s thin, tight-grained face veneer absorbs stain unevenly and sands through easily if you skip steps — unlike solid lumber, there is no room to sand out a mistake. This guide covers the sanding sequence, how to stop blotching, and which clear finish holds up best.
Why Birch Plywood Needs Different Prep Than Solid Wood
Best Pre-Stain Fix for Birch Plywood
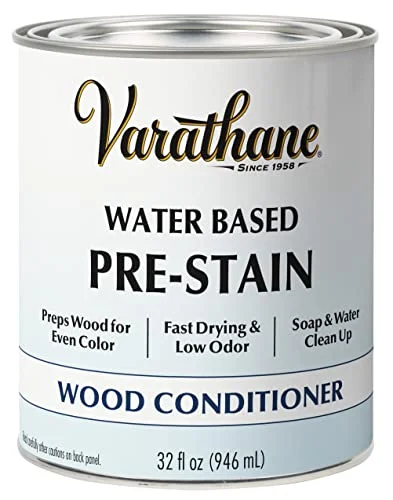 |
Varathane Pre-Stain Wood Conditioner – $18.29 Applied before staining, this evens out absorption on birch plywood’s tight face veneer — the exact blotching problem covered above.
|
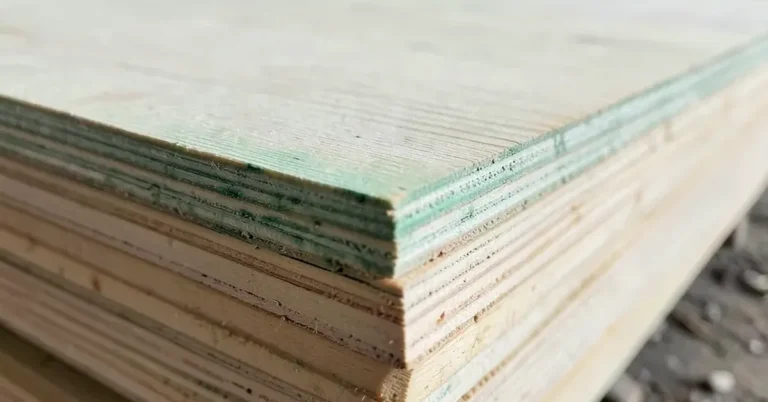
Standard birch plywood’s face veneer is typically only about 1mm thick, glued over a lower-grade core, which means aggressive sanding can cut straight through the face and expose the core underneath — a mistake you cannot sand out like you could on solid lumber. Birch’s tight, closed grain also absorbs oil-based stain unevenly, the same blotching problem silver maple has, so stain prep matters more here than on open-grained woods like oak.
Sanding Birch Plywood the Right Way
Start with 120-grit sandpaper to knock down mill marks, always sanding with the grain, then move to 180-grit, and finish with 220-grit for a smooth surface ready for finish. Use light, even pressure and keep the sander moving — dwelling in one spot for even a few extra seconds is enough to sand through a standard birch face veneer. Vacuum the dust and wipe with a tack cloth before moving to the next step. For a deeper look at grit selection, edge and corner technique, and the visual check that catches a thin spot before it sands through, see our full guide to sanding birch plywood.
Baltic Birch vs. Regular Birch Plywood for Finishing
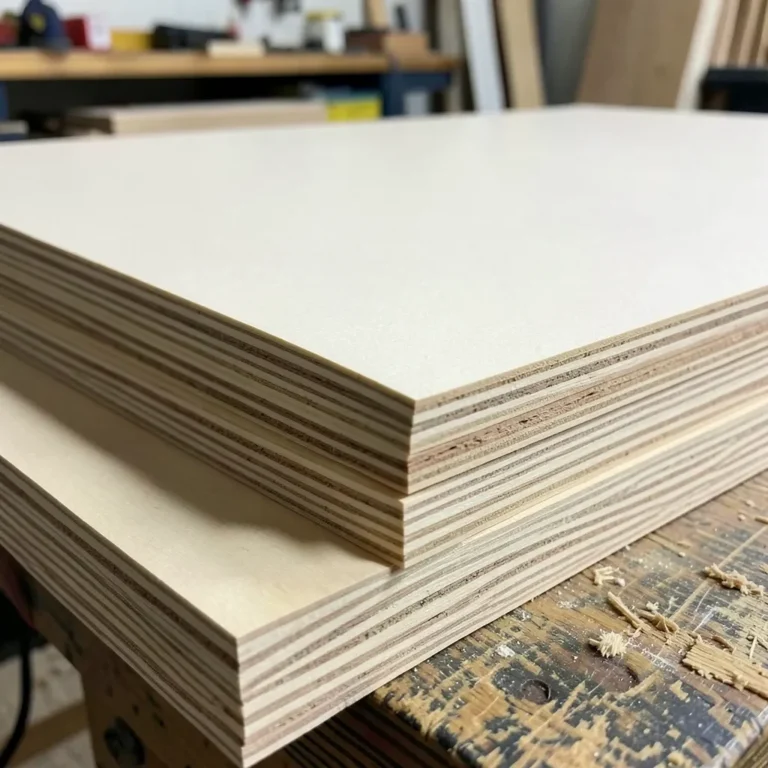
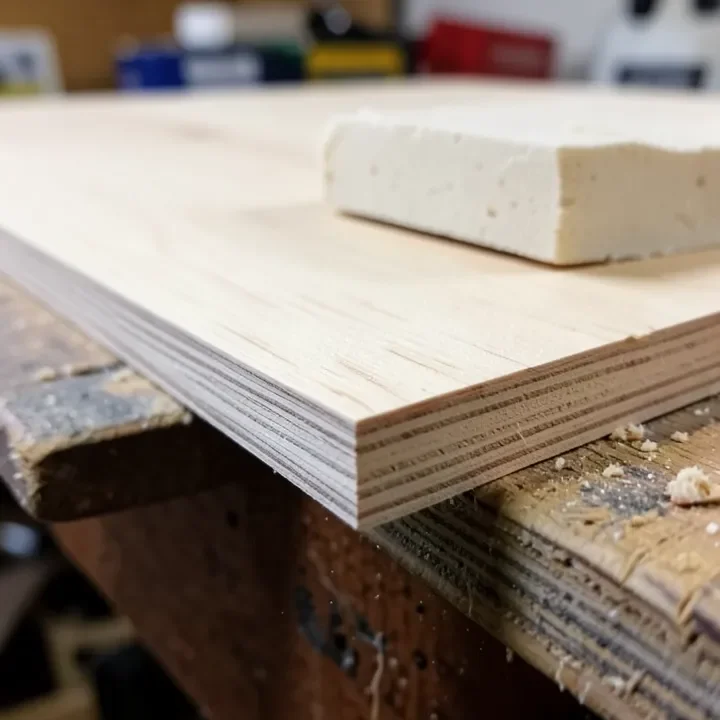
Not all birch plywood sands and finishes the same way. Baltic birch plywood uses birch veneer all the way through the panel in thicker plies with virtually no internal voids, which makes it far more forgiving to sand and finish. Standard birch plywood usually has a thin birch face veneer over a cheaper softwood core, so it looks similar but sands through and blotches more easily. If a project will see heavy sanding or a clear finish that shows every flaw, Baltic birch is the safer material choice.
Preventing Blotchy Stain on Birch Plywood
If you plan to stain rather than finish clear, apply a pre-stain wood conditioner first and let it penetrate for the time listed on the can — usually 15 to 30 minutes — before staining. Skipping this step is the single most common reason birch plywood stain jobs come out patchy, since the wood conditioner temporarily fills the grain so stain absorbs at a more even rate across the whole panel.
Best Clear Finish Options for Birch Plywood
| Finish | Dry Time (Touch) | Recoat Time | Look |
|---|---|---|---|
| Water-based polyurethane | ≈1 hour | 2–4 hours | Stays clear, won’t yellow over time |
| Oil-based polyurethane | 6–8 hours | ~24 hours | Warm amber tone, ambers further with age |
| Lacquer | ≈30 minutes | 1–2 hours | Fast build, thinner protective film |
Water-based polyurethane is the better default for birch plywood because it dries fast, stays clear instead of ambering, and lets you finish a project in far fewer days than oil-based poly’s slow recoat window requires.
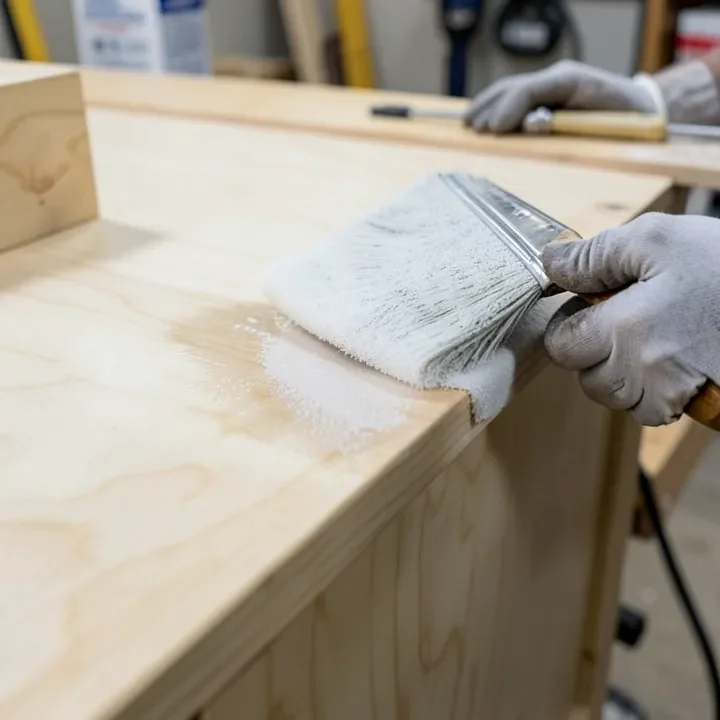
Step-by-Step: Finishing Birch Plywood
- Sand progressively: work through 120, 180, then 220 grit, always sanding with the grain.
- Remove dust: vacuum the surface, then wipe with a tack cloth.
- Apply pre-stain conditioner (if staining): brush on evenly and let it penetrate per the label before staining.
- Stain if desired: apply with a cloth or brush, wipe off excess after a few minutes.
- Apply the first coat of clear finish: use thin, even strokes and avoid heavy pooling in corners.
- Sand lightly between coats: use 320-grit paper once each coat is fully dry, then remove dust.
- Apply 2–3 total coats: let the final coat cure fully (check the product label) before using the piece.
Frequently Asked Questions
Do I need to seal birch plywood edges separately?
Yes. The exposed edge grain on plywood absorbs finish faster than the face, since you are looking at the end grain of every glued layer at once. Apply an extra coat on edges, or use edge banding for a cleaner look, especially on pieces that will see handling or moisture.
Can I stain birch plywood without it looking blotchy?
Yes, if you apply a pre-stain wood conditioner first and let it penetrate for the time the label specifies. Skipping this step is the main reason birch plywood stains unevenly — the tight grain absorbs stain at different rates across the surface without it.
What is the best clear finish for birch plywood?
Water-based polyurethane is generally the best choice because it dries fast, allows quick recoats, and stays clear instead of yellowing over time the way oil-based polyurethane does. Oil-based poly is still a good option if you want a warmer, amber-toned look.
How many coats of finish does birch plywood need?
Two to three thin coats is standard for birch plywood, with a light sanding between each coat using 320-grit paper. Fewer coats may leave the surface under-protected, while heavier coats than needed risk pooling and uneven drying on the plywood’s tight grain.
Conclusion
Birch plywood rewards patience more than solid lumber does — sand carefully to avoid cutting through the thin face veneer, condition before staining to avoid blotches, and build up thin coats of clear finish rather than one heavy one. Follow that sequence and a birch plywood panel can look every bit as good as solid hardwood.
Sponsored / affiliate links. As an Amazon Associate I earn from qualifying purchases. I may earn additional commission from eligible campaigns.
 Baltic Birch Plywood Sheets Box of 45 - Laser Engraving Cutting, Scroll Saw Nature Veneer Color, Stronger Than Basswood, A/A Grade,12 x 12 x 1/8”, 3mm Thickness Perfect for Wood Burning
 Baltic Birch Plywood 1/8'' x 12'' x 18'', 6 Pack, B/BB Grade, Void-Free Core, Laser Cutting Ready, Flat Sheets for CNC, Engraving, DIY Crafts, Art Painting, Wood Burning, Staining