How To Seal A Wooden Chopping Board The Best Proven Way
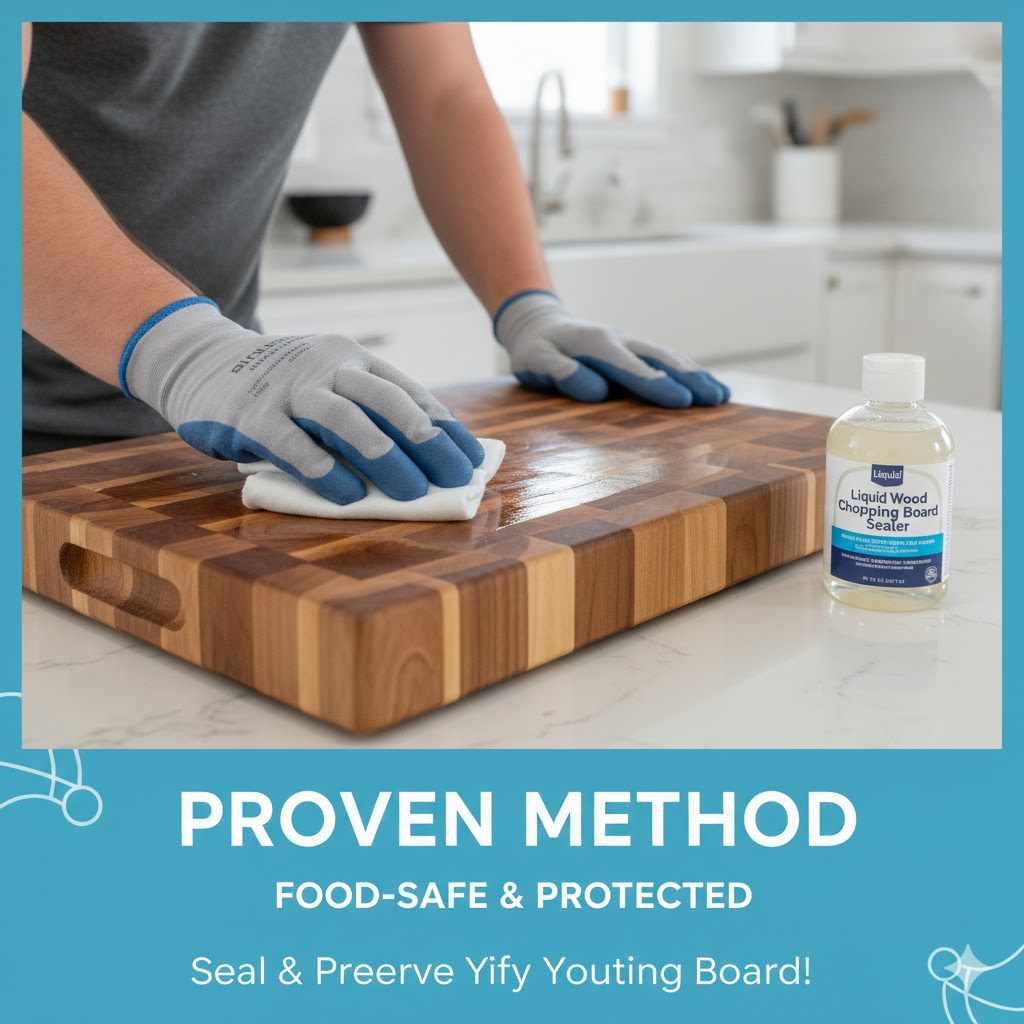
The best proven way to seal a wooden chopping board is to apply a generous coat of food-grade mineral oil, let it soak in for several hours or overnight, and then wipe off the excess with a clean, lint-free cloth. For extra water resistance, follow up with a board cream or a blend of mineral oil and beeswax.
A wooden chopping board is one of the most-used tools in any kitchen, but without regular oiling it dries out, cracks along the grain, and becomes harder to keep genuinely clean. Sealing it isn’t complicated or expensive, and this guide walks through exactly what to use, what to avoid, and how to do it step by step.
Why Sealing Your Wooden Chopping Board Is So Important
Food-Safe and Purpose-Built for Cutting Boards
 |
Howard Butcher Block Conditioner & Cutting Board Oil, 12 oz – $9.18 A food-grade mineral oil and wax blend in one bottle, so you get the deep hydration and the water-resistant top coat without buying two separate products.
|
A wooden chopping board is made of natural fibers that behave a lot like skin: without moisture, they dry out and crack. Sealing the board with oil replaces that moisture and keeps the wood flexible instead of brittle.
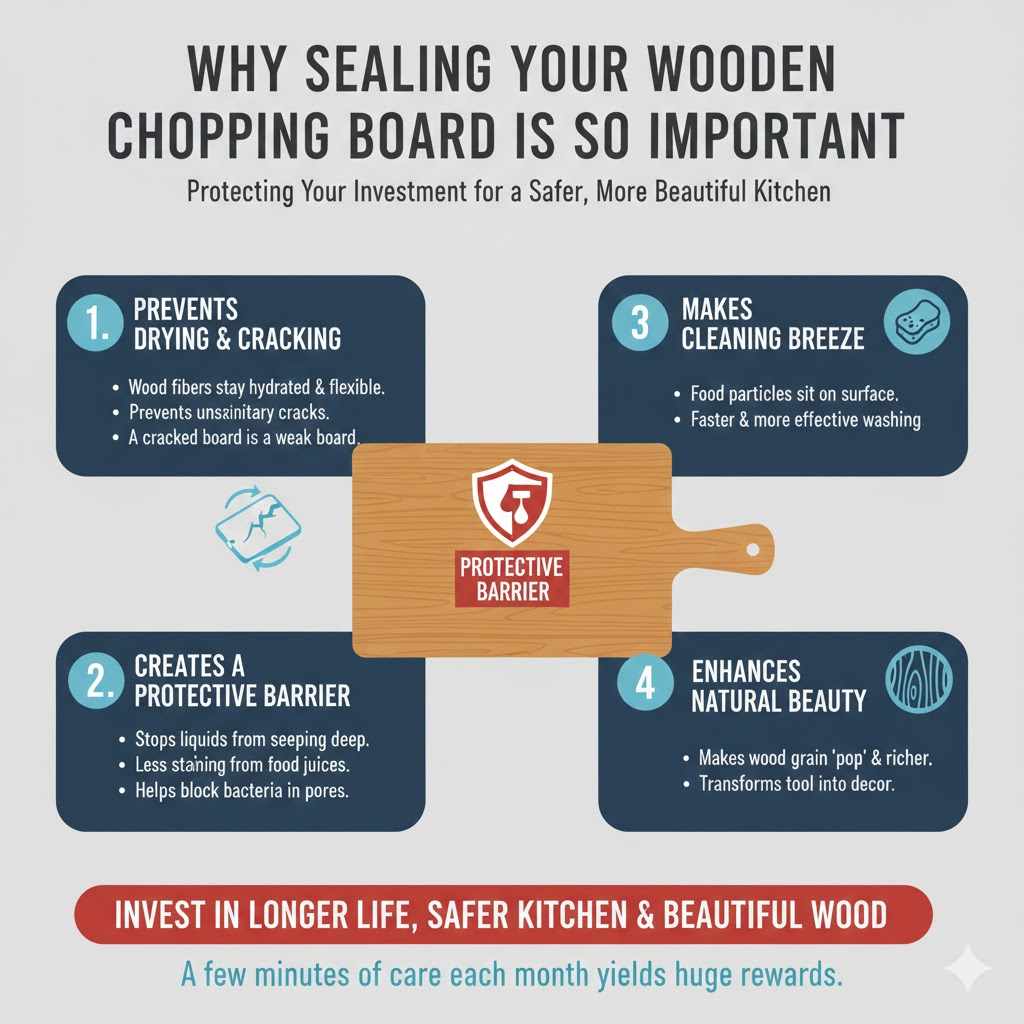
Here’s what a good seal actually does:
- Prevents drying and cracking: Wood constantly expands and contracts with changes in moisture. Regular oiling keeps the fibers hydrated and flexible, preventing cracks from forming. A cracked board is a weaker, less sanitary board.
- Creates a protective barrier: A proper seal stops liquids from soaking deep into the wood, which means less staining from things like beet juice or berries, and it helps keep bacteria from settling into the wood’s pores.
- Makes cleaning easier: When a board is sealed, food particles and juices tend to sit on the surface instead of soaking in, so washing it is faster and more effective.
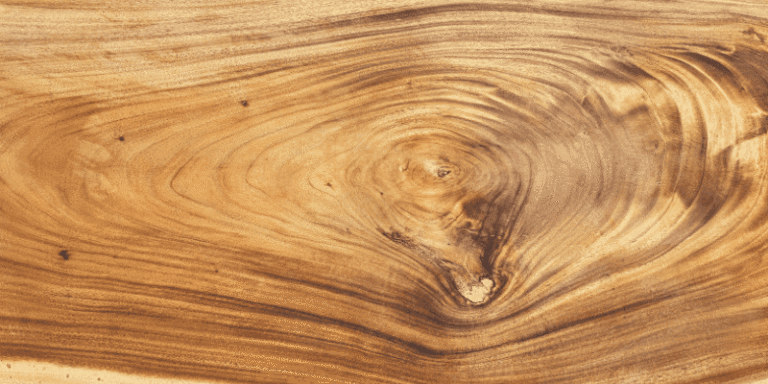
- Brings out the wood’s grain: Oil makes the grain “pop,” deepening the color and turning a plain board into something that looks good enough to leave on the counter.
A few minutes of care each month protects the board, keeps your kitchen surfaces safer, and keeps it looking good for years.
Choosing the Right Finish: Food-Safe Is Everything
Since you’re preparing food directly on this surface, whatever you use has to be non-toxic and safe for food contact. Forget hardware-store wood finishes like varnish, lacquer, or polyurethane — those are made for furniture, not food.
The Best Choices for Sealing Your Board
- Food-grade mineral oil: The standard choice for wooden cutting boards. It’s clear, odorless, tasteless, and completely inert, so it won’t spoil. It penetrates deep into the wood to hydrate the fibers from the inside out. Look for “food-grade” or “USP-grade” mineral oil, sold in most pharmacies and supermarkets.
- Board cream (mineral oil and beeswax or carnauba wax blend): Often sold as “cutting board conditioner” or “board cream,” these combine mineral oil with a natural wax. The oil soaks in while the wax stays on the surface, creating a water-repellent barrier and a smooth, silky finish.
Finishes to Avoid
- Cooking oils: Never use olive, vegetable, canola, or corn oil. These are organic oils that go rancid over time, which means they’ll start to smell and can transfer that taste to food.
- Non-drying nut oils: Some, like tung oil, are used in woodworking but aren’t food-safe for all users or can trigger nut allergies. Stick to the proven options above.
- Varnish, lacquer, or polyurethane: These are film finishes made for furniture. They chip and flake off into food as you chop, and they aren’t meant for direct food contact.
Here’s a quick reference for what to use and what to skip.
| The Good Stuff (Use These) | Why It Works | The Bad Stuff (Avoid These) | Why It’s Bad |
|---|---|---|---|
| Food-Grade Mineral Oil | Penetrates deep, non-toxic, won’t go rancid. | Cooking Oils (Olive, Canola, etc.) | Spoils and goes rancid over time. |
| Board Cream / Wax Blends | Adds a water-resistant topcoat for extra protection. | Varnish / Polyurethane | Not food-safe, will chip into your food. |
| Fractionated Coconut Oil | Stays liquid and won’t go rancid (unlike regular coconut oil). | Regular Coconut Oil | Can spoil over time and impart a flavor. |
Gather Your Simple Supplies
This is a simple kitchen-table job that doesn’t need a workshop full of tools. Here’s everything you need:
- Your wooden chopping board: Make sure it’s completely clean and dry to start.
- Food-grade mineral oil: A single bottle lasts a long time.
- Clean, lint-free cloths: An old cotton t-shirt, flour sack towels, or microfiber cloths work well. You’ll need at least two: one for applying oil, one for buffing off the excess.
- Optional — fine-grit sandpaper: 220-grit or 320-grit sandpaper isn’t essential, but it gives the board an incredibly smooth, like-new finish.
- Optional — board cream or conditioner: For an extra layer of water protection and sheen.
How to Seal a Wooden Chopping Board: Step-by-Step
Step 1: Start With a Clean, Bone-Dry Board
Wash the board with mild dish soap and hot water, scrubbing away any stuck-on food with a sponge or brush, then rinse well. The board needs to be completely dry before oiling — water trapped under the oil can lead to mold or damage the wood. After washing, towel it off, then stand it on its edge (leaning against a wall or in a dish rack works well) so air circulates around all sides. Let it dry for several hours, or ideally overnight, before moving on.
Step 2: Smooth the Surface (Optional)
If the board feels rough or fuzzy after washing, that’s raised grain — water swells the wood fibers so they stand up. Lightly sand the entire board, including the sides, with 220-grit or higher sandpaper, always sanding with the grain. A few light passes are enough; you don’t need much pressure. Wipe away all sanding dust with a clean, dry cloth afterward.
Step 3: Apply the Mineral Oil Generously
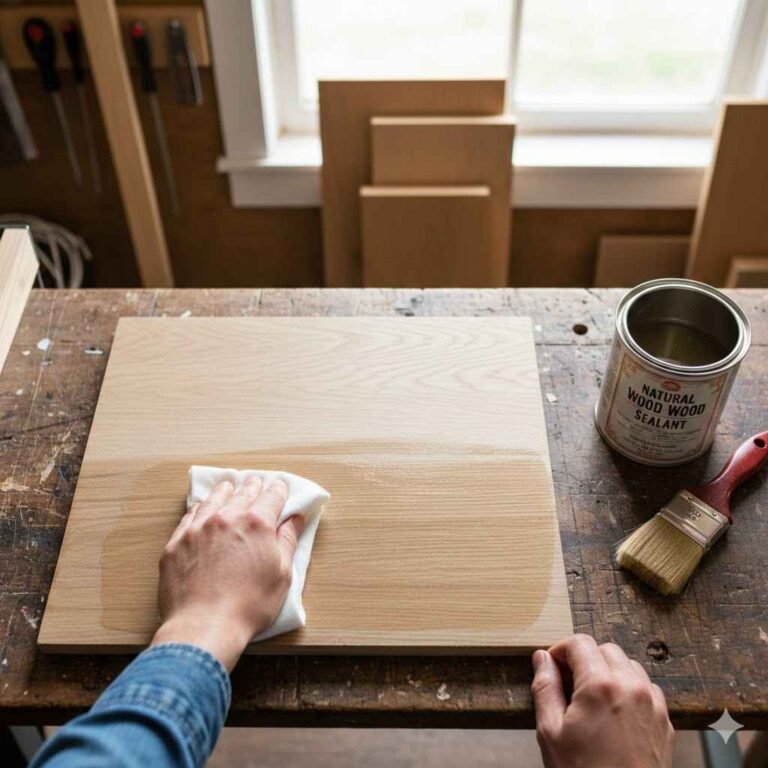
Set the clean, dry board on a towel or newspaper to protect the counter. Pour a generous amount of food-grade mineral oil onto the surface — a dry board is thirsty and will soak up more than you’d expect. Using a clean, lint-free cloth, work the oil into the wood in a circular motion, covering the top, bottom, sides, and edges. The end grain (the short ends of the board) is especially absorbent and deserves extra attention.
Step 4: Let the Board Absorb It
Let the oiled board sit so the oil can penetrate deep into the fibers — at least 4 to 6 hours, or overnight for a new or neglected board. It’s normal for some spots to look dry as the wood soaks up the oil; add a little more oil to those spots if needed.
Step 5: Buff Away the Excess
After the soak, a thin film of oil will remain on the surface — that’s the excess the wood couldn’t absorb. Wipe the entire board down with a second clean, dry cloth until it no longer feels wet or greasy. The goal is a soft, satin sheen, not an oily surface.
Step 6: Add Wax for a Water-Resistant Top Coat (Recommended)
If you have a board cream or conditioner, this is the time to use it. Scoop a small amount out with your fingers or a clean cloth and apply it in a circular motion across all surfaces, just like the oil. A little goes a long way. Let it sit and haze over for 15 to 20 minutes, then buff it off vigorously with a fresh cloth — the surface will go from slightly tacky to smooth and slick. This waxy layer is what makes water bead up on the surface afterward.
How to Maintain Your Sealed Chopping Board
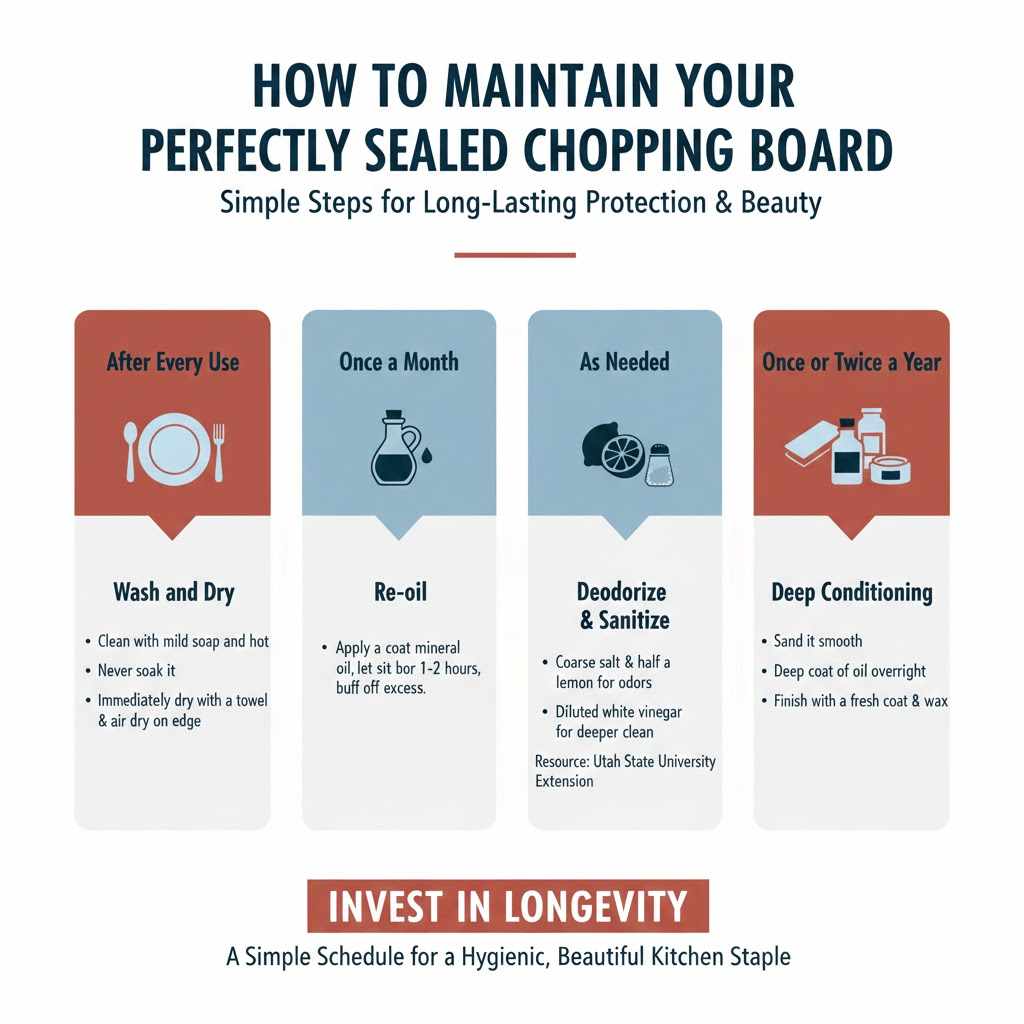
Once sealed, maintenance is far easier than the initial job. Here’s a simple schedule to follow.
| Frequency | Task | Instructions |
|---|---|---|
| After Every Use | Wash and Dry | Clean with mild soap and hot water. Never soak it. Dry immediately with a towel and let it air dry standing on its edge. |
| Once a Month | Re-oil | A quick oiling — apply a coat of mineral oil, let it sit for an hour or two, then buff off the excess. It usually doesn’t need to soak overnight. |
| As Needed | Deodorize & Sanitize | To remove strong odors like garlic, sprinkle the board with coarse salt and scrub with half a lemon. A diluted white vinegar solution can help sanitize the surface, and Utah State University Extension’s cutting board sanitation guidance covers this in more detail. |
| Once or Twice a Year | Deep Conditioning | Sand it smooth, apply a deep coat of oil overnight, and finish with a fresh coat of wax. |
Frequently Asked Questions (FAQ)
How do I know when my chopping board needs to be re-oiled?
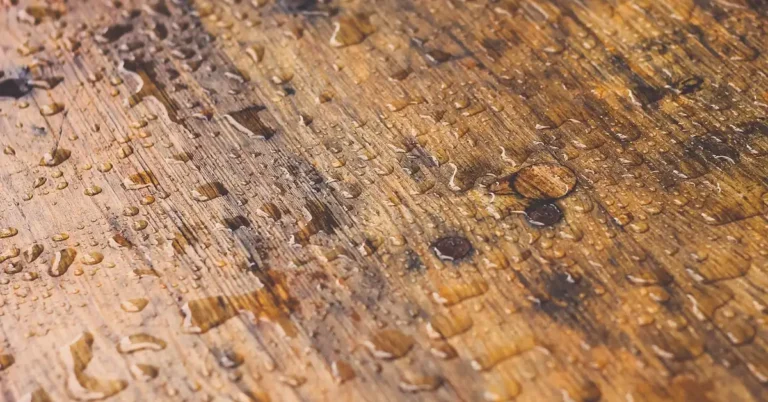
Use the water test: sprinkle a few drops of water on the board. If it beads up, the seal is still strong. If it spreads out and soaks in, leaving a dark spot, the board is thirsty and ready for a fresh coat of oil. A dull, pale, or dry-looking surface is another sign.
Can I really use coconut oil to seal my board?
Only fractionated coconut oil, not regular coconut oil. Regular coconut oil is solid at room temperature and can go rancid like other cooking oils. Fractionated coconut oil has had the long-chain fatty acids removed, which keeps it liquid and prevents spoiling — a good, if pricier, alternative to mineral oil.
What’s the difference between mineral oil and board cream?
Mineral oil is a pure oil that soaks deep into the wood to hydrate it from within. Board cream combines mineral oil with a wax like beeswax or carnauba, so the oil hydrates while the wax creates a moisture-resistant surface barrier. You can use mineral oil alone, but layering a cream on top gives better long-term results.
How do I get strong smells like onion or garlic out of my board?
Sprinkle the board with coarse salt, then scrub it in with the cut side of half a lemon. The salt works as a mild abrasive and the acidic juice neutralizes odors. Let it sit a few minutes, then rinse clean and dry thoroughly.
Can I put my wooden chopping board in the dishwasher?
No. The heat and prolonged water exposure will warp, swell, and crack the wood, and can split glued seams on butcher-block-style boards. Always wash wooden boards by hand.
Is food-grade mineral oil really safe?
Yes. Food-grade mineral oil is highly refined and purified, passes through the body without being digested, and is colorless, odorless, and tasteless, so it doesn’t affect food in any way.
My new board feels a bit rough after the first wash. Did I do something wrong?
No — that’s normal “raised grain.” Wood fibers swell and stand up when they get wet, making the surface feel fuzzy. The optional sanding step addresses this, and after a few wash-and-oil cycles the grain stops raising as much.
Bringing It All Together
Sealing a wooden chopping board is a simple, low-cost habit that prevents cracking, keeps the surface more hygienic, and keeps the wood looking good for years. A few minutes of oiling once a month is enough to maintain it once the initial seal is in place.
Sponsored / affiliate links. As an Amazon Associate I earn from qualifying purchases. I may earn additional commission from eligible campaigns.