How to Stop MDF Stairs Creaking: Fixes From Above or Below
MDF stairs creak because a tread is rubbing against a riser or stringer that has worked loose, so the lasting fix is glue plus screws at that joint, not lubricant. Sprays and powders only hide the sound for a few weeks, and some leave a slick residue where feet land. This guide covers how to find the noisy joint, the fixes from above and from below, and the MDF-specific mistakes that strip screws.
What You Need to Stop MDF Stairs Creaking
Best Stair Tread Screw Pick | |
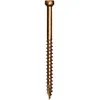 |
GRK #8 x 2-Inch Trim Head Screws (100 Count) A self-tapping trim head screw with a small head that sinks below the tread surface and a W-cut thread designed to reduce splitting.
|
As an Amazon Associate we earn from qualifying purchases. | |
Most repairs need only a handful of items. Gather them before you start so you are not hunting for a bit halfway through a tread.
- Trim head screws, #8 x 2 inch, plus a T10 driver bit
- Drill with a small bit for pilot holes and a countersink bit
- PVA wood glue, the same kind covered in our guide to glue for MDF
- Scrap wood for glue blocks and wedges (3/4 inch stock is plenty)
- Flashlight and a helper to find the noisy spot
Why MDF Stairs Creak
A creak is friction. When you step on a tread, it flexes slightly and slides against whatever it touches. Three joints cause almost every stair squeak: the back edge of the tread where it meets the riser, the tread ends where they meet the stringer, and the front edge of the tread over the top of the riser below.
MDF adds two problems of its own. It holds a screw much better in its flat face than in its edge, so screws or nails driven into the edge of an MDF riser work loose and the hole slowly widens. It also swells if it takes on moisture, which is why a stair that was quiet in winter can start talking in a humid summer. Because the fibers crumble instead of splitting along a grain line, a screw driven without a pilot hole can blow out the edge of the board.
How to Find the Creaky Spot
Have a helper walk slowly up and down while you listen from the bottom, or from underneath if you can get to the back of the staircase. Mark each noisy tread with painter’s tape. Then press the tread with your hand near each end and near the back edge and watch for movement. A visible gap that opens and closes under your hand is the joint to fix.
Use this table to match what you notice to the repair that actually works.
| What you notice | Likely cause | Best fix | Access |
|---|---|---|---|
| Squeak at the back of the tread | Tread rubbing on the riser | Glue blocks, or screws through tread into riser | Below or above |
| Creak at one end of the tread | Gap between tread and stringer | Glued wedge, or an angled screw into the stringer | Above or below |
| Crack when you step on the front edge | Nosing loose over the riser below | Glue and screw the front of the tread down into the riser | Above |
| Tread visibly sags or flexes | Cracked or crushed MDF | Replace the tread; do not just silence it | Above |
| Noise returns every summer | Moisture swelling and shrinking | Glue plus screws, then prime exposed edges | Above or below |
Fix Creaky MDF Stairs From Above
Working from above is the way to go when the underside is closed in or finished with drywall. It is also the most visible repair, so take your time.
- Clean the joint: vacuum dust from the gap between tread and riser.
- Glue it: work a thin line of wood glue into the gap with a putty knife or an old credit card.
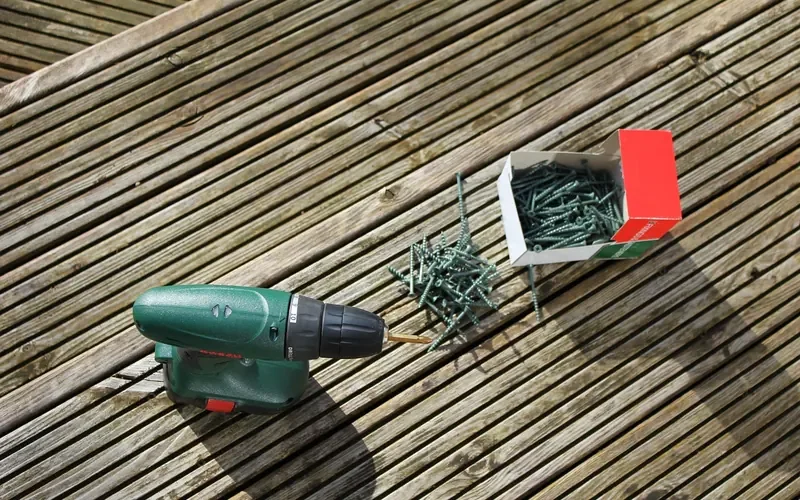
- Drill clearance and pilot holes: drill a hole through the tread slightly wider than the screw shank, then a narrower pilot hole into the riser. Space them about 6 to 8 inches apart along the back edge, angled slightly so the screw pulls the tread back and down.
- Countersink: cut the countersink just deep enough for the head to sit below the surface.
- Drive the screws: stop the moment the tread pulls tight. Overdriving crushes the MDF around the hole and the screw spins free.
- Fill and finish: fill the holes with wood filler, sand flush and touch up the paint.
If the tread is carpeted, you can drive the screw straight through the carpet and sink the head into the pile, or use a snap-off squeak repair screw made for carpeted floors. Either way the goal is the same: pull the tread against the riser and hold it there.
Fix Creaky MDF Stairs From Below
If you can see the underside of the treads, this is the strongest repair and it leaves no marks on the stairs. Glue blocks do the job that the original nails were meant to do.
- Cut blocks: saw 3/4 inch square scrap into pieces about 3 to 4 inches long.
- Glue: spread wood glue on two adjacent faces of each block.
- Press into the corner: seat the block tight in the angle between the riser and the underside of the tread, directly under the noisy spot.
- Screw it: drive one screw into the riser and one into the tread underside, short enough that it cannot poke through the tread surface.
- Wait: give the glue a full 24 hours to cure before regular use.
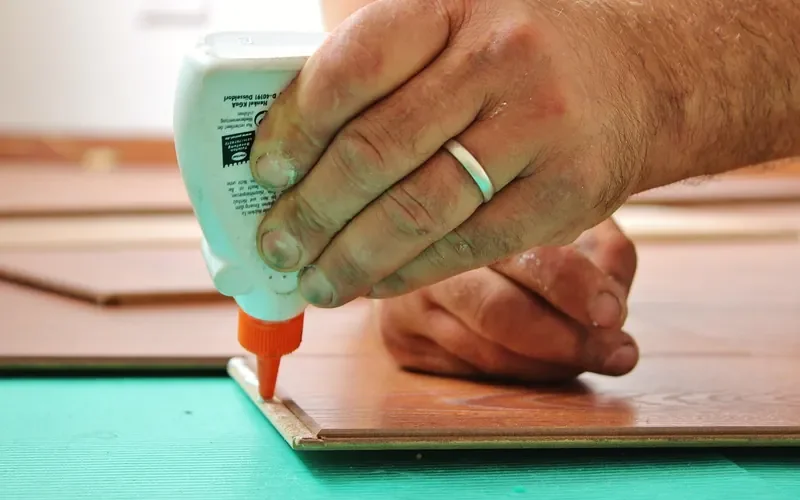
For a gap where the tread meets the stringer, tap in a wood wedge coated with glue, let it dry, and trim it flush with a flush-cut saw. Skip the nail gun on MDF for this job. Nails pull out of MDF edges easily, which is exactly how the creak started.
What Not to Do
Talcum powder and powdered graphite in the joint can quiet a squeak for a while, and they are harmless when they stay in the gap. Silicone spray and oily sprays such as WD-40 are a different story. They leave a slick film on the surfaces your feet touch and can stain paint or carpet, so keep them off stair treads entirely. Expanding foam is another popular suggestion, but it does not hold a tread still and can push MDF parts apart as it cures.
Replace instead of repairing if a tread is cracked, crumbling at the edges or bouncing under normal weight. MDF is not a structural stair material on its own, which is covered in our article on whether MDF can be used for stairs. A creak is annoying; a tread that gives way is a fall hazard.
Keep the Creak From Coming Back
Prime any bare MDF edges you exposed, since moisture swelling is the main reason repairs fail. Check the stairs every few months during seasonal humidity changes, and re-tighten any screw that has backed out. If the stairs keep working loose across the whole flight, the treads were probably held with nails and adhesive only, and it is worth adding glue blocks under every tread instead of chasing one squeak at a time.
Frequently Asked Questions
Can you fix creaky stairs from underneath?
Yes. If you can reach the underside, glue and screw small wood blocks into the corner where the tread meets the riser. This is the strongest fix and leaves no visible holes on top of the stairs.
Can you use WD-40 on squeaky stairs?
It is not a good idea. WD-40 and silicone sprays leave a slippery film on stair surfaces and do not stop the movement that causes the noise. Use glue and screws at the loose joint instead.
Why do MDF stairs start creaking?
The treads work loose from the risers or stringers, and MDF makes it worse because it holds nails and screws poorly in its edges and swells when humidity rises. The moving parts rub together and squeak.
How do you tighten a loose MDF stair tread?
Drill clearance and pilot holes, add wood glue to the joint, and drive countersunk trim screws through the tread into the riser. Stop as soon as the tread pulls tight so the MDF does not crush.
Is it worth replacing a creaky MDF stair tread?
Replace it if it is cracked, sagging or crumbling at the edges. If the tread is solid and only the joint is loose, glue and screws are enough.
Sponsored / affiliate links. As an Amazon Associate I earn from qualifying purchases. I may earn additional commission from eligible campaigns.