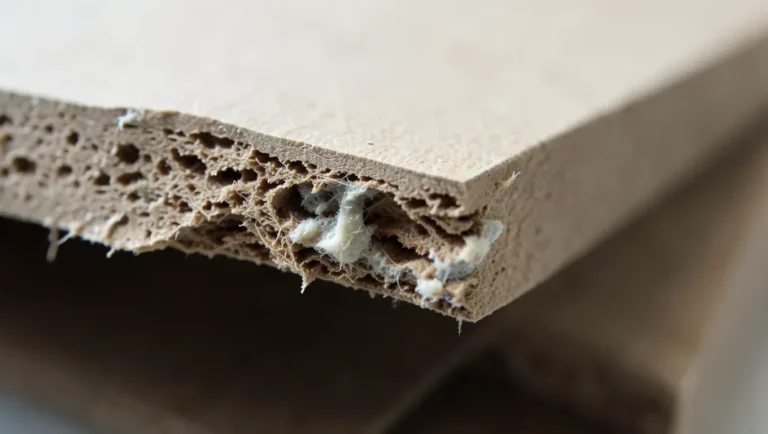
How to Install MDF Wall Panels
MDF wall panels are an affordable way to add texture, color, or a finished look to a room — and installing them is a realistic DIY project if you measure carefully, use the right adhesive and fasteners, and take a little extra care at corners and seams.
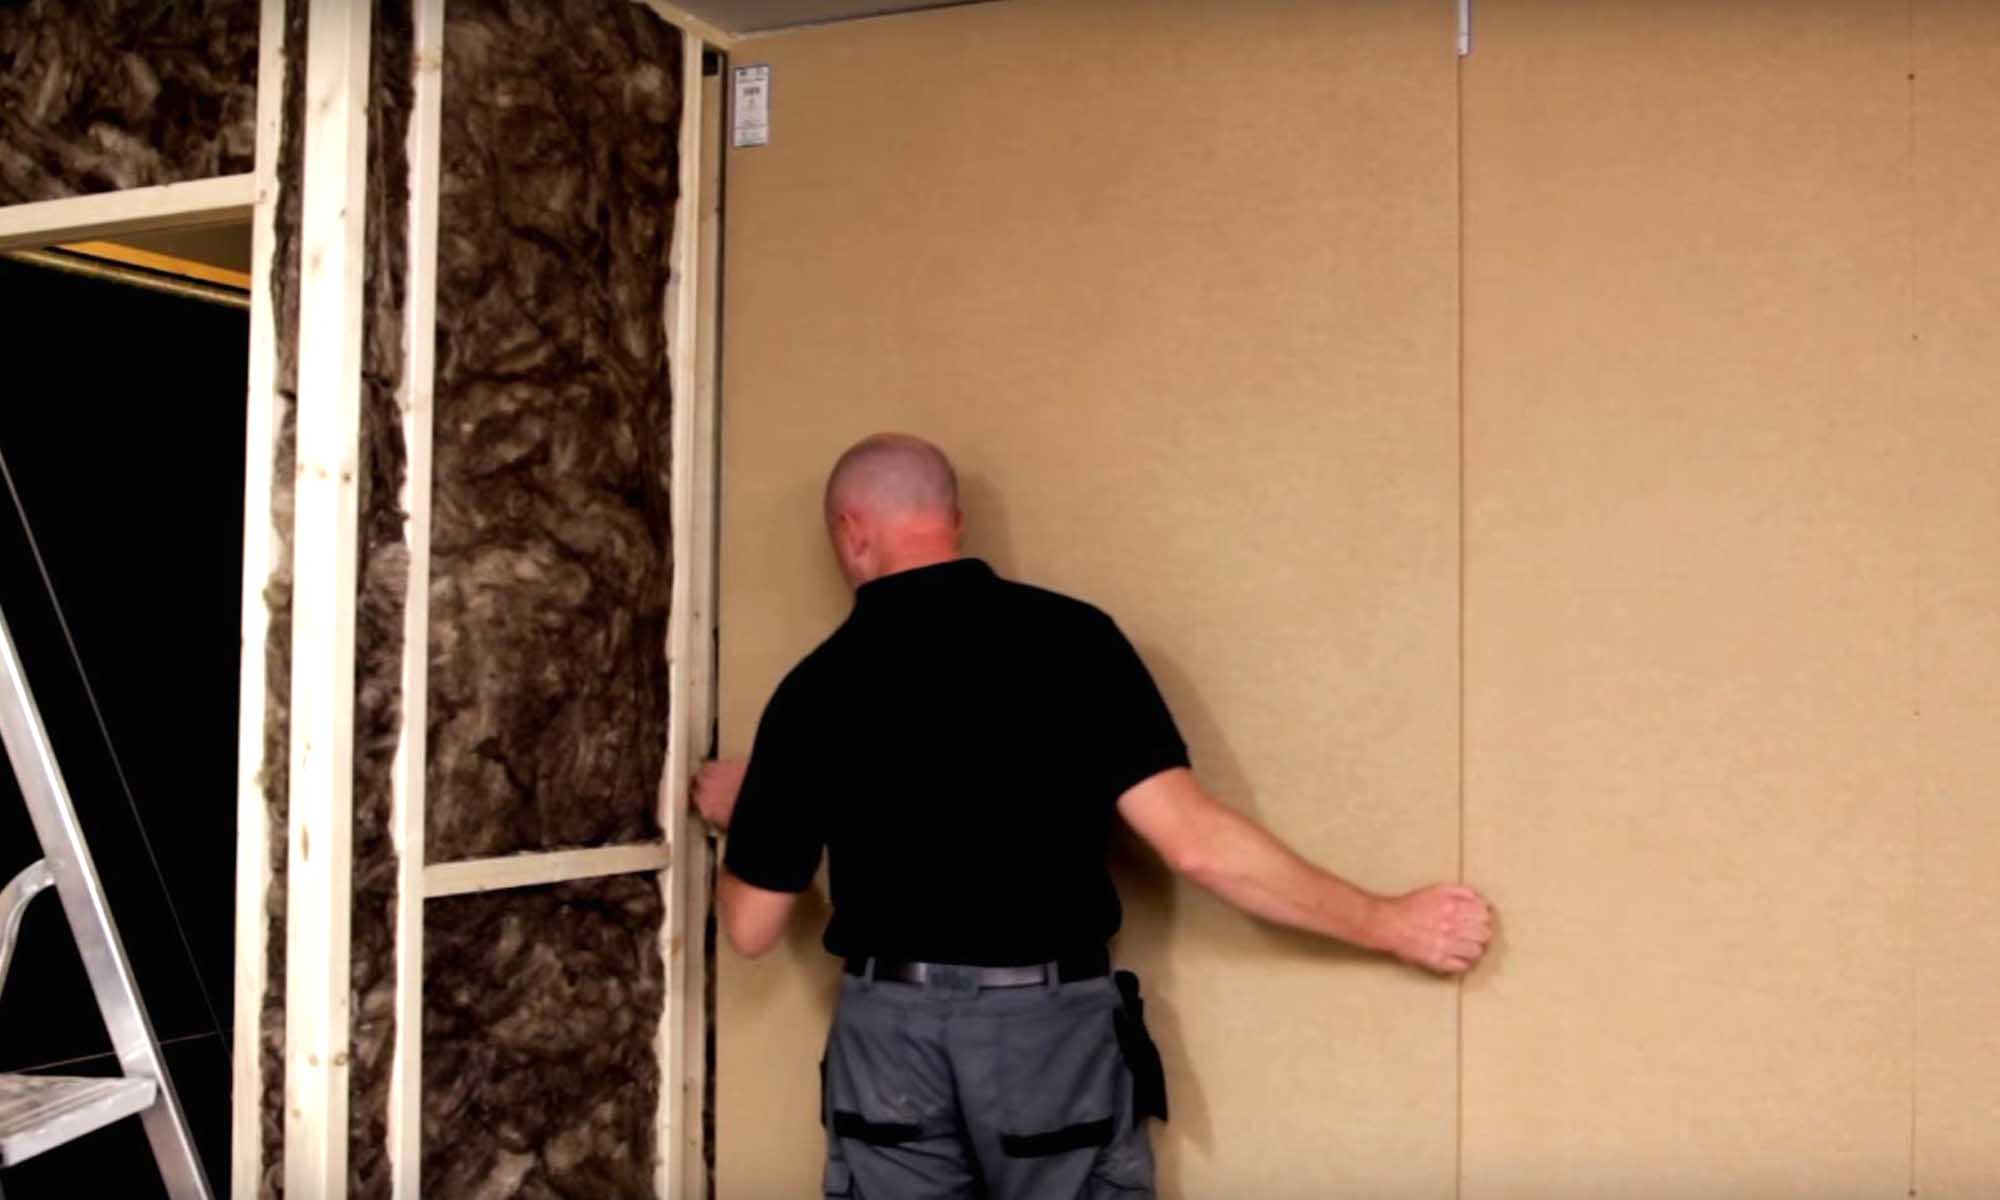
Benefits Of MDF Walls
Best For Mounting Panels Without A Caulking Gun
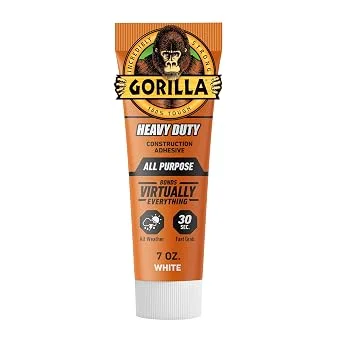 |
Gorilla Heavy Duty Construction Adhesive, 7 oz – $9.47 A squeeze tube instead of a caulking-gun cartridge — enough for a few panels without buying a full case, gap-filling and fast-grab for holding MDF in place while screws go in.
|
MDF wall panels cost less than solid wood and most engineered alternatives, and installation is simple enough for a confident DIYer, which saves on labor too. The material is easy to cut, shape, and paint — you can mimic real wood grain, create clean geometric patterns, or go for a smooth painted look, all with the same base material. Once sealed and painted, MDF resists cracking and everyday wear well in stable indoor conditions, though it isn’t warp-proof the way some marketing implies (more on that below).
Choosing The Right MDF Panels
MDF comes in a few functional variants: standard MDF for typical indoor rooms, moisture-resistant (MR) MDF for bathrooms or humid spaces (it resists moisture better, but still isn’t waterproof), and fire-retardant MDF for commercial or code-required applications. Thickness affects both strength and how easy a panel is to handle — thin panels around 6mm are easy to cut and light to hang, while thicker MDF up to 25mm is far more rigid but heavier to work with. Finish options range from smooth (easiest to paint), to textured (adds visual interest without extra work), to pre-veneered (real wood look with MDF’s stability and cost).
Preparing Your Space
Measure the wall’s height and width carefully, and double-check before ordering material — a measuring mistake on MDF sheet goods is an expensive one to fix. Clean the wall with a damp cloth and let it dry fully, then prime it if you’re gluing panels directly to drywall or plaster — primer gives the adhesive a more consistent surface to grip.
| Tools | Materials |
|---|---|
| Measuring tape, pencil | MDF panels (correct thickness/grade) |
| Circular saw or track saw, fine-tooth blade | Construction adhesive |
| Caulking gun (for full cartridges) | Screws or panel nails |
| Level, stud finder | Primer and paint or stain |
| N95 dust mask | Wood filler for seams/screw holes |
Installation Process
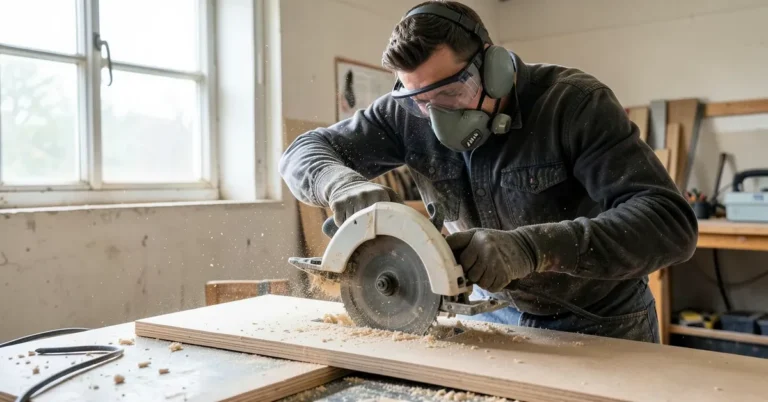
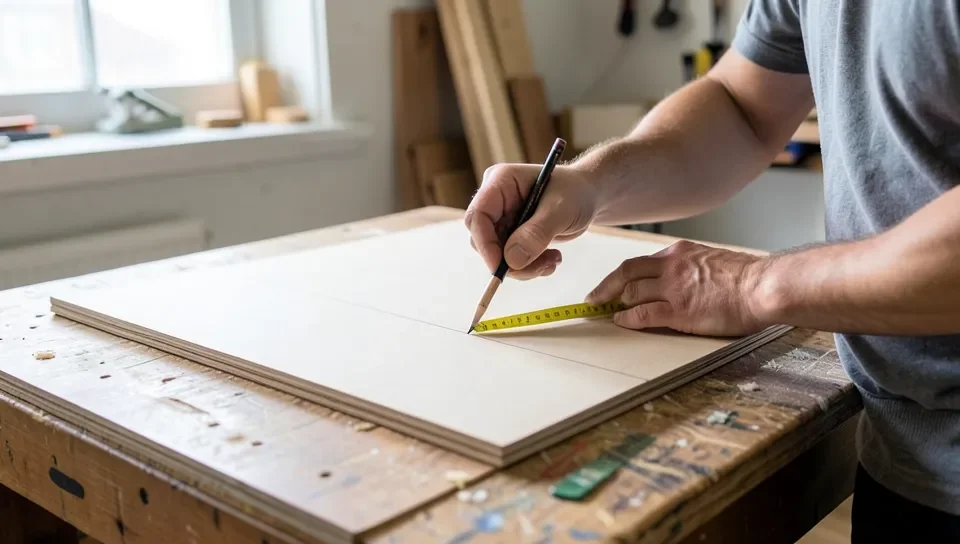
Cut panels with a sharp, fine-tooth blade — a dull blade chips MDF’s edges badly, since it’s a dense, glue-bonded fiber material rather than solid wood. Wear a dust mask; MDF dust is very fine and can carry trace formaldehyde, so cutting with good ventilation matters. Mark and measure each piece before cutting, and dry-fit before committing to adhesive.
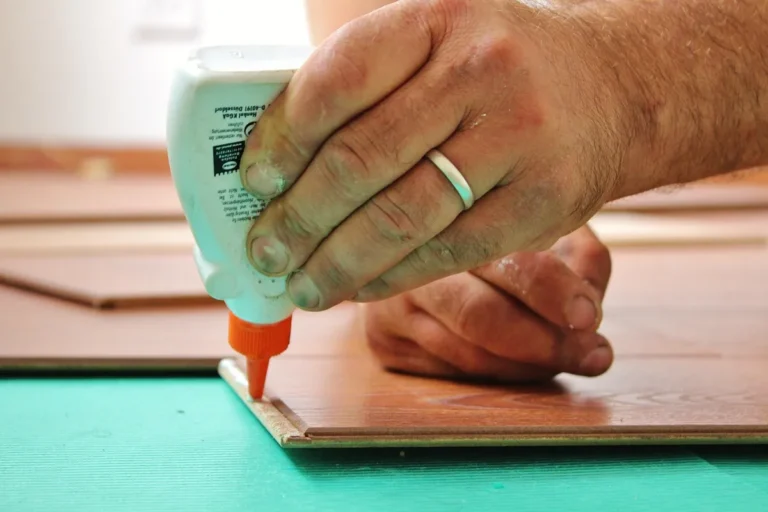
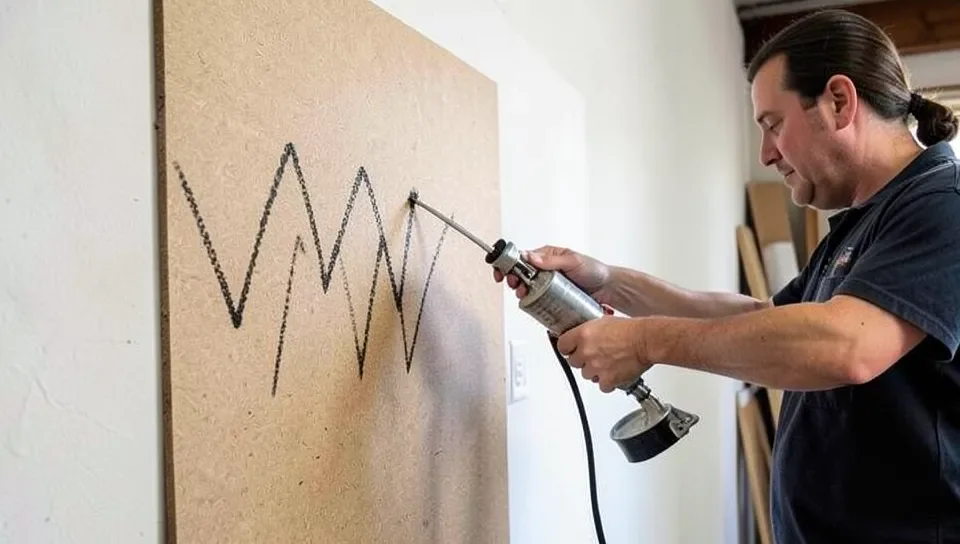
Apply construction adhesive to the panel back in a zigzag pattern (rather than one continuous bead) for even coverage, then press the panel firmly against the wall. Locate studs with a stud finder and add screws through the panel into studs for real holding strength — adhesive alone is fine for lightweight decorative panels, but screws matter for anything load-bearing or at door/window edges people will bump into. Use a level to keep panels straight as you go, and check alignment before the adhesive sets.
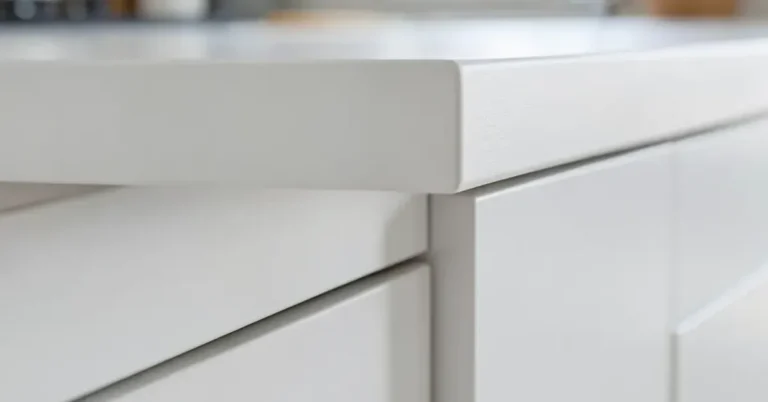
At corners, cut edges precisely and sand them smooth before fitting — MDF’s cut edges are more porous than its factory faces and absorb paint unevenly if left raw. Fill any gaps with wood filler, sand flush once dry, and prime the filled areas before painting so they don’t flash through the finish.
Finishing And Maintenance
Prime before painting — raw MDF, especially cut edges, soaks up paint unevenly without it. Use a brush or roller and let each coat dry fully; two thin coats beat one thick one for an even finish. Moldings or trim around panel edges give a more finished, built-in look and hide any minor seam gaps — measure and cut to fit, then attach with glue or finish nails and paint to match.
Ongoing care is simple: dust with a soft cloth, wipe up spills immediately, and avoid wet cloths or standing moisture — water is MDF’s real weakness, and it doesn’t dry out and recover the way solid wood can. Keep the room’s humidity reasonably stable, and repair any chips or cracks with wood filler and touch-up paint before they get worse.
Creative Design Ideas
An accent wall is the easiest way to use MDF panels for real visual impact — a bold color or pattern on one wall, left simple everywhere else. MDF also cuts cleanly into geometric shapes for 3D wall texture (squares, chevrons, wave patterns), and it takes LED strip lighting well if you want to highlight the texture or add ambient color at night.
Frequently Asked Questions
Can You Apply MDF Directly On A Wall?
Yes — construction adhesive, screws, or both (adhesive plus screws into studs for real strength) work for mounting MDF directly to a clean, dry wall. It can then be painted or finished to match your decor.
How Do You Put MDF On A Wall?
Measure and cut panels to fit, apply construction adhesive in a zigzag pattern on the back, press firmly against the wall, and secure with screws into studs for stability. Fill and sand seams, then prime and paint or seal to finish.
What Glue Should You Use To Stick MDF To A Wall?
A construction adhesive like Gorilla Heavy Duty or Liquid Nails works well — apply evenly on the panel back, press firmly, and let it cure fully before relying on it alone. For anything load-bearing, back up the adhesive with screws into studs.
Is MDF Good For Walls?
Yes, for most indoor rooms — it’s smooth, affordable, easy to paint, and takes detailed cuts well. Its added soundproofing and insulation value is modest, not a real substitute for actual insulation or acoustic panels. It’s not a good fit for consistently damp spaces (bathrooms, basements with moisture issues) unless you use moisture-resistant MDF specifically.
Conclusion
MDF wall panels are a genuinely doable weekend project: measure carefully, use the right adhesive and screws into studs, take care at cut edges and corners, and prime before painting. Done right, it’s an affordable way to add real texture and character to a room — just keep it away from consistent moisture and it’ll hold up for years.
Sponsored / affiliate links. As an Amazon Associate I earn from qualifying purchases. I may earn additional commission from eligible campaigns.