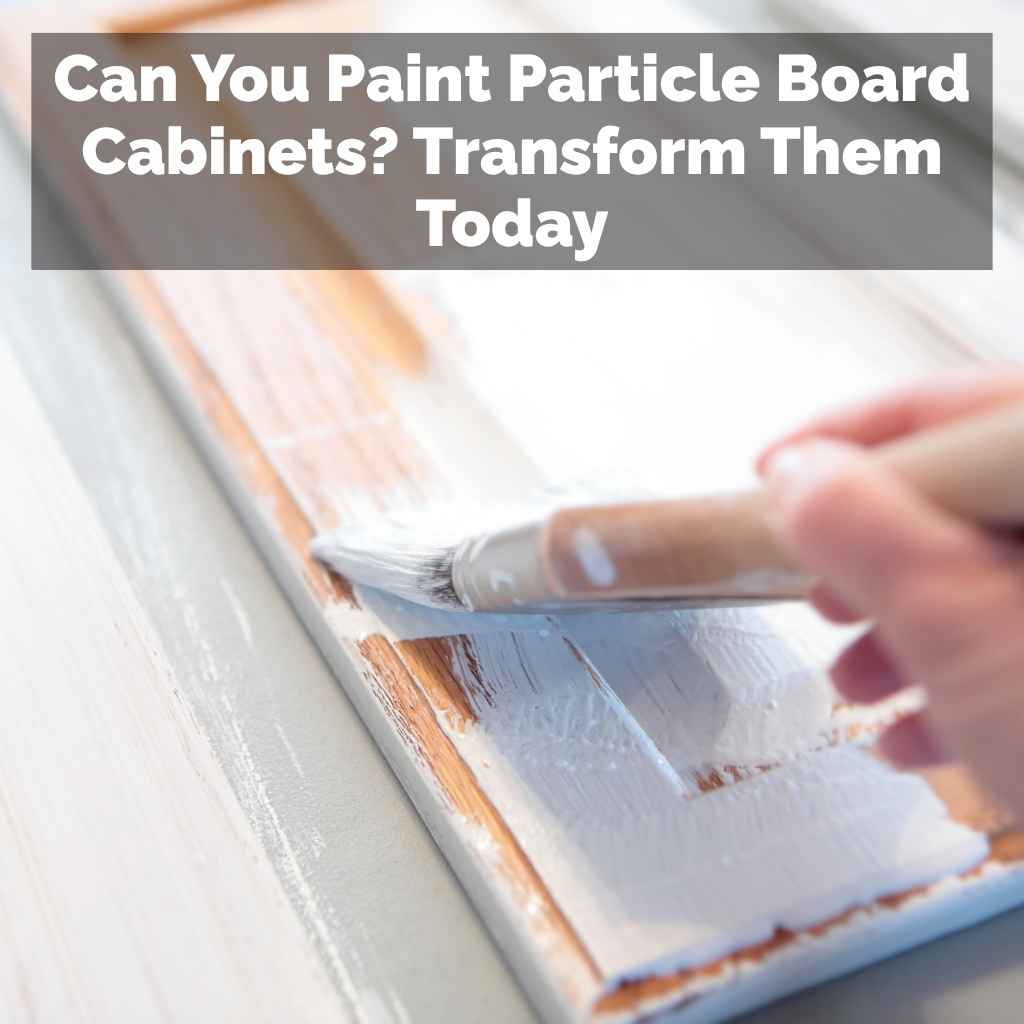
Can You Paint Particle Board Cabinets? Transform Them Today
You might be wondering if painting particle board is even possible. Or, if it is, how do you do it right? Will the paint peel?
Getting a replacement? Check how to measure hinges first for the right size.
Will it look lumpy? These are all valid concerns. Let’s dive into what you need to know.
Yes, you can paint particle board cabinets. The key is proper preparation and using the right materials. While it’s different from painting solid wood, a well-done job can give your cabinets a beautiful, smooth, and durable finish that lasts.
What Exactly Is Particle Board?
Before we talk about painting, let’s understand what particle board is. It’s a man-made wood product. Manufacturers create it by pressing together wood particles.
These are mixed with glue or resin. Then, they heat and press this mixture. This forms strong panels.
Particle board is often used in furniture and cabinets. It’s cheaper than solid wood. It’s also more uniform.
However, it has some differences. It doesn’t have the same grain as wood. It can also be more sensitive to moisture.
Why Painting Particle Board Can Be Tricky
Particle board has a different surface than solid wood. This can make painting a bit more challenging. The main issues usually come down to:
- Surface texture: Particle board can be very smooth or slightly rough. Some types have a very porous surface. This can soak up paint unevenly.
- Swelling: If particle board gets wet, it can swell up. Paint is water-based. If you use too much, it can cause problems. It can warp the board.
- Adhesion: Getting paint to stick well is crucial. Some particle board has a slick surface. This can make it hard for primer and paint to grip.
- Edge banding: Often, particle board edges are covered with a thin plastic or paper strip. This edge banding can be tricky to paint. It might peel if not prepped right.
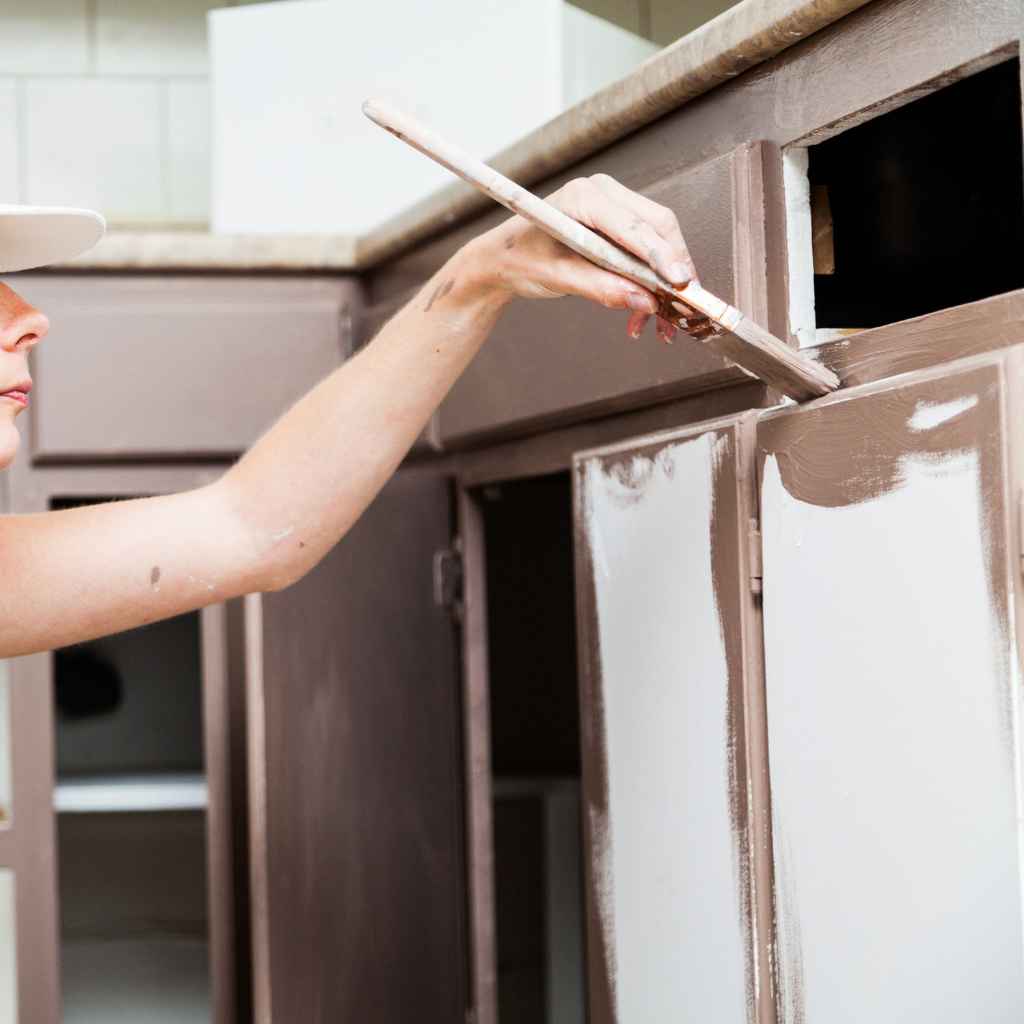
My First Time Painting Particle Board Cabinets
I remember staring at my old kitchen cabinets. They were a sickly beige. The style was very ’80s.
I wanted a change but didn’t have a big budget. My eyes landed on a set of cabinets made of particle board with a laminate finish. My heart sank a little.
I’d painted wood before, but particle board? I had heard it was a nightmare.
My friend, who is a pro painter, told me it was doable. But she stressed the prep work. “It’s like making a cake,” she said.
“You can’t skip the mixing.” I was skeptical. I envisioned peeling paint and a bumpy mess. Still, I decided to try.
The first cabinet door felt like a huge risk. I used a specific primer she recommended. I sanded very lightly.
Then, I applied a thin coat. I held my breath. It actually looked.
okay. That was the beginning of a big transformation.
Understanding Particle Board Types
Melamine-Coated: This is common for cabinets. It has a plastic-like, smooth finish. It’s resistant to moisture.
This is the trickiest surface to paint.
Raw Particle Board: Less common for finished cabinets. It’s more porous. It needs more sealing.
Wood Veneer Over Particle Board: This is a thin layer of real wood on top. It paints more like wood but still needs attention to the particle board below.
The Crucial Steps: Preparation is Everything
This is where most people might get discouraged. But trust me, taking your time here makes all the difference. You want a smooth, lasting finish.
So, let’s break it down.
1. Remove Hardware and Doors
First things first. You need to get the cabinet doors and drawer fronts off the cabinet boxes. This gives you full access.
You can then paint each piece flat. This leads to a much smoother finish. Don’t forget to label your doors!
Use masking tape and a marker. Label the back of each door and its corresponding cabinet frame. This saves so much guesswork later.
Also, remove all the hinges, handles, and knobs. Keep them in a safe place. A small plastic bag works well.
You might want to paint the hardware too, or replace it.
2. Clean, Clean, Clean!
This is non-negotiable. Particle board surfaces can hold grease and grime. Paint won’t stick to a dirty surface.
Use a good degreaser. TSP (trisodium phosphate) cleaner is a strong option. Or, a good quality kitchen degreaser works too.
Make sure to follow the product instructions carefully.
After degreasing, wipe everything down with a damp cloth. You need to remove any cleaner residue. Let the surfaces dry completely.
Any lingering moisture can cause problems.
3. Sanding for Grip
Sanding might seem counterintuitive on a smooth surface. But it’s key for paint adhesion. You don’t need to sand deeply.
You’re not trying to remove the old finish. You just want to scuff it up a bit. This gives the primer something to grab onto.
Use a fine-grit sandpaper. Something like 150 or 220 grit is usually perfect. You can use a sanding block or a pole sander for larger areas.
For curved edges or details, use a sanding sponge.
Work gently. You don’t want to go through the laminate or veneer. Just aim for a dull, matte finish.
After sanding, wipe away all the dust. A tack cloth is excellent for this. It picks up fine dust particles that regular cloths miss.
Sanding Tips for Particle Board
Use Fine Grit: 150-220 grit is usually enough. Avoid coarse sandpaper.
Light Pressure: You are not trying to remove material. Just create a slight texture.
Even Coverage: Sand the entire surface you plan to paint. Don’t miss spots.
Dust Removal: A tack cloth is your best friend here.
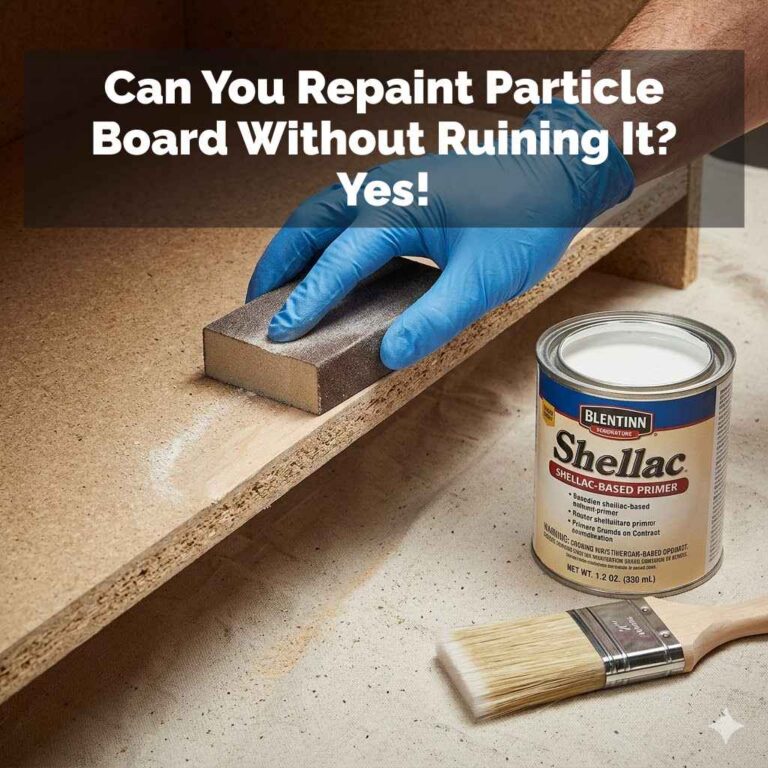
4. Prime Like Your Cabinets Depend On It
Primer is the hero when painting particle board. It seals the surface. It blocks stains.
Most importantly, it creates a bonding layer for your paint. For particle board, you need a good quality, oil-based or shellac-based primer.
Why oil-based or shellac? They are excellent at sealing porous surfaces. They also prevent moisture from affecting the particle board.
They offer superior adhesion to slick surfaces like laminate. Water-based primers might not grip as well. They could also raise the wood grain too much if the board is raw.
Apply the primer in thin, even coats. Let each coat dry completely. You might need two coats of primer.
This is especially true if your particle board is a dark color or has a very slick finish. Lightly sand with 220-grit sandpaper between primer coats. Wipe away dust again.
Pay extra attention to the edges. Sometimes, the particle board edges are exposed. These can soak up primer quickly.
Make sure they are fully covered and sealed.
Choosing the Right Paint
Once your primer is dry and smooth, it’s time for paint. You have options. For cabinets, you want a durable finish.
You also want it to be easy to clean.
1. Types of Paint
Alkyd or Oil-Based Paint: These offer a very hard, durable finish. They are resistant to chipping and wear. However, they can have strong fumes.
Cleanup requires mineral spirits. They also tend to yellow over time, especially in lower light areas.
Water-Based Enamels (Latex/Acrylic): Modern water-based enamel paints are fantastic. They are much lower in VOCs (volatile organic compounds). They dry faster.
Cleanup is easy with soap and water. High-quality acrylic enamels can be very durable and scrubbable. Look for paints specifically designed for cabinets or trim.
2. Paint Finish
For cabinets, a semi-gloss or satin finish is usually best. These finishes are:
- Durable: They hold up well to cleaning.
- Easy to Clean: You can wipe away spills and splatters easily.
- Slightly Reflective: They can make a space feel brighter.
A matte or eggshell finish can look nice. But they are harder to clean. They can show scuff marks more easily.
High gloss can highlight imperfections in the surface. So, satin or semi-gloss is often the sweet spot.
Painting Techniques for a Smooth Finish
How you apply the paint matters a lot. The goal is a smooth, even coat. No drips, no brush marks, no roller texture.
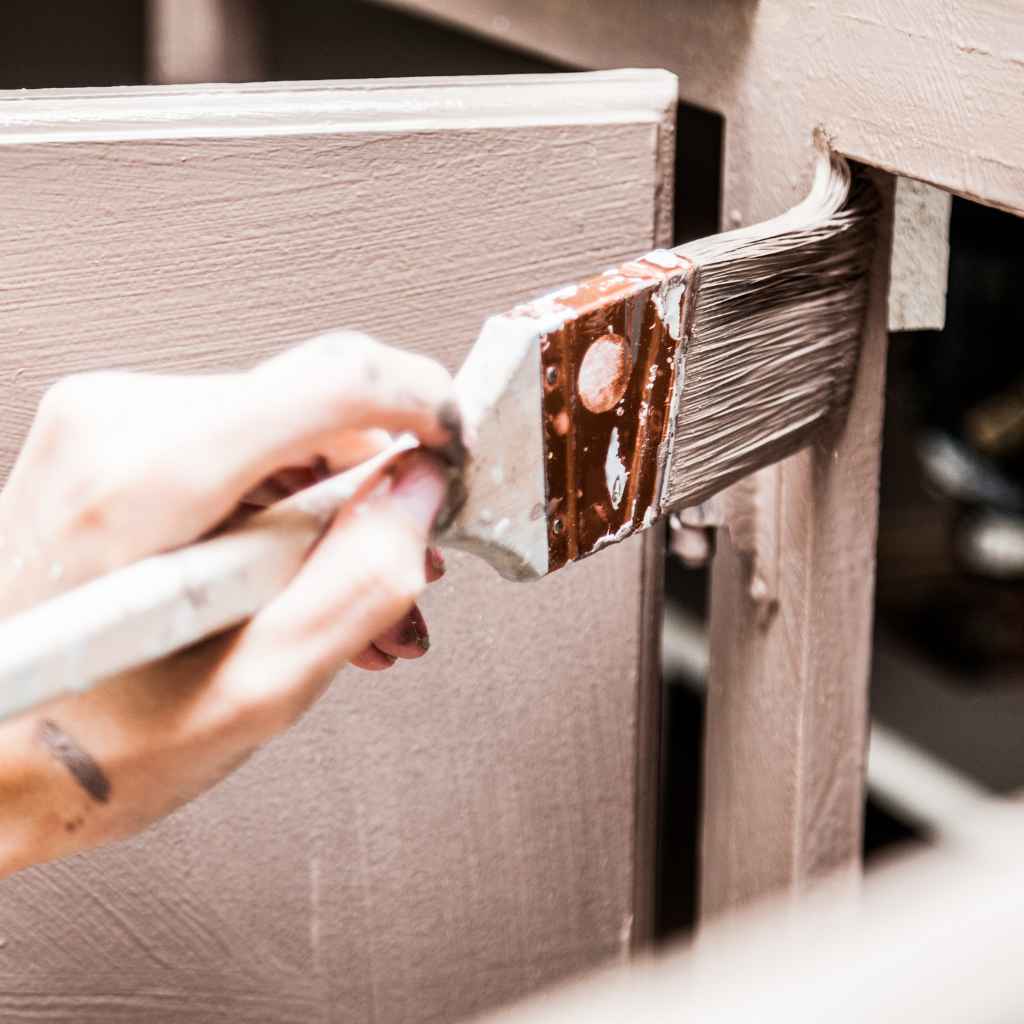
1. Brushing
Use a good quality synthetic bristle brush. For oil-based paints, natural bristles can work. For water-based paints, synthetic is best.
Apply paint in smooth, even strokes. Work in one direction. Don’t overwork the paint.
Apply thin coats.
For cabinet doors, it’s often best to paint the edges first. Then, paint the front surface. This way, you can feather the strokes at the edges.
This helps hide brush marks.
2. Rolling
If you are painting large, flat areas, a foam roller can give a smooth finish. Use a high-density foam roller designed for smooth surfaces. Again, thin coats are key.
Roll in a consistent direction. Overlap your strokes slightly. Avoid pressing too hard.
Some people prefer a combination. They use a brush for the edges and details. Then, they use a small foam roller for the flat surfaces.
This can give a very professional look.
3. Spraying
For the most professional, smoothest finish, consider spraying. This requires a sprayer. You also need a well-ventilated area.
You’ll need to mask off everything you don’t want painted. This includes walls, floors, and appliances. Proper ventilation is crucial for safety.
Spraying allows for very thin, even coats. It’s the best way to avoid brush marks or roller texture. If you can rent a sprayer or have access to one, it’s worth considering for a high-end result.
Paint Application Method Comparison
Brush Only: Best for detailed work. Can show brush strokes if not careful. Good for small projects.
Roller Only: Good for flat panels. Can leave a slight texture. Requires even pressure.
Brush & Roller: Common for cabinets. Brush for edges, roller for large areas. Good balance of effort and finish.
Spraying: Most professional finish. Requires equipment and masking. Best for even coats.
Applying the Paint: Step-by-Step
Let’s put it all together. Imagine you have your cabinet doors laid out. They are clean, sanded, and primed.
Step 1: First Coat of Paint
Start with your chosen paint. Apply a thin, even coat. If brushing, use long, smooth strokes.
Work from top to bottom or one edge to the other. If rolling, use a light touch and overlap your strokes. Let this coat dry completely.
Drying times will vary based on paint type and humidity.
Step 2: Light Sanding (Optional but Recommended)
Once dry, lightly sand the surface again. Use a very fine-grit sandpaper (220-320 grit). This is like a final polish.
It removes any tiny bumps or imperfections. It also helps the next coat adhere better.
Wipe away all dust with a tack cloth. This is critical.
Step 3: Second Coat of Paint
Apply your second coat. Again, keep it thin and even. This coat should start to give you good coverage.
Let it dry thoroughly.
Step 4: Third Coat (If Needed)
Most cabinet painting jobs benefit from at least two coats of paint. Sometimes, a third coat is needed for full coverage. Especially if you’re painting over a dark color with a lighter one.
Or if you’re seeing any thin spots.
Repeat the light sanding and dusting between coats.
Drying and Curing Times
This is where patience is tested. Paint is dry to the touch relatively quickly. But it takes much longer to fully cure.
Curing is when the paint reaches its maximum hardness and durability.
Dry Time: Usually a few hours. This is when you can handle the piece without smudging it.
Cure Time: Can take 7 to 30 days. During this time, the paint is still hardening. Be gentle with your newly painted cabinets.
Avoid banging them. Don’t place heavy or sharp objects on them. Don’t let them get excessively wet.
The finish will be much more robust once fully cured.
Quick Fixes for Common Painting Problems
Drips: If you catch a drip while wet, gently brush it out or wipe it away. If dry, you’ll need to let it cure, then lightly sand it smooth and repaint that area.
Brush Marks: Apply paint in thin coats. Use a high-quality brush. Feather your strokes.
Light sanding between coats helps.
Peeling Paint: This usually means poor adhesion. The surface wasn’t prepped well. The primer wasn’t suitable.
Or the paint is old. You may need to scrape, sand, prime, and repaint.
Uneven Color: Apply paint evenly. Ensure full coverage with each coat. Don’t thin paint too much with water unless the manufacturer advises.
Real-World Scenarios and Considerations
Let’s talk about where you’ll actually see these particle board cabinets and what affects them.
Kitchen Cabinets
Kitchens are high-traffic, high-moisture areas. Particle board cabinets here face grease, steam, and frequent cleaning. This is why proper sealing and a durable topcoat are vital.
If your particle board cabinets are in a humid kitchen, pay extra attention to moisture resistance.
The laminate or veneer on kitchen cabinets can sometimes start to peel at the edges. If this happens before painting, you might need to glue it back down or remove it carefully before prepping. Otherwise, the paint will just peel with it.
Bathroom Vanities
Bathrooms are also prone to moisture. However, the type of moisture differs. It’s often steam from showers or splashes from sinks.
Again, a good primer and a paint that can withstand humidity are key. A semi-gloss or satin finish is highly recommended here.
If the particle board under the sink area has gotten wet and swollen, painting over it won’t fix the damage. You might need to consider more extensive repairs or replacement.
Office or Bedroom Furniture
Cabinets in drier areas like offices or bedrooms might be a bit more forgiving. They don’t face the same moisture challenges. However, surface wear from daily use is still a factor.
Good adhesion is still important for a lasting finish.
Sometimes, particle board furniture has a paper or foil wrap. This needs to be handled very carefully during sanding. It can tear easily.
A good quality primer is essential to cover any imperfections in this wrap.
What This Means for Your Cabinet Makeover
Painting particle board cabinets is a project that requires attention to detail. It’s not as simple as just slapping on a coat of paint.
When It’s Normal to Paint
It’s completely normal to paint particle board cabinets when they are in good structural condition. If they are solid, not warped, and the laminate or veneer is mostly intact, you’re good to go. This is a fantastic way to update your kitchen or bathroom without a huge expense.
When to Worry and Reconsider
You should worry if the particle board is:
- Swollen or Warped: This means it has absorbed too much moisture. Painting over it won’t fix this. The damage will likely worsen.
- Deteriorating: If the board is crumbling or breaking apart, it’s too far gone.
- Extremely Damaged Veneer/Laminate: If large pieces are missing or peeling off, you’ll have trouble getting a smooth paint job.
In these cases, it might be better to look at replacing the doors or even the entire cabinet unit. Painting isn’t always the best solution if the underlying material is compromised.
Simple Checks You Can Do
Before you start, do a quick check:
- Touch Test: Feel the surfaces. Are they smooth? Are there any bumps or delamination (layers separating)?
- Moisture Check: Pay attention to areas near sinks or ovens. Are there any signs of water damage? Does the board feel soft?
- Edge Inspection: Look closely at the edges. Is the edge banding peeling? Is the particle board itself exposed and looking rough?
If everything feels solid and reasonably intact, you are likely ready to paint.
Quick Tips for Painting Particle Board Cabinets
Here are some fast takeaways to keep in mind:
- Always Prep: Clean, sand lightly, and dust thoroughly.
- Use the Right Primer: Oil-based or shellac-based is usually best.
- Thin Coats are Key: Multiple thin coats are better than one thick coat.
- Be Patient: Allow adequate drying and curing time.
- Quality Matters: Use good quality primer, paint, and brushes/rollers.
These simple guidelines will put you on the right track for a successful cabinet painting project.
Frequently Asked Questions
Can I paint over a glossy laminate finish on particle board cabinets?
Yes, but proper prep is crucial. You’ll need to degrease the surface thoroughly. Then, lightly sand it with fine-grit sandpaper to create a dull surface for the primer to adhere to.
Use a good quality bonding primer, preferably oil-based or shellac-based, and apply thin coats of paint.
What is the best primer for particle board cabinets?
For most particle board cabinets, especially those with a laminate finish, an oil-based or shellac-based primer is highly recommended. These primers offer superior adhesion and sealing properties. They help prevent moisture from affecting the particle board and block any potential stains from bleeding through.
How many coats of paint do I need for particle board cabinets?
Typically, two to three thin coats of paint are recommended. The first coat provides coverage, the second enhances durability and smooths out the finish, and a third may be needed for perfect, even color, especially when changing from a dark to a light shade. Always allow proper drying time between coats.
Will paint peel off particle board cabinets if they get wet?
Paint can peel if the particle board gets excessively wet and the moisture penetrates the paint layers, causing the board to swell or the primer/paint to lose adhesion. Proper sealing with a good primer and using a durable topcoat, like a semi-gloss or satin enamel, helps resist moisture. However, severe water damage can still compromise the finish.
Can I use chalk paint on particle board cabinets?
While chalk paint can adhere to many surfaces with minimal prep, it’s generally not the most durable choice for cabinets, especially in high-use areas like kitchens. Particle board, being a less stable material, might benefit more from a primer and a tougher enamel paint for long-term durability and easier cleaning. If you do use chalk paint, a very strong topcoat of polycrylic is essential.
What if the particle board is slightly damaged? Can I still paint it?
If the damage is minor, like small chips or peeling edge banding, you can often repair it before painting. Fill small dents with wood filler or putty, sand smooth when dry, and ensure the repaired areas are well-primed. If the particle board is warped, swollen, or crumbling, painting it is not advisable, as it won’t fix the underlying structural issue.
Conclusion
Giving your particle board cabinets a fresh coat of paint is absolutely achievable. It takes careful planning and execution. Focus on thorough preparation.
Use the right primer and paint. Apply thin, even coats. Patience during drying and curing is your best friend.
With these steps, you can transform tired cabinets into a beautiful feature in your home.