How to Thickness Wood With a Hand Plane (No Power Planer)
To thickness wood with a hand plane, scribe a reference line around the board with a marking gauge set to your target thickness, then plane down to that line while checking the surface with winding sticks and a straightedge. It’s slow, physical work best suited to one board or a small project rather than dimensioning a whole pile of lumber.
A power planer removes stock fast and leaves every board the same thickness with almost no effort. A hand plane does the same job with a scribed line, a sharp blade, and your own arm as the motor. It’s the technique furniture makers used for centuries before thickness planers existed, and it’s still the right call if you only need to true up one or two boards, you don’t own a planer, or you just want the control that comes from watching the shaving curl off the blade instead of feeding a board through a machine.
This guide walks through the actual reference-line method cabinetmakers use, not just “plane it until it looks even.” That includes two steps most beginner-level guides skip entirely: scribing a gauge line before you start, and checking for twist with winding sticks once you’re close.
What You’ll Need to Thickness a Board by Hand
You don’t need a full hand-tool chest for this. A handful of well-tuned tools will get you through:
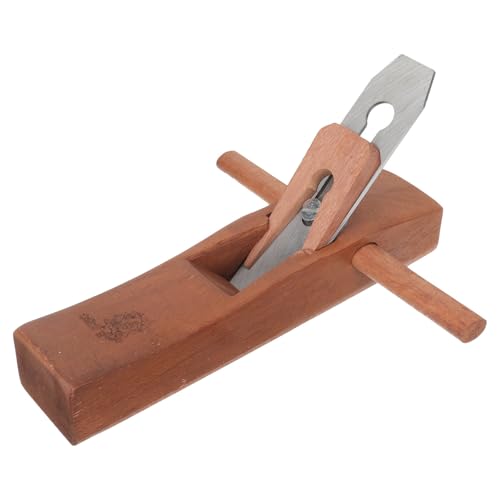
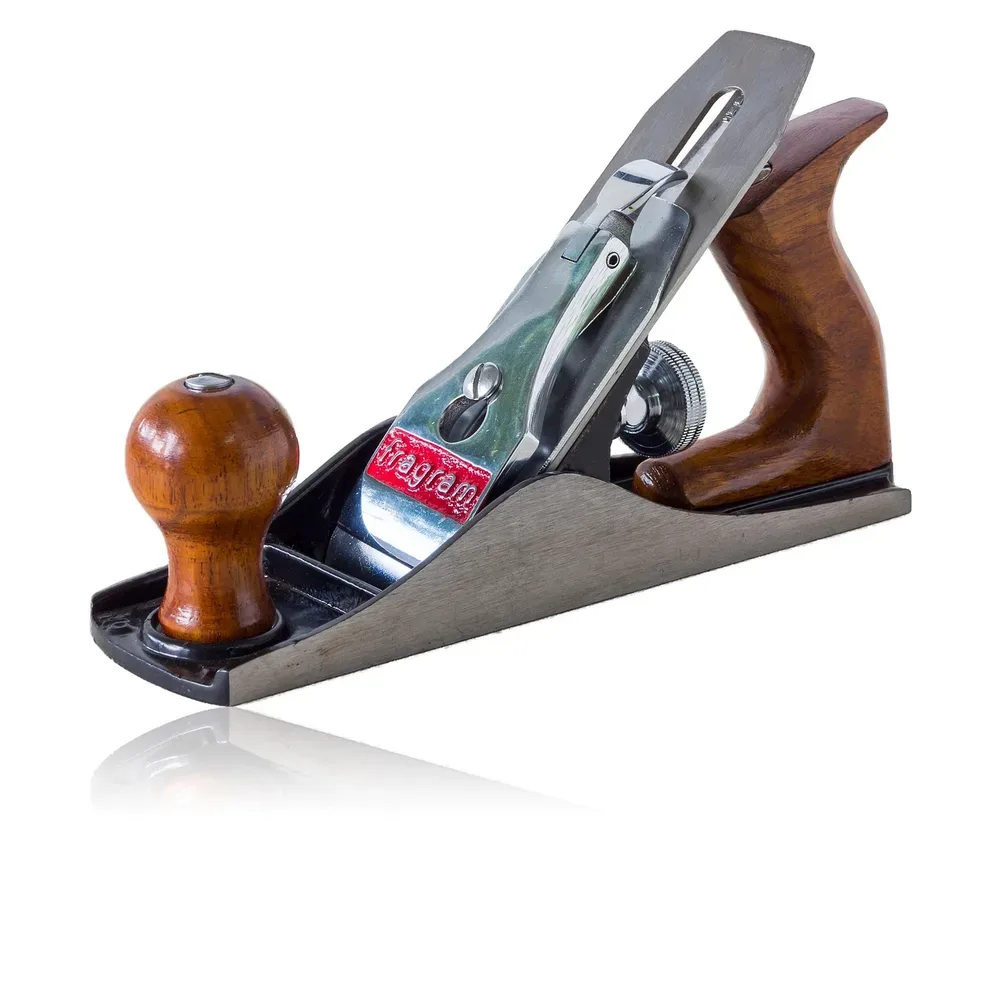
- A bench plane – a No. 4 or No. 5 smoothing/jack plane with a sharp, correctly set blade. A dull blade is the single biggest reason hand planing feels like a fight.
- A marking gauge – scribes a consistent line parallel to your reference face, so you know exactly how much to remove and stay on target.
- Winding sticks – two straight, matched sticks (or shop-made equivalents) laid across the board to sight for twist.
- A straightedge – checks for cupping and general flatness along the length and width.
- Bench dogs or clamps – to hold the board still while you plane; a board that shifts under you is both inefficient and unsafe.
Best Marking Gauge for a Consistent Reference Line
 |
Clarke Brothers Wheel Marking Gauge – $24.80 This is the exact type of tool the reference-line method below depends on – a brass wheel cutter scribes a clean, wandering-free line parallel to your reference face.
|
Scribe Your Reference Line With a Marking Gauge
Before you take a single pass with the plane, pick a reference face – the flattest, most reliable side of the board – and true it up first if it isn’t already flat. Everything else is measured from this face, so it has to be right.
Set your marking gauge to your target thickness and run it around all four edges of the board, keeping the gauge’s fence riding against the reference face the whole time. This scribes a fine line that shows exactly how much material has to come off, and because it’s referenced off the same face on every edge, it stays parallel even if the board isn’t perfectly square to start. This one step is what separates a controlled result from “plane until it looks about right” – you’re planing to a line, not planing on faith.
Plane Down to the Line
Clamp the board securely so it can’t shift, and work with the grain – planing against it tears the fibers instead of shaving them cleanly. Take light, even passes across the full length of the board rather than trying to remove everything in one heavy cut. A well-tuned plane should leave thin, curling shavings, not chips or dust; if you’re getting dust, the blade needs sharpening.
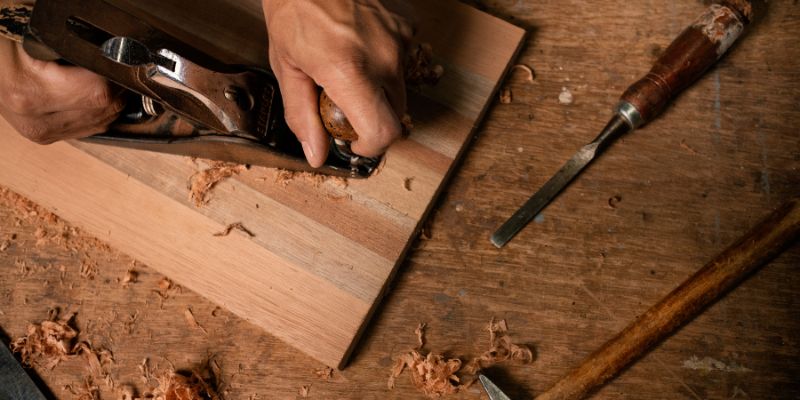
Work your way around the board’s perimeter and toward the center, checking your progress against the scribed line often. As you get close, the line should be disappearing evenly across the whole surface – if it’s gone in the middle but still visible at the edges, you’ve got a high spot to chase down before you’re actually at thickness.
Check for Twist With Winding Sticks
Twist is the one defect a straightedge alone won’t reliably show you, because a board can look flat along its length and width and still be twisted corner to corner. Winding sticks solve this: lay two straight, parallel sticks of equal height across the board, one near each end, then crouch down and sight across the top edges of both sticks toward a light source. If the board is flat, the two sticks will appear perfectly parallel. If it’s twisted, the far stick will visibly lean relative to the near one – that’s your high corners telling you exactly where more material needs to come off.
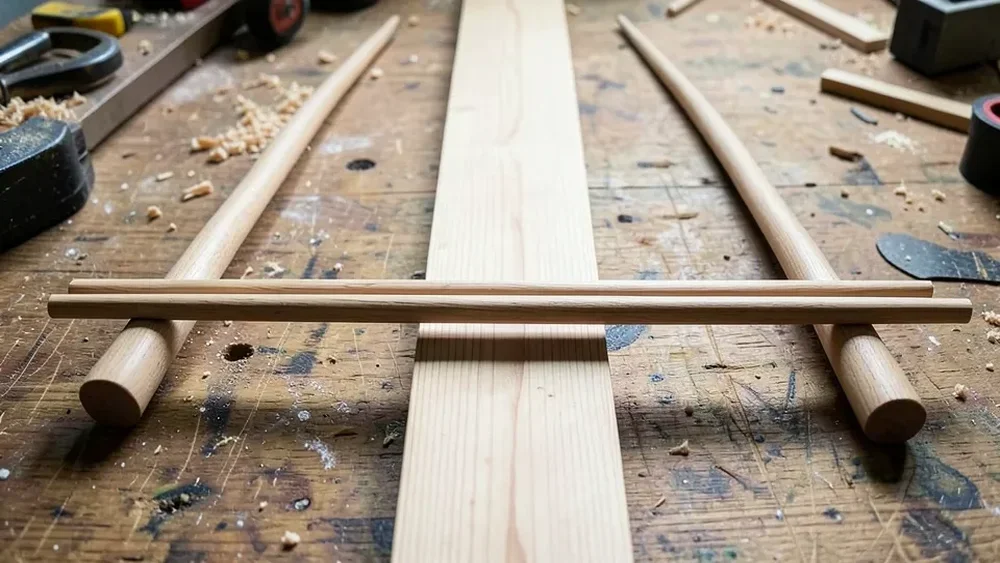
This is a classic joiner’s technique that most beginner-oriented guides skip entirely, but it’s the fastest way to catch twist before you’ve sanded and finished a board that turns out to rock on a flat surface.
Check Flatness With a Straightedge
Once winding sticks confirm the board isn’t twisted, lay a straightedge along the length, across the width, and diagonally corner to corner. Hold the board up to a light source and look for gaps under the straightedge – any daylight showing through marks a low spot, and a straightedge that rocks on the surface marks a high one. Chase high spots down with a few more light passes, then recheck. Repeat this cycle until the straightedge sits flush in every direction and your scribed line is gone evenly across the whole face.
How Long This Actually Takes
Be honest with yourself about the time commitment. Hand-thicknessing a single board from rough to a clean, flat surface can easily take 20 to 45 minutes once you factor in scribing, planing, and repeated flatness checks – longer on harder woods like oak or maple, or on a wide board where you’re covering more surface with every pass. That’s genuinely slow, labor-intensive work, and it doesn’t scale well. Dimensioning a whole project’s worth of lumber by hand is a realistic goal for someone building hand-tool skill on purpose; it’s not a practical substitute for a planer if you’re regularly working through stacks of rough stock. For one board, a repair patch, or a small project, hand planing is completely reasonable. For volume work, it’s worth reading up on whether a power planer fits your workflow better.
Common Mistakes When Hand-Thicknessing
- Skipping the marking gauge line. Planing “by eye” without a scribed reference is how boards end up thinner on one end than the other.
- Planing with a dull blade. A dull iron tears the grain and takes far more effort for a worse result – sharpen before you start, not after you’re frustrated.
- Only checking for flatness, never twist. A board can pass a straightedge check in every direction and still be twisted; winding sticks catch what the straightedge can’t.
- Removing too much in one pass. Heavy cuts are harder to control and easier to overshoot your line with. Light, frequent passes with frequent checks win every time.
- Planing against the grain. If the surface is tearing out instead of shaving cleanly, flip the board end for end or angle your passes to work with the grain direction instead.
Frequently Asked Questions
How Do You Thickness Wood With a Hand Plane?
Scribe a reference line around the board with a marking gauge set to your target thickness, then plane down to that line with light, even passes, checking the surface with winding sticks for twist and a straightedge for overall flatness as you get close.
What Tools Do You Need to Thickness Wood by Hand?
A sharp bench plane, a marking gauge to scribe your reference line, two winding sticks to check for twist, a straightedge to check overall flatness, and clamps or bench dogs to hold the board steady while you work.
Why Use Winding Sticks Instead of Just a Straightedge?
A straightedge shows flatness along the direction you’re checking, but it can miss twist – where the board’s corners are out of the same plane even though each individual side looks straight. Two winding sticks sighted across their top edges make twist immediately visible in a way a single straightedge check often doesn’t.
How Long Does It Take to Thickness a Board by Hand?
Roughly 20 to 45 minutes for a single board, depending on the wood’s hardness and the board’s width, once you count scribing, planing, and the repeated flatness checks. It’s realistic for one board or a small project, but not an efficient way to dimension a large quantity of lumber.
Conclusion
Hand-thicknessing a board comes down to three things a power planer does for you automatically: a reliable reference line from a marking gauge, disciplined light passes with a sharp plane, and honest checks for twist and flatness along the way. It’s slower and more physical than running a board through a machine, but for a single board or a small project it’s a genuinely practical skill – and one that gives you a level of control over the final surface that a planer never will.
Sponsored / affiliate links. As an Amazon Associate I earn from qualifying purchases. I may earn additional commission from eligible campaigns.