How to Flatten Wood With a Hand Plane: Pro Tips for Smooth Results
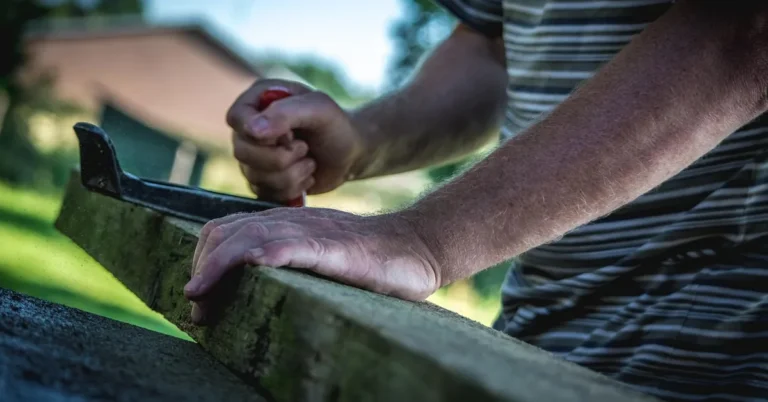
Real hand-flattening uses three planes in sequence, not one: a jack (or scrub) plane with a cambered blade working diagonally across the board to remove high spots fast, a jointer plane with a straight edge to true the surface flat, then a smoothing plane for the final finish pass. Trying to flatten a board with just one general-purpose plane, straight with the grain the whole time, is slow and makes it hard to remove wood evenly – which is why most quick guides that skip this sequence leave readers frustrated.
Checking For Twist: Use Winding Sticks, Not Just A Straightedge
Best Straightedge For Checking Flatness
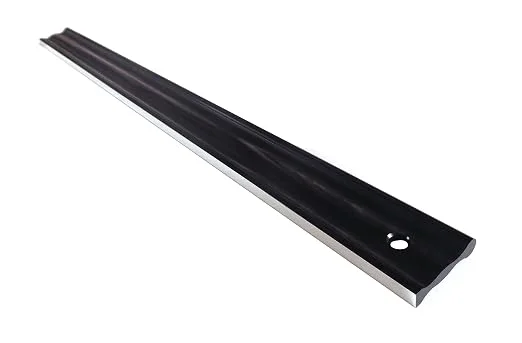 |
24″ Anodized Aluminum Precision Straightedge – $28.67 Guaranteed straight to within .001″ over its full length – accurate enough to actually trust the gaps you see under it.
|
A straightedge shows you if a board is cupped or bowed along its length, but it won’t reliably show twist (also called “wind”) – a board that’s flat in one spot but twisted diagonally across its length. This is a real gap in most flattening guides.
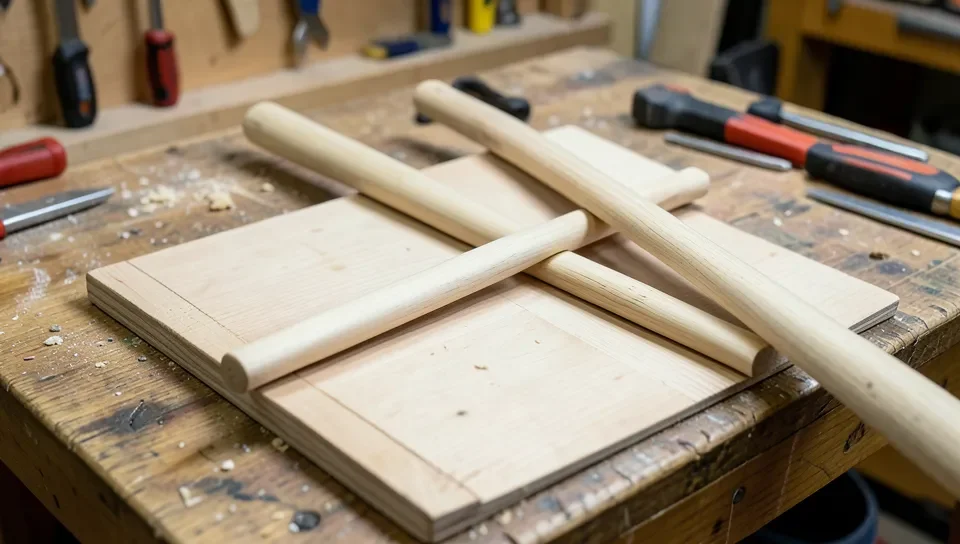
- Winding sticks are two straight, identical strips (often shop-made from scrap) laid across the board at each end, parallel to each other.
- Sight across the top edges of both sticks from one end of the board – if the board is twisted, the sticks will appear to lean in opposite directions rather than lining up parallel.
- This reveals twist that a straightedge laid along the board’s length simply can’t show, since it only checks flatness in one direction at a time.
Choosing The Right Plane For Each Stage
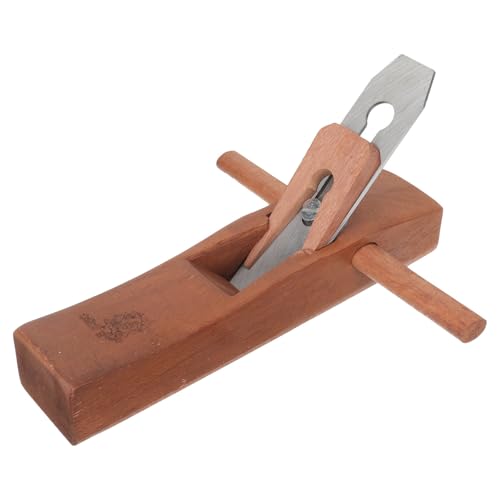
- Jack or scrub plane (roughing stage): a cambered (curved) blade edge takes an aggressive, scalloped cut – ideal for removing a lot of wood fast from high spots.
- Jointer plane (truing stage): long sole and straight blade edge – the length is what lets it ride across high spots and true the board flat, rather than following every dip.
- Smoothing plane (finishing stage): short, takes very fine shavings for the final glass-smooth surface once the board is already flat.
- Using only a smoothing plane for the whole job (a common beginner mistake) is slow and makes it hard to remove wood evenly, since its short sole tends to follow the board’s existing high and low spots rather than cutting them flat.
The Actual Flattening Sequence
- Mark high spots with pencil (diagonal lines or an X pattern across the whole face) after checking with a straightedge and winding sticks – this gives you a visual map of where to focus.
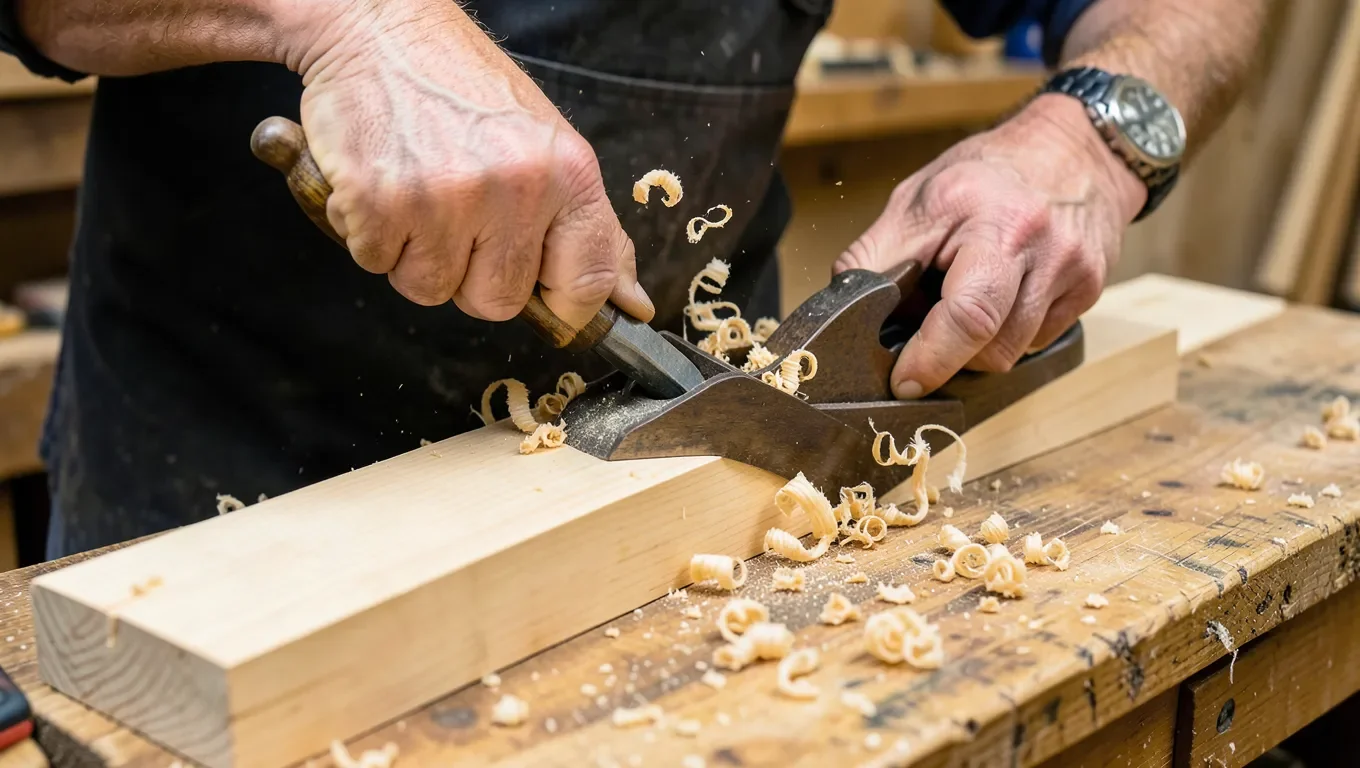
- Plane diagonally or straight across the grain first with the jack/scrub plane to knock down the marked high spots quickly – cutting across the grain removes wood fast with less risk of digging a trough, since you’re not following the grain’s natural high/low undulation.
- Check progress often with the straightedge and winding sticks, re-marking as needed.
- Once the board is roughly flat, switch to the jointer plane and plane WITH the grain, in long, full-length strokes, to true the surface.
- Finish with the smoothing plane, light cuts, with the grain, for the final surface.
Avoiding Tear-Out And Gouges
- Keep the blade sharp – a dull edge is the single biggest cause of tear-out, regardless of technique.
- For the final smoothing pass, always work with the grain, not against it – against-grain strokes are what actually cause tear-out at this stage.
- If a section of grain reverses direction (common near knots or figure), take lighter cuts there or approach from the opposite direction to avoid digging in.
- Keep even, moderate pressure and let the plane’s sole ride the surface – excessive downward force is what causes gouges, not the blade itself.
Sharpening The Blade
- A sharp blade makes every part of this process faster and cleaner – sharpen at the first sign of tear-out or increased effort, don’t wait until it’s obviously dull.
- Most bench plane blades are sharpened with a primary bevel around 25 degrees and a secondary micro-bevel around 30 degrees for durability.
- Test sharpness by slicing a piece of paper – a sharp edge cuts cleanly with no tearing or snagging.
Frequently Asked Questions
How Do You Flatten A Board With A Hand Plane?
Check for twist with winding sticks and bow/cup with a straightedge, mark the high spots, plane diagonally or across the grain with a jack/scrub plane to remove them quickly, then true the surface with a jointer plane working with the grain, and finish with a smoothing plane.
Why Use Winding Sticks Instead Of Just A Straightedge?
A straightedge only shows flatness along its own length – it can’t reliably reveal twist, where a board is flat in spots but twisted diagonally. Winding sticks, sighted across their tops from one end, show twist a straightedge misses entirely.
Why Plane Across The Grain Or Diagonally To Flatten Wood?
It removes wood faster with less risk of digging a trough than planing straight with the grain, since you’re not following the wood’s natural high/low grain pattern. Switch to planing with the grain only once the board is roughly flat, for the final truing and smoothing passes.
What Plane Is Best For Smoothing Wood?
A smoothing plane, used last in the sequence after a jack/scrub plane has removed the bulk and a jointer plane has trued the surface flat. Using only a smoothing plane on a rough board is slow and tends to follow existing high and low spots instead of cutting them flat.
Conclusion
Flattening wood by hand comes down to using the right plane for each stage – a cambered jack/scrub plane working diagonally to remove bulk, a jointer plane to true the surface with the grain, and a smoothing plane for the final finish – plus checking for both bow and twist along the way with a straightedge and winding sticks, not just one or the other.
Sponsored / affiliate links. As an Amazon Associate I earn from qualifying purchases. I may earn additional commission from eligible campaigns.