How to Tighten a Chainsaw Chain the Right Way (Cold and Hot)
To tighten a chainsaw chain, back off the bar nuts a half-turn, turn the tensioning screw clockwise until the chain sits flush against the bottom of the bar with no sag, then retighten the bar nuts while holding the bar tip up. A properly tensioned chain lifts about 1/8″ to 1/4″ off the bar by hand and snaps back into place – any looser and it can derail or whip back at you; any tighter and it strains the bar, sprocket, and clutch.
Chain tension is not a “set it once” job. A chain that fits perfectly when the saw is cold will loosen noticeably once the engine and bar heat up during a cutting session, because the metal chain expands with heat faster than the bar does. That single detail – checking tension both cold and after a few minutes of cutting – is the step most guides skip, and it’s the one most directly tied to preventing kickback and chain derailment mid-cut.
What You’ll Need Before You Start
Best Tool for Tightening the Chain
 |
Okllen 9-Pack Chainsaw Scrench – $17.99 A scrench combines the bar-nut wrench and tensioning-screw driver in one tool, so you never set one down to grab the other mid-adjustment.
|
Most chainsaws ship with a combination scrench, but they’re easy to lose. Beyond that, you need: safety glasses, cut-resistant gloves, and a flat, stable surface to set the saw on. For a gas saw, you’ll also disconnect the spark plug wire before touching the chain – for a battery saw, pull the battery; for corded electric, unplug it. None of these adjustments should happen with any power source still connected.
Step-by-Step: How to Tighten a Chainsaw Chain
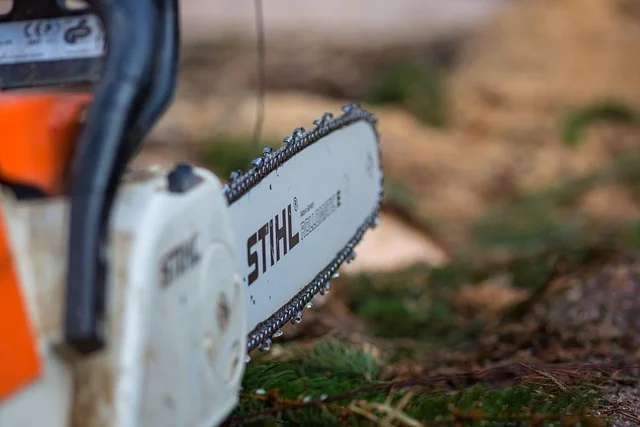
The exact layout of the tensioning screw varies by brand, but the sequence is the same whether it’s front-mounted (near the bar tip, common on Stihl and Echo) or side-mounted (behind a side cover, common on many Husqvarna and homeowner-grade saws).
1. Power Down Completely
Shut off the engine or motor, disconnect the power source (spark plug wire, battery, or cord), and engage the chain brake. Set the saw on a flat surface with the bar facing away from you.
2. Loosen the Bar Nuts
Using the wrench end of your scrench, turn the bar nuts counterclockwise just enough that the guide bar can shift – usually a half to a full turn. Don’t remove them.
3. Adjust the Tensioning Screw
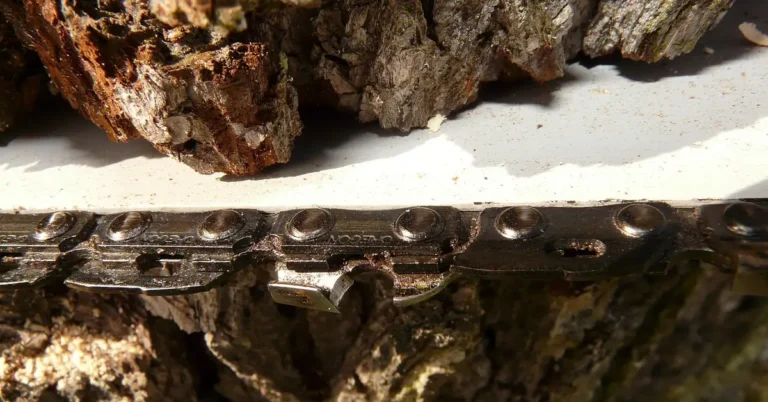
Lift the tip of the bar slightly with one hand. With the other, turn the tensioning screw clockwise in small increments. Watch the bottom of the chain as you go – stop as soon as the drive links sit flush in the bar groove with no visible gap or sag.
4. Retighten the Bar Nuts
Still holding the bar tip up, tighten the bar nuts firmly clockwise. Releasing the bar tip before the nuts are secure is the most common reason a “correctly tensioned” chain turns out loose the moment you check it again.
How to Check You Got the Tension Right
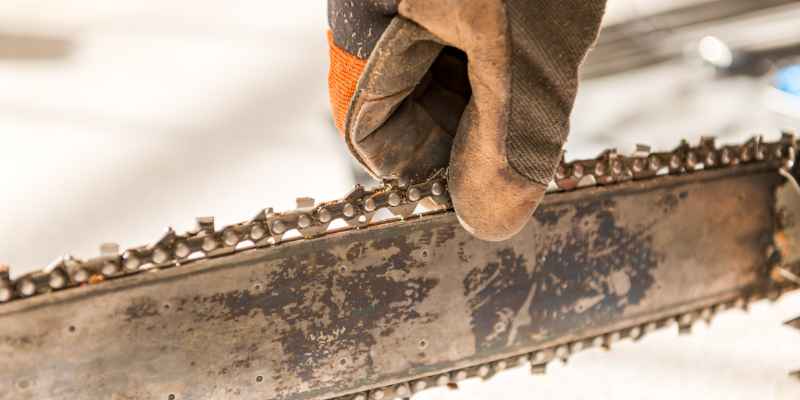
Two quick checks confirm the tension before you cut anything:
- The lift test: grip the chain at the midpoint of the bar and pull it away from the bar with light finger pressure. It should lift about 1/8″ to 1/4″ and snap back into the groove when released. If it lifts further, or the drive links clear the bar nose, it’s too loose.
- The pull-through test: with the brake engaged and the saw off, try to pull the chain around the bar by hand. It should move smoothly with light resistance. If it binds or won’t budge, it’s too tight.
Why a Cold-Tensioned Chain Can Go Loose Mid-Cut
This is the step most tutorials leave out. Chainsaw chains are steel, and steel expands as it heats up. Ten or fifteen minutes into a cutting session, the chain has absorbed heat from friction against the bar and can expand enough to noticeably loosen – even though it was tensioned correctly when the saw was cold. A chain that loosens mid-cut is far more likely to jump the bar nose or contribute to kickback.
The fix is simple: recheck tension cold before you start, then stop and recheck again after the first few cuts once the bar has warmed up. Many experienced sawyers build this second check into their routine the same way they’d check bar oil – it takes fifteen seconds and it’s the difference between a chain that stays seated all day and one that surprises you halfway through a log.
Signs Your Chain Is Too Loose or Too Tight
| Symptom | Likely Cause |
|---|---|
| Chain sags visibly below the bar | Too loose – retension before use |
| Chain jumps or derails from the bar during a cut | Too loose – a serious kickback and injury risk |
| Chain won’t move by hand, or the saw bogs down cutting | Too tight – straining the motor, clutch, and bar |
| Bar groove shows uneven wear or a burr on one side | Too tight, or tension checked cold and never rechecked hot |
| Excess vibration or uneven cuts | Either extreme – stop and check tension |
Common Mistakes That Cause Injuries
Over-tightening is the more common mistake for beginners who overcorrect after a loose-chain scare. It strains the clutch and drive sprocket, can warp the bar, and reduces bar oil flow, which accelerates wear on both the bar and chain. If the chain won’t pull smoothly around the bar by hand with the brake off, it’s too tight – back the tensioning screw off slightly and recheck.
Skipping the hot recheck is the mistake covered above, and it’s the one that catches experienced users off guard, not just beginners, because the chain genuinely was correct when they checked it.
Adjusting with the chain brake disengaged risks the chain moving under your hands while you’re working near it. Always confirm the brake is set, and the power source disconnected, before your hands go near the chain.
Maintenance That Keeps Tension Holding Longer
A clean, well-lubricated bar groove lets the chain seat evenly, which means tension holds longer between adjustments. Clear sawdust and pitch from the groove after each use, keep bar oil topped off so the chain runs wet rather than dry, and flip the bar occasionally so it wears evenly on both rails. A bar with a worn or pinched groove will never hold tension as well as a flat one, no matter how carefully you adjust the screw.
When to Stop Adjusting and Replace the Chain
If you find yourself retensioning the same chain every few minutes of use, the chain itself – not your technique – is usually the problem. Stretched drive links, cracked links, or teeth worn down past their depth gauges won’t hold a stable tension no matter how it’s adjusted. At that point, replacing the chain is the safer and cheaper fix compared to continuing to run a chain that won’t stay seated.
Frequently Asked Questions
How do I know if my chainsaw chain is too loose?
If the chain sags visibly below the bar, or lifts more than about 1/4″ off the bar when pulled by hand, it’s too loose. A chain that jumps or derails from the bar during a cut is a clear sign it needs to be tightened immediately, before the saw is used again.
What tools do I need to tighten a chainsaw chain?
Most saws need only the scrench that came with them – a combination wrench and screwdriver for the bar nuts and tensioning screw. If yours has been lost, a standalone scrench sized to your saw’s bar nuts works the same way.
How often should I check chainsaw chain tension?
Check it cold before every use, and again after the first few cuts once the bar has warmed up. Chains also loosen naturally as they wear in during their first few tanks of use on a saw, so new chains need more frequent checks than a chain that’s been run in.
What happens if I don’t tighten my chainsaw chain?
A chain left loose can jump off the guide bar mid-cut, which can cause a serious injury or damage the saw. It also cuts less efficiently and wears the bar and drive sprocket faster than a properly tensioned chain.
Conclusion
Tightening a chainsaw chain correctly comes down to a snug fit with no sag, confirmed with the lift test – and confirmed again once the bar has warmed up from cutting. That second check is the one habit that separates a chain that stays seated all day from one that catches you off guard. Build both checks into your routine, and a loose or over-tightened chain stops being a safety risk you have to think about.
Sponsored / affiliate links. As an Amazon Associate I earn from qualifying purchases. I may earn additional commission from eligible campaigns.