How to Treat Birch Wood: Prevent Blotching & Finish It Right
To treat birch wood properly, clean and sand it with the grain first, then choose a finish based on what the piece needs: a penetrating oil or gel stain for furniture where you want the grain to show, a wipe-on polyurethane or lacquer for a harder protective shell, or an exterior sealant if it will see weather. The one step most guides skip is the step that actually matters most on birch: because its grain is so fine and tight, birch drinks stain unevenly and turns blotchy unless you condition it first.
Birch looks deceptively easy to finish. The wood is pale, smooth, and close-grained, which is exactly why it causes so many frustrated project photos online – that same tight, low-porosity structure that makes birch feel silky under your hand also makes it absorb liquid stain unevenly, since patches of end grain and figure soak up far more color than the surrounding smooth face. Below is what actually works: how to prep birch correctly, which treatments suit which project, and the one prep step that prevents the blotchy, patchy look birch is notorious for.
Why Birch Blotches (and Why That Changes How You Treat It)
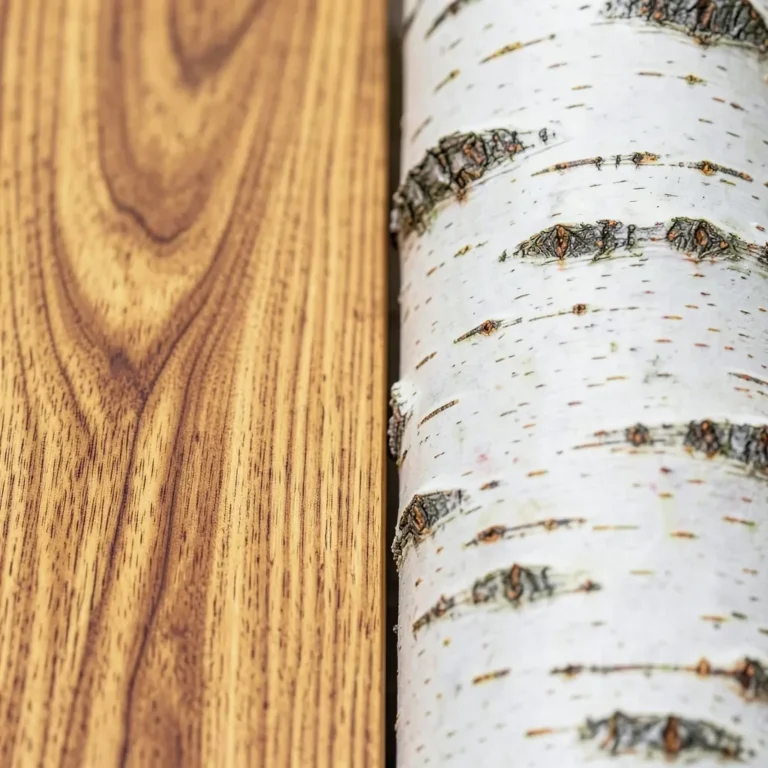
Birch is a diffuse-porous hardwood, meaning its pores are small and spread evenly through the wood rather than concentrated in obvious rings like oak or ash. That sounds like it should make staining easier, but it does the opposite: birch’s density and grain direction change constantly across a single board, so some spots pull in far more pigment than others. The result is the mottled, cloudy patches that show up on birch cabinets, doors, and countertops – not a sign you did something wrong, just a known trait of this species (along with pine, cherry, and maple, which share the same closed-grain blotching problem).
Best Pre-Stain Conditioner for Birch
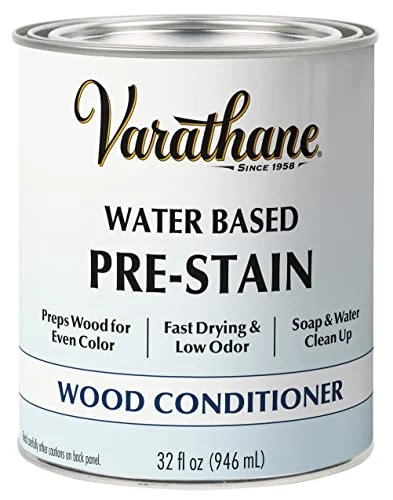 |
Varathane Pre-Stain Wood Conditioner – $18.29 Applied before stain, this is the direct fix for the blotching problem birch is known for – it evens out absorption so color goes on consistent instead of patchy.
|
If your project is headed for a liquid stain, wood conditioner is not optional – it’s the difference between an even, professional-looking result and a splotchy one. If you’d rather skip stain altogether, a gel stain (which sits on the surface instead of soaking in) or a clear finish that shows off birch’s natural pale color are both simpler ways around the same problem, covered below.
Cleaning and Sanding Birch Before You Do Anything Else
Every treatment below depends on this step being done right. Wipe the piece down with a soft cloth to remove dust, then go over it with a barely-damp cloth and mild soap if it’s picked up any grime or old wax. Let it dry fully – birch is a hardwood, but it’s still wood, and sanding or finishing over trapped moisture causes problems later.
Sand with the grain, not across it, working through 120, then 150, then 220-grit paper. Stop at 220 if you plan to stain: sanding finer than that starts to burnish and close birch’s already-tight pores, which makes the blotching problem worse, not better, because the wood can no longer absorb stain evenly at all. If you’re finishing with just oil or a clear topcoat and skipping stain entirely, sanding to 320 for a glass-smooth feel is fine. Vacuum the dust out of any joints or carvings before moving on – a tack cloth alone tends to just push birch’s fine dust around rather than lifting it.
Choosing a Treatment for Your Birch Project
What you use depends on the piece and how it’ll be used:
| Treatment | Best for | Notes |
|---|---|---|
| Clear oil (tung or Danish oil) | Furniture where you want birch’s pale, subtle grain to stay visible | Penetrates evenly – much less blotching risk than pigmented stain, but needs reapplication every year or two |
| Gel stain | Anyone who wants color without blotching risk | Sits on the surface instead of soaking in unevenly, so it skips the birch blotching problem almost entirely |
| Liquid oil-based stain | Cabinets, furniture wanting deeper, richer color | Requires pre-stain wood conditioner first (see above) or it will blotch |
| Wipe-on polyurethane or lacquer | Tabletops, cabinet doors, anything handled often | Apply over stain/oil once fully dry, or directly over bare sanded birch for a natural clear look |
| Exterior sealant or spar varnish | Birch plywood or trim exposed to weather | Birch has low natural rot resistance outdoors, so a UV-rated sealant matters more here than indoors |
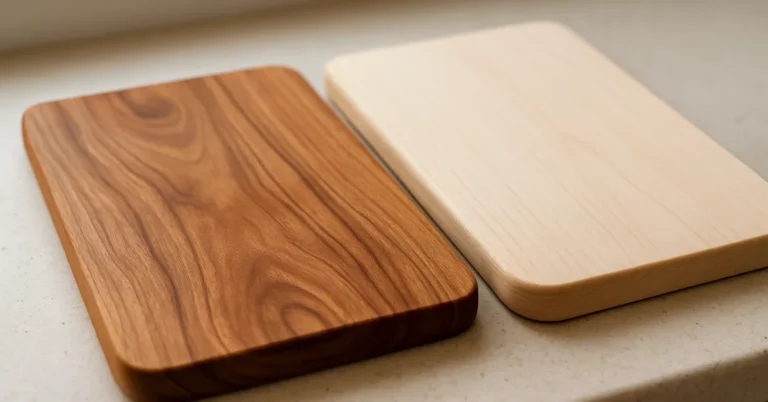
Birch’s pale, understated grain is actually one of its best features – it’s part of why so many mid-century and Scandinavian furniture designs left birch nearly bare, with just a clear oil or lacquer topcoat rather than a dark stain. If you’re on the fence about staining at all, that’s a legitimate option: a clear finish protects the wood without fighting its natural tendency to blotch.
If you do want color and haven’t decided on a shade or technique yet, our full guide to staining birch wood without blotching walks through stain selection and application step by step in more depth than we cover here.
Step-by-Step Application
- Clean and sand as described above, finishing at 220-grit for staining or 320-grit for a bare clear finish.
- If staining with a liquid oil-based stain, apply pre-stain wood conditioner and let it sit 5-15 minutes per the can’s instructions, then wipe off the excess before it dries.
- Apply stain, oil, or gel stain with a lint-free cloth or foam brush, working in the direction of the grain, and wipe off excess after a few minutes for an even tone.
- Let the piece dry fully – typically 24 hours for oil-based products – before adding a topcoat.
- Apply 2-3 thin coats of polyurethane, lacquer, or sealant, sanding lightly with 320-grit paper between coats to knock down any raised grain.
- Let the final coat cure fully (check the product’s cure time, often longer than its dry time) before regular use.
Maintaining Treated Birch Wood
Once finished, birch doesn’t need much – dust with a soft, dry cloth and use a barely-damp cloth for deeper cleaning, avoiding ammonia-based or abrasive cleaners that can dull the topcoat over time. Keep birch furniture out of direct sunlight where possible; UV exposure fades both stain and the wood’s own natural color unevenly over months. Use coasters and trivets for anything that sees drinks or hot items, and wipe up spills right away – a topcoat protects the wood, but standing liquid will still find its way into any seam or edge that wasn’t fully sealed.
For oiled (not lacquered or polyurethaned) birch, plan on a fresh coat of oil every 12-18 months, or sooner if the wood starts looking dry or pale patches appear where the original coat has worn thin.
Common Mistakes to Avoid
- Skipping the pre-stain conditioner before a liquid oil-based stain – this is the single most common cause of blotchy birch.
- Sanding past 220-grit before staining – over-sanding closes the pores and makes stain absorb even less evenly.
- Applying a thick single coat instead of several thin ones – thick coats on birch are prone to drips and uneven sheen because of how smooth and non-absorbent the surface is.
- Skipping a test patch on scrap or an inconspicuous spot – birch’s blotching tendency varies board to board, so what worked on one piece won’t always match the next.
Frequently Asked Questions
Do I have to condition birch wood before staining it?
If you’re using a liquid oil-based stain, yes – birch’s tight, closed grain absorbs stain unevenly without it, which is what causes the blotchy, patchy look birch is known for. Gel stains and clear oils are less prone to blotching and don’t strictly require a conditioner, though a test patch is still worth doing.
What’s the best finish for birch if I don’t want to stain it?
A clear wipe-on oil, lacquer, or water-based polyurethane lets birch’s pale, subtle grain show through while still protecting the wood. This is a common choice for mid-century and Scandinavian-style furniture, where birch is left close to its natural color rather than stained dark.
How often should treated birch wood be refinished?
Oiled birch typically needs a fresh coat every 12-18 months. Birch sealed with polyurethane or lacquer holds up longer – often 5-10 years indoors – before it needs sanding back and recoating, depending on how much handling and sun exposure the piece gets.
Can birch wood be used outdoors?
Birch has low natural resistance to rot and moisture compared to woods like cedar or teak, so it’s better suited to indoor furniture, cabinetry, and plywood. If it must be used outdoors, a UV-rated exterior sealant or spar varnish and a covered, dry location will meaningfully extend its life, but birch still isn’t a first choice for exterior projects.
Sponsored / affiliate links. As an Amazon Associate I earn from qualifying purchases. I may earn additional commission from eligible campaigns.