15 Ideas for Decorating Wooden Boxes (Paint, Decoupage & Stenciling)
Decorating wooden boxes can be fun and fulfilling. It’s a great way to personalize your space.
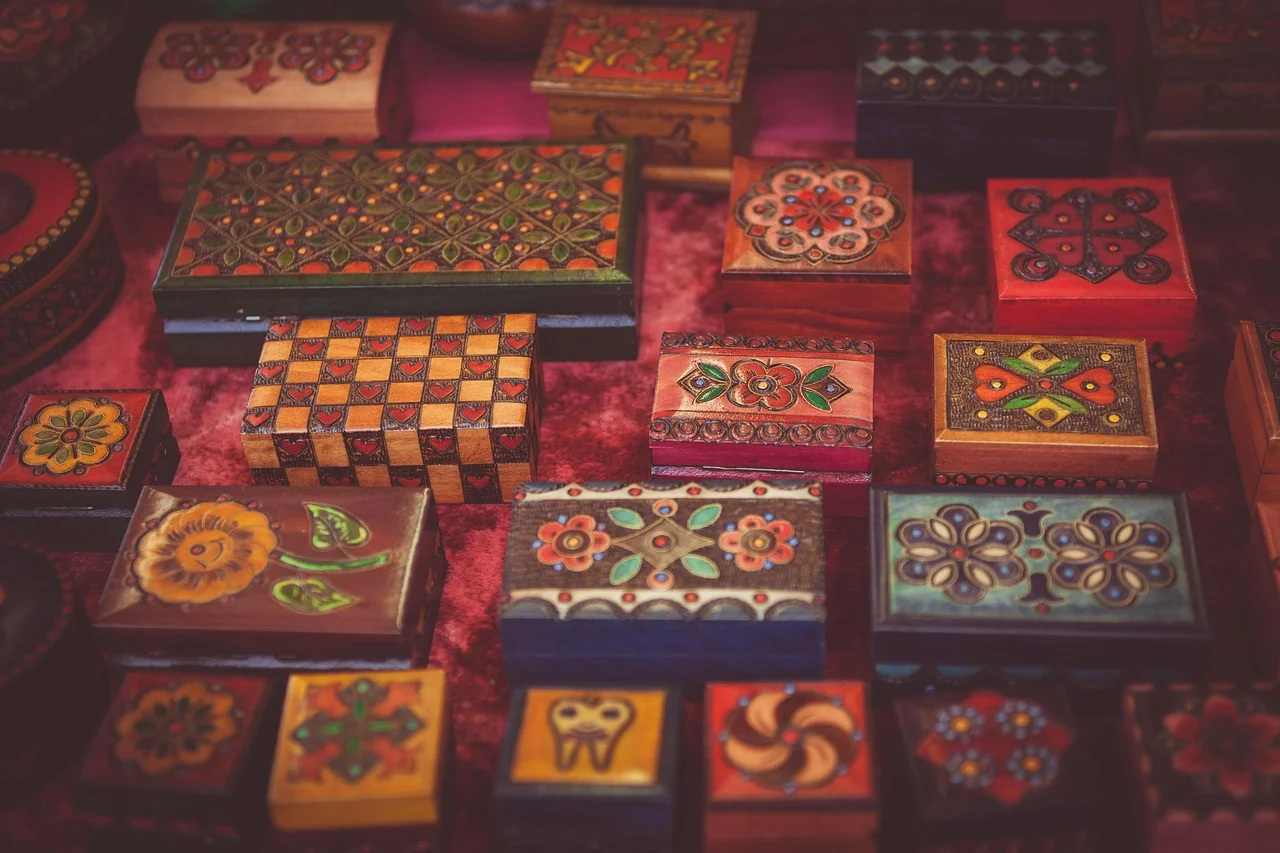
Wooden boxes, whether old or new, offer a blank canvas for creativity. You can transform these simple items into beautiful pieces of art. From painting to decoupage, the possibilities are endless. In this blog post, we explore various ideas for decorating wooden boxes.
One sealer choice matters more than people think: gloss Mod Podge or varnish can amber slightly over years in direct sunlight, so for light-colored paper, fabric, or bare wood, a matte or satin sealer keeps the original colors truer over time. Here are the techniques worth trying.
Choosing The Right Box
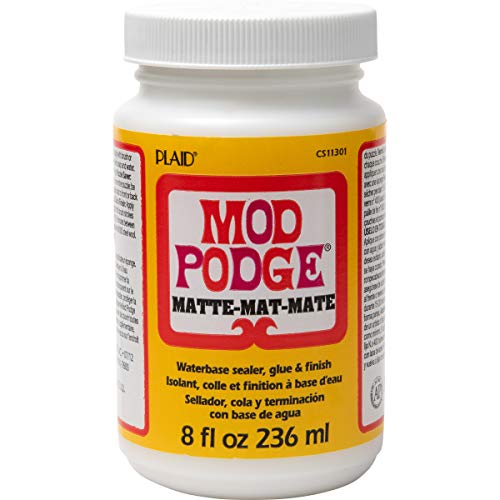


Best All-In-One Decoupage Sealer
Painting TechniquesA solid-color box comes down almost entirely to prep and coat count: sand to at least 220-grit before painting so brush marks don’t telegraph through, and plan on two thin coats rather than one thick one — a single heavy coat of acrylic craft paint tends to show brush strokes and drips on edges and corners, while two thin coats level out and self-heal minor texture between passes. Bright, saturated colors (a full-strength acrylic like cadmium red or cobalt) read as playful and work well on smaller boxes meant to stand out; deep, muted tones (navy, forest green, charcoal) read as more refined and tend to suit larger display boxes better. An ombre fade works by wet-blending two colors at their boundary before either one dries — paint the darker color at the base, the lighter color at the top with a gap of bare wood between them, then work a slightly dampened sponge or brush back and forth across that gap so the two colors physically mix into a gradient rather than meeting at a hard line. Working fast matters here: acrylic paint starts to skin over within a few minutes, and once it does, blending strokes just drag and streak instead of merging smoothly. Decoupage DesignsPaper weight is the real variable that decides whether decoupage looks crisp or lumpy. Tissue paper (roughly 20-24 gsm) is thin enough to wrap smoothly around a curved edge or a rounded lid corner without wrinkling, but it also tears easily wet and can show the wood grain or old finish underneath if the box isn’t a light color. Scrapbook and card-stock paper (80-120+ gsm) holds sharper printed detail and doesn’t tear while wet, but it resists molding around anything but a flat or gently curved surface — trying to wrap heavy cardstock around a tight corner usually creases or buckles instead of laying flat. Mod Podge (or a similar all-in-one product) works as glue, sealer, and topcoat in the same application: brush a layer onto the box, lay the paper down and smooth it from the center outward with a brayer or your fingers to push air bubbles to the edges rather than trapping them in the middle, then brush a second coat over the top of the paper once it’s positioned. That top coat is what actually seals the paper against handling and light moisture — skipping it leaves the paper exposed and prone to lifting at the edges within weeks of regular use. 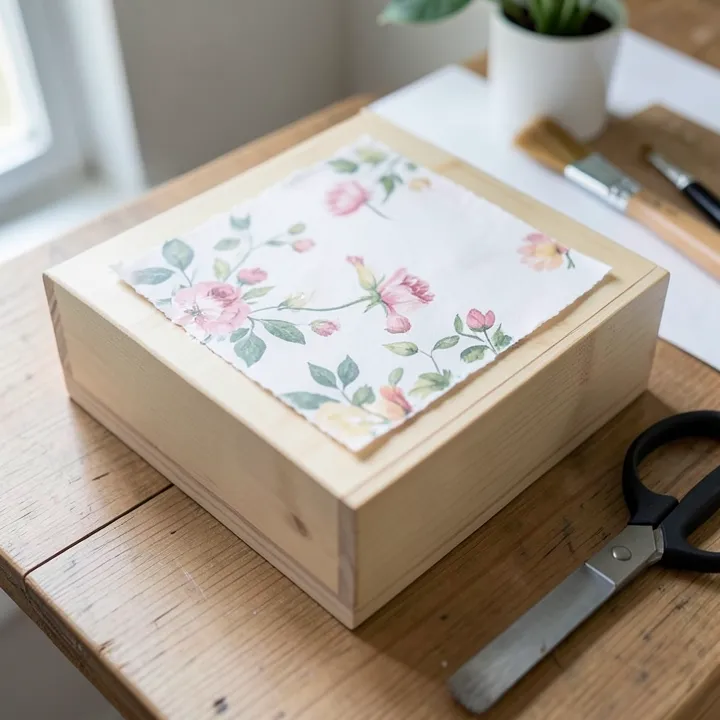 Stenciling PatternsMylar (plastic) stencils are the practical choice for anything beyond a one-off box — they’re washable, hold their shape after repeated use, and their thin, flexible material seats flush against a slightly curved lid better than the thicker cardstock stencils sold in most craft kits. Cardstock stencils are cheaper and fine for a single project but tend to soften and warp if paint seeps under an edge, which makes reuse spotty at best. The technique that actually determines whether a stencil comes out crisp or blurry is how you load the brush: dip a stencil brush or makeup sponge in paint, then dab most of it off onto a paper towel before touching the stencil at all — a nearly-dry brush stippled straight down onto the surface won’t bleed under the stencil’s edges, while a wet, loaded brush almost always does. Removing the stencil while the paint is still slightly wet (rather than fully dry) also helps avoid peeling paint away from the edges of the design along with the stencil. Adding FabricLining the inside of a box with fabric does more than look nice — a soft interior actually protects delicate contents like jewelry from scratching against bare wood. Felt is the easiest fabric to work with for this because it doesn’t fray at cut edges, so you can size pieces to fit each interior panel exactly without hemming. A thin layer of craft glue (spread on the wood, not soaked into the fabric) tacks it down without bleeding through and staining the fabric’s front side. Wrapping the outside calls for a different approach: cut fabric with roughly half an inch of extra material on every edge, glue it to the panel, then fold and glue that excess around the corners the way you’d wrap a present, mitering the corners for a clean finish rather than bunching the extra fabric. A fabric with some structure to it (canvas, linen) wraps corners more predictably than something very stretchy or slippery like satin (see how to line a box with it using card panels). Embossing And EngravingWood burning (pyrography) and engraving are two different processes that get lumped together but produce different results. A wood-burning pen scorches the wood’s surface with a heated tip, producing a dark brown line whose depth and shade you control with tip temperature and how long you hold it against the wood — it’s the more forgiving of the two since a light touch can be built up gradually. Hand or rotary-tool engraving physically carves a groove into the wood instead of scorching it, giving a cleaner, more precise line for lettering but leaving no room to “build up” a mistake the way pyrography does — a slipped engraving line stays cut. Both work best planned out in pencil first rather than freehanded, since neither medium erases cleanly once you commit. Simple line work, initials, and geometric patterns are the most forgiving starting points precisely because personalized lettering and straight lines are easier to keep consistent by hand than a curved botanical design, which takes more practice with either tool to keep the line weight even. Using StampsInk choice matters more on wood than on paper because unsealed wood absorbs ink unevenly. Dye-based inks soak into the wood fibers and can spread slightly at the edges of a stamped image (a soft, slightly blurred look some people like for a rustic feel), while pigment inks sit more on the surface and hold a crisper edge, but need longer to dry before handling since they don’t absorb the way dye inks do. Either way, stamping on raw wood rather than a painted or sealed surface gives the most predictable, even impression — ink behaves less consistently over a glossy sealed finish, where it can bead up or smear before it sets. A single centered stamp reads as a deliberate focal point and suits a small, plain box; the same stamp repeated in an offset grid or scattered pattern across a lid reads more like a printed pattern and tends to suit a larger surface better, since one stamp alone on a big lid can look sparse. Embellishing With AccessoriesBeads and rhinestones need a glue that actually holds their weight and shape — craft glue works for lightweight plastic beads, but glass rhinestones and heavier beads are better set with E6000 or a similar industrial craft adhesive, since standard white glue can let go under the concentrated point-load of a heavy glass bead over time even after it’s technically “dry.” Ribbon and lace both work as trim rather than a full surface covering: a ribbon wrapped once around the box and tied in a bow at the lid reads as a gift-box accent, while lace glued along just the edges and seams (rather than covering flat surfaces) adds detail without hiding the wood or paint underneath it. Both are easy to swap out seasonally since they’re glued or tied on as a separate layer rather than integrated into the box’s finish. Creating ThemesA vintage look leans on muted, desaturated colors (dusty beige, cream, faded rose) rather than anything saturated, plus a distressing technique that actually mimics real wear: paint a base coat, let it dry fully, then sand through the edges and corners — the spots a real antique box would have worn down from handling — down to bare wood or a contrasting undercoat. Random sanding across flat surfaces reads as damage; sanding concentrated at edges and corners reads as authentic wear, because that’s where real use actually happens. A modern look works in the opposite direction: high-contrast, flat colors (true black, white, or a single bold accent) with hard, clean-taped edges rather than any blending or distressing. Metallic accents (gold or copper paint pen on edges, or metallic hardware) read as intentional and contemporary specifically because they’re used sparingly against a matte, minimal base — the same metallic touch spread across a busy, multi-color box reads as cluttered instead. 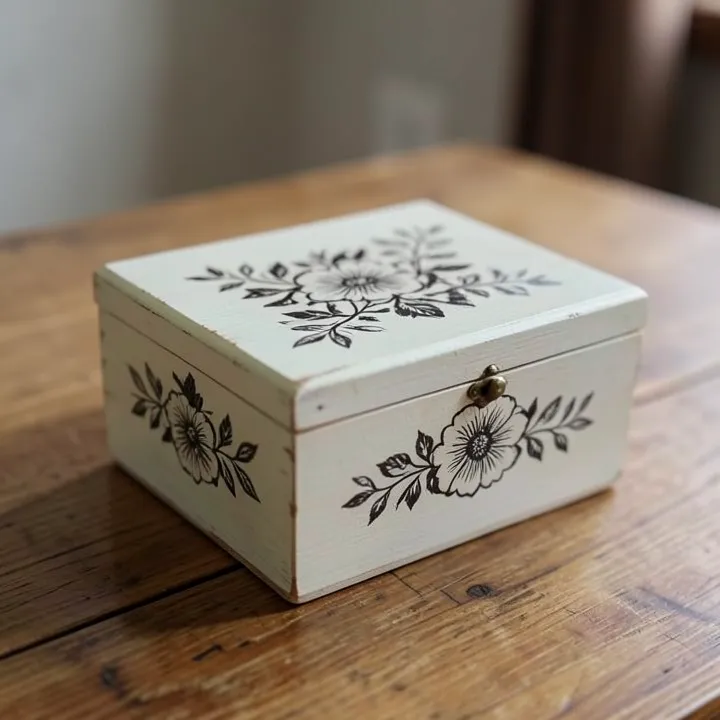 Finishing TouchesWhatever technique you used to decorate the box, the final sealer coat is what actually determines how well it survives daily handling — paint and paper decoration without a topcoat scuffs and chips within weeks of regular use. Two to three thin coats of a water-based polyurethane or the same Mod Podge used for decoupage protect the surface without the amber tint an oil-based varnish can add over a light-colored paint job or paper. Hardware is worth choosing to match the finish’s style rather than an afterthought: brushed brass or antiqued hardware suits a vintage-styled box, while matte black or unfinished steel hinges and pulls suit a modern one. Small brass hinges typically need pilot holes before the screws go in — driving them straight into bare wood risks splitting thin box-lid material, especially near an edge. 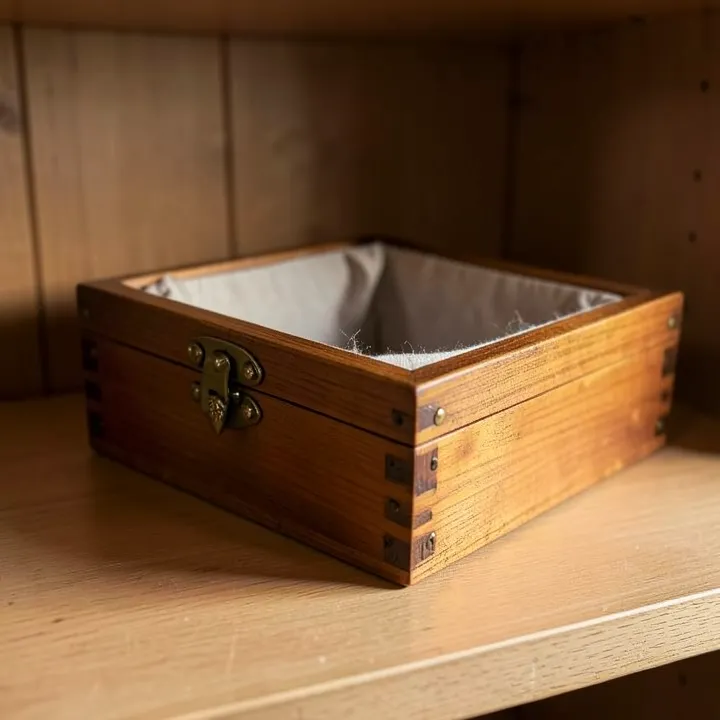 Frequently Asked QuestionsWhat To Decorate A Wooden Box With?Decorate a wooden box with paint, stencils, decoupage, fabric, or stickers. Add beads, ribbons, or washi tape for extra flair. How To Use Wooden Crates As Decor?Use wooden crates as shelves, coffee tables, or planters. Paint or stain them for a personalized touch. Stack crates for extra storage. Create a rustic bookshelf or display unit. Enhance with fairy lights or plants. What Kind Of Paint Do You Use On A Wooden Box?Use acrylic or latex paint for a wooden box. Both options provide durability and a smooth finish. What Do You Put In A Decorative Box?You can put jewelry, small keepsakes, letters, photos, or trinkets in a decorative box. Keep it personal and meaningful. ConclusionWhichever technique you land on, the two decisions that make the biggest difference in how the finished box holds up are matching the material to the wood (thin paper for curves, cardstock for flat surfaces; the right adhesive for the weight you’re gluing on) and finishing with a real sealer coat rather than skipping it. Get those two right and everything from a quick painted gift box to a fully decoupaged keepsake box will hold up to years of actual handling, not just look good on the day you finish it. Sponsored / affiliate links. As an Amazon Associate I earn from qualifying purchases. I may earn additional commission from eligible campaigns. |