Install Hardwood Floor on Concrete: Seamless DIY Guide
To install hardwood floors on concrete, ensure the concrete is dry and level. Use either a glue-down method for engineered wood or a floating method for ease of installation.
Installing hardwood floors over concrete can enhance the beauty and warmth of your home. Many homeowners prefer hardwood for its durability and timeless appeal. The process requires careful preparation, including assessing moisture levels in the concrete. Using the right method—either glue-down or floating—ensures stability and longevity.
Engineered hardwood is often recommended for concrete, as it adapts better to environmental changes. By following proper installation techniques, you can achieve a stunning hardwood floor that adds value to your property. Understanding the steps involved will make the project smoother and more enjoyable.
Introduction To DIY Hardwood Flooring Over Concrete
Choosing hardwood flooring brings warmth and elegance to any space. It offers timeless beauty and can increase the value of a home. Hardwood is durable and provides a natural look that complements various decor styles. Additionally, it’s easier to clean than many other flooring options.
Concrete as a subfloor has its advantages and disadvantages. On the plus side, concrete provides a solid and stable base. It is also resistant to moisture and pests. However, concrete can be cold and uncomfortable underfoot. It may require additional insulation to maintain a comfortable temperature. Understanding these factors is crucial before installation.
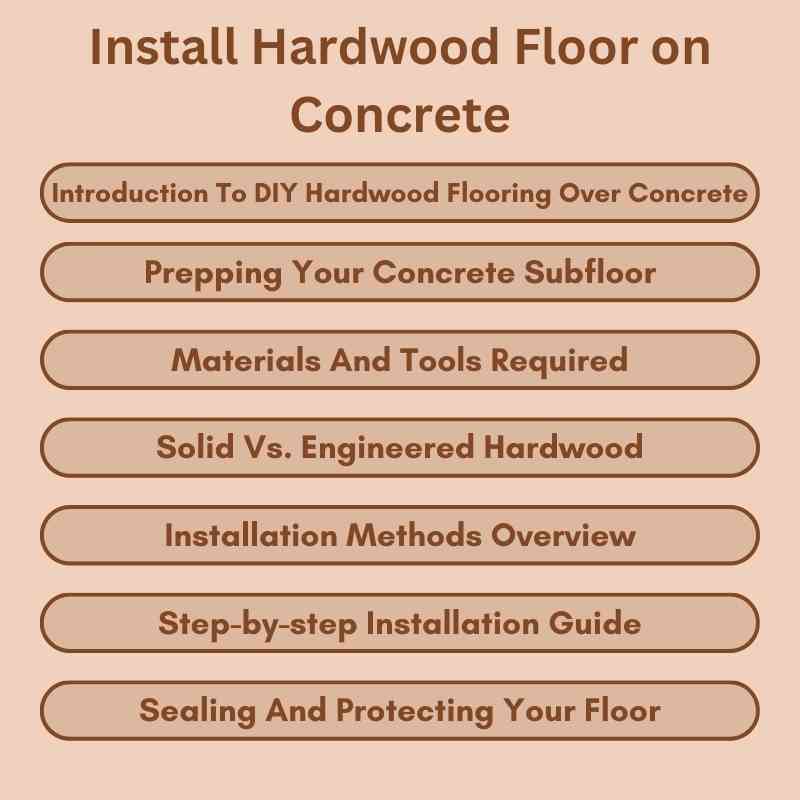
Prepping Your Concrete Subfloor
Before installing hardwood floors on concrete, it’s crucial to test for moisture. Use a moisture meter to check the concrete’s moisture levels. If readings are too high, allow the subfloor to dry completely. This ensures a stable installation and prevents future issues.
Cleaning and leveling the surface is essential. Start by removing any debris, dust, or stains. A clean surface allows for better adhesion. Use a leveling compound if the floor has uneven spots. Ensure the surface is smooth and dry before proceeding with installation.
| Step | Description |
|---|---|
| Test Moisture | Check moisture levels with a meter before installation. |
| Clean Surface | Remove dust, debris, and stains for better adhesion. |
| Level Floor | Use a leveling compound to fix any uneven areas. |
Materials And Tools Required
Choosing the right hardwood is crucial for a successful installation. Solid wood and engineered wood are two popular options. Solid wood offers a traditional look, while engineered wood is more moisture-resistant. Consider the climate and humidity levels in your area before making a choice.
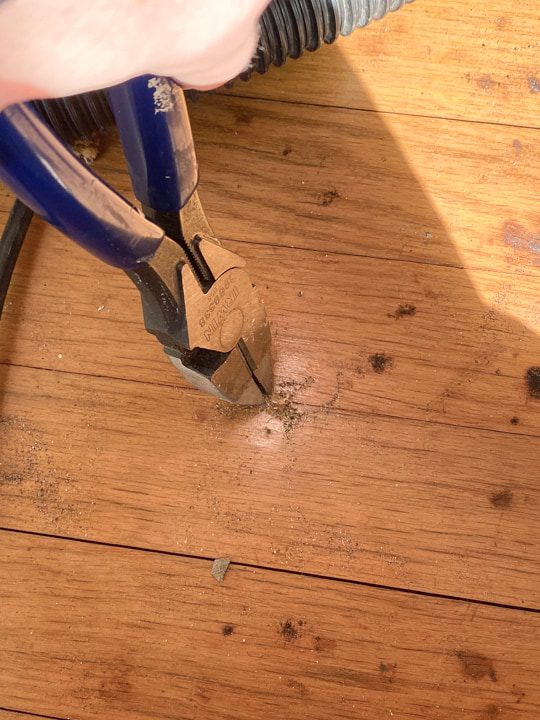
Essential tools for installation include a miter saw, tape measure, and hammer. A flooring nailer or stapler is also necessary. Don’t forget a moisture meter to check the concrete’s dryness. Having a level ensures the floor is even. Lastly, safety gear like gloves and goggles is important.
Solid Vs. Engineered Hardwood
Engineered wood offers several advantages over solid hardwood. It is more stable and less prone to warping. Engineered wood can handle moisture better, making it ideal for concrete floors. This type of wood is also typically easier to install. Its layered construction allows for a quicker installation process.
Cost-effectiveness is another benefit. Engineered wood usually costs less than solid hardwood. Homeowners can enjoy the look of real wood without breaking the bank. Additionally, engineered wood often comes in a variety of styles and finishes. This makes it easier to match any home decor.
Choosing solid hardwood is best when you seek longevity. Solid hardwood can be refinished multiple times. It also adds more value to your home. If you prefer a traditional look and feel, solid hardwood is the way to go.
Installation Methods Overview
The Glue-Down Approach is a popular method for installing hardwood floors on concrete. This method provides a strong bond between the wood and the concrete. First, ensure the concrete is clean and dry. Apply a high-quality urethane adhesive evenly across the surface. Lay the hardwood planks carefully, pressing them into the adhesive. This technique minimizes movement and prevents squeaks.
On the other hand, the Floating Floor Technique allows for easy installation without glue. It uses a click-lock system that connects the planks together. This method allows for natural expansion and contraction of the wood. An underlayment is usually placed between the concrete and the hardwood. This provides additional cushioning and moisture protection.
Step-by-step Installation Guide
Start by measuring the room to create a layout. Use chalk lines to mark the starting point. Ensure the lines are straight for proper alignment. A square can help check the corners.
For the first planks, always lay them parallel to the longest wall. Apply adhesive or use a nail gun for securing them. Leave small gaps for expansion near the walls. This prevents damage from humidity changes.
Completing the floor involves laying each plank in rows. Cut the last piece to fit using a saw. Ensure all seams are tight to prevent gaps. Finally, install baseboards to cover expansion gaps and give a polished look.
Sealing And Protecting Your Floor
Choosing the right sealant is essential for protecting your hardwood floor. Look for sealants that provide moisture resistance and durability. Polyurethane is a popular choice due to its strength and resistance to scratches.
Application tips can greatly enhance the longevity of your floor. Always ensure the concrete is dry before application. Use a roller for even distribution of the sealant. Allow each coat to dry completely before adding another. Multiple thin coats are better than one thick layer.
| Tip | Description |
|---|---|
| Moisture Barrier | Install a moisture barrier before sealing. |
| Temperature | Apply sealant in a controlled temperature environment. |
| Regular Maintenance | Schedule regular maintenance for longevity. |
Maintenance And Care
Regular cleaning is essential for maintaining your hardwood floor on concrete. Use a soft broom or a vacuum to remove dirt and dust. This prevents scratches and keeps your floors looking great. For deeper cleaning, use a damp mop with a pH-balanced cleaner. Avoid excess water, as it can damage the wood.
Dealing with scratches and dents can be simple. For minor scratches, use a wood filler or marker that matches your floor. Apply it carefully and wipe away excess. For deeper dents, consider using a steam method. Place a damp cloth over the dent and apply heat. This can help the wood fibers swell back into place.

Frequently Asked Questions
Can You Install Hardwood Floors Over Concrete?
Yes, you can install hardwood floors over concrete. Both solid and engineered wood flooring are suitable options. Ensure the concrete is dry and properly prepared for a successful installation. Use the appropriate adhesive or floating method based on the flooring type.
How Do You Prepare A Concrete Floor For Wood Flooring?
To prepare a concrete floor for wood flooring, ensure the surface is clean and dry. Check moisture levels using a moisture meter. Repair any cracks or damage. Install a moisture barrier if necessary. Lastly, lay an appropriate underlayment before installing the wood flooring.
Is It Better To Glue Or Float An Engineered Wood Floor On Concrete?
Gluing an engineered wood floor to concrete offers better stability and durability. Floating allows for quicker installation and easier adjustments. Choose gluing for a more permanent solution, and floating if you prefer flexibility and speed. Consider your specific needs before making a decision.
What Do You Put Between Concrete And Wood Floors?
Place a vapor barrier between concrete and wood floors to prevent moisture damage. Use a quality underlayment for cushioning and insulation. Ensure the concrete is dry before installation for optimal results. This approach protects your wood flooring and enhances durability.
Conclusion
Successfully installing hardwood floors on concrete enhances both the beauty and value of your space. With the right materials and techniques, you can achieve a durable and attractive floor. Remember to prepare your concrete properly and choose the installation method that suits your needs.
Enjoy your new hardwood flooring for years to come!