How to Repair a Hole in a Hardwood Floor (Filler, Plugs, or Board Swap)
Which fix you need depends entirely on size: a chip or gouge under about a quarter-inch across takes wood filler, anything up to a couple inches wide calls for a cut wood plug, and a hole that’s punched clean through the plank — or splintered its edges — means replacing the whole board. Picking the wrong method for the size is the single biggest reason DIY floor patches crack or pop out within a season.
Assess the Damage Before You Buy Anything
Best for Small-to-Medium Holes
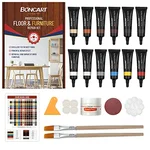 |
Boncart Wood Furniture Repair Kit – $17.86 Comes with multiple wood-tone fillers so you can layer shades to match your exact plank color instead of settling for the closest single tube.
|
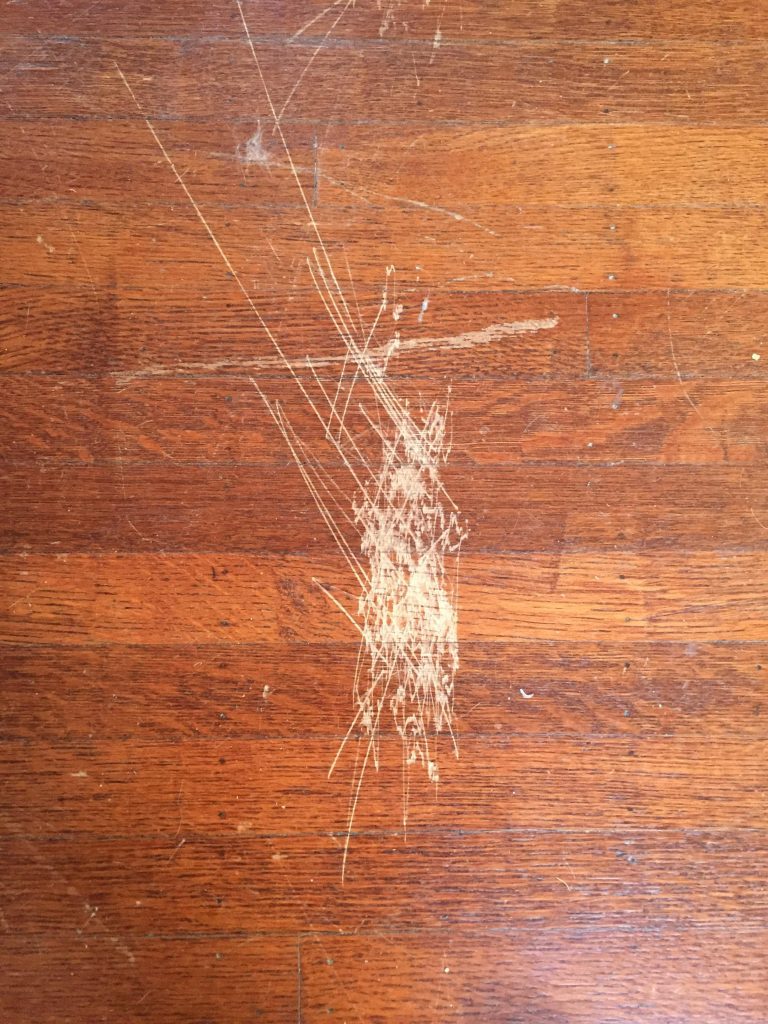
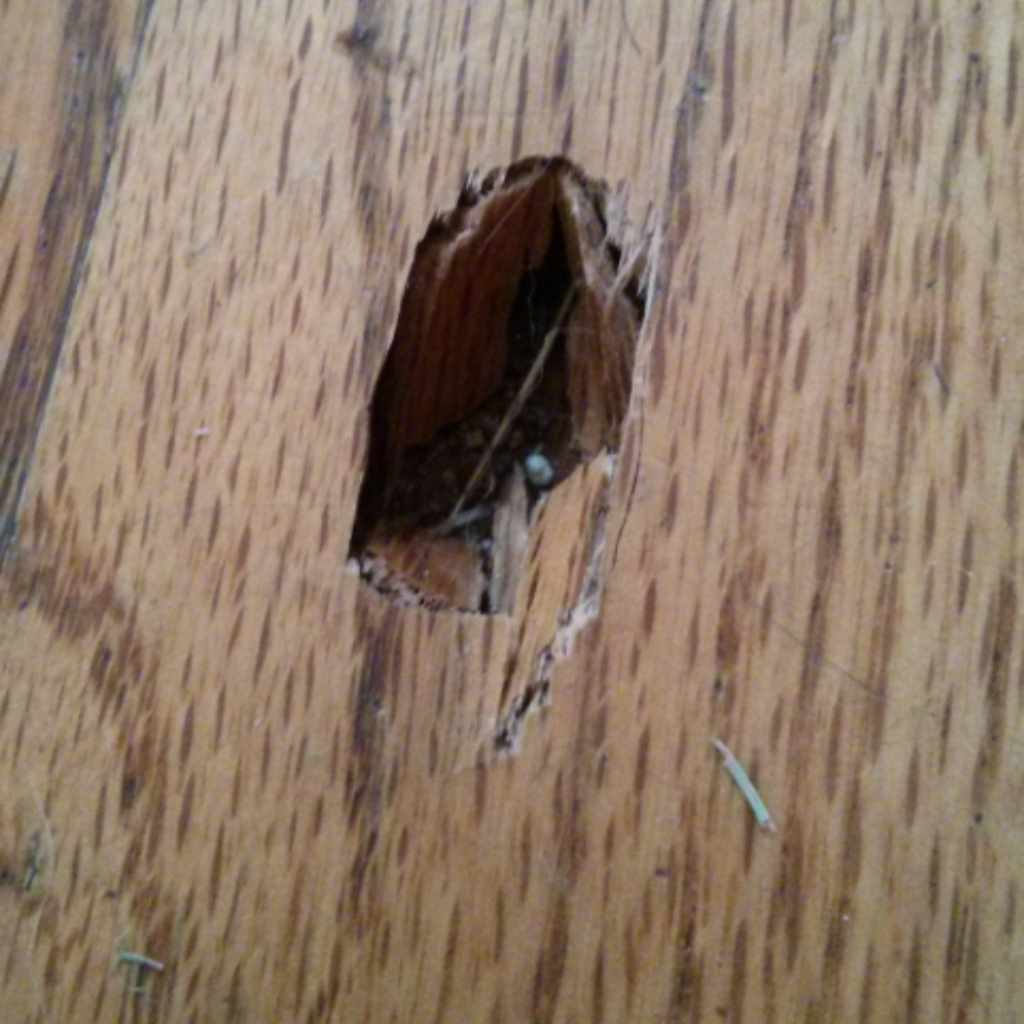
Measure the hole’s width and check its depth with a toothpick or small screwdriver — does it stop partway through the plank, or go all the way to the subfloor? Press the wood around the edges of the damage; if it flexes or feels soft, moisture has likely spread beyond the visible hole and you’re looking at a board replacement, not a surface patch, regardless of how small the visible opening looks. Irregular, splintered edges should be trimmed clean with a utility knife or chisel before you fill — filler bonds to a clean edge, not to loose fibers that will keep working free under foot traffic.
The Filler Choice Most Guides Get Vague About
Wood filler isn’t one product. Water-based latex filler shrinks slightly as it cures, sands easily, and takes stain reasonably well — use it for shallow cosmetic dings. A two-part epoxy filler cures rock-hard, doesn’t shrink, and actually restores some structural rigidity to the spot, which matters for a deeper hole in a high-traffic area; the tradeoff is it sands and stains less predictably than latex filler, so test it on scrap first. For a hole that goes most of the way through the plank, epoxy is the right call even though it’s slower to work with.
Filling a Small to Medium Hole
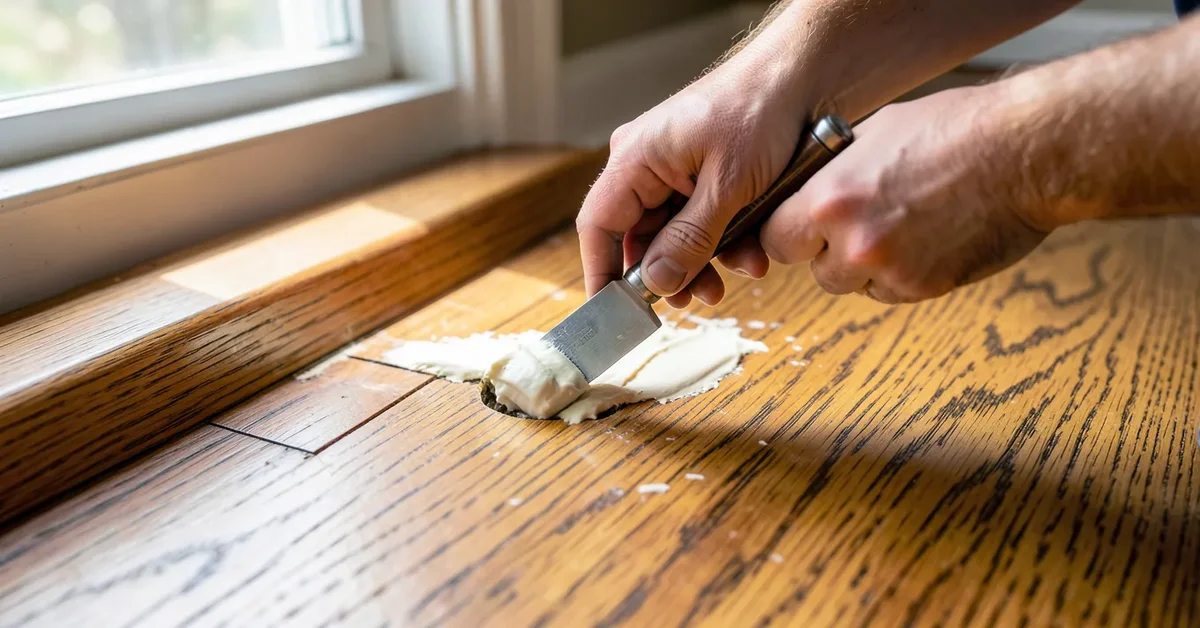
Vacuum all dust and loose wood from the hole, then lightly sand the surrounding finish with fine-grit paper so the patch has something to grip — a glossy factory finish is nearly as hard to bond to as glass. Pack filler in slightly proud of the surface with a putty knife; it will shrink a little as it cures, and sanding a slightly overfilled patch flush is far easier than adding a second layer to a sunken one. Let it cure fully per the product’s timing (latex fillers are often workable in an hour but need a full day before staining), then sand flush, working outward in the direction of the grain so you don’t scratch the surrounding finish.
Match stain color by testing on an offcut or an inconspicuous spot first — hardwood ambers with age and UV exposure, so a stain that matched the floor’s original color often reads too light or too orange next to a floor that’s 10+ years old. Seal with a clear coat that matches the floor’s existing finish sheen (satin, semi-gloss, or gloss) or the patch will show as a dull or overly shiny spot even with a perfect color match.
Cutting a Wood Plug for Bigger Holes
For holes roughly a half-inch to two inches across, a cut plug holds up better than filler because it’s solid wood grain-matched to the floor, not a resin patch. Clean up the hole into a round shape with a drill bit slightly larger than the damage, then cut a matching plug from an offcut of the same species using a plug cutter (or buy pre-cut plugs sized to match). Grain direction matters here — orient the plug’s grain to run the same way as the floor’s grain, not perpendicular, or the color and light reflection will visibly mismatch even with a perfect stain job. Glue the plug in with wood glue, tap it flush with a mallet and a wood block, and let it cure fully before sanding level and finishing to match.
Replacing the Whole Board
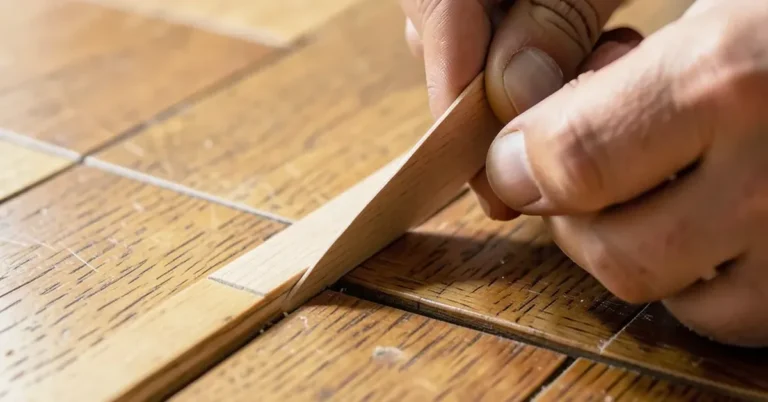
A hole that’s gone clean through, splintered badly, or sits in a plank that’s already cracked or soft nearby means cutting out the full damaged section rather than patching around it. Score the board’s perimeter with a circular saw set to the plank’s exact thickness (to avoid cutting into the subfloor or an adjacent board), then split out the waste with a chisel and pry bar, working from the center outward. Cut the replacement piece slightly long, dry-fit it, then glue it in place — face-nailing or screwing a mid-floor patch usually isn’t necessary if the glue bond and surrounding boards hold it flush, but blind-nailing at the tongue edge (where the next board would normally lock in) adds real security on high-traffic patches.
The timing detail most guides skip: hardwood expands and contracts across seasons with humidity. If you patch a board tight in the middle of a dry winter, that patch can be under compression by a humid summer and cup or squeak. Where possible, do board-replacement repairs when your home’s humidity is near its yearly average, and leave the same small expansion gap at the patch’s ends that the original installer left at the room’s perimeter.
Preventing the Next Hole
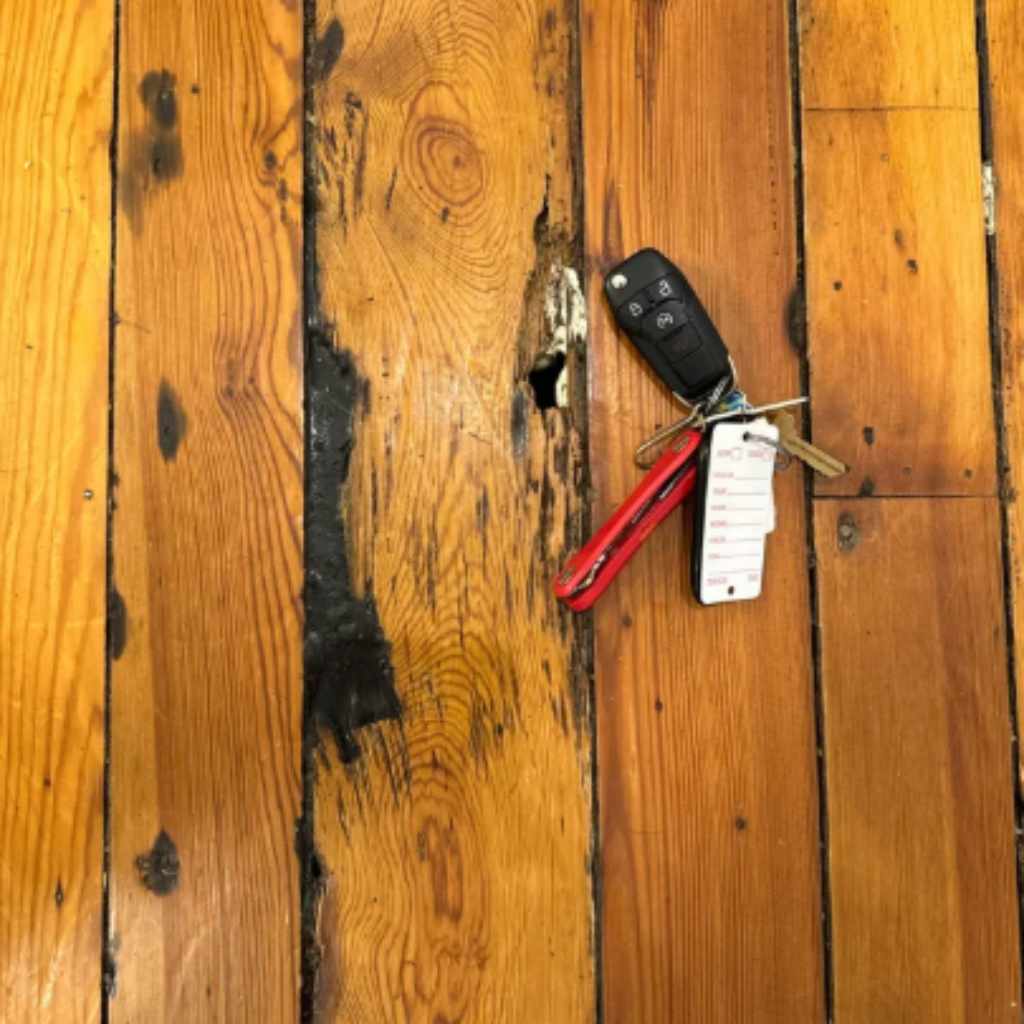
Felt pads under furniture legs and trimmed pet nails prevent the majority of small gouges before they start. Keep indoor humidity in the roughly 35–55% range year-round with a humidifier or dehumidifier as seasons shift — wood that’s chronically too dry gets brittle and chips more easily under impact, which is how a lot of these holes start in the first place. Clean with a product made for hardwood, not a wet mop, since standing water works into seams and softens the wood along plank edges over time.
Frequently Asked Questions
How do you fix a small hole in a hardwood floor?
Clean the hole, fill it with a wood filler matched to your floor’s tone (slightly overfilled to allow for shrinkage), sand flush once fully cured, then stain and seal to match the surrounding finish.
Can you repair hardwood floor holes yourself?
Yes for most chips, gouges, and holes up to a couple inches across using filler or a cut plug. A hole that’s gone through the plank or sits near soft, water-damaged wood is a board-replacement job that’s still DIY-doable but takes more tools and care.
What materials do you need to repair a hardwood floor hole?
A putty knife, fine-grit sandpaper, wood filler or epoxy, stain matched to your floor, and a clear finish coat cover most repairs. Larger holes add a plug cutter or pull saw, wood glue, and a matching offcut or replacement board.
How long does a hardwood floor hole repair take?
A filler repair is workable in under an hour but needs a full day of cure time before staining. A board replacement usually needs a full day for the glue to cure before the floor can take foot traffic again.
Bottom Line
Match the fix to the size of the damage — filler for small cosmetic dings, a grain-matched plug for medium holes, a full board swap for anything through the plank or near soft wood — and time a board replacement to a normal-humidity stretch of the year so the patch doesn’t fight seasonal wood movement.
Sponsored / affiliate links. As an Amazon Associate I earn from qualifying purchases. I may earn additional commission from eligible campaigns.