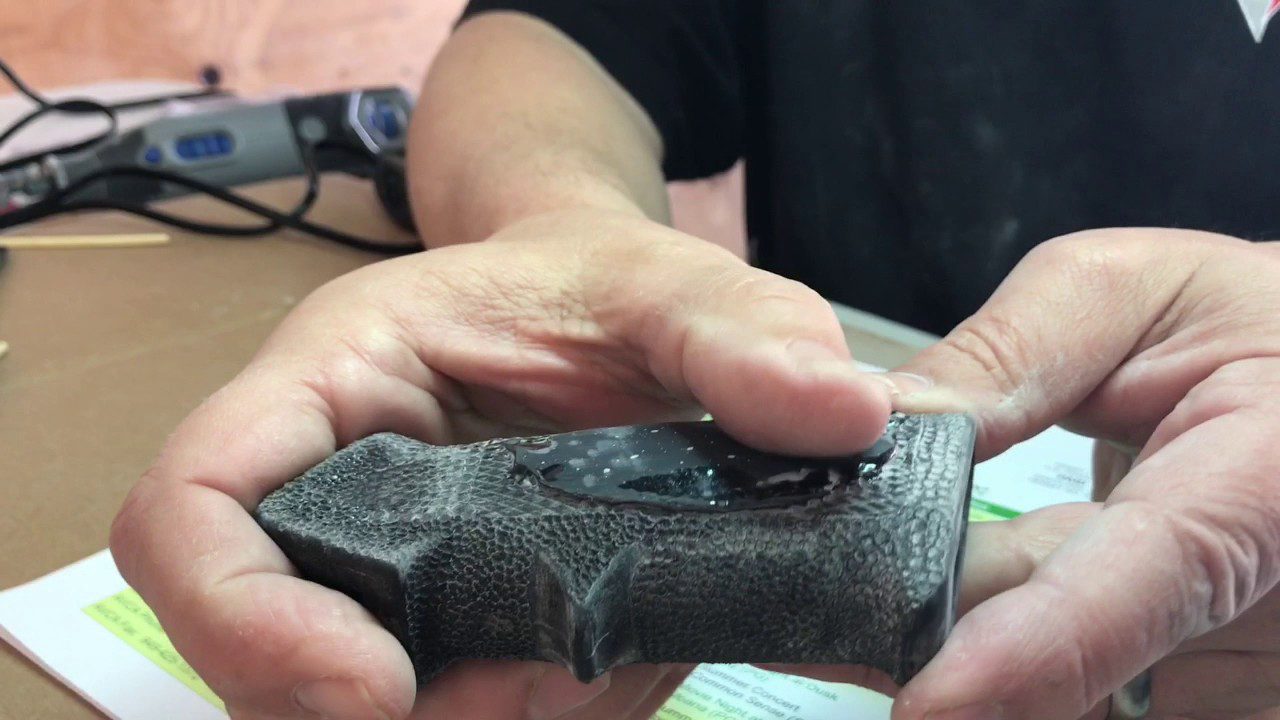
Is JB Weld Sandable? Yes, Once Fully Cured
JB Weld is sandable, but only after the full 15-24 hour cure — sanding at the 4-6 hour “handling” stage tears the epoxy instead of smoothing it. Once fully cured it sands, drills, and files like hardened steel.
This makes it ideal for various repair tasks needing a neat, polished look. JB Weld, a popular adhesive, is known for its strength and versatility. Many DIY enthusiasts and professionals use it for different projects. But, can you sand JB Weld once it sets?
Understanding this is crucial. It helps in achieving the desired finish on your repairs. Whether you’re fixing a car part or a household item, knowing if JB Weld is sandable can save time and effort. This blog will explore the sandability of JB Weld. We will discuss its properties and benefits, ensuring you get the best results for your projects. Let’s dive in!
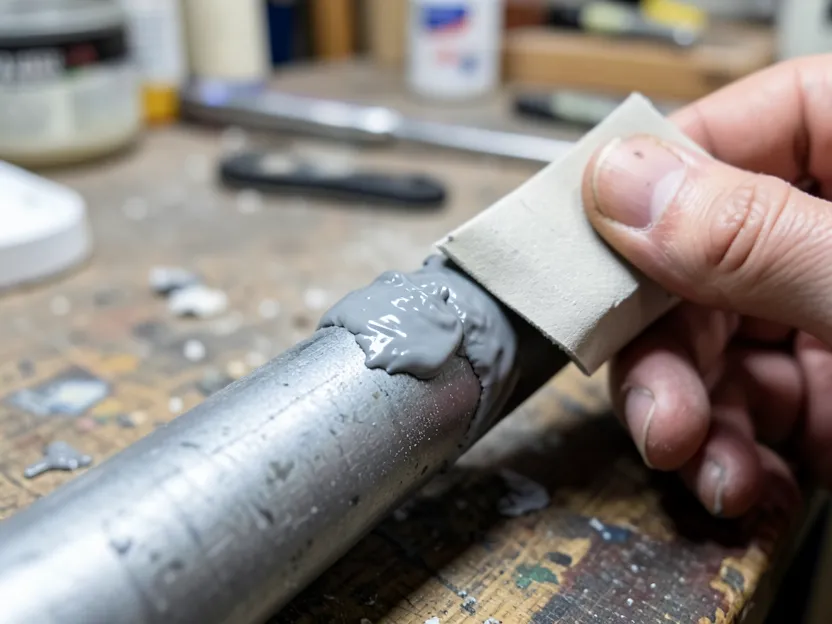
Introduction To Jb Weld
The JB Weld We Recommend
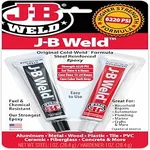 |
J-B Weld Original Cold-Weld Steel Reinforced Epoxy, 2 oz – $6.97 The original formula this article is about — steel-reinforced, sandable, drillable once fully cured.
|
JB Weld is a two-part epoxy system: a resin and a hardener that stay inert separately but cure into an extremely hard, steel-reinforced bond once mixed in equal parts. That two-component design is what gives it real structural strength rather than the more flexible bond of a single-part adhesive or glue – once cured, it behaves less like a glue joint and more like a hard filler material bonded to the surface.
That hardness is exactly why people reach for it well beyond metal repair. Common uses include patching a cracked engine block or exhaust component, filling a stripped screw hole or a gouge in wood furniture, sealing a small leak in metal or PVC pipe, and rebuilding a chipped or broken edge on ceramic or ceramic-coated cookware. In every case, the appeal is the same: a repair that ends up hard enough to sand, drill, and paint like the original material instead of staying soft or rubbery.
Properties Of Jb Weld
Mixing is simple by design: equal parts of the resin and hardener combine to trigger the curing reaction, and getting that ratio roughly even matters more than being precise to the milliliter – JB Weld’s chemistry is forgiving of small measuring errors in a way some faster-curing epoxies aren’t. The bond works across dissimilar materials too, which is part of why it shows up in so many different repair contexts: metal, wood, ceramic, and most rigid plastics all take the bond well, though very flexible or oily plastics like polyethylene or polypropylene resist it.
Cure time runs on two separate clocks that are easy to confuse. The mixed epoxy is workable and reaches a light, tack-free “handling” state within 4-6 hours, but full cure – the point where the epoxy has reached its actual rated strength and hardness – takes 15 to 24 hours depending on temperature and humidity. Once fully cured, JB Weld’s original formula is rated to roughly 5,020 PSI of tensile strength and holds up to sustained heat exposure well past what most household repairs ever see, which is part of why it’s a common choice for engine and exhaust-adjacent fixes.
Preparing Jb Weld For Sanding
The clock matters more than anything else here: sanding before the epoxy has fully cured tears and gums up the surface instead of smoothing it, because the material is still cross-linking and hasn’t reached its final hardness. Give it the full 15-24 hours – longer in a cold or damp shop, since cure speed slows noticeably below room temperature – before touching it with sandpaper, even if it already feels solid at the 4-6 hour mark.
Once it’s actually ready, the tool list is short: sandpaper in a few grits, a sanding block to keep pressure even, and basic protection – a dust mask and eye protection, since cured epoxy dust is a fine, sharp-edged particulate you don’t want to breathe or get in your eyes. Work in a ventilated space, and if you’re sanding a large area, a shop vacuum nearby cuts down on cleanup considerably.
Sanding Techniques
Wet sanding keeps dust down and produces a finer finish, which makes it the better choice indoors or on a repair where a smooth final surface matters. Keep the sandpaper and surface lightly wetted with water throughout, start with a coarser grit to knock down high spots, then step up through progressively finer grits, sanding in one consistent direction rather than back-and-forth, and rinse periodically to check your progress and clear away the slurry that builds up.
Dry sanding is faster and better suited to rough shaping or outdoor work where dust isn’t as much of a concern, provided you’re running a vacuum or dust collection nearby and wearing a mask. Work the same coarse-to-fine grit progression, but use circular motions rather than a single direction, and stop periodically to wipe away dust and check the surface – it’s easy to remove more material than intended when you can’t see the surface clearly under a layer of dust.
Achieving A Smooth Finish
Start with 80-100 grit to knock down high spots and rough edges left from the repair itself, then move to 150-220 grit to even out the surface, and finish with 320-400 grit for a smooth, paint-ready texture. Sand in a circular motion at each stage rather than switching directions randomly, which helps avoid leaving visible scratch patterns from a coarser grit showing through the finer one.
Once you’re satisfied with the surface, wipe it down with a damp cloth to clear off sanding dust before doing anything else – dust left on the surface will show up as a gritty texture under polish or paint. A polishing compound worked in with a soft cloth in small circles brings out a genuine shine on a fully sanded repair, and a clear coat afterward protects that finish and keeps the surface smooth and shiny long-term.
Common Mistakes To Avoid
Over-sanding is an easy trap: because the cured epoxy is so hard, it’s tempting to keep sanding past the point where the surface is actually smooth, and doing that removes more material than necessary and can thin the repair enough to weaken it. Check your progress frequently rather than sanding in one long continuous pass, and stop as soon as the surface feels even under your fingers.
Rushing the cure is the other common failure, and it’s the one that causes the most repair problems overall. Sanding, drilling, or stressing the repair before the full 15-24 hour cure window has passed – especially in a cold shop, where curing slows down significantly – leaves the epoxy under-hardened, and sanding at that stage tears the surface rather than smoothing it. Give it the full cure time at a reasonable room temperature, and don’t assume a repair that feels solid at the 4-6 hour handling stage is actually ready for finishing work.
Comparing Jb Weld With Other Epoxies
JB Weld’s original formula is rated around 5,020 PSI tensile strength once fully cured, noticeably higher than many general-purpose two-part epoxies, which commonly top out closer to 3,000 PSI. That extra strength is part of why it’s the go-to choice for repairs that will see real mechanical stress – a load-bearing bracket or a repair that gets handled and flexed – rather than a purely cosmetic fix.
Sandability varies more between epoxy brands than strength does. Some competing epoxies cure to a surface that’s genuinely harder to work with sandpaper – either more brittle, so it chips instead of sanding smoothly, or gummier, so it clogs sandpaper quickly. JB Weld’s cured surface behaves closer to hardened metal: consistent, predictable, and quick to sand to a smooth, even finish once it’s fully cured.
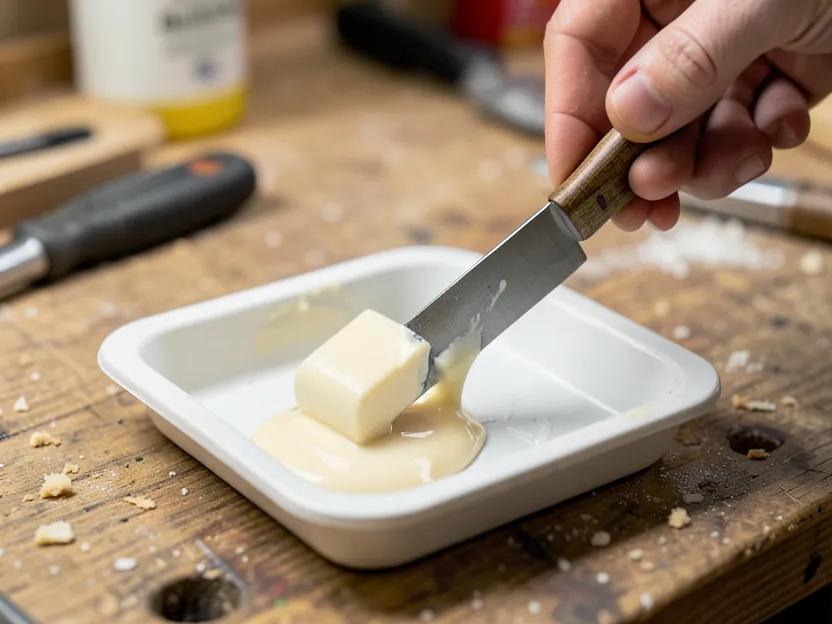
Practical Applications
Automotive repair is one of JB Weld’s most common uses, and for good reason: it bonds well to metal, tolerates sustained heat far better than most adhesives, and cures hard enough to handle vibration and stress. Patching a small crack in an engine block, sealing a pinhole leak in an exhaust component, or filling a chip in a metal panel are all realistic jobs for it, provided the repair area is cleaned and roughened first for a good mechanical bond, and sanded smooth only after the full cure.
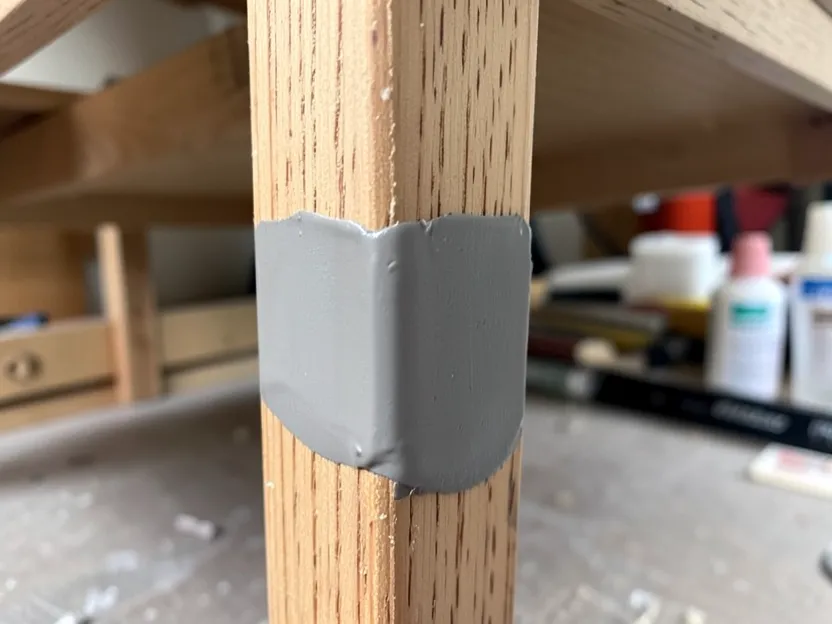
Around the house, its versatility across materials – wood, plastic, ceramic, ceramic-coated cookware – makes it a practical fix for furniture with a stripped screw hole or a chipped edge, a cracked plastic housing, or a broken ceramic piece that needs to hold real weight rather than just look repaired. In every case, the process is the same: mix, apply, let it cure the full 15-24 hours, then sand it smooth if the repair needs to blend in or take paint.
Frequently Asked Questions
Can You Sand Jb Weld?
Yes, JB Weld is sandable. Once it fully cures, you can sand it to achieve a smooth finish.
How Long Before You Can Sand Jb Weld?
You can sand JB Weld after it cures. Typically, this takes 15-24 hours.
What Grit Sandpaper For Jb Weld?
Use 120-220 grit sandpaper for sanding JB Weld. This ensures a smooth surface without damaging the material.
Is Jb Weld Sandable And Paintable?
Yes, JB Weld is both sandable and paintable. Ensure it is fully cured before sanding and painting.
Conclusion
J-B Weld is indeed sandable. This makes it highly versatile for repairs. Many users appreciate its durability and ease of use. Sanding helps achieve a smooth finish. This is crucial for various projects. Always follow the instructions for best results.
J-B Weld proves to be a reliable tool. Perfect for both small and large fixes. Its sandable nature adds to its appeal. So, keep J-B Weld handy in your toolbox. It’s a great choice for many DIY enthusiasts.
Sponsored / affiliate links. As an Amazon Associate I earn from qualifying purchases. I may earn additional commission from eligible campaigns.