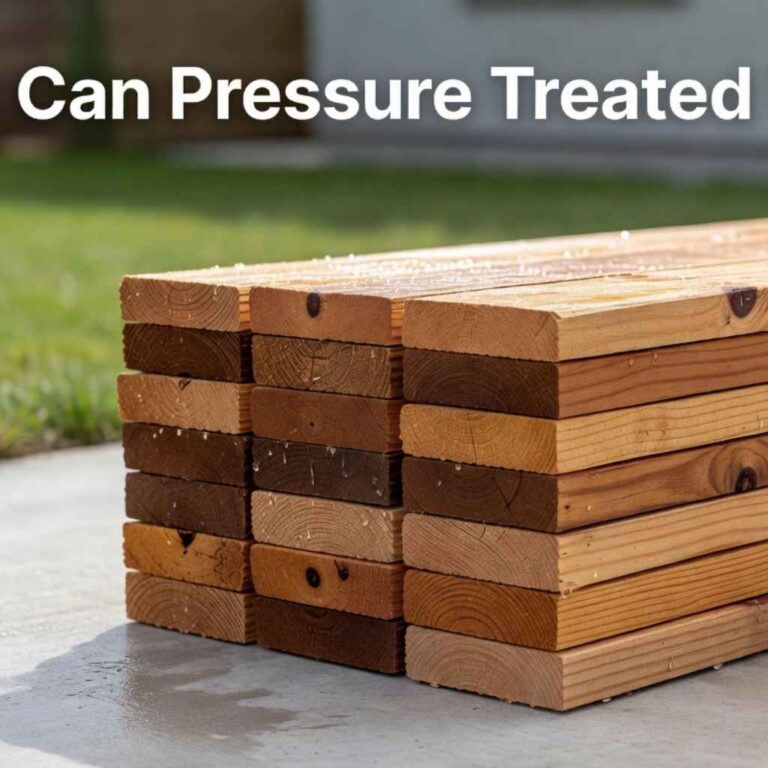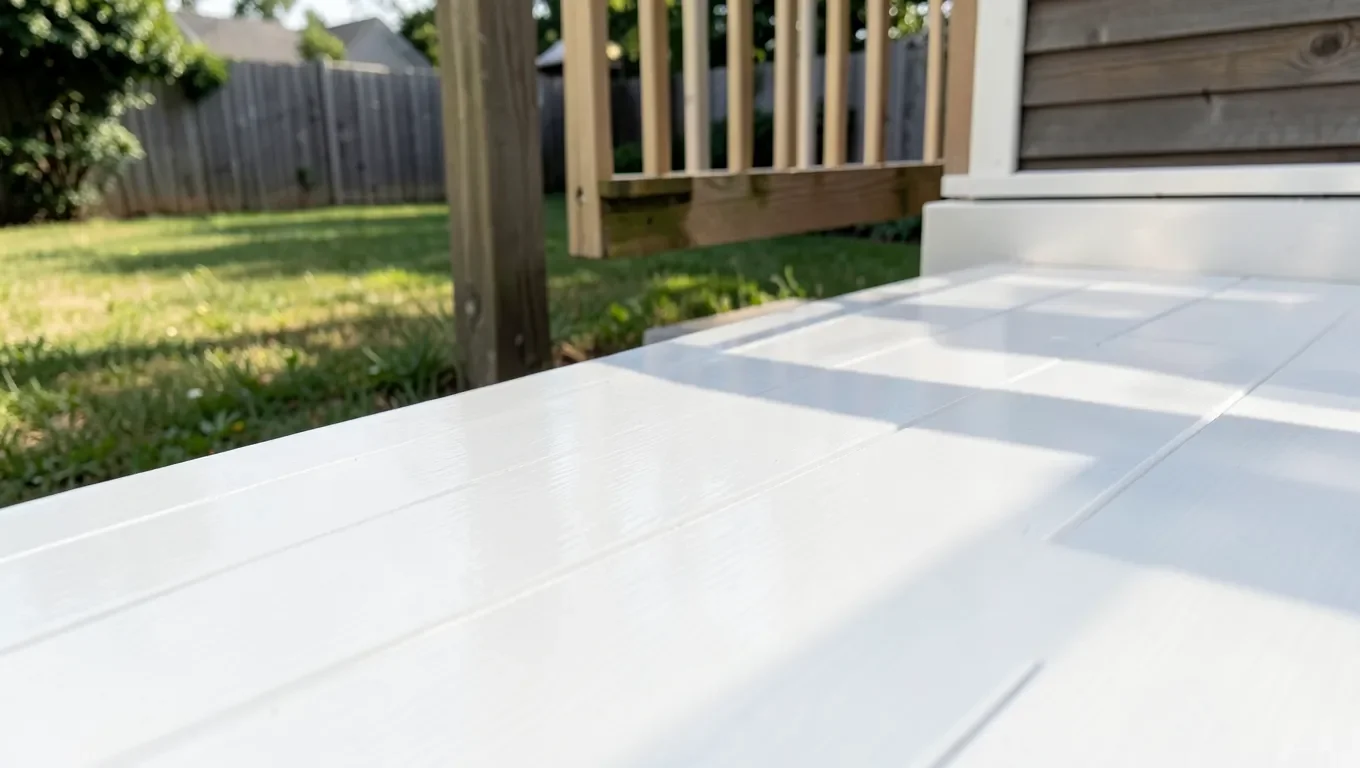
Is There a White Stain for Pressure-Treated Wood? Yes, But Timing Matters
Yes, there’s a real white stain made for pressure-treated wood, and it can look great on a deck, fence, or set of garden beds. The part most guides leave out is timing: pressure-treated (PT) lumber comes out of the treatment plant loaded with moisture, and if you stain over that moisture, the finish will blister, peel, or dry blotchy within a season no matter how good the product is.
This guide focuses on the two things that actually determine whether a white stain job on PT wood holds up: how long to wait before you start, and how to apply the stain once the wood is ready. If you’re still deciding between a solid white and a semi-transparent white (they look very different on treated lumber), our breakdown of stain opacity on pressure-treated wood covers that decision in detail. Here, we’re covering the drying window, the readiness test, the application steps, and the mistakes that cause most white-stain failures on treated lumber.
Yes, There’s a White Stain Made for Pressure-Treated Wood
Solid (opaque) exterior stains formulated as a stain-and-sealer combo are the ones that work reliably on PT lumber, since they’re built to bond to treated wood’s rougher, chemically-treated surface rather than just sit on top of it. Here’s a true white option we’d point to for a PT deck or fence project:
Best White Stain for Pressure-Treated Wood
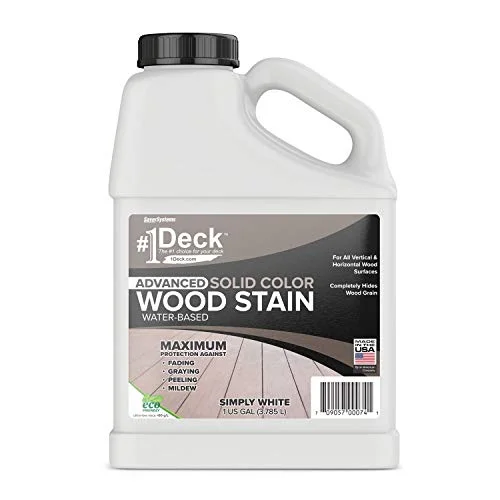 |
#1 Deck Premium Solid Color Stain & Sealer, Simply White – $54.95 A water-based, opaque stain-and-sealer combo rated for pressure-treated lumber, fir, redwood, and more — once your wood has dried enough to accept it.
|
Why You Can’t Stain Freshly Treated Wood White Right Away
Pressure treatment forces a water-based preservative deep into the lumber under high pressure, which is what gives PT wood its resistance to rot and insects. That process leaves the wood carrying far more moisture than air-dried lumber — often well above 25-30% moisture content right off the rack at a home improvement store. Stain, especially a solid/opaque formula, needs the wood’s surface moisture down in the mid-teens or lower to actually penetrate and bond. Seal over wet wood and the moisture trapped underneath has nowhere to go; it pushes the finish back off from underneath, usually showing up as peeling or a milky, blotchy haze within a few months.
Most sources land on a 1-to-3-month minimum wait for new PT lumber before staining, but the real number depends heavily on climate. In a hot, dry region like Arizona or West Texas, boards can be ready in as little as 6 to 8 weeks. In a humid climate like Florida or coastal Louisiana, that same lumber can take 4 to 6 months to drop enough moisture to stain safely. There’s one shortcut: lumber marked KDAT (kiln-dried after treatment) has already had most of that moisture driven out at the mill, so it can often be stained within a few weeks of installation instead of months — check the stamp on the end of the board before you assume you’re stuck waiting.
How to Tell When Pressure-Treated Wood Is Actually Ready to Stain
Don’t guess based on a calendar alone — test the wood directly. Two ways to check, from simplest to most reliable:
- The water bead test: splash a few tablespoons of water onto the wood in a shaded spot. If it beads up and sits on the surface, the wood is still too wet to stain. If it soaks in within 5 to 10 minutes, the wood is dry enough to move forward.
- A pin-type moisture meter: the more reliable option if you own or can borrow one. Take readings in a few spots, including a shaded, less-exposed area. You want 15% moisture content or lower before staining; anything higher and you’re better off waiting a few more weeks and re-testing.
If the wood still looks freshly cut, feels damp or noticeably cool to the touch, or has a strong chemical smell, it almost always still needs more drying time regardless of what the water bead test shows.
How to Apply White Stain to Pressure-Treated Wood the Right Way
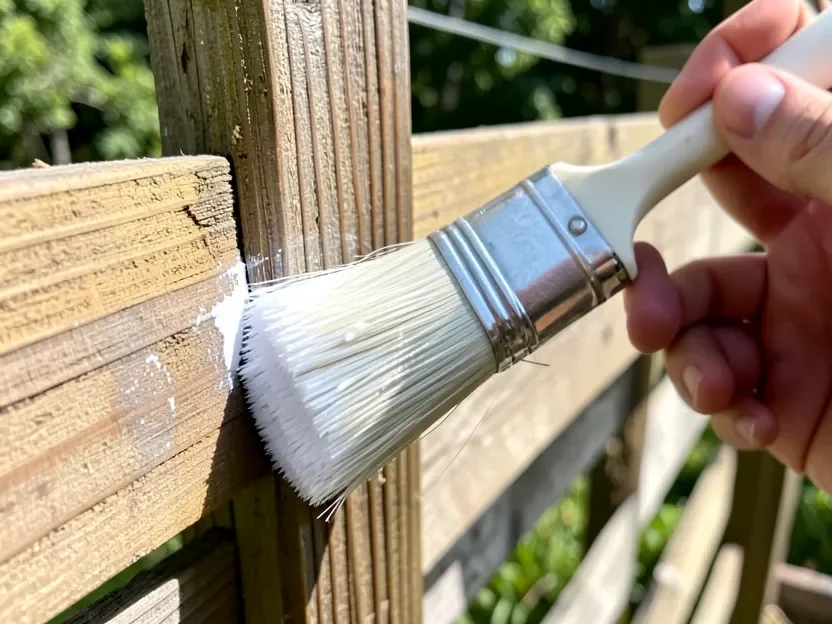
Once the wood passes the readiness test, the application process itself is straightforward, but a few PT-specific steps matter more here than on regular lumber:
- Wash off mill glaze and residue. New PT lumber often has a shiny surface film (mill glaze) plus loose fibers and dust from milling. A deck wash or a mix of oxygen bleach and water, scrubbed in and rinsed well, breaks this down so stain can actually grip the wood.
- Let it dry again after washing. Give the wood at least 48 hours of dry weather after washing before you stain — washing reintroduces surface moisture even on wood that had already tested ready.
- Knock down rough spots. Light sanding (120 to 150 grit) on any raised grain or rough fibers gives a smoother, more even finish, especially important with an opaque white where every ridge and scratch shows.
- Test a hidden section first. Stain an inconspicuous spot — the underside of a deck board or the back of a fence panel — and let it dry fully. This confirms both the color and that the wood is truly ready before you commit the whole project.
- Apply thin, even coats. Work with the grain using a brush, roller, or sprayer, and resist the urge to lay it on thick to get to true white in one pass — thick coats on PT wood are far more likely to crack or lift later. Two thin coats consistently outperform one heavy one.
- Let each coat dry fully before recoating, typically 24 hours in moderate weather, longer in cool or humid conditions.
- Hold off on heavy use. The surface may feel dry within a day, but the finish needs roughly one to two weeks to fully cure before it can handle foot traffic, furniture, or grills being dragged across it.
Mistakes That Ruin a White Stain Job on Pressure-Treated Wood
- Staining right after installation. This is the number one cause of failed white stain jobs on PT wood — the finish looks fine for a few weeks, then blisters or peels as trapped moisture works its way out.
- Staining in direct sun or high heat. The stain can skin over and dry on the surface before it has time to penetrate, leaving lap marks that are especially visible in white and other light colors.
- Skipping the wash step because the wood “looks clean.” Mill glaze is often invisible but still blocks absorption.
- Ignoring uneven moisture across the same structure. A deck’s shaded north side can stay wetter for weeks longer than the sun-exposed side — test more than one spot rather than assuming the whole project is ready at once.
- Choosing a semi-transparent stain expecting a true white look. Semi-transparent formulas let the wood’s natural greenish or brownish treatment tint show through, so the result reads more like a pale wash than a clean white — a solid/opaque formula is what actually delivers a true white on PT lumber.
Frequently Asked Questions
How long should pressure-treated wood dry before staining it white?
Plan on 1 to 3 months in most climates, with hot and dry regions ready in as little as 6 to 8 weeks and humid regions sometimes needing 4 to 6 months. Kiln-dried-after-treatment (KDAT) lumber is the exception and can often be stained within a few weeks. Test with a water bead test or moisture meter rather than relying on a fixed number of weeks.
What happens if you stain pressure-treated wood too soon?
Trapped moisture underneath the finish has nowhere to escape, so the stain typically blisters, peels, or develops a milky, blotchy haze within a season, even if it looks fine for the first few weeks.
Do I need a special stain for pressure-treated wood, or will any white stain work?
Use an exterior stain-and-sealer specifically labeled for pressure-treated lumber. These formulas are built to bond to treated wood’s surface and resist the alkaline chemicals used in modern treatment processes, which can cause ordinary stains to fail early.
How do I know if pressure-treated wood is dry enough to stain?
Splash water on the surface in a shaded area — if it soaks in within 5 to 10 minutes instead of beading up, the wood is likely ready. For a more reliable check, use a pin-type moisture meter and look for a reading of 15% or lower.
Bottom Line
A true white stain for pressure-treated wood is real and holds up well — the failures people run into almost always trace back to staining too soon, not a bad product. Test the wood’s moisture before you start, wash off mill glaze, apply thin coats, and give the finish time to fully cure, and a white-stained PT deck or fence should look clean for years rather than peeling by the following summer.
Sponsored / affiliate links. As an Amazon Associate I earn from qualifying purchases. I may earn additional commission from eligible campaigns.